An Awkward Laundry Room Gets An Awesome Makeover
We’ve been in our current home for a little over year now and the plan has always been to remodel each room one at a time. The next room on the list is the laundry room. We are facing four issues with the current state of our laundry room:
- It’s fairly small; only 5ft by 8ft.
- The high ceilings cause awkward washed-out lighting.
- There isn’t really a place to store detergent or fold clothes.
- Our washer and dryer are hand-me-downs from when we first got married and they are both on their last leg
We are so excited to partner with The Home Depot to bring you guys along on our journey through transforming our existing laundry room from awkward to awesome.
BEFORE
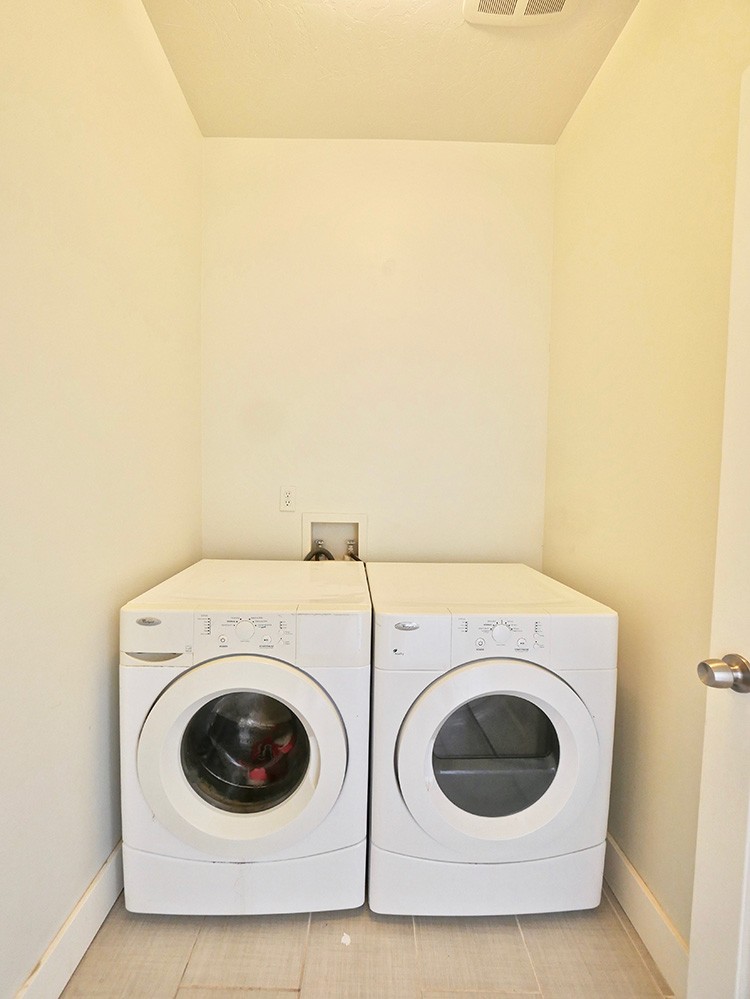
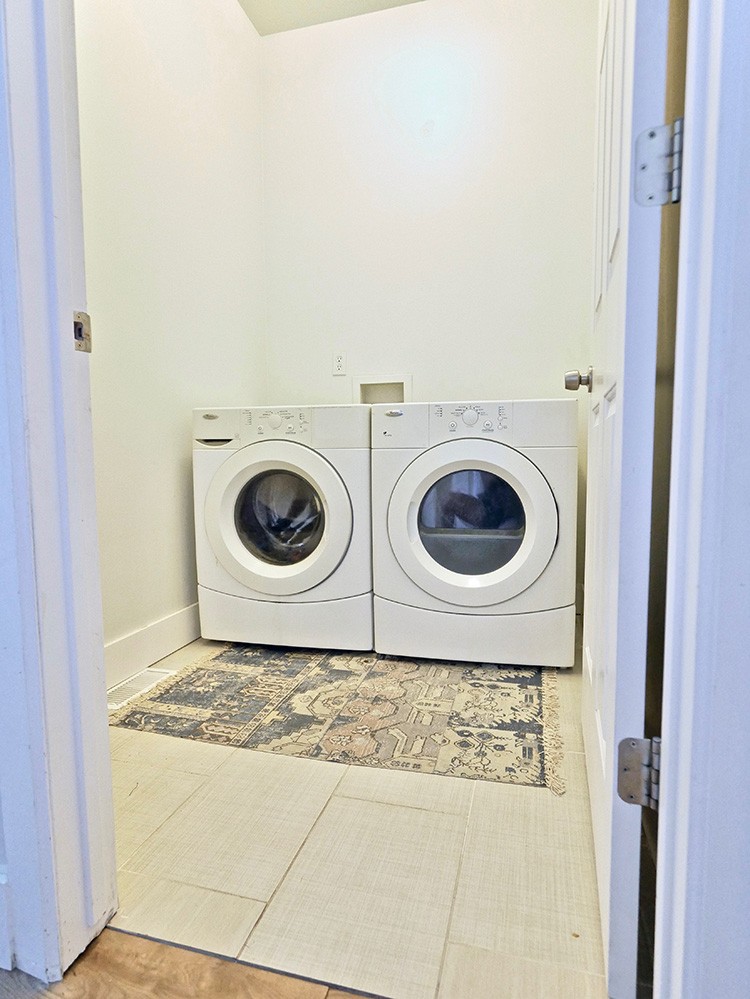
Here is the BEFORE image of our laundry room. It doesn’t get any more basic than this. Although we would have loved to have a laundry room double in size with an ironing board and a sink, we knew that we had to have realistic expectations and work with the space that we have.
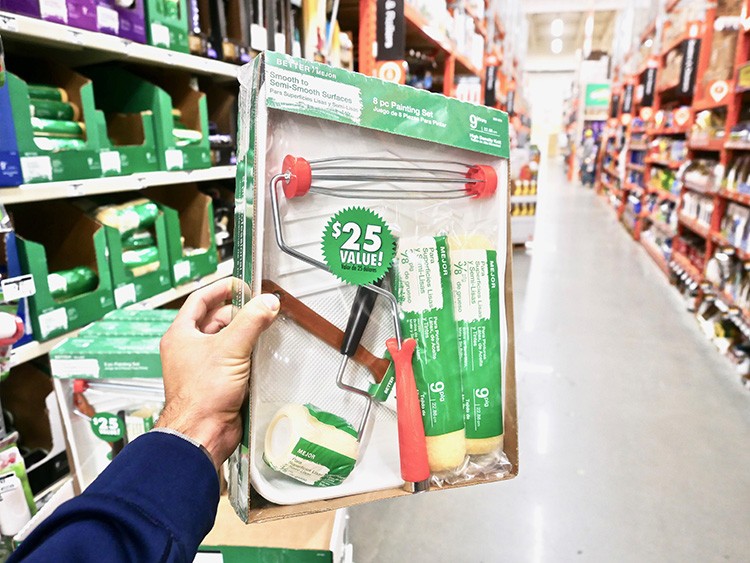
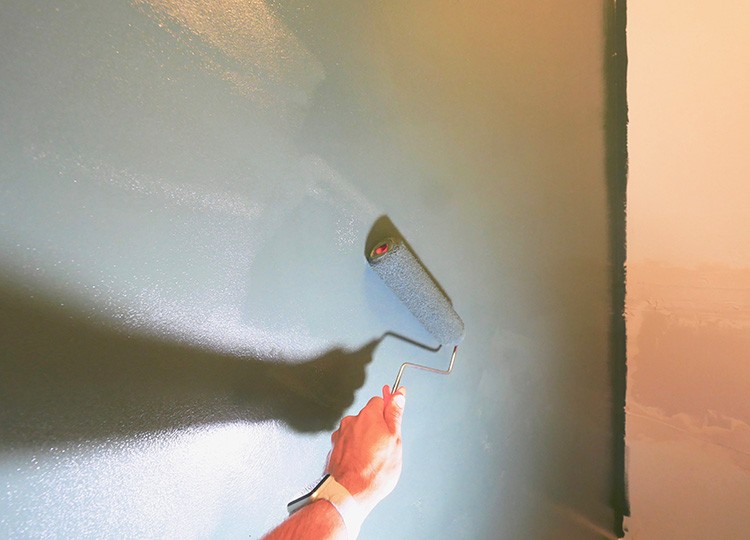
PAINT
The first thing we needed to do was start with a blank canvas and introduce some paint. The general rule of thumb is that white or light paint makes any room look bigger, but because the space is so narrow, shallow and tall, we felt that we should embrace the small space. So, we decided to paint it a darker color to drive more focus on the center of the wall and the appliances, like an accent wall. For the paint, we went with a BEHR One-Coat product and the color is called Alpine Trail. This gave a warm focus on he center of the room.

COUNTERTOP
For the countertops, we decided to make our own concrete countertops. We built the concrete slab using SAKRETE 5500 Maximizer Concrete from The Home Depot. The store specifically recommend using this for the countertops. We used four 80 lb bags to create the 3 ft x 5 ft x 2 inch slab and suspended it using 2x4s, wrapping around the three sides of the wall. The maximizer concrete is extremely strong and overall easy enough to work with. Click here to see the full Countertop Blog post tutorial.
ACCENT WALL

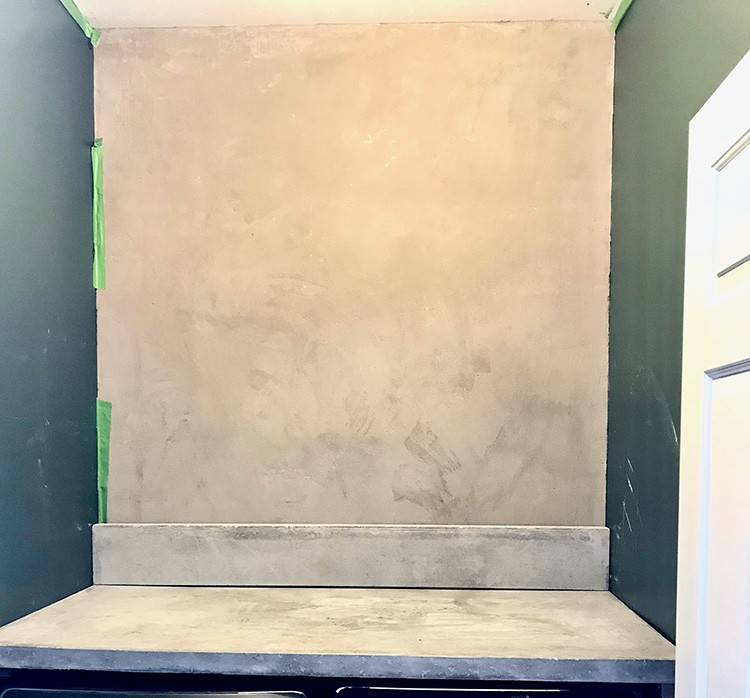
We knew we wanted to include hanging cabinets over the washer and dryer, but we wanted to give the the wall some character. The wall needed to match the concrete as well as have texture to separate the small space from the surrounding drywall. We decided to layer it using Rapid Setting thin set to match the concrete countertops. To accomplish this, we used a product called SpeedSet in a gray color. It was as simple as mixing it with water and using a trowel to apply a ¼ inch thick layer, scraping from the bottom up. Apart from creating a bit of a messy work area due to vertical application, the SpeedSet worked exceptionally well after applying it. We simply used a clean trowel and a spray bottle to smooth out any imperfections.
LIGHTS
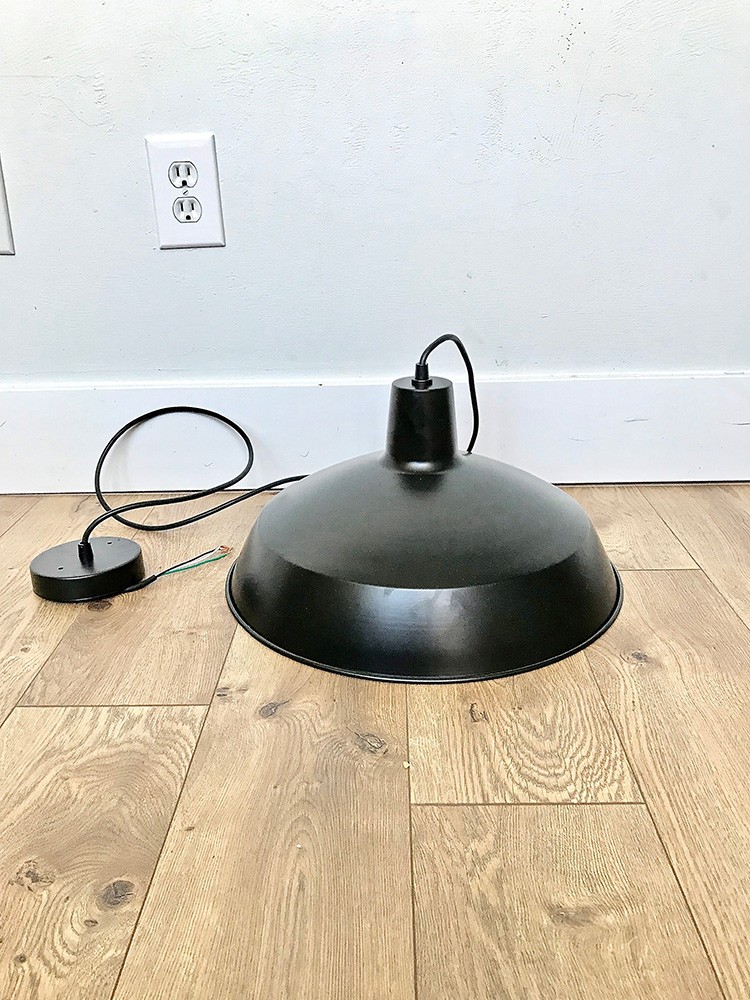
Like we mentioned in the beginning, the existing light situation in the laundry room was washed out because of the tall ceilings and single-center light dome. We decided to go with a large pendant light that would direct the light down the center of the accent wall, cabinets and concrete countertops, giving it a more enclosed, direct light look. We browsed all the options on The Home Depot website and settled on the Globe Electric 1-Light Matte Black Barn Light Pendant. The light was a perfect way to make the space feel the way we intended it to feel.
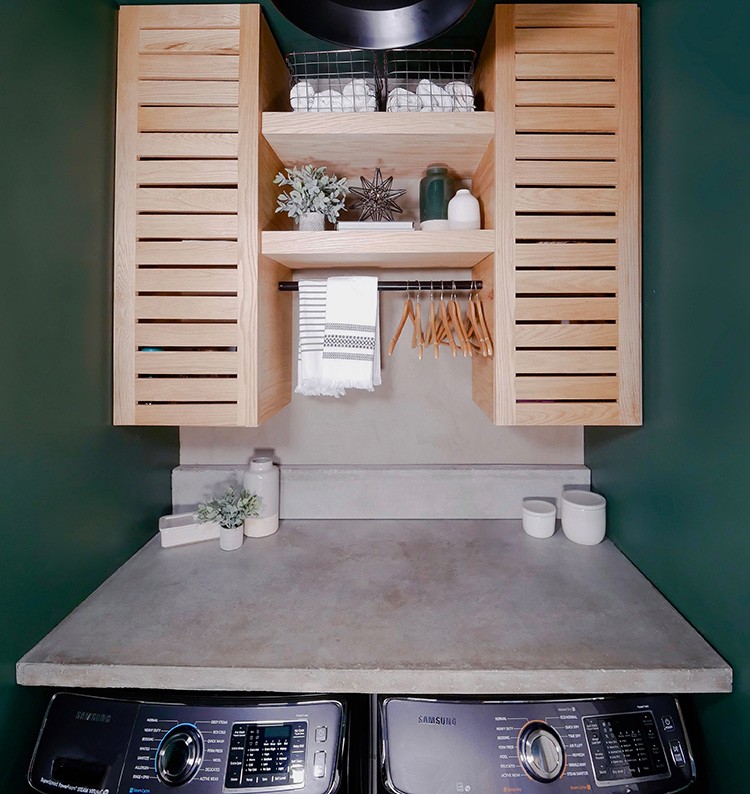
CABINETS
We always envisioned the space having a Concrete Modern feel to it and to accomplish this, we introduced Modern Shutter Style Oak for the cabinets. Another strategy we used to blend the tall ceiling and narrow walls was making the cabinets tall and narrow, plus adding floating shelves for extra storage. We built the cabinets and shelves using three sheets of ¾” red oak cabinet plywood from The Home Depot and finished them off with Tung Finishing Oil to give them a natural, protected look. Click to see the full cabinet and shelf blog tutorials.

DRYING RACK
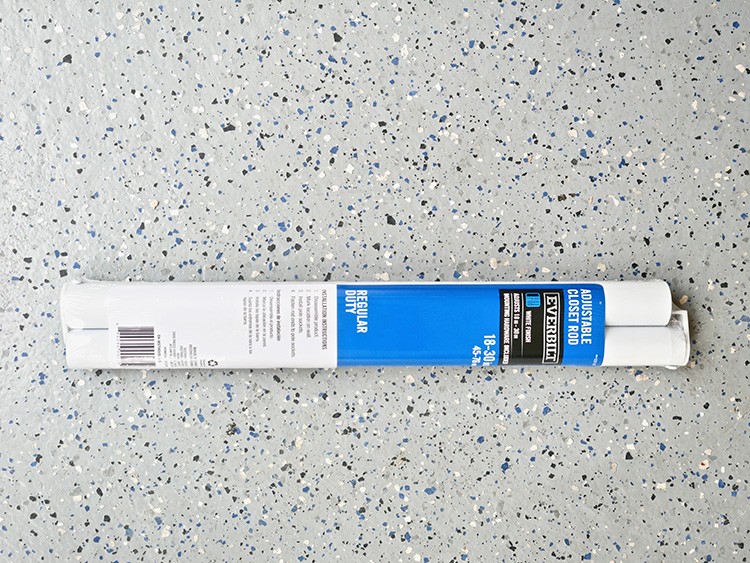


As we previously mentioned, there wasn’t room for an ironing board or a sink in the room; however, we did figure out a way to have a drying rack. We simply hung two floating shelves, leaving enough room to put up a rod. We made sure to measure enough distance by hanging a clothes hanger with the tallest shirt we own and making sure it wasn’t touching the top of the countertop. We found this Everbilt 18 in. – 30 in. White Adjustable Closet Rod in the closet organization aisle at The Home Depot and painted it Black Semi Gloss using Rust-Oleum 2X Paint and primer that we found just a few aisles down from the adjustable rod. After three quick coats, it matched the pendant light perfectly.
SHOPPING FOR APPLIANCES


Finally for the main event: the washer and dryer. Without the right appliances, this is just another awkward space that would continue to look incomplete. When it came to looking for the perfect washer and dryer, we had three things we knew we wanted/needed:
- Electric hookups only
- Front loading only (because of the countertop)
- Dark appliances only (because of our remodel style)
Our home’s current kitchen appliances are all Samsung, so we naturally started our exploration in that section. We stumbled upon the AddWash series from Samsung. The AddWash came with an electric hookup, the front load feature, and it gave us a choice of Black Stainless color. Now, what made us excited about that specific model? Well, we have kids; and with these kids, we are constantly forgetting to throw something into a load after we’ve already pressed start. The AddWash series allows for you to do just that. For example, after choosing our desired cycle, we run things on eco cold mode. If I forget to throw my oldest son’s tee-ball uniform in, I can quickly pause the washer, open the desired small door, and simply add it to the load. This is an invaluable feature for our family because our kids are always on our minds and it’s so easy to get distracted, so the Samsung AddWash helps during those cluttered brain moments.
DELIVERY
After putting in our order and scheduling our delivery, our appliances were delivered promptly. They gave us a courtesy call when they were 30 minutes out to ensure we were home. They were nice enough to not only unpack the appliances, but also haul away the old cardboard and styrofoam. This was very helpful!


FINAL REVEAL
We are in love with our new laundry room and think it’s one of the best parts of our home. Everything we added to the space works so well together and complements everything else. The best part? Everything we needed to make this remodel happen was found in a one-stop shop at our local The Home Depot. Sending a BIG thank you to The Home Depot for coming alongside us on this journey of taking an awkward space and making it an awesome one.


The post An Awkward Laundry Room Gets An Awesome Makeover appeared first on The Home Depot Blog.

