Sabrina Molu from Simply Sabrina gave her utility and storage room a makeover, and transformed it into a bright, modern, and functional space. Read below to see how the space was created!
Creating a Timeless Laundry Space
Have you ever hated something so much you just wanted to avoid it at all costs? This was me & my laundry room. It was a dark corner that no one visited unless they needed to turn a few knobs and get clean clothes. My laundry room sits on one side of a rather large utility/storage room in the basement. This room has unfinished walls, no ceiling, exposed wires, and the world’s ugliest utility sink. So if we were going to tackle one part of it, we were going to tackle it all.
I got to work designing what I wanted my dream laundry room to look like. I knew I wanted it to be white with accents of black and bronze. I made a supply list and got to work to find a contractor that could help us get the work done. I can’t stress enough how much research goes into finding the right pieces when you are designing a space. We wanted the space to look custom and fit our needs, but also not too trendy so that it would be outdated.
Here were the things we knew we wanted:
- High quality appliances that would be big enough to wash comforters, rugs, and our dog’s bed
- Quick and simple changes that would drastically improve the space without spending too much time or money
- A large utility sink that would be functional and beautiful
- A sleek look that concealed the wires, utility boxes, and other unsightly basement essentials.
 Here’s how we made it happen:
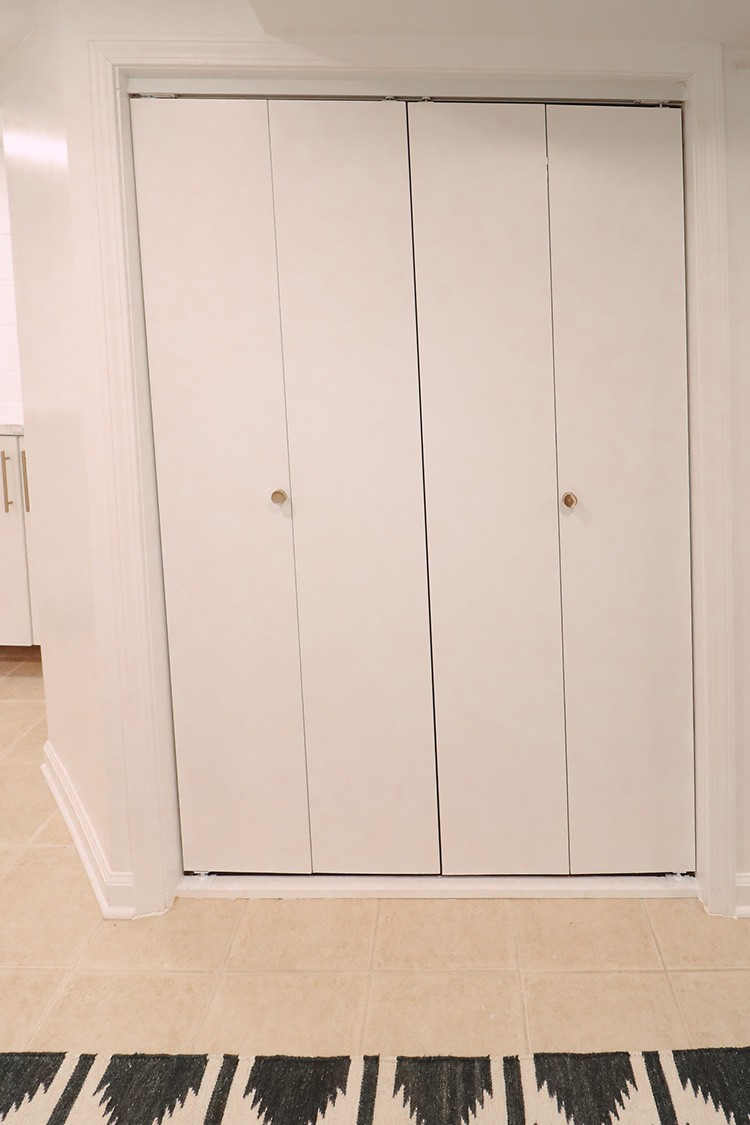
The first thing you notice in the space is new walls, tiles, and yes -even a new ceiling! We had our challenges cut out for us because even in this small space, there were four varying ceiling heights which made framing the space tough. We used these 2×4 sand placed sheetrock over them for a clean finish. We installed 2 sets of these 2 flush mount lights and we wanted to ensure the space was functional so we installed access points throughout the ceiling. Next up on the list of “hide anything unappealing” was the open front water heater. We created a makeshift closet by positioning sheetrock at an angle and choosing bifold doors that could be cut down to fit the custom space. The final touches for our closet were these bronze drum knobs.
Next up, the electrical panel was a fun challenge because there wasn’t an “off the shelf” solution. I used my Pinterest sleuthing skills and found that we could use a simple piece of wood and cut it to the size of our electrical panel. We completed the look by adding some crown molding to wood slab for a makeshift door.


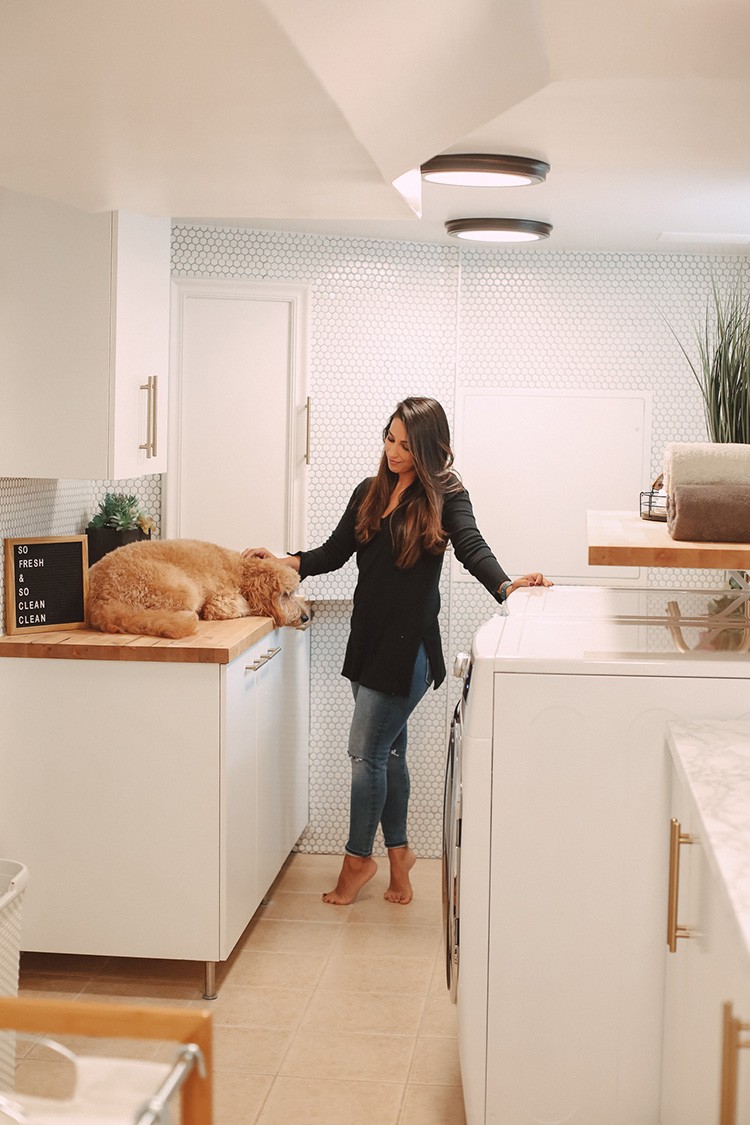
The most prominent change that we made were swapping out the appliances. We knew that we wanted to go with LG so that helped us narrow down the options for a washer and dryer. Unfortunately, the one that we chose is now discontinued, but my top choices were either this one or this one because they are smart devices and can be controlled with your phone or even an Alexa.
I knew I wanted the laundry room to have a feature wall so we went with a full hex tile backsplash. After testing out a few different grout options we went with Delorean Gray for a subtle, but eminent finish. Grout is tough you guys. It completely changes the look of a space so a word of caution – do not take grout lightly.

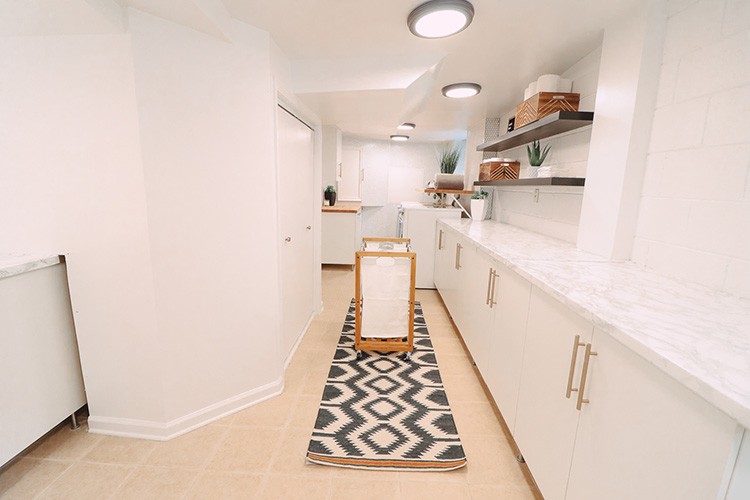
After the walls were taken care of we still had work to do. We needed to make some drastic changes to the space, but didn’t want to spend the entire budget, so we opted for a few cosmetics changes that would help amp up the space. The first thing we did was remove all of the top cabinets which were older, and replace them with open shelving. We could store the toilet paper and paper towels that we were putting behind cabinet doors out in front, just needed a nice basket to put them in.
Another thing we did was to swap the basic silver hardware for champagne bronze cabinet pulls. This was a simple fix that really make the space look refreshed, and dare I say, custom!
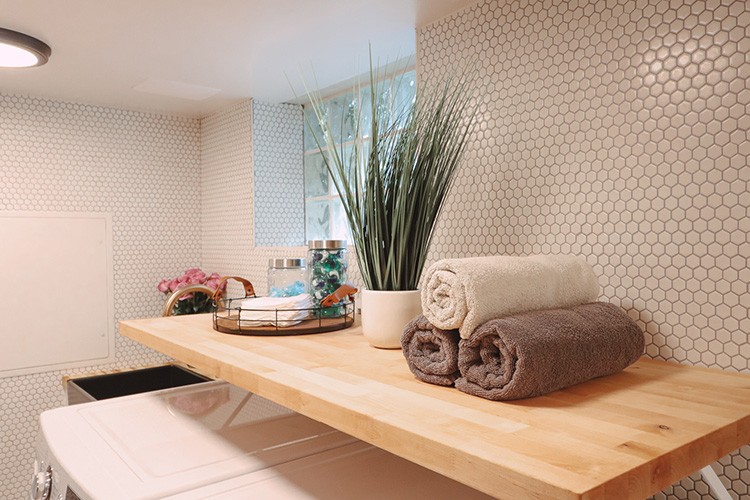
We didn’t want to replace all of the counters, so we went with a wood butcher block for the main laundry area and for the rest of the storage space, we just added a vinyl marble sticker that gave the right look without the price tag.

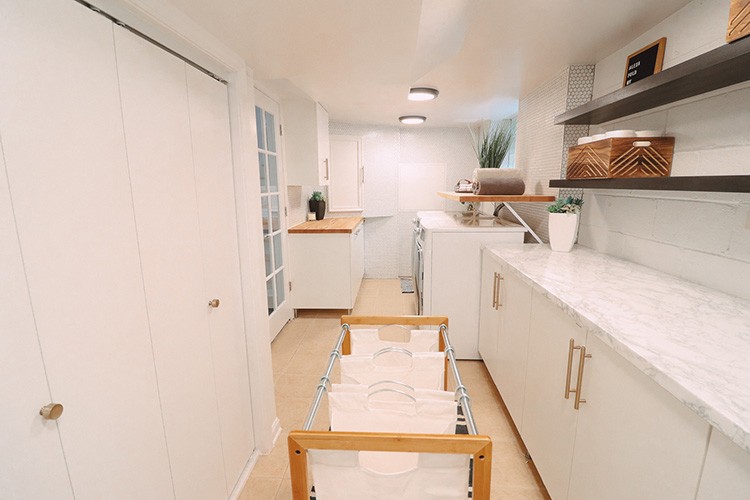
Lastly, we swapped the old door to this room with a fresh new shaker door that allows you to look into the room. The door was already primed so it just needed a quick coat of paint. Be careful when picking a door because there are all sorts of caveats: right handed handle or left? Inbound or outbound swing? Make sure you match what you already have to make an easy swap.

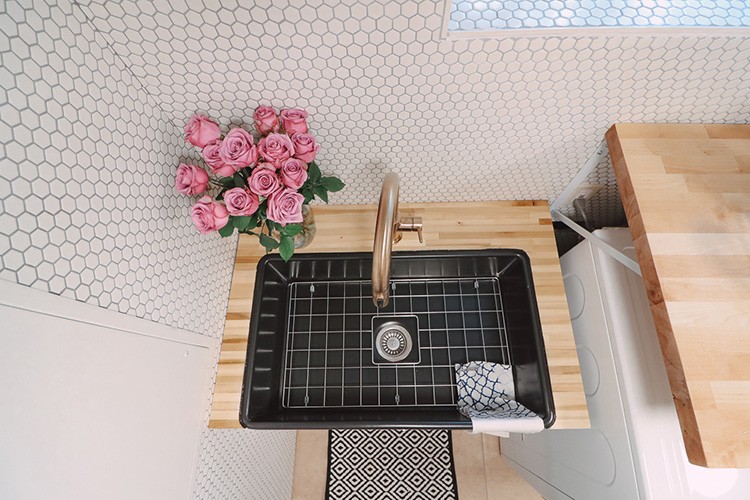
The sink might just be my favorite part of the entire room. Remember the hideous plastic tub that was there? Well behold, my beautiful black fireclay sink which sits in this new shaker cabinet and champagne bronze Delta faucet. I am actually excited when I get a stain and have to presoak something. (Whoa, did I just become an adult?)
The final touches were clearly in the details. We added a black and white rug to amp up the space and this three section laundry hamper because boy do we always need more storage. I’m so happy with the space and can’t believe the dramatic before and after. This was all possible with the help of The Home Depot.
The post Creating a Timeless Laundry Space appeared first on The Home Depot Blog.
