Materials
Tools
- Pry Bar
- Hammer
- Stud Finder
- Chalk Line
- Level
- Pencil
- Tape Measure
- Speed Square
- Circular Saw
- Pneumatic Nailer with 16-gauge nails
Step 1: Remove Moldings

First, remove any baseboards and moldings using a hammer and pry bar.
Step 2: Mark the Studs

Next, use a stud finder to mark your stud locations on the wall with a pencil, then snap a chalk line along the studs as a guide. While you’re at it, measure the wall so you can adjust your layout if the wall is neither level nor square.
Step 3: Install the Boards

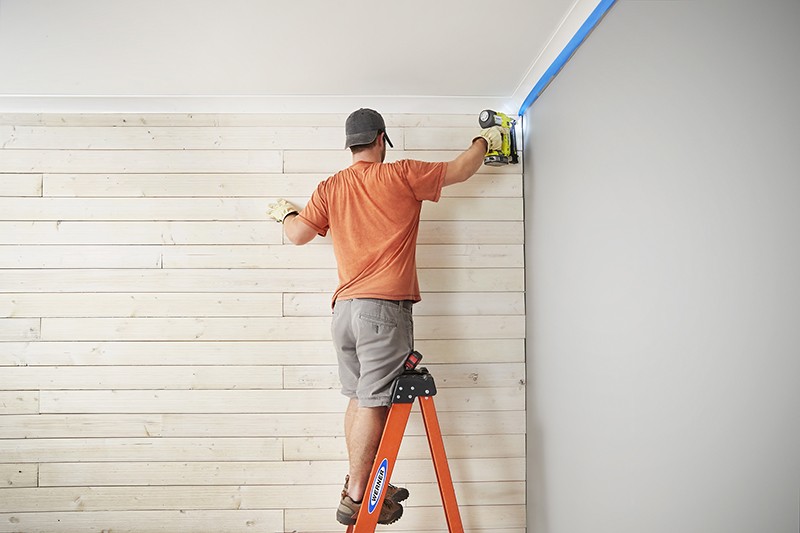
Start at the bottom, and make sure your first board is totally level before tacking it into place. Nail into the groove portion, then add another nail into the board itself, making sure to hit studs. Work your way across the room, left to right.

NOTE: Consider the layout as you begin each run. Use a circular saw to make each cut. Cut your boards to ensure you land on a stud but also work to achieve a staggered effect running left to right. Also try not to cut any boards shorter than 10-inches wide.
Step 4: Tap Boards Together
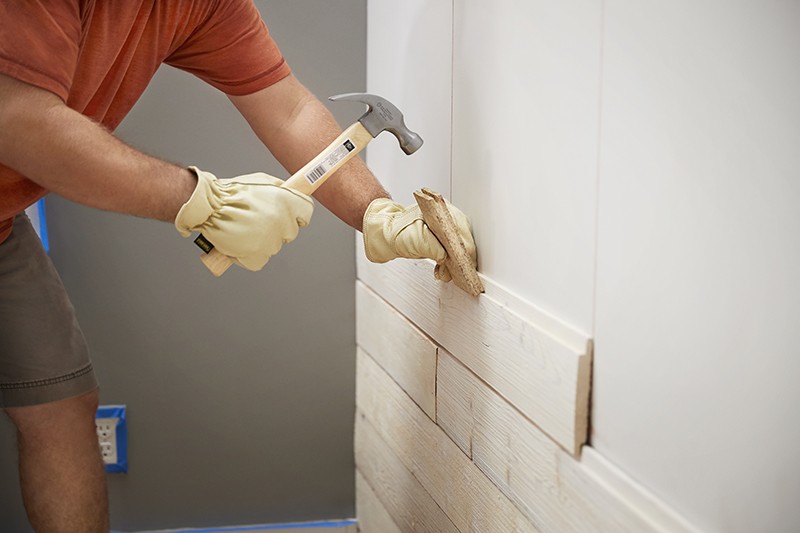
To ensure everything’s fitting together tightly, gently tap the shiplap into place before fastening it to the wall.
Step 5: Finish the Wall
Continue working your way up the wall. Your last row may require custom cuts. You can rip the boards down to size with a table or circular saw.
Keep in mind, many pre-finished products like this are sold with matching trim, should you want to frame out the shiplap horizontally and/or vertically. This can make the project that much easier.
The post How to Install a Shiplap Wall appeared first on The Home Depot Blog.


