Materials
- Laminate Flooring
- Knee Pads
- 16-gauge nails (for nailer)
- Wood scrap
- Mask/Gloves/Safety Glasses
Tools
- Tape Measure
- Pencil
- Level
- Stud Finder
- Chalk Line
- Pry Bar
- Hammer
- Circular Saw
- Jamb Saw (rent one from THD)
- Speed Square
- Pneumatic Nail Gun
Step 1: Clear Existing Flooring

Use a pry bar to gently remove baseboards. If you have existing carpet, use a utility blade to cut the carpet free at the edges and pull it up. Roll the old carpet up for easier disposal. Using pliers, pull up any old fasteners left in the subfloor, then give it a good vacuum to remove any leftover dust and dirt.
NOTE: For your comfort, you may want to wear knee pads while installing your new floor.
Step 2: Prepare Laminate

You’ll want to mix up planks from various boxes of laminate to ensure a good variety of wood tones throughout. This also allows the product a chance to acclimate to your home’s interior.
To ensure your first run is straight, measure the width of your plank, then add ⅜-in. for expansion. In the left corner of the room, pull that distance from the starting wall and mark it. Do this in the right corner, then pop a chalk line between these two points. Now you’ll have a truly straight line to guide your first row (aka “run”) of planks.
NOTE: If installing below grade or in humid areas, a vapor barrier is required. See Manufacturer Instructions for more detail. Some product is built with underlayment included on the underside of the plank.
Step 3: Plan Ahead for Custom Boards
To figure where you’ll need to custom cut boards, measure the length of the room, then divide that number by the length of your planks. In your planning, make sure to avoid having any boards under 12-in. long. Adjust your cuts and runs accordingly. Also, maintain a staggered effect for a more natural look.
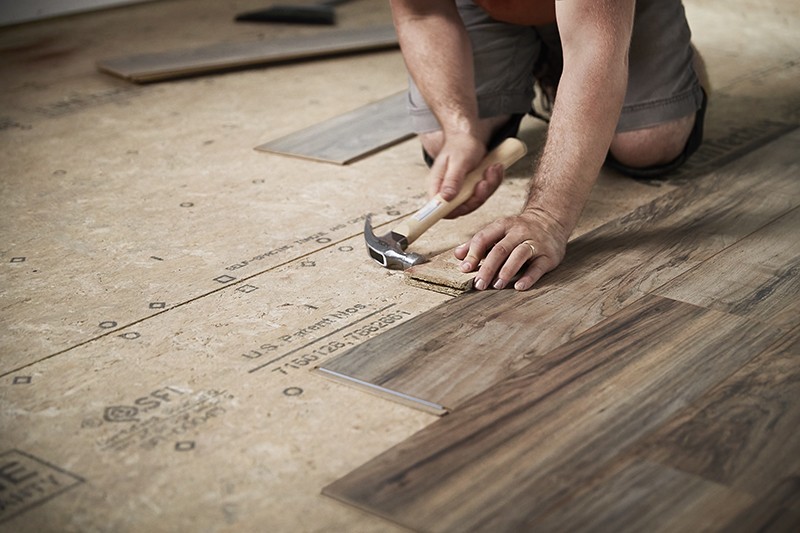
Step 4: Install First Run
Install the first plank up against the chalk line making sure that the tongue side is facing the wall. Leave a ⅜-in. gap between the wall and the edge of the plank for floor expansion. Continue adding planks to complete your first run. At the end of your first, cut the last board to allow for a ⅜-in. expansion joint.
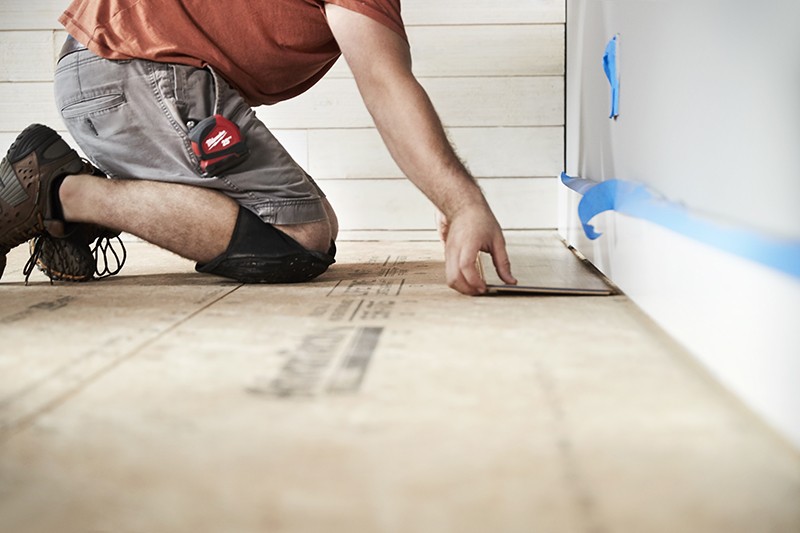
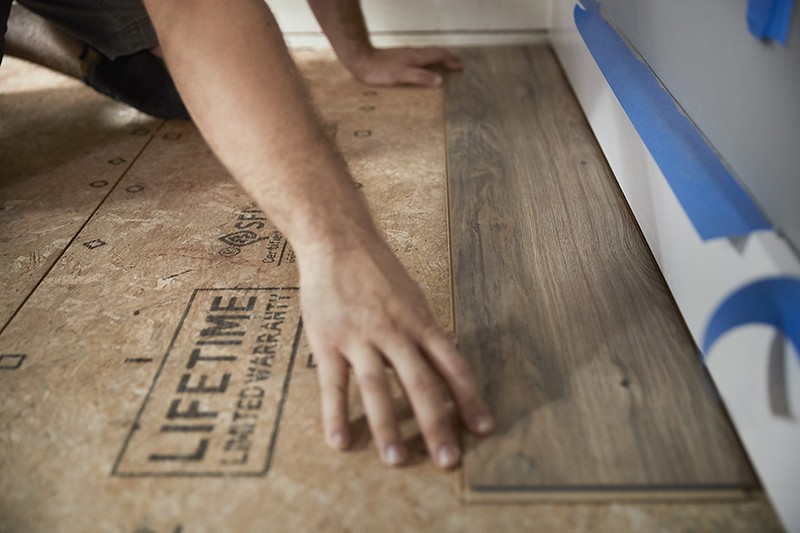
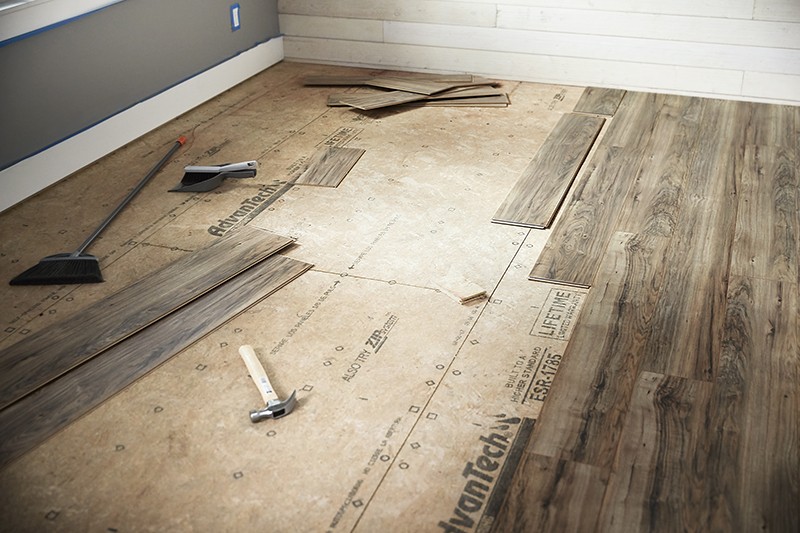
Step 5: Install Remaining Laminate
Once the first run is installed, continue adding planks. As you work your way back and forth across the room (moving left to right), use a tapping block and hammer to make sure the planks fit together snugly horizontally, and vertically.
Trim your planks to size as needed. Simply measure, mark, and then cut the product using a circular, table or miter saw. Be sure to wear an appropriate mask, safety glasses, and gloves. To avoid tricky cuts around doorways and moldings consider renting a jamb saw from The Home Depot. By trimming the existing molding you can simply slip the planks up underneath the jambs for a more finished look.
Step 6: Install Final Boards
On your very last run you may need to rip each board to size. Do this with a circular or table saw. With the final run in place, use a nail gun and 16-gauge nails to re-install all baseboards, nailing them into the studs, which can be located using a stud finder.
The post How to Install Laminate Flooring appeared first on The Home Depot Blog.
