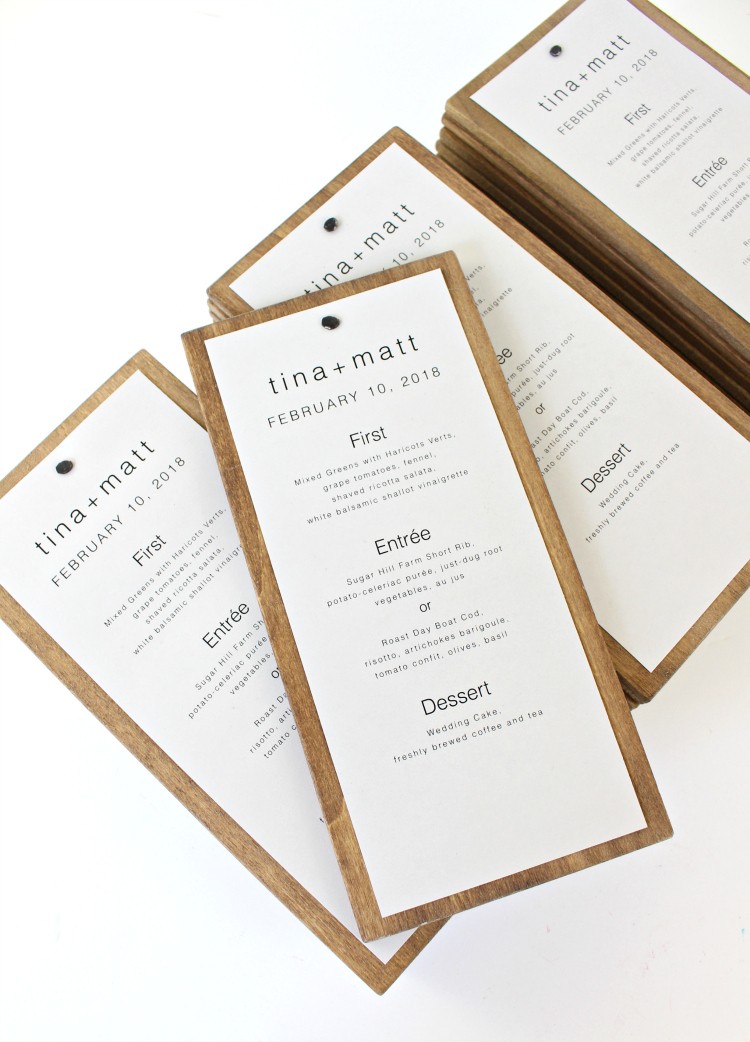
Jaime Costiglio, of Jaime Costiglio, created a beautiful and thoughtful wood backed menu for her friend’s wedding reception. This fun detail added character to the place setting.
Read more to find out how to create this DIY project.
How to Make a Wood Backed Menu
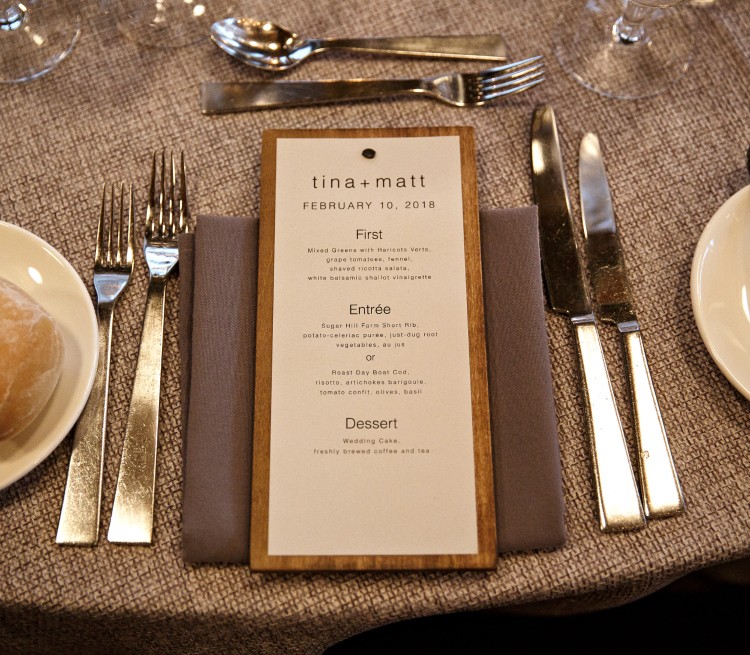
Everyone looks forward to the food at a wedding. Exactly what will be on the menu is part of the anticipation of the day, maybe not as anticipated as what the bride will be wearing, but still a fun detail that guests look forward to. So why not present the menu in a way where it becomes part of your décor?
These beautifully simple wood backed menus add just a touch of thoughtfulness and give guests a feeling of solidity when they pick up the menu to read the offerings. A simple wood board acts as a frame for printed paper menus and it’s a DIY project for almost anyone.
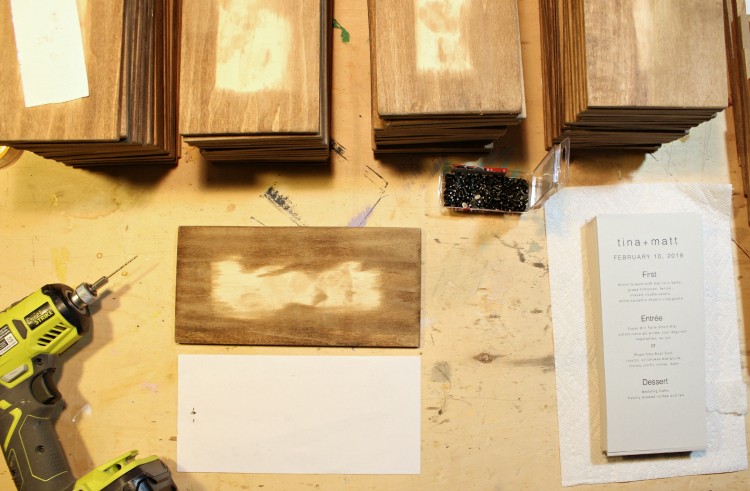
Before beginning this project decide your paper menu size as this will determine the size of the wood board. Most event spaces with catering offer preprinted menus similar to what I used for this wedding.
Materials:
- ¼ in. poplar board – 1 x 6 x 4
- #6 carpet tacks
- Preprinted menus
Tools:
- Miter saw
- Measuring tape
- Pencil
- Drill & drill bits
- 2 pliers
- Hammer
- Double sided tape
- Sander
- Stain
Step 1: Cut the Poplar Board
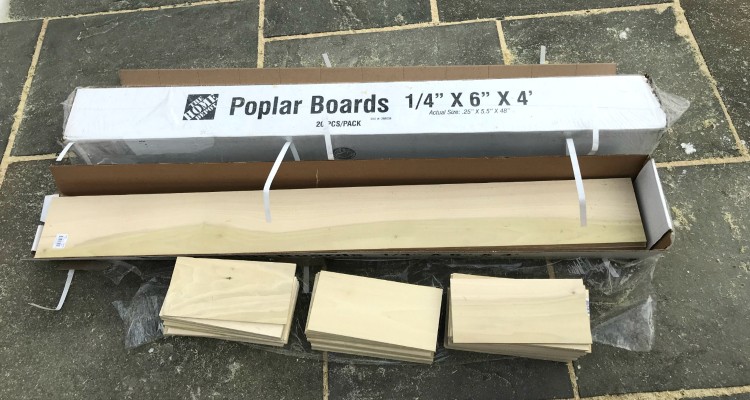
Cut the poplar board to fit your paper menu adding ½ in. to both the length and width. Sand well and stain.
Step 2: Predrill Holes
Predrill a small hole at center top where tack will be placed. Make a template to speed up the process and ensure the tack is in the same place for each menu.
Step 3: Cut the Tacks
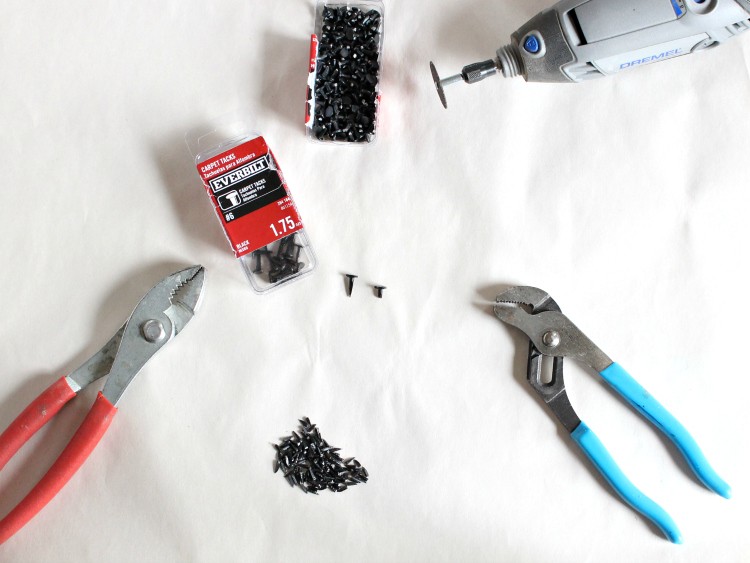
The carpet tacks are longer than ¼ in. so you need to cut them down in order to not poke out the backside of your wood board. Using one pliers to hold the tack, grab the pointy end using another plier and bend to break off the excess. Be certain the tacks are no longer than ¼ in. A Dremel with a grinding blade works well too.
Step 4: Insert Tacks
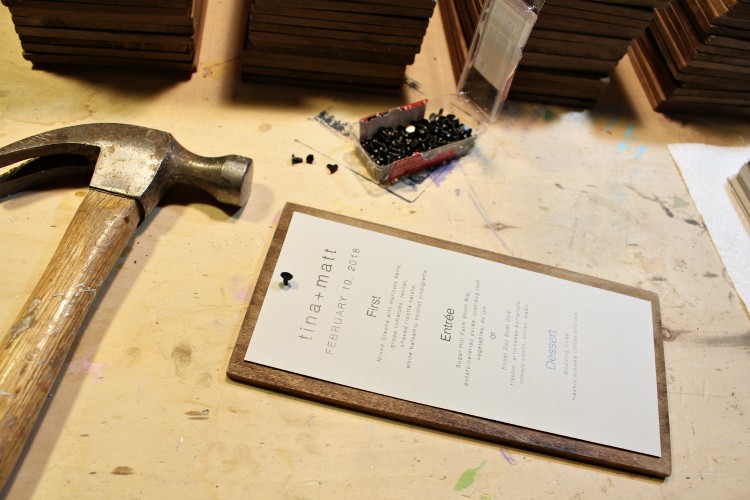
Position the printed paper menu on the wood board and hammer the tack into the predrilled hole.
Step 5: Secure Paper Menu
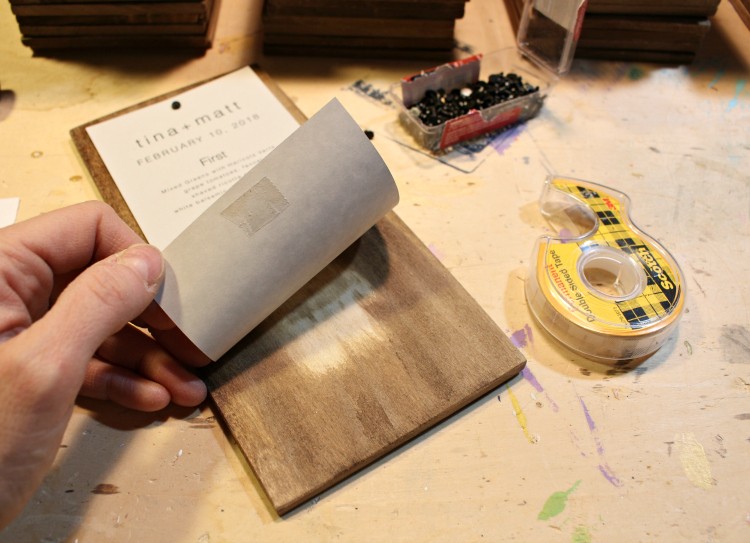
To ensure the paper doesn’t blow around, especially for an outdoor event, use a piece of double stick tape to keep the paper in place.

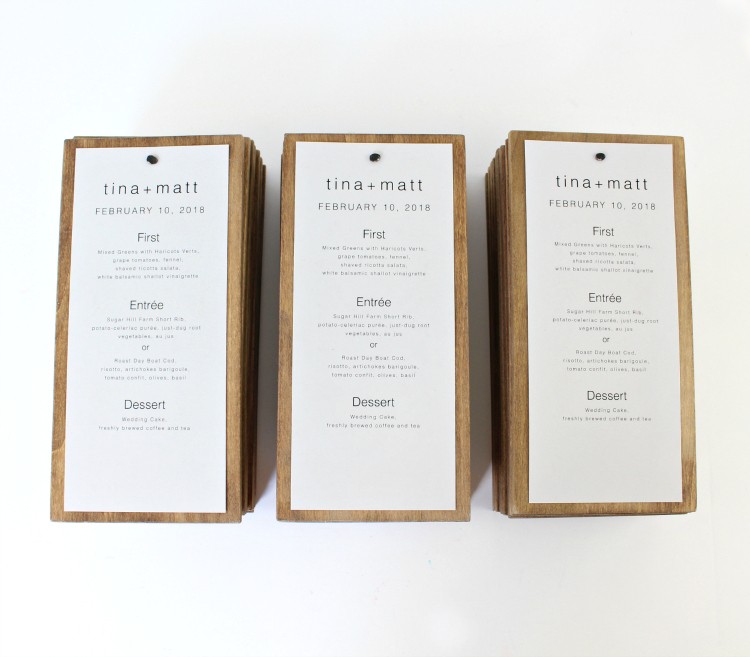
Repeat this process until you have menus for every guest. In regards to timing, the guest count is usually due to the caterer about one week in advance at which time the menus can be printed. Cut your wood boards well in advance using an estimated guest count and then once the menus are printed all you have to do is attach to the boards.
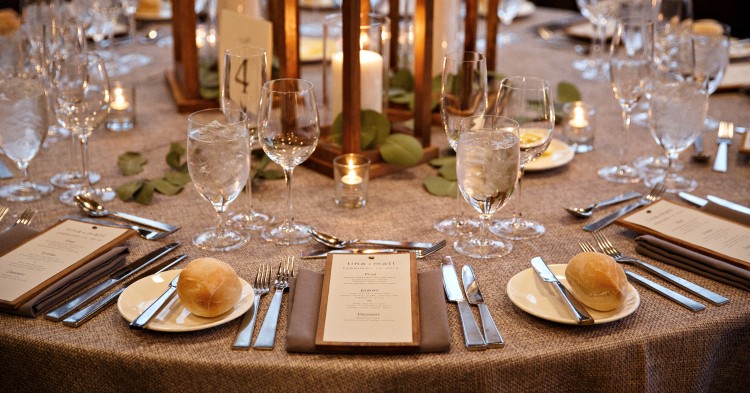
The wood menus tie in beautifully with the lantern centerpieces at this wedding. A nice detail that says the bride and groom are thinking of their guests and added a special touch to the menus.
*Photo credit: Matt Gillis
The post How to Make a Wood Backed Menu appeared first on The Home Depot Blog.
