
Jamison Rantz of Rogue Engineer takes on three bathroom renovations with ease thanks to Delta’s customizable UPstile wall system. Read below for his step-by-step guide on how to transform your bathrooms like a Pro.
3 Bathroom Renovations, 3 Different Styles
My name is Jamison and my wife, Jamie and I are in the process of finishing up the construction of our dream home build. Three bathrooms that we needed to get done on budget were the kids’ bathrooms and the guest bathroom. We wanted to create amazing spaces for each of our kids and our guests, but not spend an arm and a leg on them, or spend a crazy amount of time. In this post we will show you how we did just that with three different bathroom renovations with three totally different styles. If the construction of our dream house interests you, make sure to check out all of our web episodes here.
Modern Bathroom
This bathroom is for our seven-year-old son, who is an amazing kid and loves the outdoors. We wanted to create a space for him that was unique, modern and something that he could grow up with.
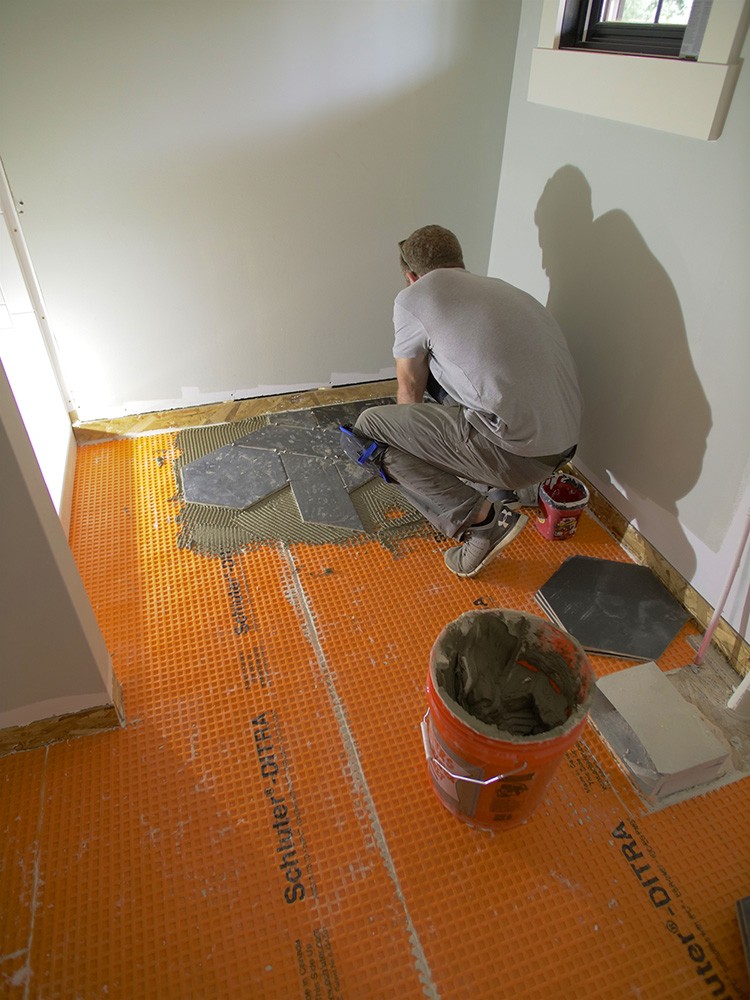
That process started with the floor, but before we could start laying the tile (since we were laying over subfloor), we needed to install an uncoupling membrane. This prevents the tile from cracking as the wood subfloor expands and contracts.

At the same time we installed the preformed shower base from Delta, which was quick and easy; just checking for level and securing to the studs with wood screws.
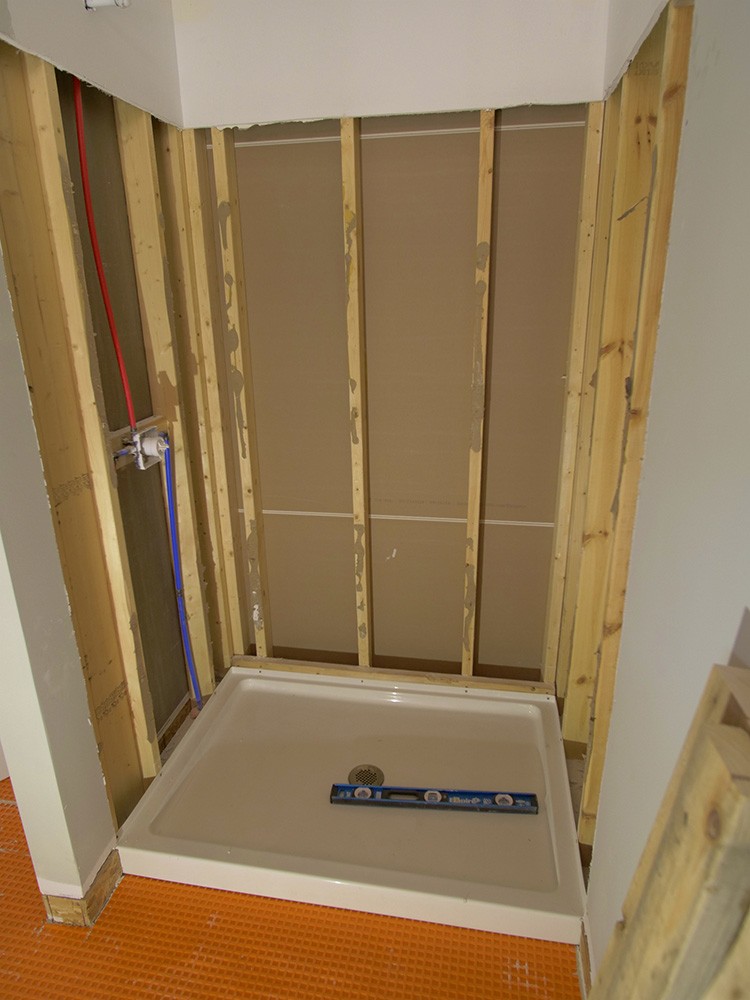
With the shower base in place, it was time to install the Delta UPstile Shower Surround. With a hand full of 1x3s screwed to the studs horizontally (per the instructions) the 3-piece wall system gets adhered into place with DAP 3.0, a high performance kitchen and bath sealant that is recommended for this acrylic wall system.

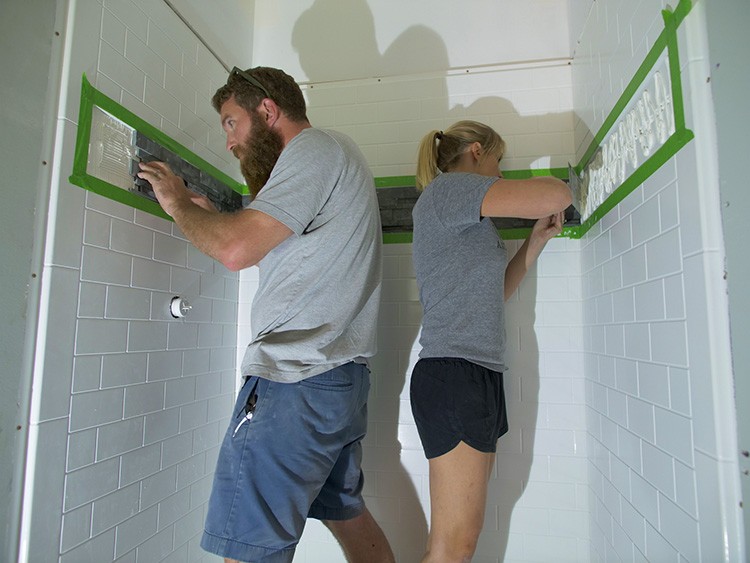
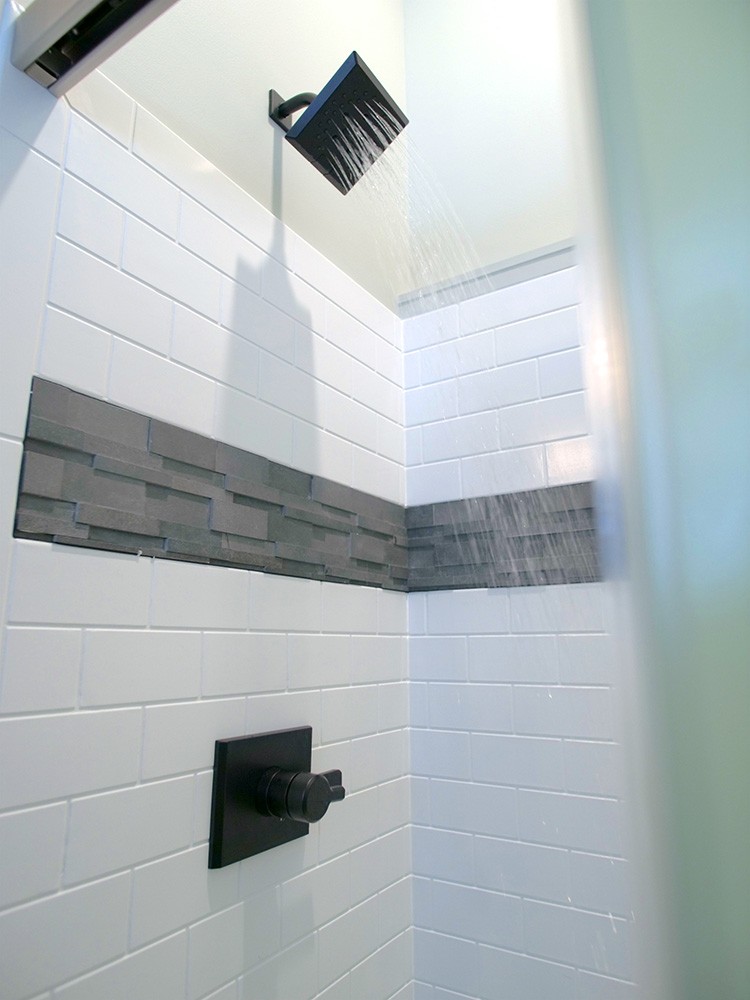
The cool thing about the UPstile wall system is, while it is an affordable panelized system, it has a channel to accept a decorative tile row. This is perfect for customizing the shower to your style and even tying it into the overall bathroom design. The tile that we went with for this channel is called Neptune 3D from MSI and it is this really cool honed basalt (volcanic rock) mosaic. Rather than setting this tile with a traditional thinset mortar, we needed to adhere it with DAP 3.0 to allow the tile to flex with the acrylic panels.

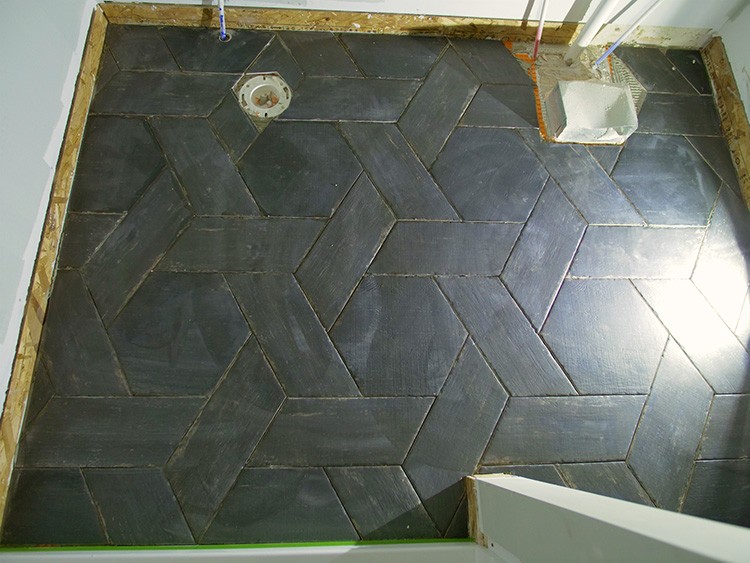
For the floor I wanted something really different and cool, so we went with the Retro Negre porcelain tile from Merola Tile. Using their naveta and hex tiles, we were able to create this amazing basket weave pattern.
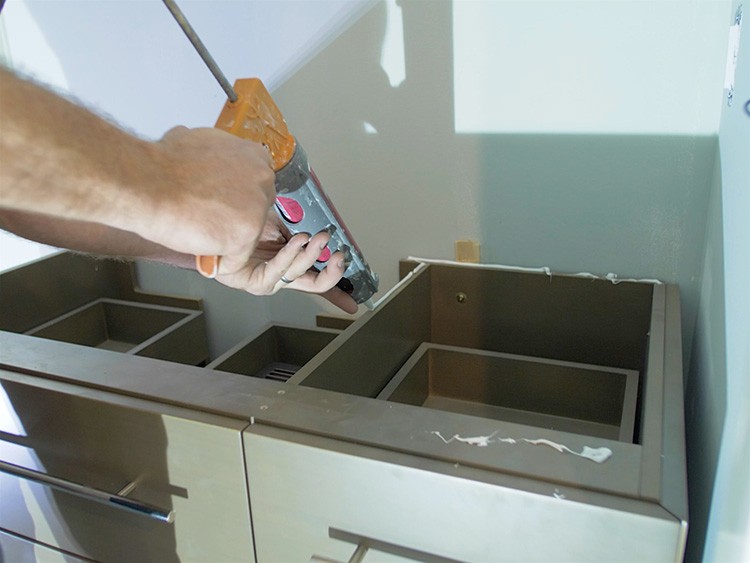
The vanity that we decided on for our little man is the Ginza 42in in Smoked Ash. It is a very well built vanity with slow close drawers and a modern vibe, plus installing the vanity was pretty easy. Since our plumbing came up from below, we did need to cut a hole in the bottom to allow it to pass through, and after that, it was just leveling the vanity, lagging it into the studs and adhering the top and sink in place.
After installing the plumbing fixtures and decor we were able to step back and really appreciate all the hard work we put in. The modern-woodsy theme is exactly what we were looking for and our son loves it, too.
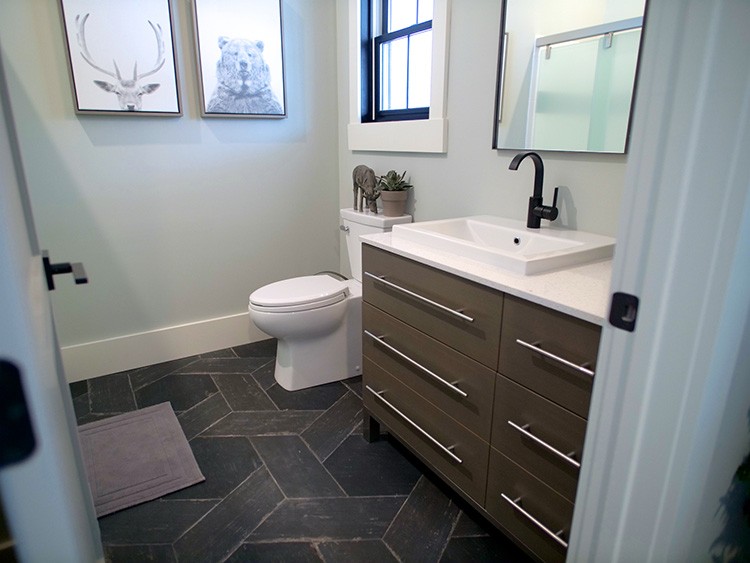
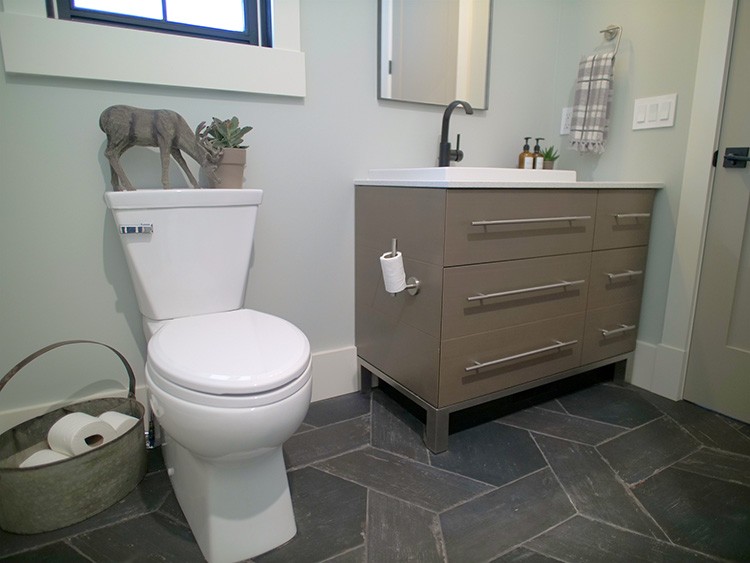
We love the clean lines of the Delta Riosa Toilet and it will make it quite a bit easier to clean. The sink faucet is the Delta Mandolin in matte black and really goes with the modern vibe we wanted.

For the shower door we picked out and installed a frosted Delta Shower Door using their online design tool, which was really helpful.

In the shower we had the Delta Pivotal Trim Kit installed in matte black as well and added the separate temperature and volume control knobs. Our son will never have to guess at the water temperature again!
Transitional Bathroom
For our 4-year-old daughter’s bathroom we wanted to go for a timeless look that was bright and feminine. We used a lot of marble in this bathroom coupled with lighter colors that we knew she would love. While she is only four years old, she is pretty picky when it comes to these things, so of course we ran it all by her first.
As we did with the other bathrooms, we started by laying the uncoupling membrane and removing the drywall for the shower system.
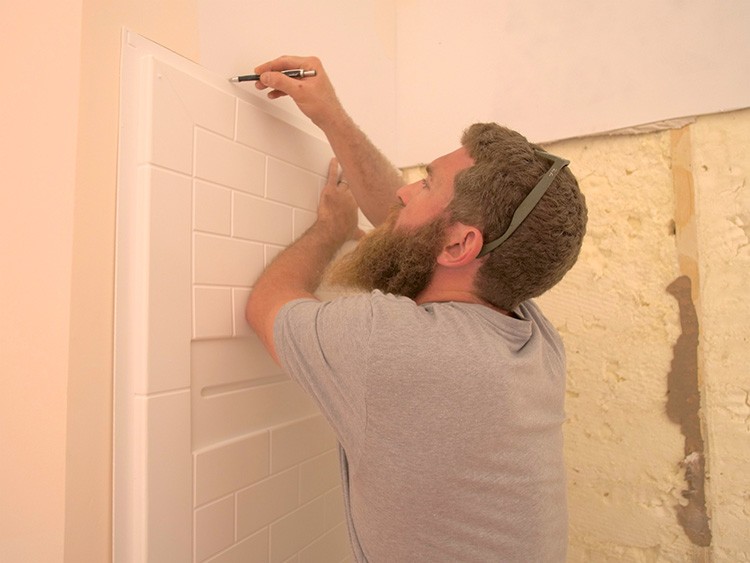
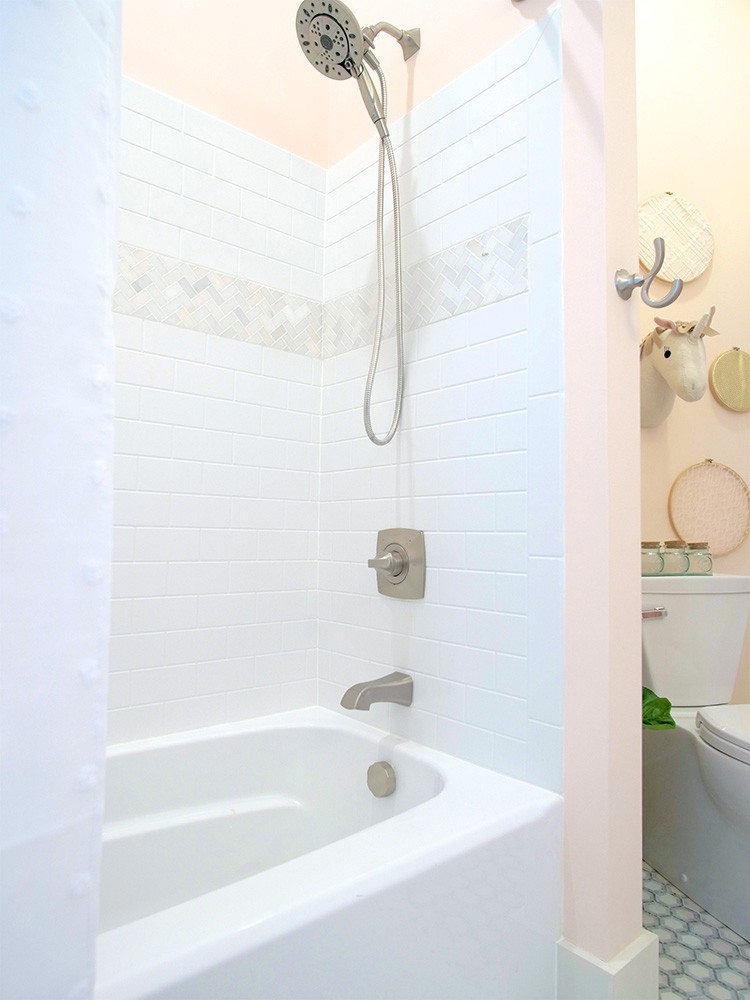
When the house was roughed in we had the Classic 400 Delta Alcove Tub installed, so that was already in place, but the Delta UPstile Tub Surround was not. Like the other bathroom, we installed the wall system by furring out the wall, adhering the panels to those 1x3s and screwing the flanges into the studs.
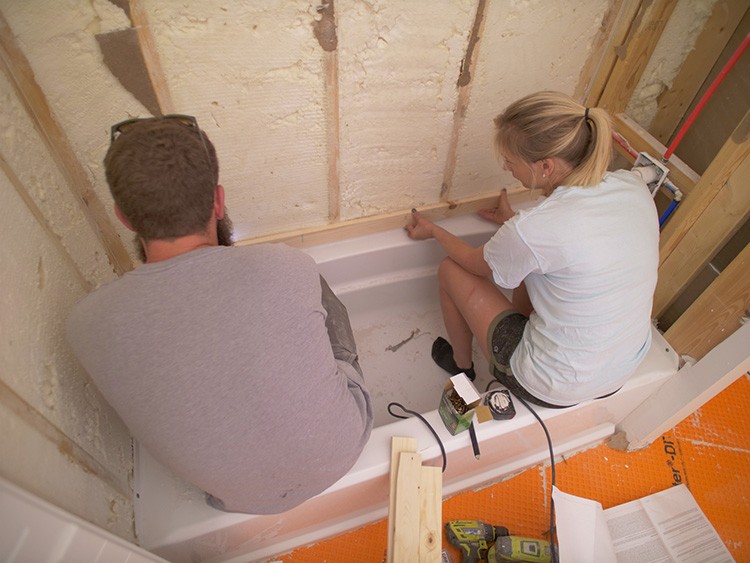

The decorative row in this tub/shower got the Greecian White Polished Marble from MSI in a mesh mounted herringbone mosaic. Being a mosaic, like the first bathroom, the tile gets adhered with DAP 3.0 which is spread with a v-notch trowel for even coverage.

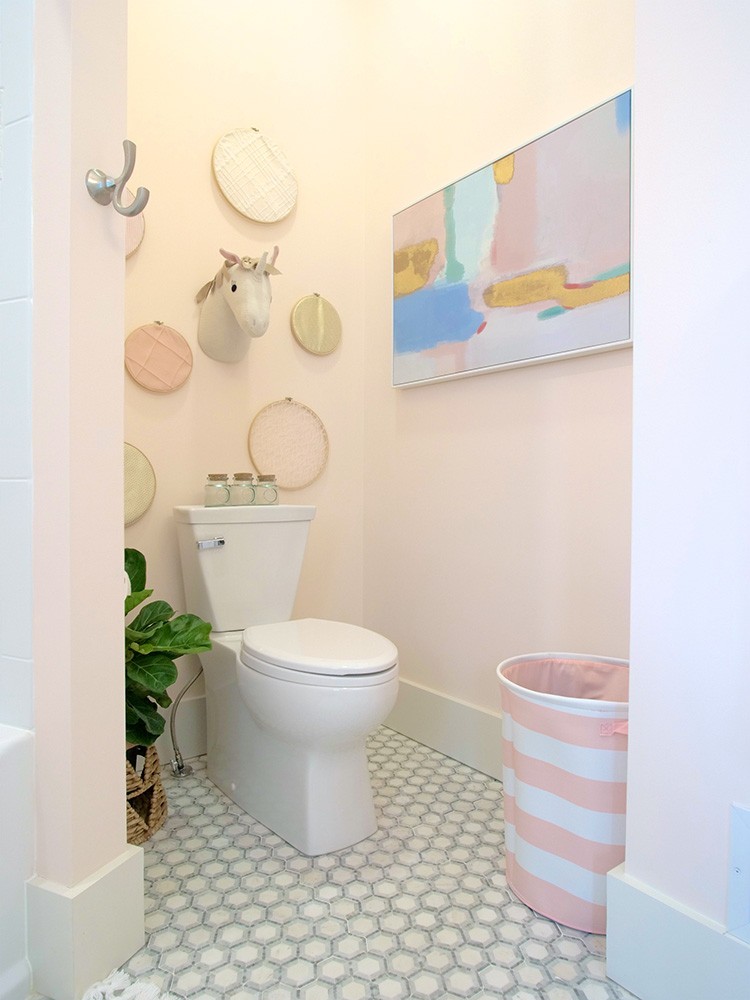
As for the flooring, we went with this amazing Telaio Marble Mosaic from MSI, which is great because the honed marble and the small tile patterns gives you that modern feel but the marble itself is a timeless look and overall goes great with the traditional style of the bathroom.


Now it was time to set the vanity. We ended up going with the Parkcrest 42in in Dove Grey from Home Decorators Collection. The white top and the grey base pull from floor colors and look amazing. To set the vanity we started by marking and drilling the holes for the plumbing. Then we simply set it in place, leveled it and screwed it to the studs in the wall.
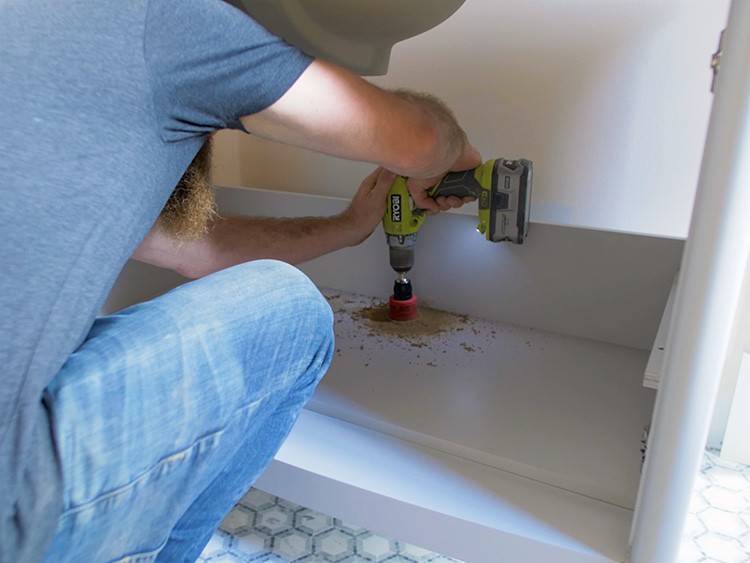
The nice thing about building a house is that we had contractors on site to help finish up the plumbing and drywall. With the vanities in all the bathrooms set, the plumber came in and hooked up all the faucets and set all the toilets.

Our drywaller then came back to do some touch ups and patch over the flanges of the shower walls. He did so with drywall mud and tape to hold it all together.

After finalizing a few other things, the bathroom was finally done and ready for our little girl to enjoy.
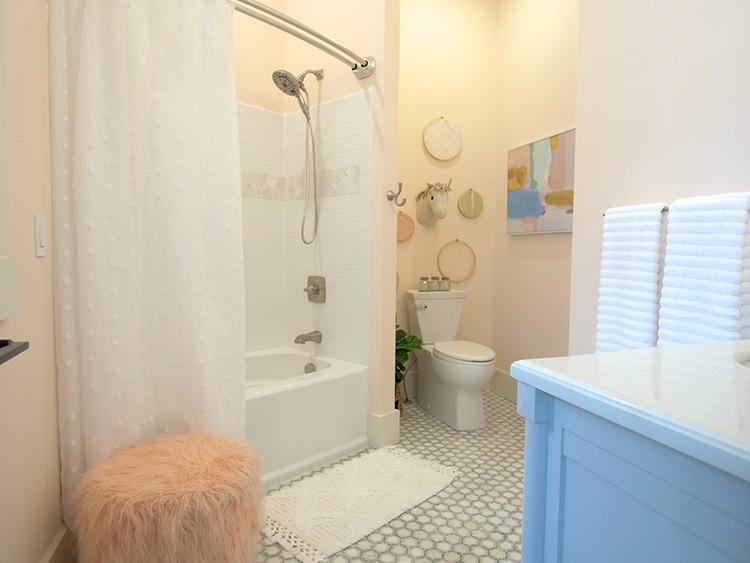
The Delta Vesna Tub & Shower Faucets with In2ition were installed in the tub/shower. The In2ition shower head is great since our little girl still takes baths. A shower head with a built-in sprayer will be much needed.

We used the same Delta Riosa Toilet that we did in our son’s room because of the modern look and the easy-to-clean skirting.
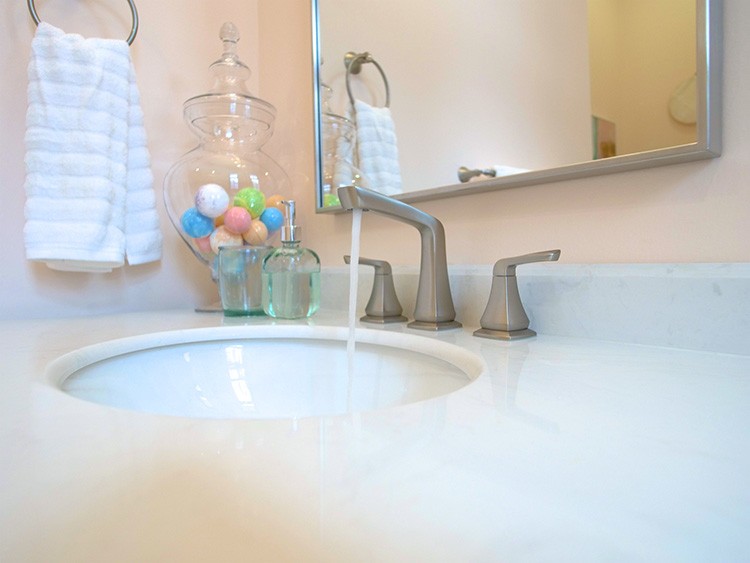
The sink faucet in this bathroom is the Delta Vesna Widespread Faucet in brushed nickel, which is perfect for the transitional look we were trying to achieve.

Mid-Century Modern Bathroom
The guest bathroom is located in the basement and is a Jack & Jill bath layout between two guest bedrooms. We wanted to make this bathroom much like a trendy hotel would look, which is why we went with a mid-century modern, swanky theme.
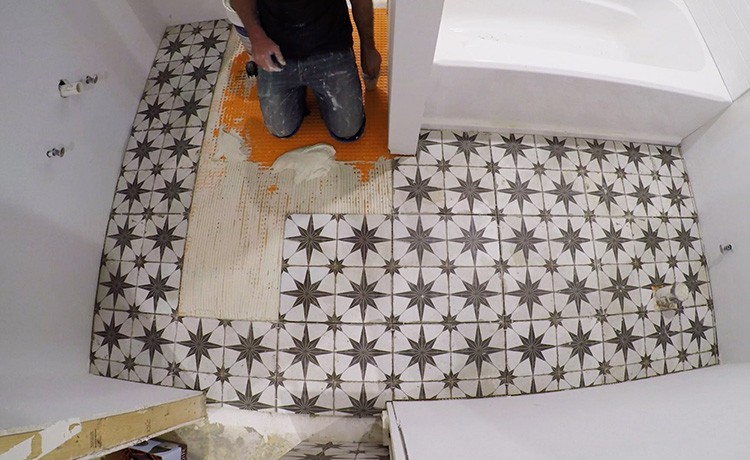
Since our plumber already installed the Delta tub, we started by laying down the uncoupling membrane. With this bathroom being on a concrete slab this isn’t as important because concrete doesn’t move, unless it cracks. The chances of this happening are small but it is worth the insurance of laying it anyway.
Then it was on to installing the Delta UPstile tub surround. This one went up exactly like the one in our daughter’s bathroom, so we were basically pros at this point and had it up in no time.

With the tub surround in place we could add the decorative tile row. We decided to make this blend in a little more and go with a white subway to match the surround however, we changed it up and laid it vertically. This was easy to do because all we had to do was cut them all down to length, which was incredibly easy to do with a tile cutter, and squeeze a bead of DAP 3.0 onto the back and set in place with paper shims and tile spacers.


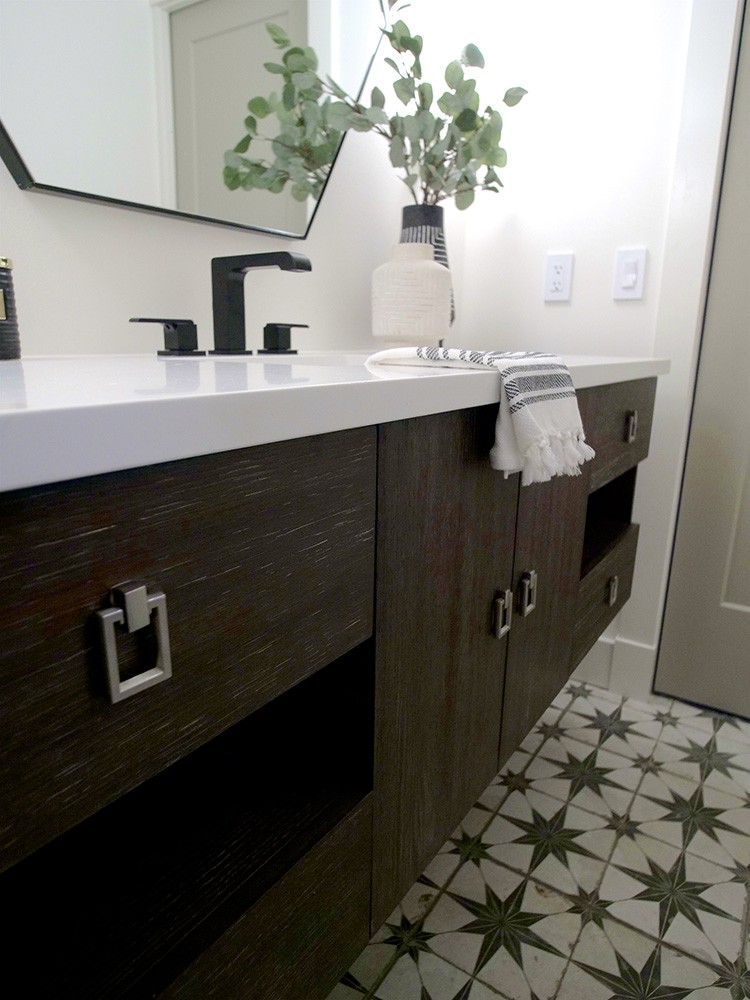
When it came to the floor we wanted to have something vintage looking but trendy, so we went with the Kings Star Nero Encaustic ceramic tile from Merola Tile and love the way it turned out.
The vanity that we installed is the 60in wide Sonoma vanity from James Martin Signature Vanities. It is an oak floating vanity with a white quartz top and is perfect for this space. To get it installed, we first cut out the back to accept the plumbing.

Then I cut some scrap wood as temporary supports for installation and lagged the vanity into the studs. Since this was a huge floating vanity, I enlisted the help of my father-in-law.

After installing the vanity top and sink, it was on to the Delta Shower Door. This time we chose a clear door since this bathroom has no windows. Being that I had done this already in our son’s room, it went up pretty fast. My favorite thing about this door is the slow close mechanisms in the track, so the doors will never slam against the wall.
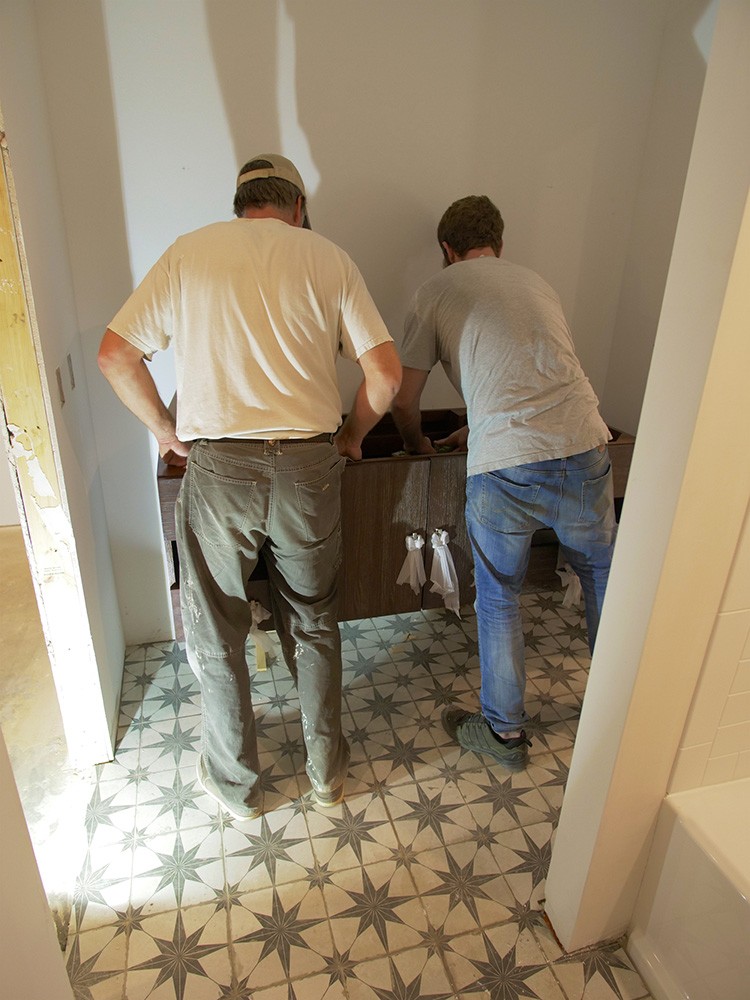
I must say, I think this bathroom just might be my favorite. The hex mirror and cool brass sconces over that floating vanity really give it that swanky hotel look we were trying to achieve.
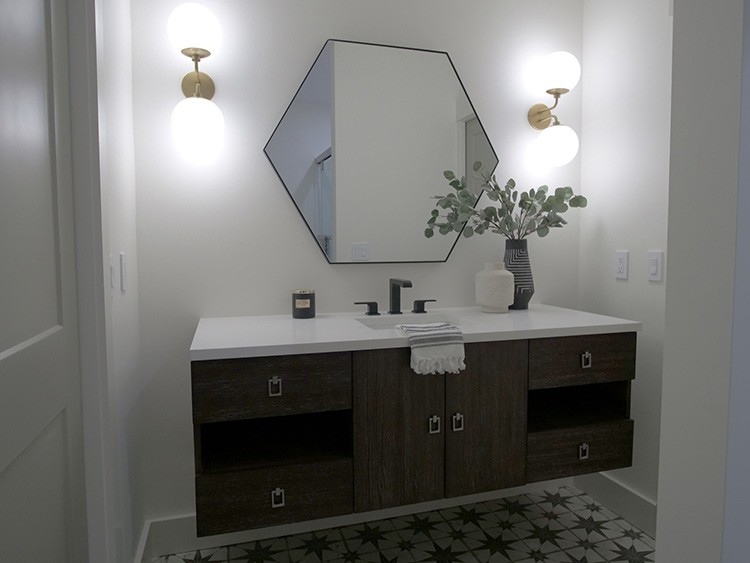
How sweet is this Ara widespread faucet from Delta? The simple design is beautiful and modern, but honestly could fit in with just about any style.

With the toilet in and the Delta Ara Tub/Shower Trim Kit installed, this bathroom is complete and ready for our guests.
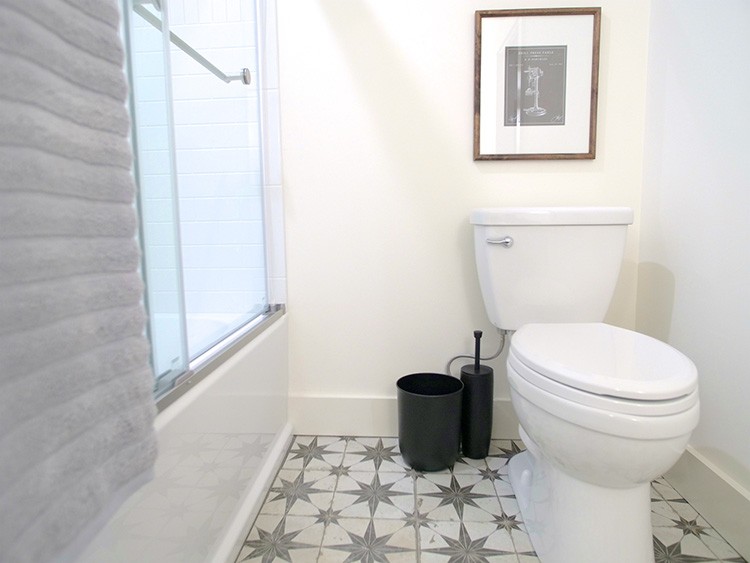

All of these bathroom renovations turned out great and the Delta UPstile wall systems really sped up the process. They also saved us time, money and what would have surely caused many headaches.
The post 3 Bathroom Renovations, 3 Different Styles appeared first on The Home Depot Blog.

