Painting a front door the right way often involves as much prep work as actual painting. It’s a pretty easy job, though, as Amy Osaba of Amy Osaba Design shows us.
How to Prep and Paint a Front Door
Materials
- Painter’s Tape
- Razor Blades
- Sand Paper
- Exterior Paint (I used BEHR Marquee paint in “Pink Elephant“)
- Paint Brush Set
- 3-in. Angle Brush
- Drop Cloth
- Razor Blades
Step 1: Tape Windows and Hardware

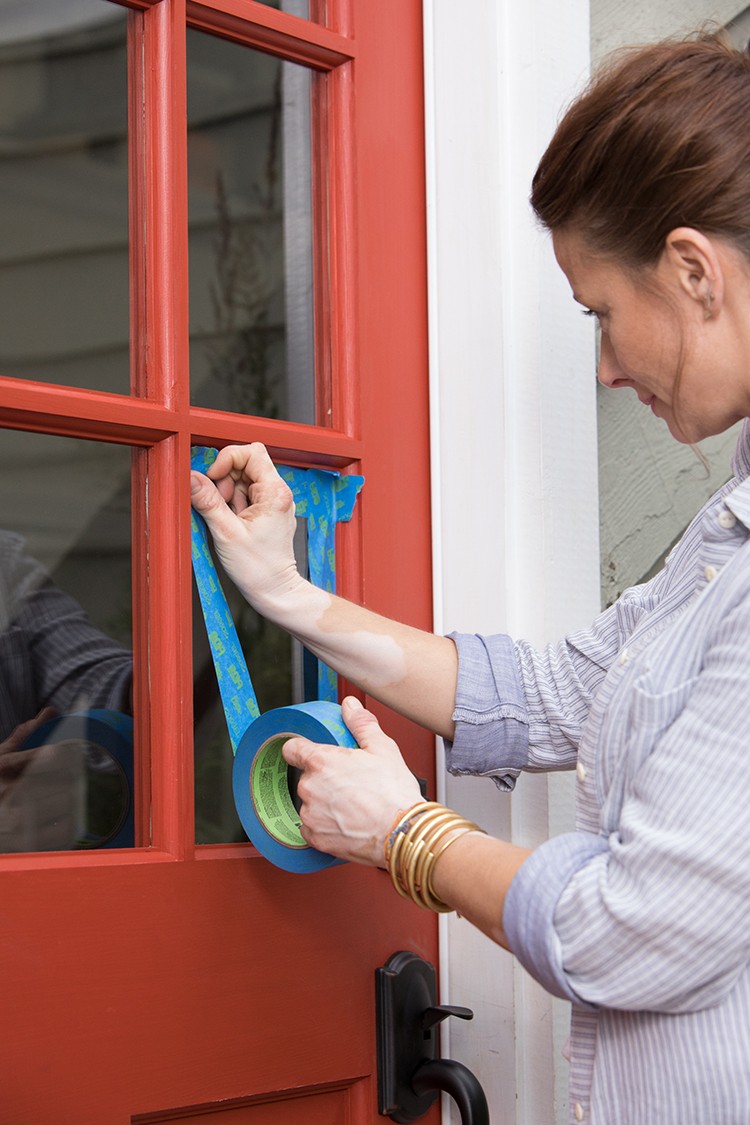
Start prepping your front door by taping up glass windows, door hardware, trim and anything else you don’t want painted. Go ahead and tape a little over the edges.
Then use a razor blade to trim off the edges to be straight.
Take your time with this step, and make sure you get the taping just right. The effort you spend doing this will result in an easier job of applying paint, and you’ll get much better results.
Step 2: Sand the Door

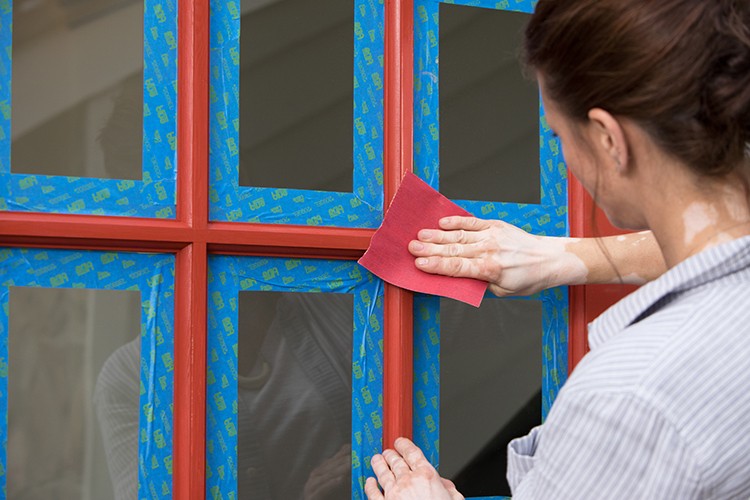
Once you have the taping done, smooth out imperfections in the surface of the door using sand paper.
This is just a light sanding, though, just to prep the surface for even painting.
Step 3: Apply the Paint

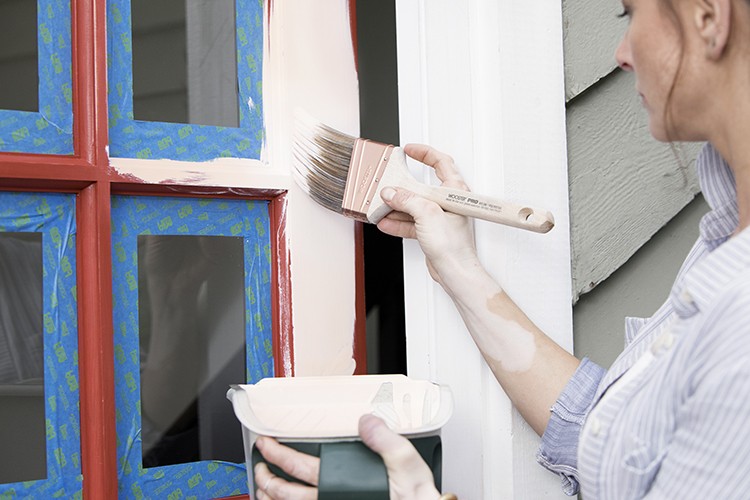
Now it’s time to paint.
Put a drop cloth down to keep paint spills off your front porch of entryway.
Use different sizes of brushes depending on the size of the area you’re painting. Obviously, the wider brush would be for the wider parts of the door, and the smaller brushes are for the smaller parts. An angled brush is very helpful in getting paint into the corners.
I used BEHR Marquee Exterior paint for durability and color longevity.
You can find everything you need to paint your front door, or take on any painting project in The Home Depot’s paint section.
Watch this video about How to Make Exterior Paint Updates for more on painting a front door. Follow our All About Paint board on Pinterest for more painting ideas and projects. And check out more curb appeal ideas here on The Home Depot Blog.
The post A Simple Guide to Prepping and Painting a Front Door appeared first on The Home Depot Blog.


