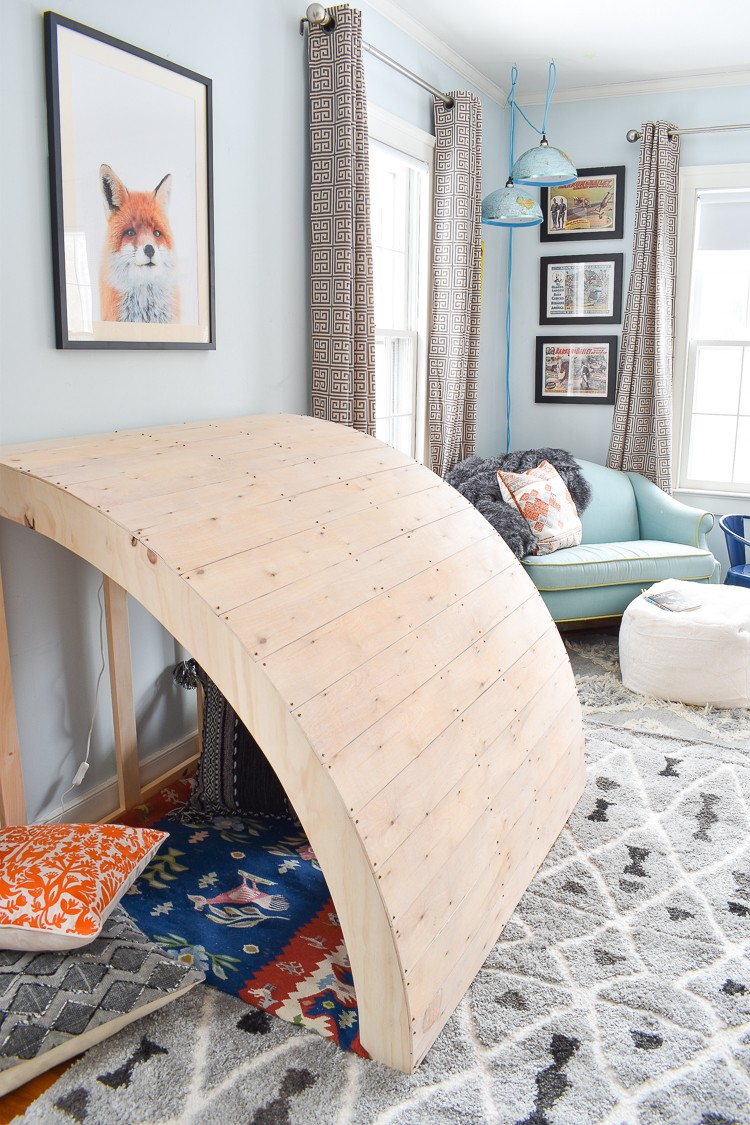
This cozy bedroom kid’sreading nook was created by Charlotte Smith of At Charlotte’s House.
Using supplies from The Home Depot, Charlotte built the perfect place for her kids to play games or read. Check out Charlotte’s full tutorial on creating the best reading nook for kids ever!
Creating a Cozy Reading Nook for Kids
The one thing that my kids like more than anything is a little nook in which they can curl up and play games or read. In the past this meant draping blankets over chairs and tables, but now they have their own permanent kid’s reading nook that’s handmade using supplies from The Home Depot!
Materials
- (5) pine 1 x 3 boards, 8 ft.
- (2) underlayment, 48 in. x 48 in.
- (1) ¾ in. plywood, 4 ft. x 8 ft.
- 1 ¼ #8 Trim Head Screws (2 100-nail boxes)
- Kreg pocket screw system
- Jigsaw
- Drill
- Sander 43-in. piece of scrap wood (for compass)
Cut List
1 x 3 pine
- (4) 42-in.
- (4) 41 ¼-in.
- (6) 12-in.
- (3) 12 ½-in.
¾-in. plywood
- (4) 4 in. arcs at 42-in. diameter
48 x 48 Birch Underlayment
- (18) 4-inch strips
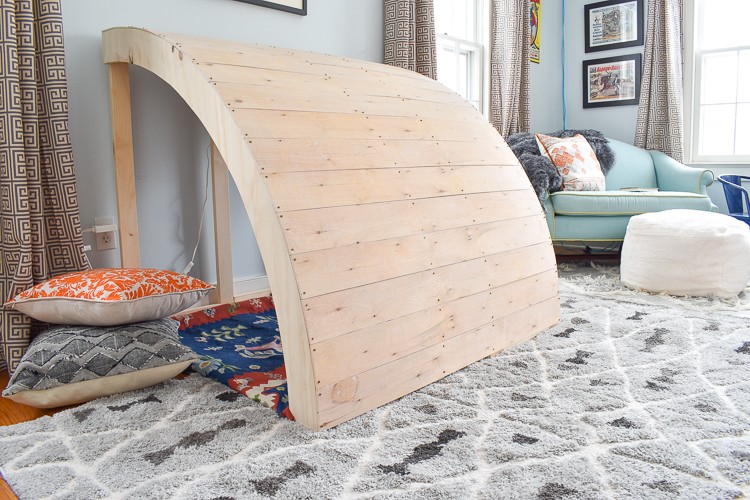
Our kid’s reading nook is 42 in. high, 42 in. deep and 48 in. wide. I used basic pine 1 x 3 boards, 1 sheet of ¾-in. plywood and 2 sheets of 48 x 48 underlayment.
Step 1: Cut the plywood “ribs”
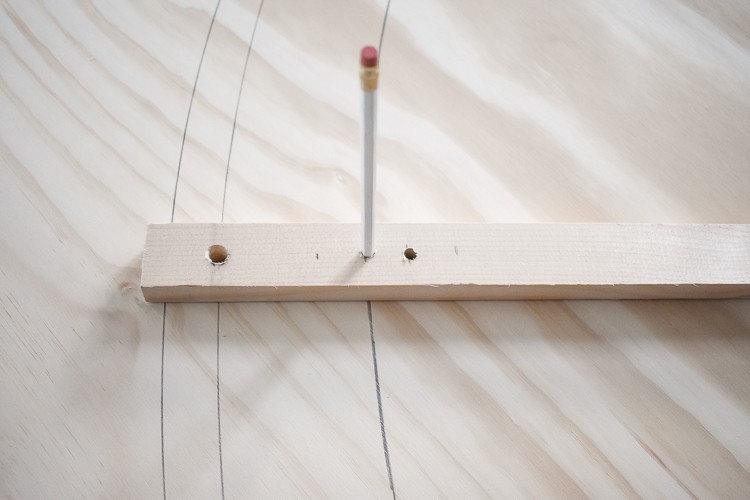
In order to draw a perfect quarter circle, I made a quick compass using a scrap piece of 1 x 2. I drilled a small hole for a nail at one end and two larger holes for a pencil 38 in. down the board and 42 in. down the board. I lightly nailed the board in place, and then drew my arc with the pencil.
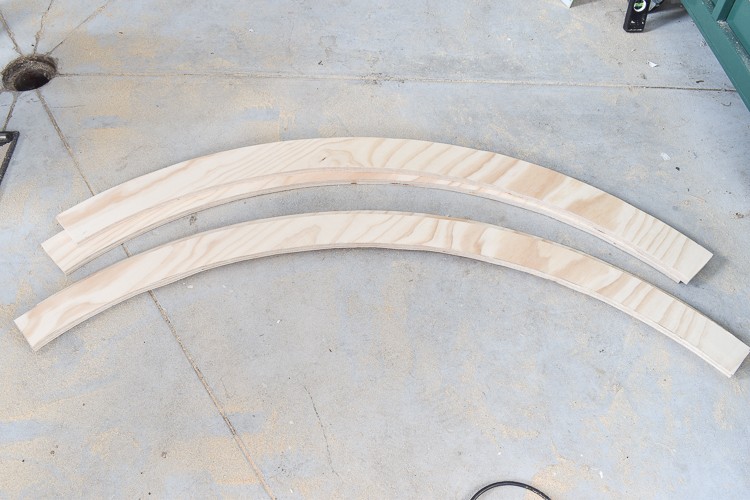
Using a jigsaw, I slowly cut out four arcs from my sheet of wood.
Step 2: Create right angle supports for each arc
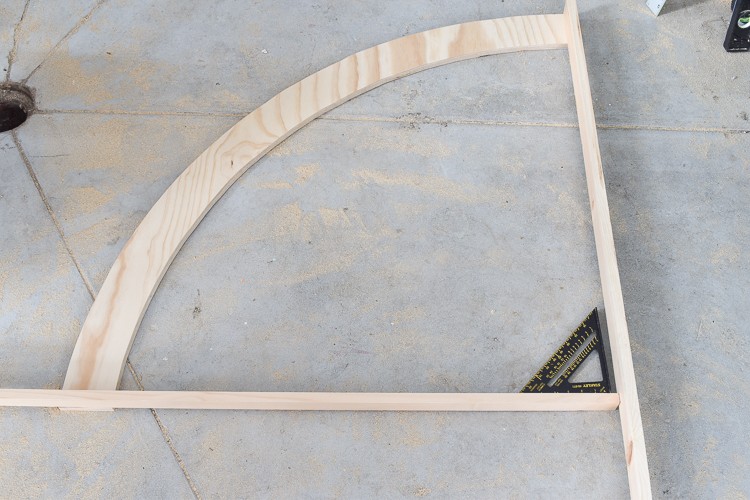
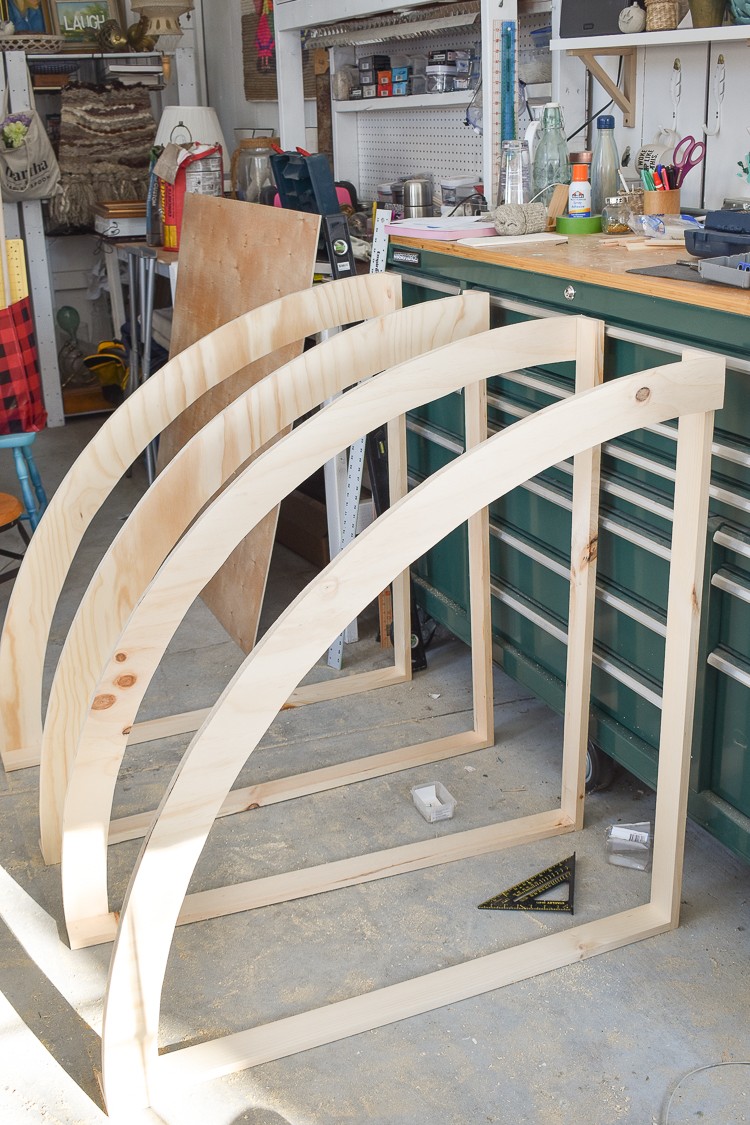
Use pocket holes to screw one 41 ¼-in. board into the 42-in. board at a 90 degree angle. Use pocket holes to screw each end of this corner angle into the quarter circle plywood arc. Make sure that pocket holes are on the underside and backside of the corner angle.
Step 3: Cut underlayment into strips
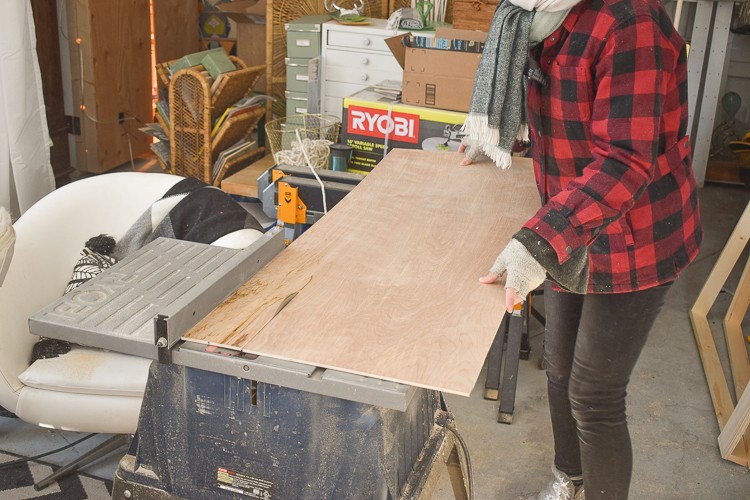
Use a table saw or circular saw with a straight edge guide to cut the underlayment into 18 4-in. strips.
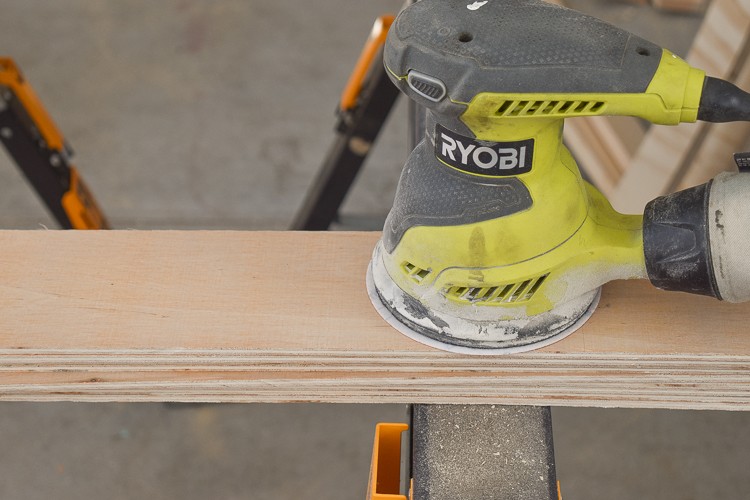
Lightly sand the edges of all your wood.
Step 4: Cut support braces

Cut 12-in. and 12 ½-in. support braces from 1 x 3s. Drill pocket holes into either end of each support piece.
Step 5: Assemble the nook
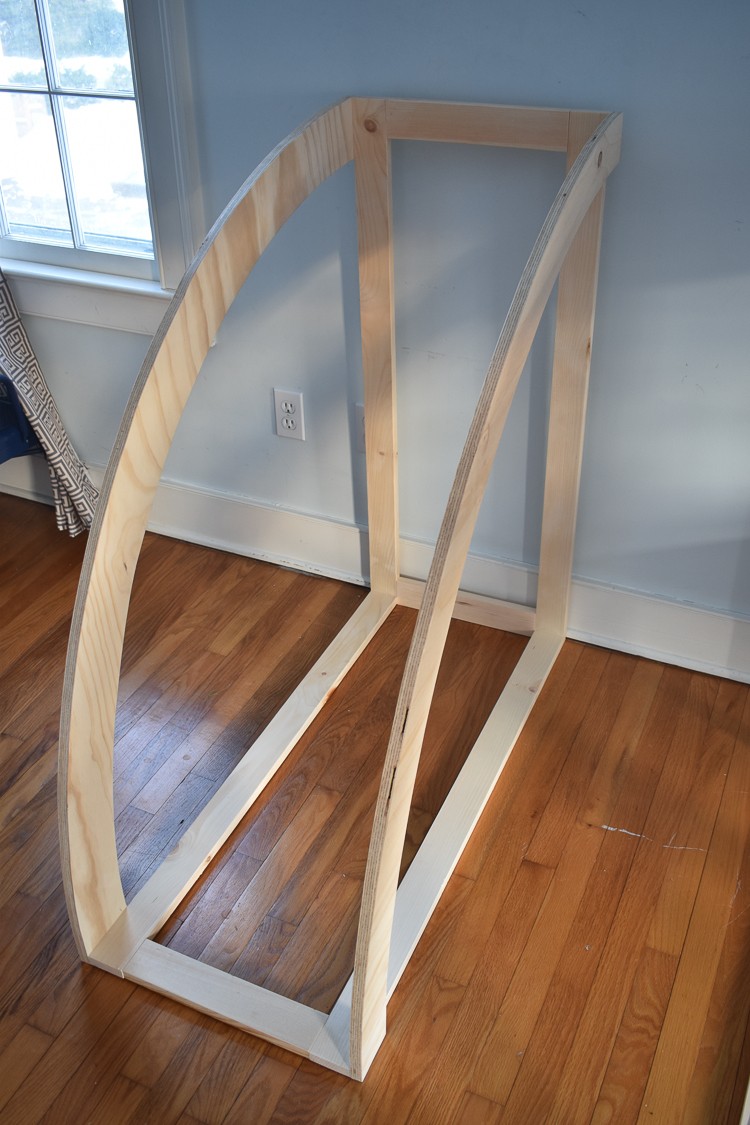
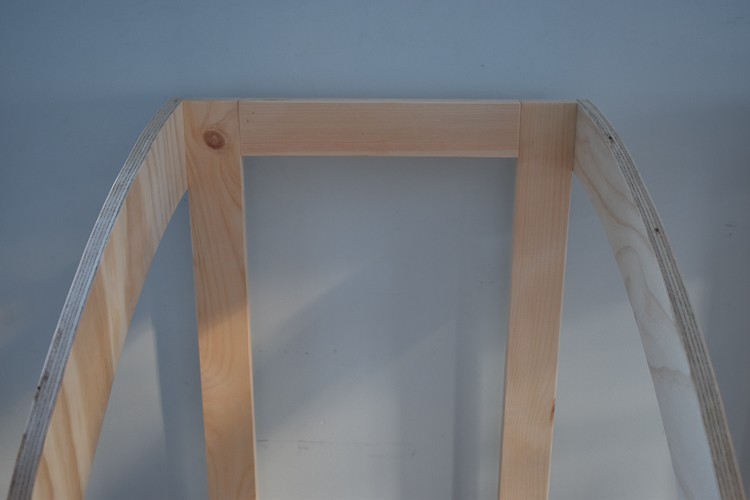
This nook is big enough that it needs to be assembled on site. I started by connecting two of the arcs with the 12-in. 1 x 3s. Repeat with the remaining two arcs.
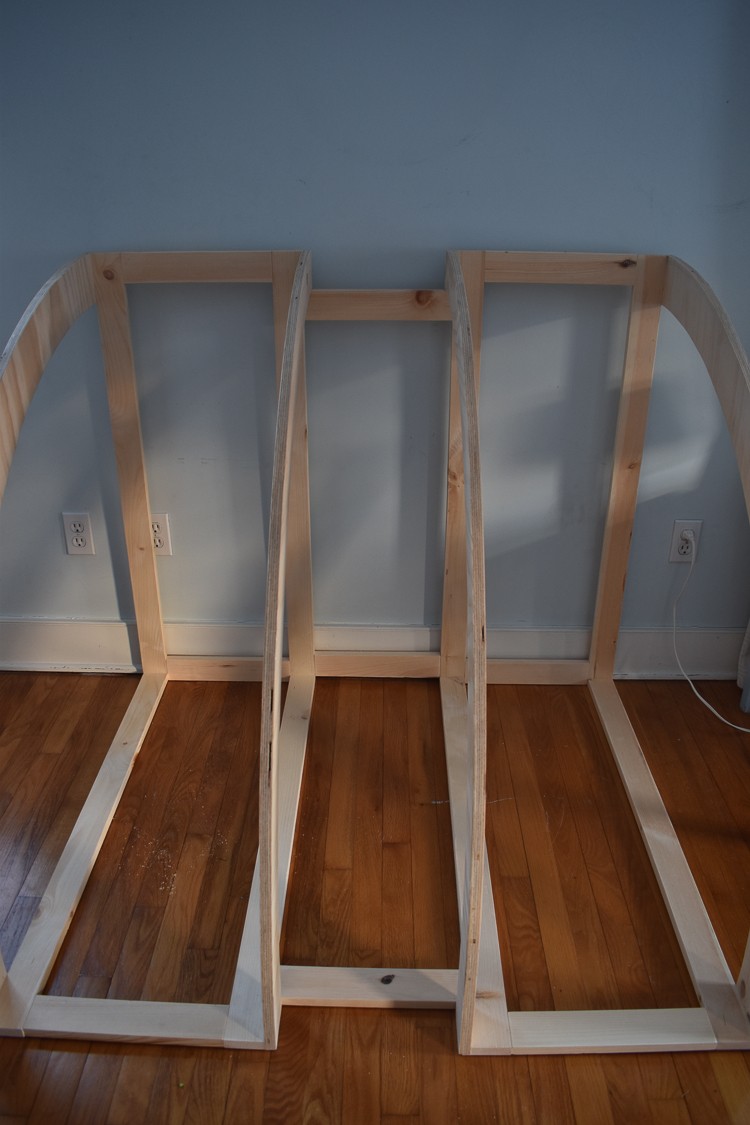
With everything lined up, I connected the two arc pieces with the three 12 ½-in. boards. I had to stagger these middle pieces slightly in order to screw into the pine boards and not the plywood arcs.
Step 6: Add the underlayment roof
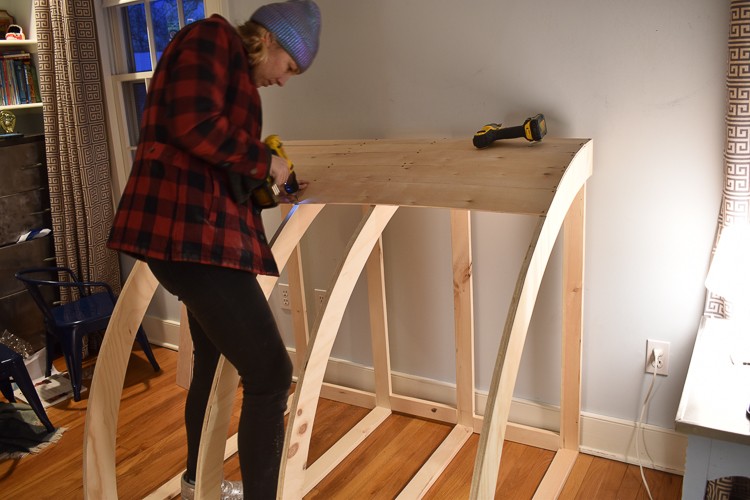
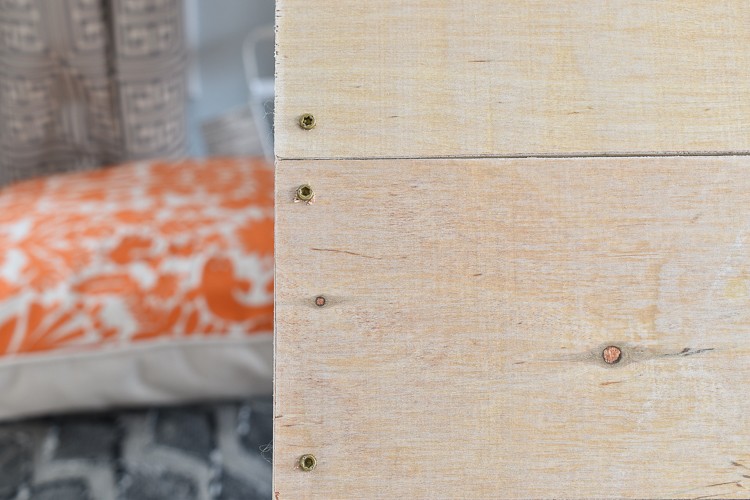
Starting at the top corner, I lined up the first strip of underlayment with the edge. I used a 3/8-in. bit to predrill two holes along each plywood rib. I finished by screwing the board in place with the 1 ¼-in. trim head screws (these typically come with the necessary star bit). Repeat, working your way down the arc until the entire nook is covered with underlayment strips.
Step 7: Lights
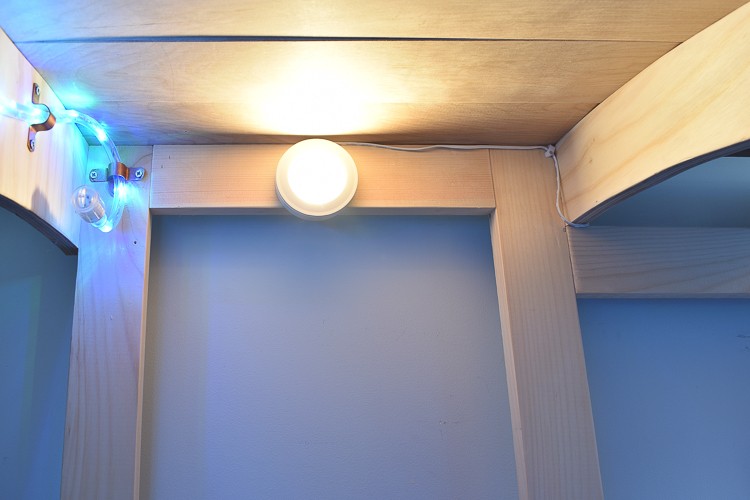
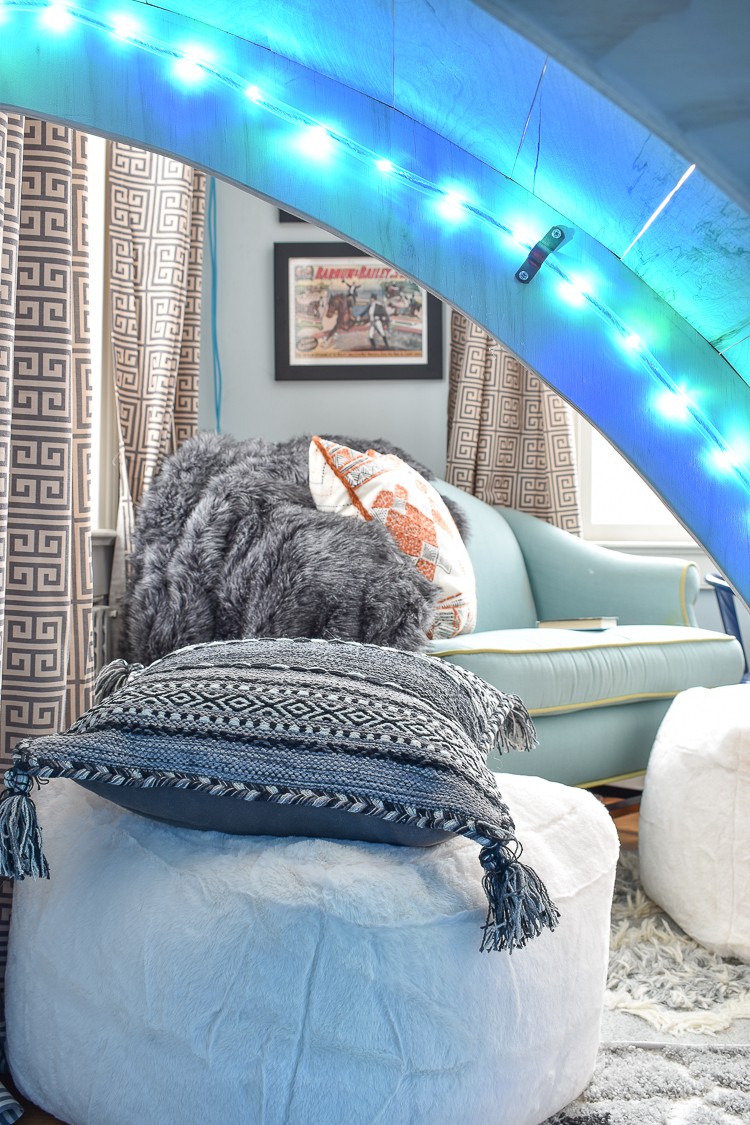
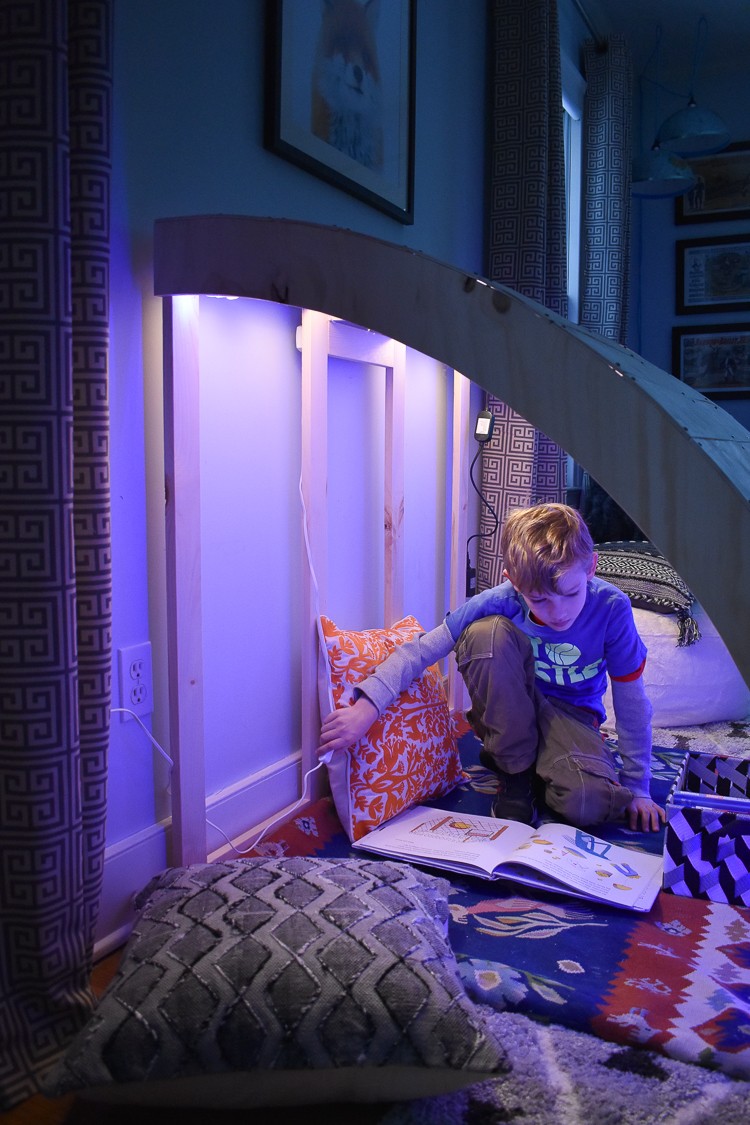
I added two LED puck lights to the inside of the nook as well as a fun color-changing rope light. Because both are LED, I don’t worry about the lights heating up and, needless to say, the kids love the effect of the changing rainbow lights! I used copper tubing clips to hold the rope light in place.
Final Reveal
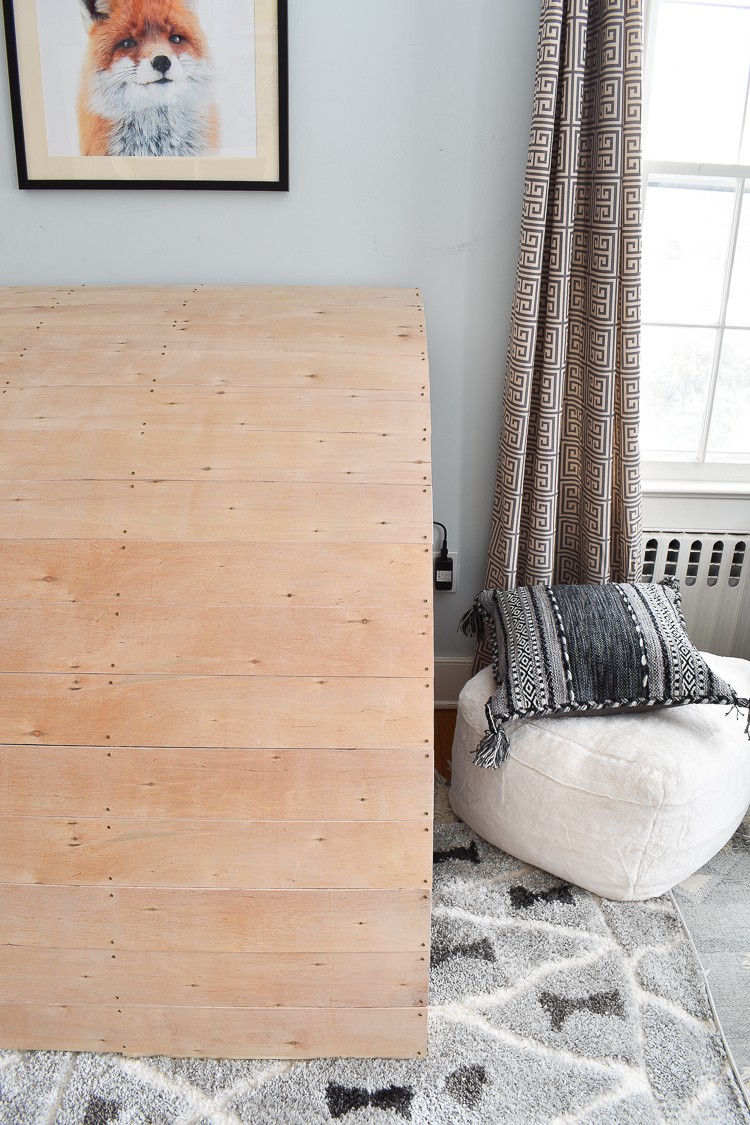
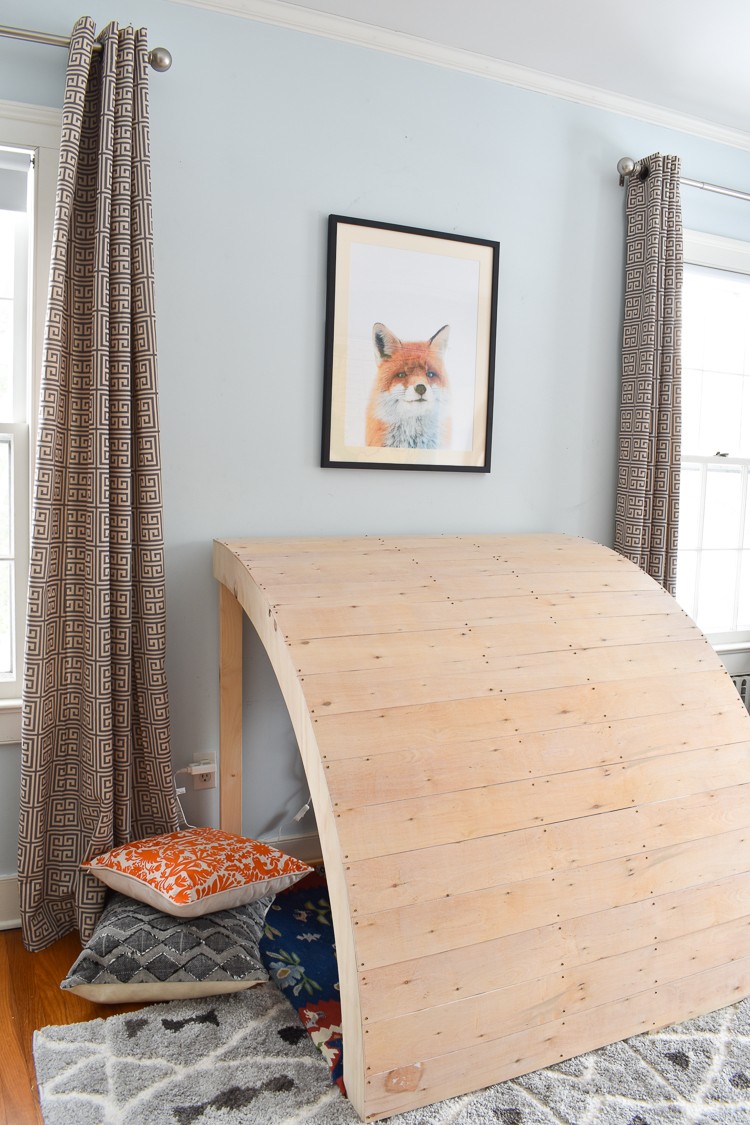
I chose underlayment because it had such a lovely wood grain and I wanted to leave it unfinished, but there’s no reason that the surface of this nook couldn’t be painted or stained as desired. The fox print hanging above it has the perfect colors to coordinate with both the wooden nook and the rest of the décor!
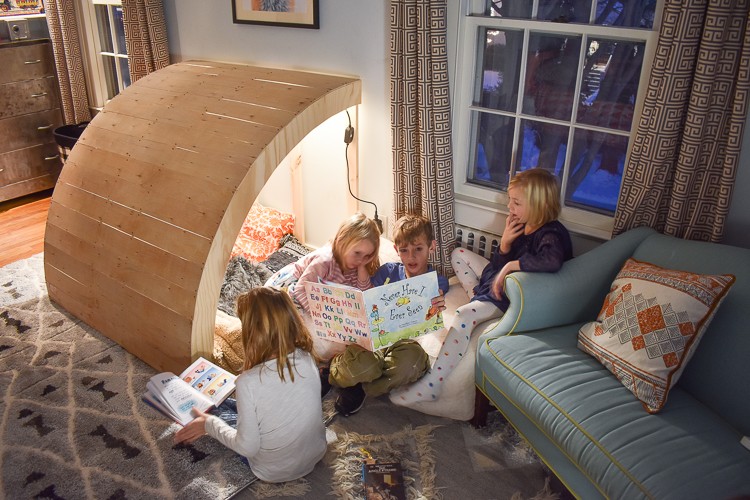
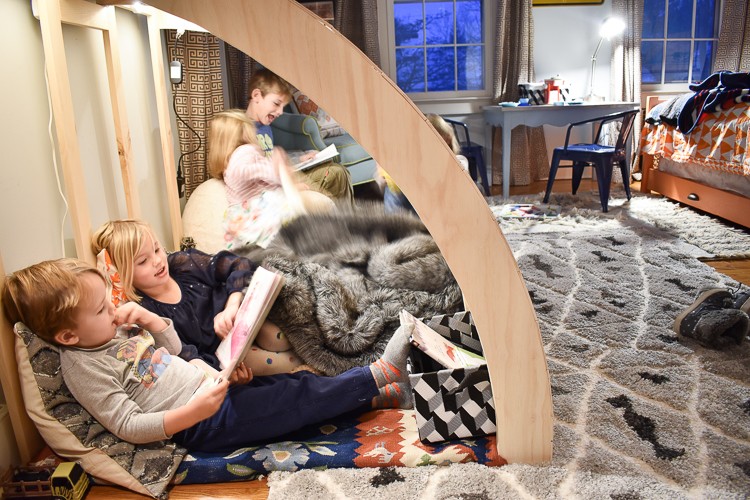
My kids all love to curl up in this nook and it’s been the first place they head each afternoon after school. They can easily sit inside the nook leaning up against the wall with feet outstretched. I layered shaggy rugs so the inside is soft and comfortable for them.
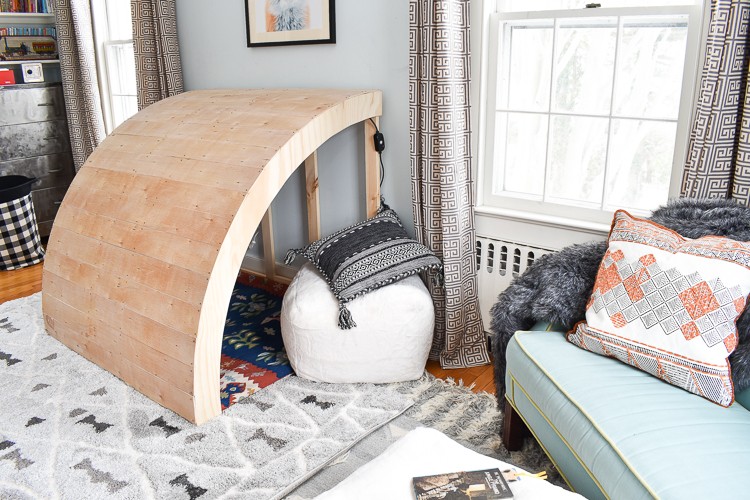
The addition of those neutral patterned curtains also adds to the cozy inviting feeling of the space. Lots of texture and pattern to help the sleek wooden form stand out!

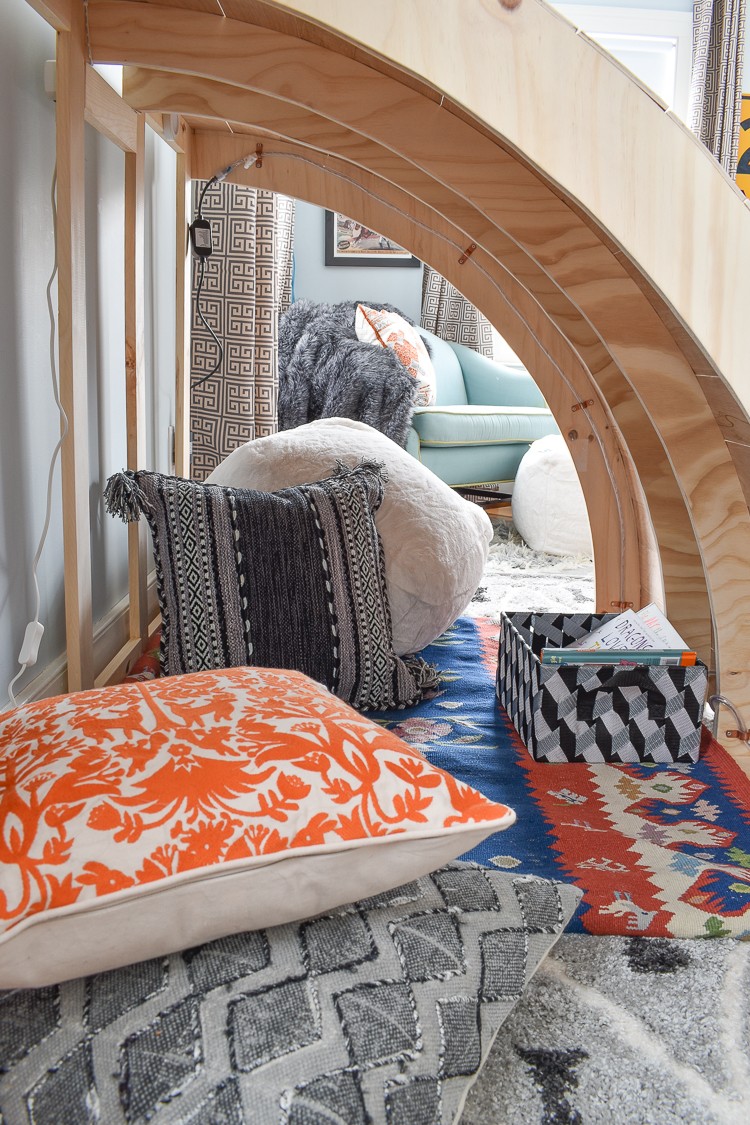
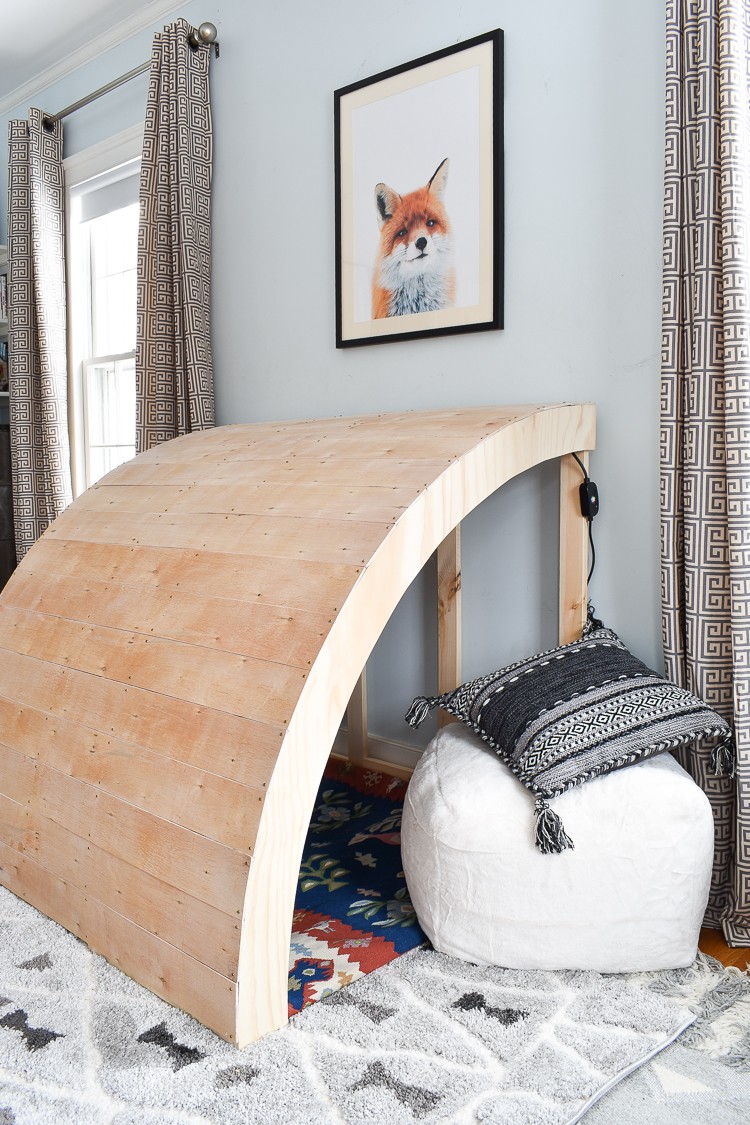
Filled with throw pillows (also here, here and here), cozy blankets and their favorite books in a graphic new book bin, this little hideaway is perfect for the whole gang. I added a pair of poufs for some extra perches so everyone can get comfortable.
The post Creating a Cozy Kid’s Reading Nook appeared first on The Home Depot Blog.
