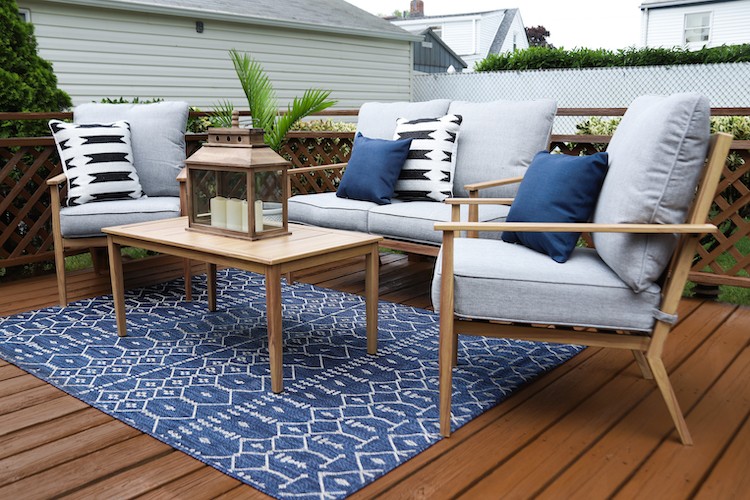
Summertime is the perfect time to give your deck some love! I recently decided to refresh my grandparents’ weathered deck in their backyard with Olympic Exterior Stain to give them a cute and practical outdoor space to hang out on while stuck at home. This project took me a few days to complete (luckily, the weather held out) and made a huge impact in their backyard.
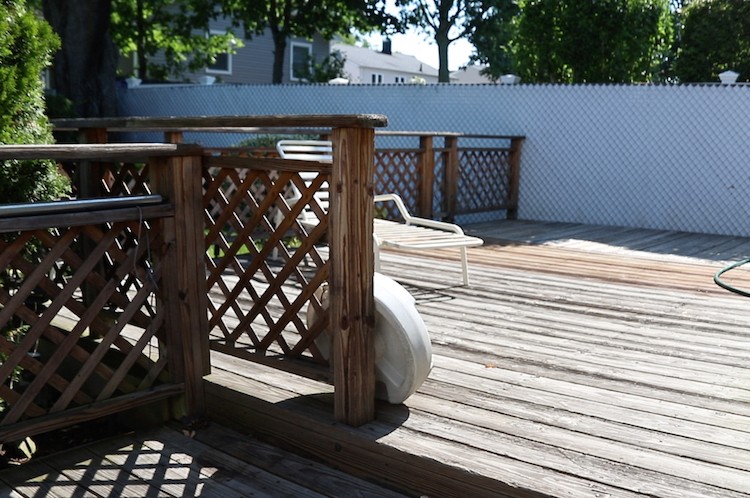
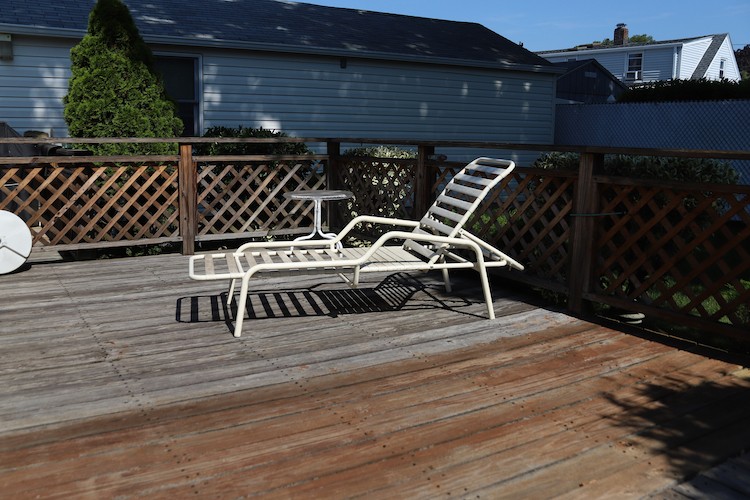
Here’s the before:
Here’s the after:
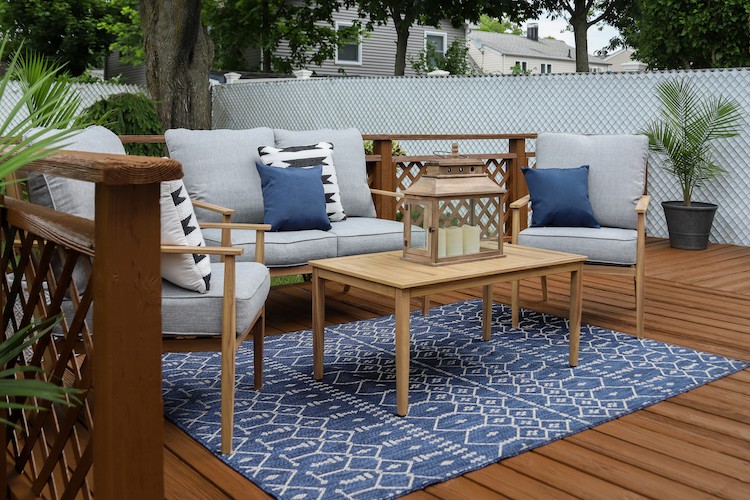
Not bad for a long weekend of work. Ready to see how I did it? Let’s get started!
Step 1
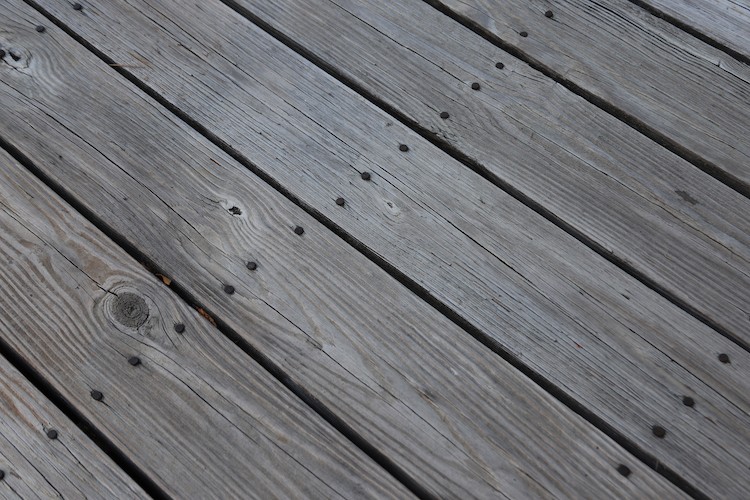
First step in any deck project is to clear the deck and inspect the boards to see if any need to be repaired or replaced.
Step 2
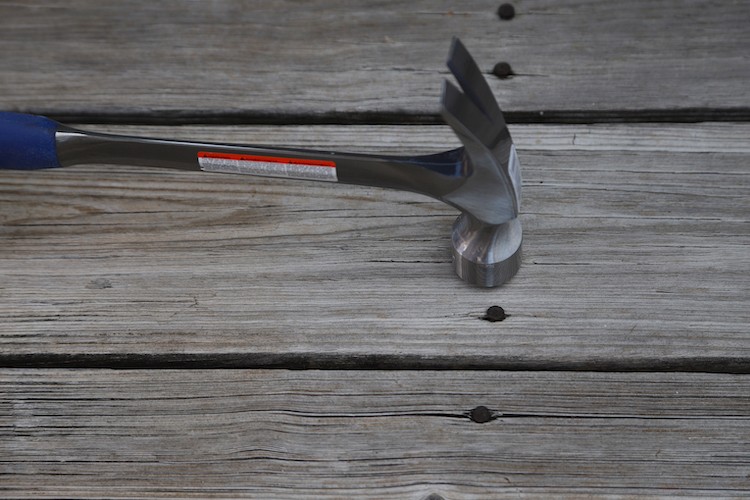
Once the boards were inspected (I luckily didn’t have to replace any), I knocked down any loose or lifted nails using a hammer.
Step 3
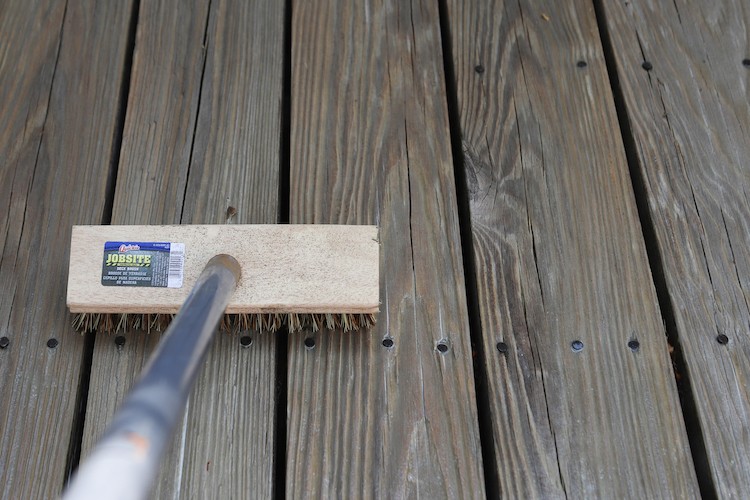
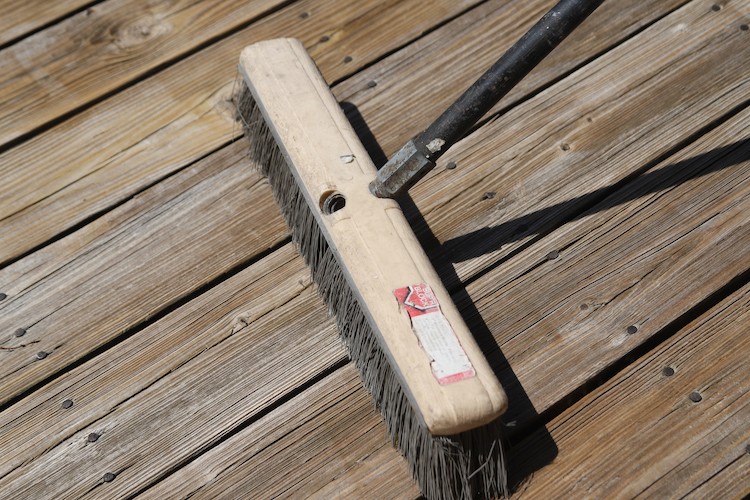
Next, I cleaned off the deck using a thick bristle brush.
Step 4
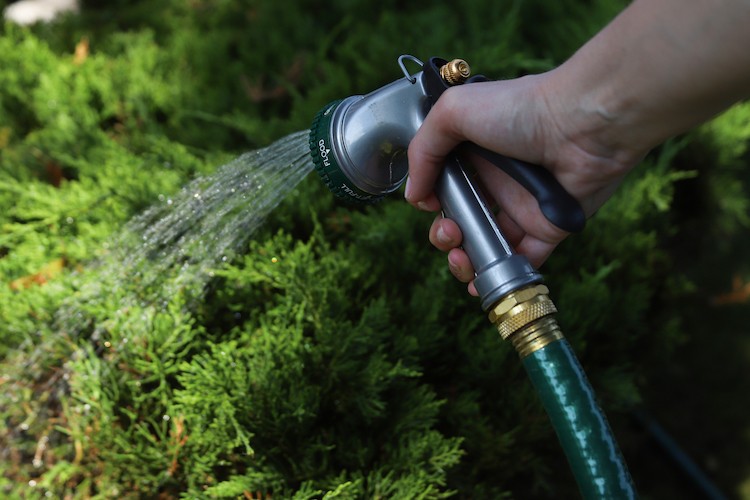
After removing debris from the deck, it was time to prep the yard for a deep deck cleaning. I started by using a garden hose to soak all of the plants surrounding the deck. This will help dilute any solution that touches the plants during cleaning.
Step 5
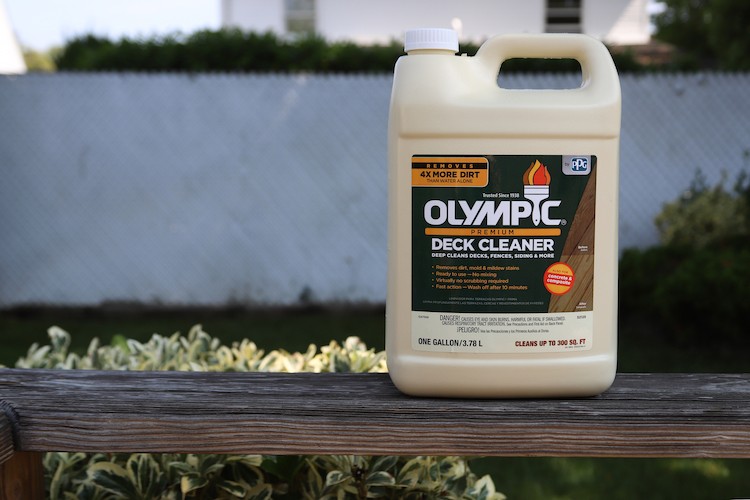
Next, I added a bottle of Olympic Deck Cleaner to a handheld pump sprayer. I then used the sprayer to saturate the dry deck boards. I also made sure to use a thick bristled brush to work the solution into the boards. Then, I allowed the solution to sit for 10 – 15 minutes.
Step 6
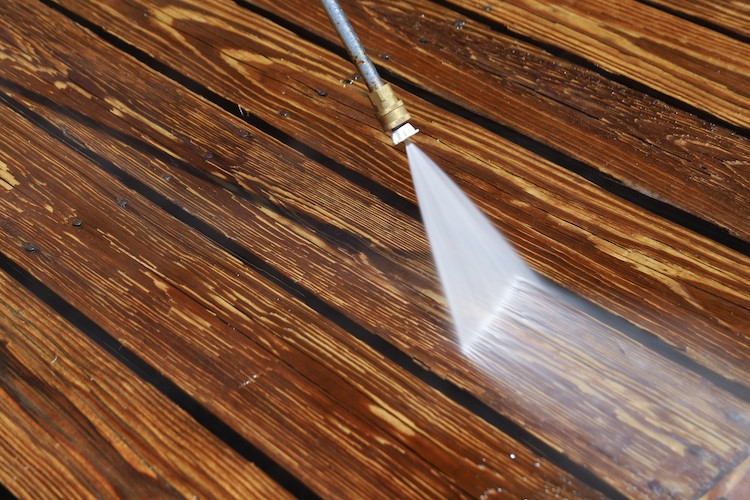
After 10 – 15 minutes, I then used my power washer on the lowest setting to wash away the solution from the decking boards. I then let the deck dry for a full 24 hours.
Step 7
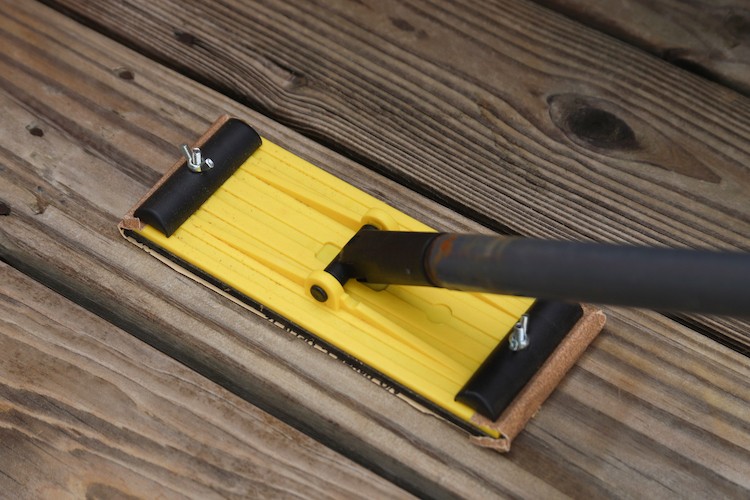
The next day, I used a pole sander to just knock down any splinters or fuzzy pieces of wood that were leftover from the power washing. This can also be done using a powered sander as well. The amount of sanding that will need to be done will depend on the condition of the wood.
Step 8
After sanding, it was time to brush off the deck one more time and then prepare it for stain by hanging plastic wrap on any surfaces I did not want to paint (i.e., the house, fence, and plants).
Step 9
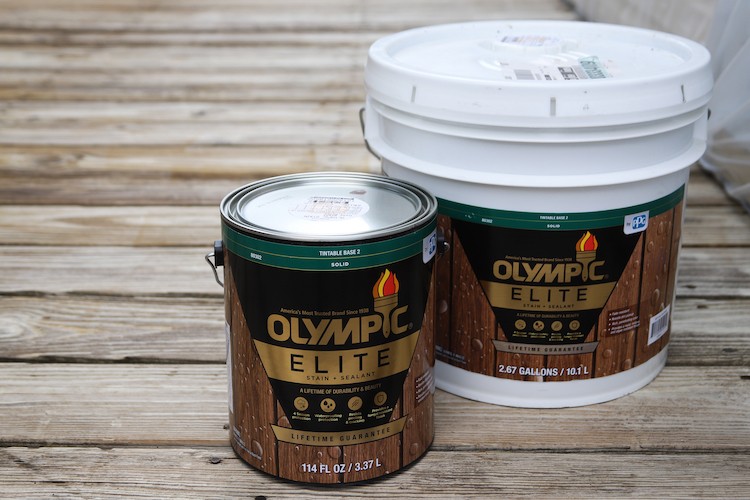
Next, I poured my cans of Olympic Elite Solid Stain into a 5-gallon bucket to make sure the color stayed consistent. I chose a solid stain for this project because the deck is a bit older, and the solid stain will give it a rich color but still emphasize the texture of the wood.
Step 10
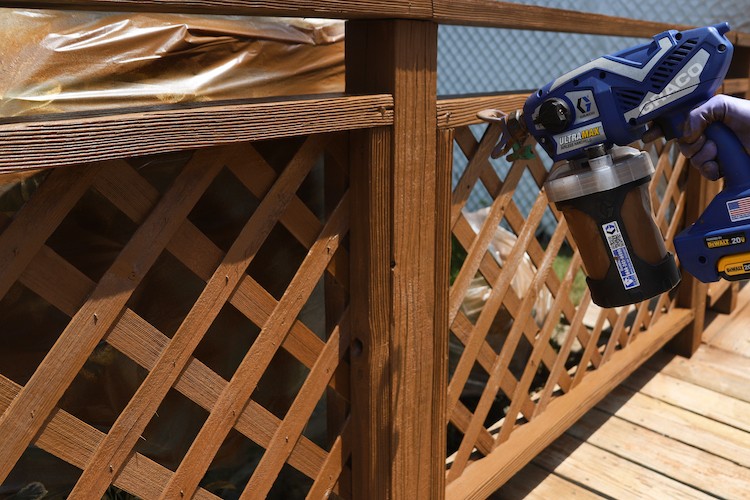
I then began to paint the deck and started by spraying stain on the lattice and railings using a paint sprayer. I also made sure to back brush the paint with a paintbrush to remove any drips or excess paint.
Step 11
When it was time to paint the decking boards, I tried a few different methods ranging from applying the paint with a paint roller to using a deck stain applicator. But, in the end I opted to use my handheld paint sprayer to apply the finish to the deck and then back brush each board with a paintbrush.

The Olympic Elite Solid Stain is a stain and sealant all-in-one. So I only needed to apply two coats and wait two hours in between them. I then let the stain dry for 48 hours before walking on it or installing some new patio furniture and a small bistro set from The Home Depot.
Talk about a transformation!
Before:
After:
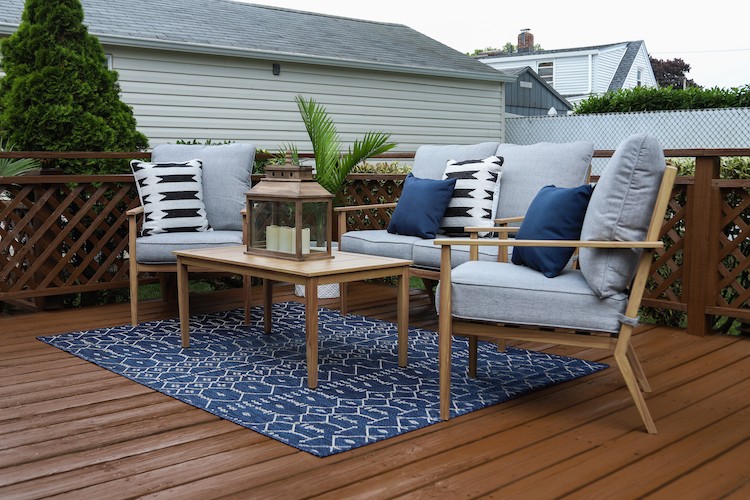
It’s pretty amazing what a few days of work and a fresh coat of stain can do to a space (and to your grandparents’ lifestyle). My grandparents are stoked on their new outdoor space. I cannot wait to hang with them on their newly improved deck for coffee and board games really soon!
The post DIY Deck Makeover with Olympic Wood Stain appeared first on The Home Depot Blog.

