This painted stencil bathroom floor project totally changed the look of the room. It was a lot cheaper than re-tiling the floor, too.
It’s the work of Mallory and Savannah of Classy Clutter. They used chalked paint in black and white for a bold contrast to match the large, eye-catching flower pattern of the stenciled design.
Follow along to see how they created this cool painted stencil bathroom floor.
Painted Stencil Tile Floor
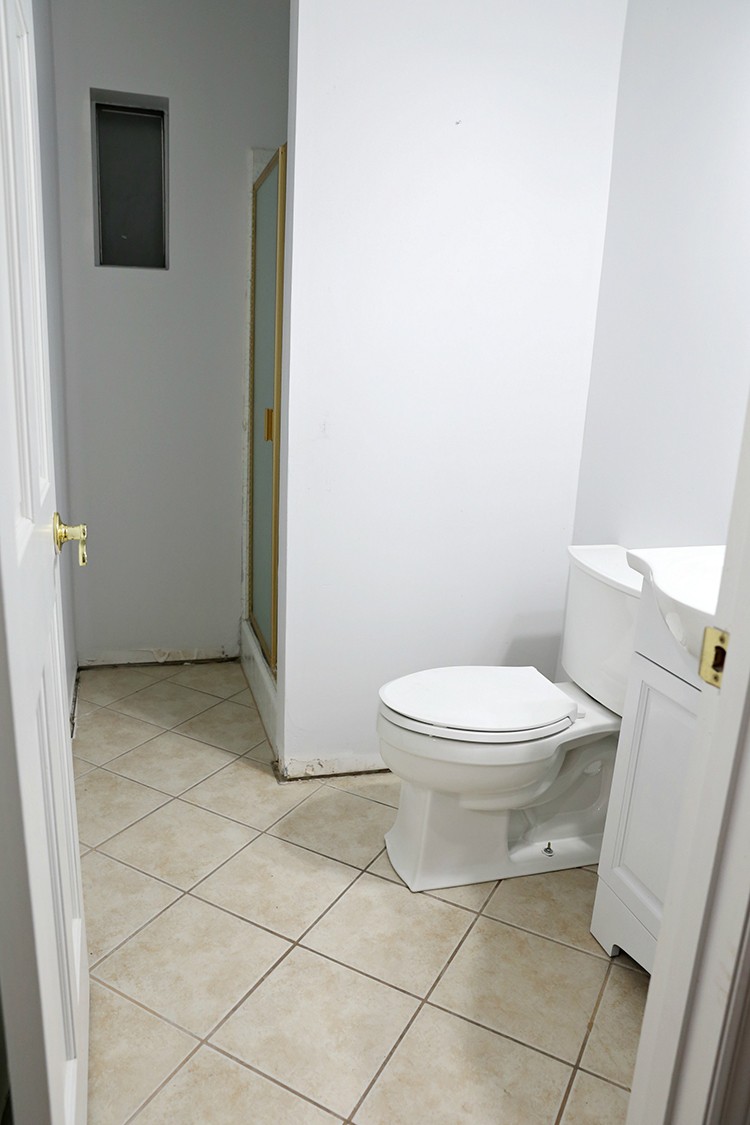
Our bathroom was just plain and had no real character to it. It was not bad, but it was not good either. For a quick, easy and cheap face-lift I decided to paint the already existing cream tile with a fun stencil and some chalk paint.
Materials and Tools
- Mineral spirits
- Rag or sponge
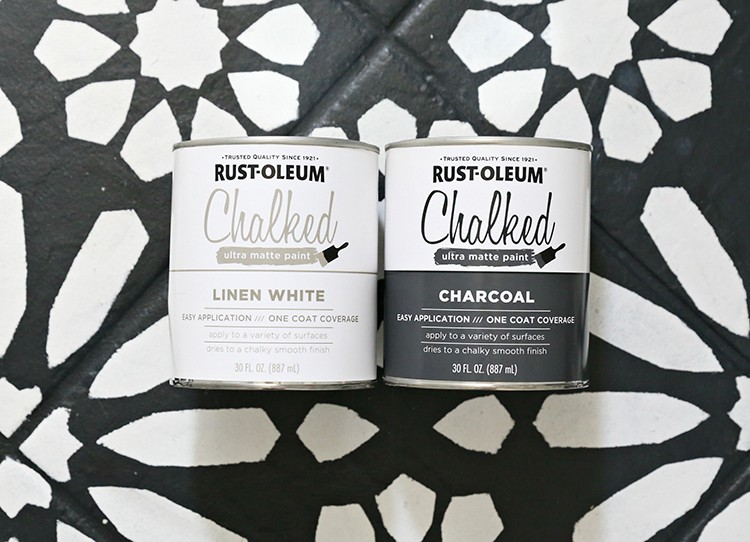
- Rust-Oleum Charcoal chalked paint
- Rust-Oleum White Linen chalked paint
- Tape for delicate surfaces
- Paint roller
- Paint brush
- Small artist paint brush
- Stencil
- Small foam roller or stencil roller
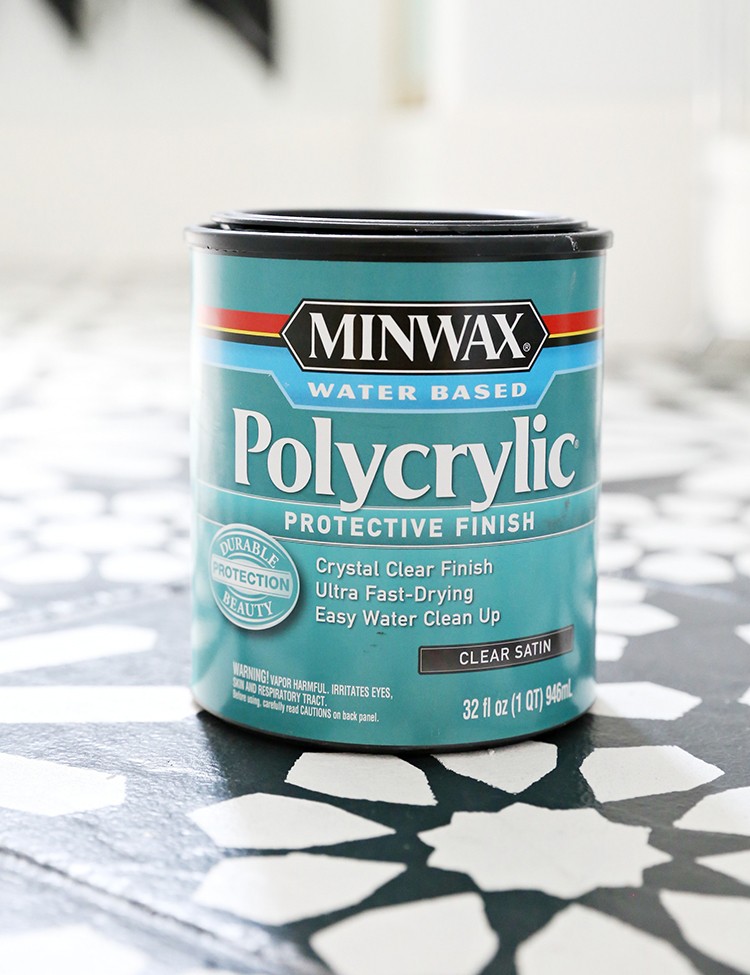
- Polycrylic
Step 1: Clean the Floor

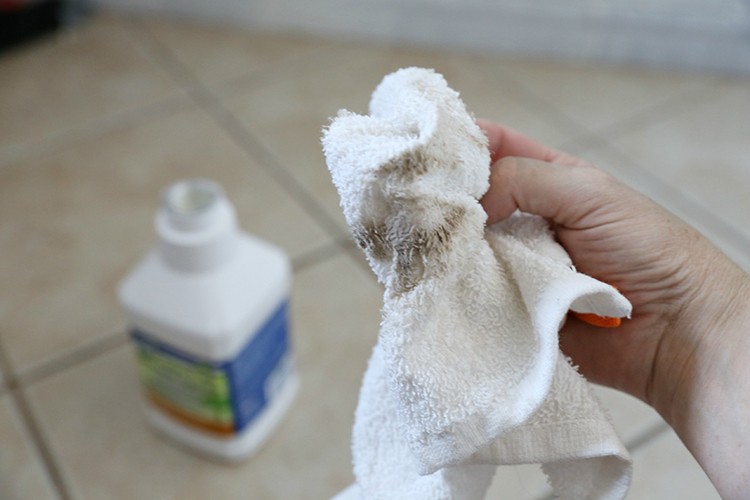
Clean the floor and the grout using mineral spirits and a rag or sponge. I cleaned and scrubbed the grout and the tile both twice to make sure that it was really clean. This will help with cleaning and prepping the tile for the paint. The better you clean, the better the chalked paint will stick to the tile.
Step 2: Paint the Base Color
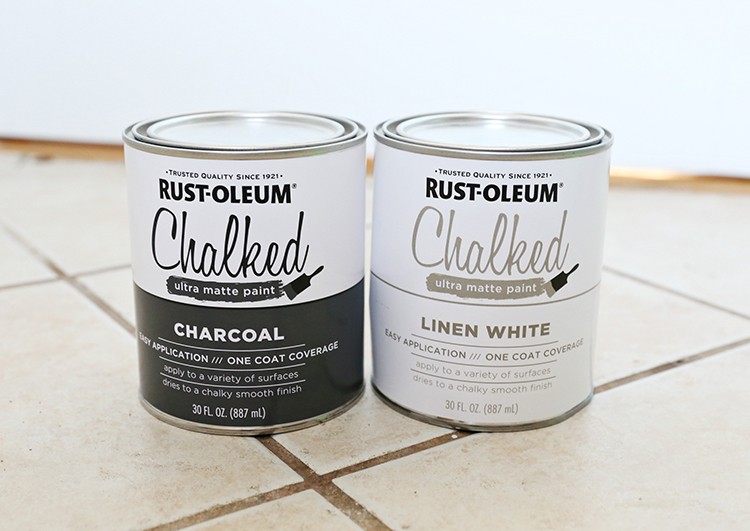
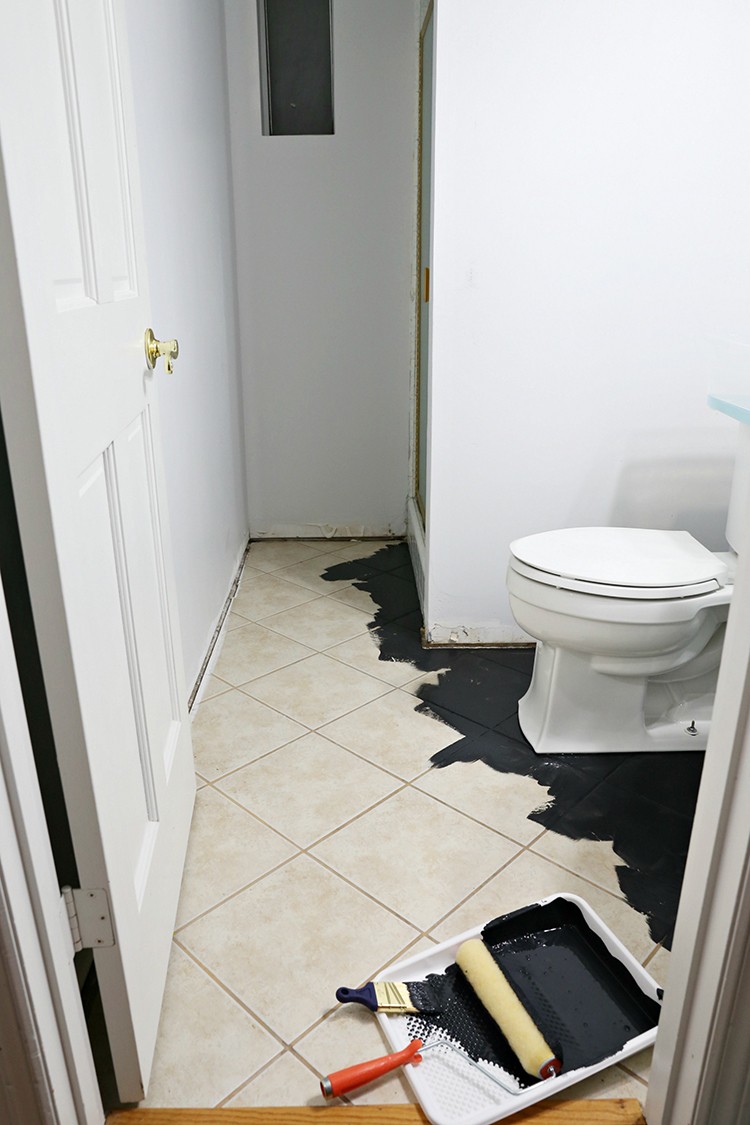
Using a paint roller and a paintbrush, do the first coat of chalked paint.
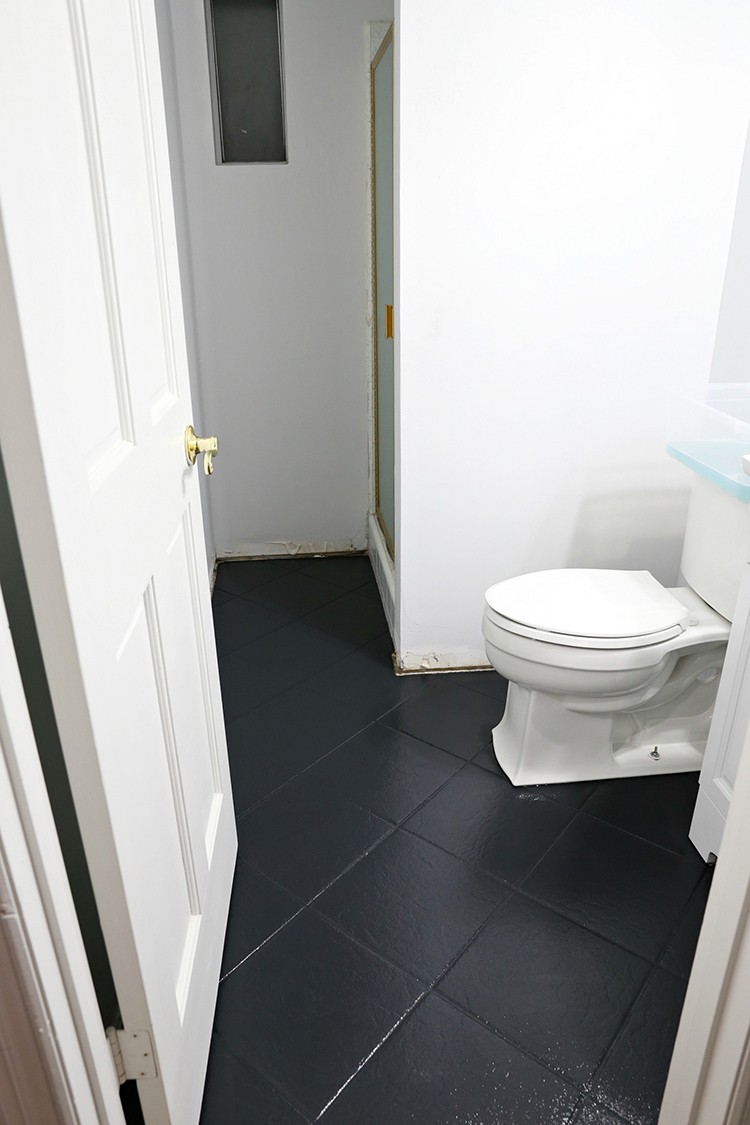
For the base color of the floor I used the Rust-Oleum Chalked Paint in Charcoal. I did two coats of the base color allowing them to dry thoroughly in between coats.
Step 3: Lay the Stencil and Paint the Design


Use painter’s tape made for delicate surfaces to hold the stencil down where you want it to be. I used the old tile as a guide, lining up my edges to make sure I stayed perfectly straight.
Starting in the back left corner of the bathroom, I worked my way to the door, square-by-square, painting the stencil design.

Using a small stencil foam roller, I applied a very small amount of Rust-Oleum White Linen Chalk Paint onto the roller. Too much paint on the roller could cause the paint to leak under the stencil, ruining the clean edges.
Start with a thin coat of paint and then do two coats if necessary. Don’t pull up the stencil until you like the coverage of the chalk paint. Otherwise, it’s going to be hard to line it up if you need to apply a second coat.
Step 4: Touch Up the Painted Design
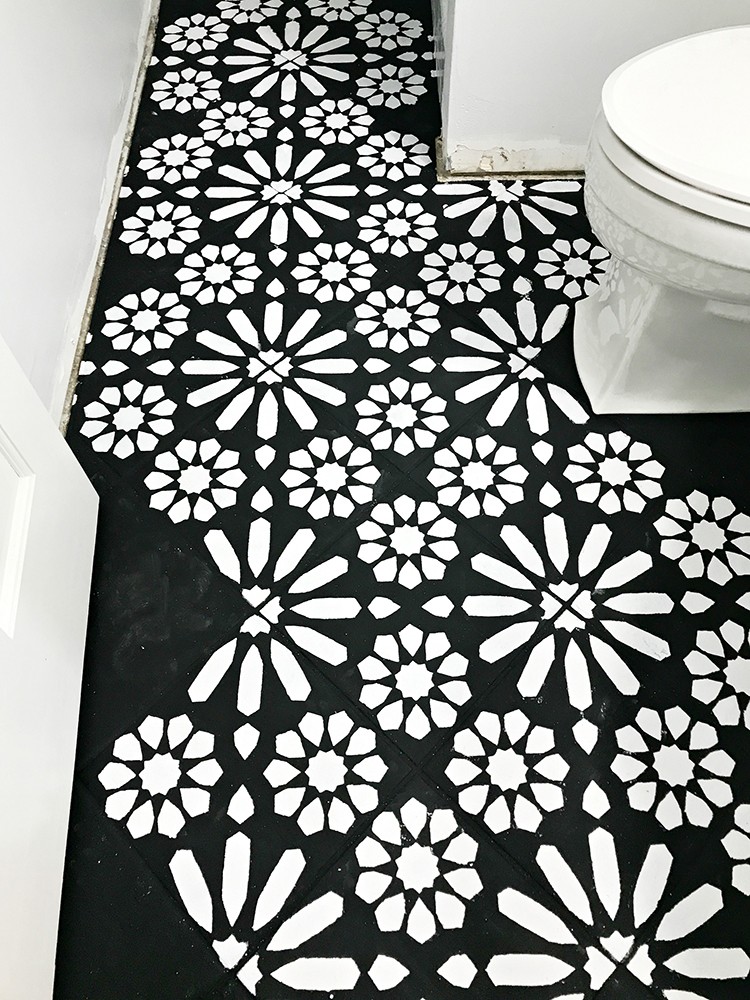
After the floor was completely stenciled and dry I did need to go in with the small paintbrush and do a few touch ups on the edges.
Some of the stencil parts needed to have a bit more coverage, too. I used a small brush to touch up those areas as well.
Step 5: Seal the Painted Floor
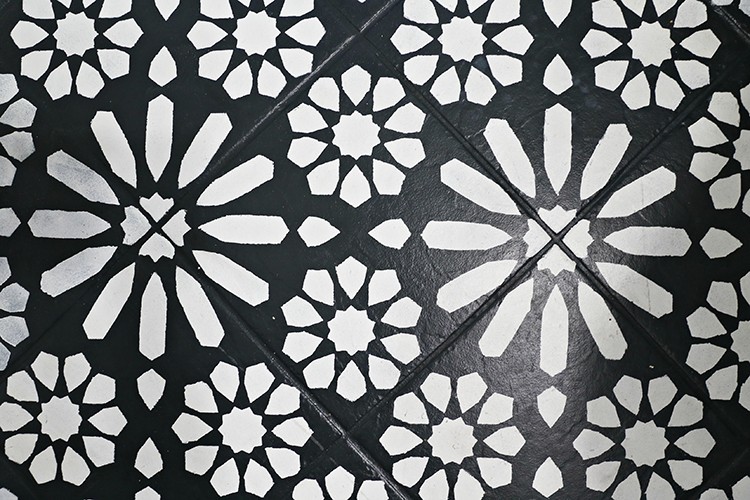
After I was completely satisfied how the paint looked I applied two coats of polycrylic to seal the painted floor.
I paid particular attention to the areas around toilet, the sink area and the shower. Those are places for likely water splashes, so I wanted them well sealed. I used a satin finish because I didn’t want the floor look really shiny or glossy. But you can use any finish you want.
The Completed Painted Stencil Bathroom Floor
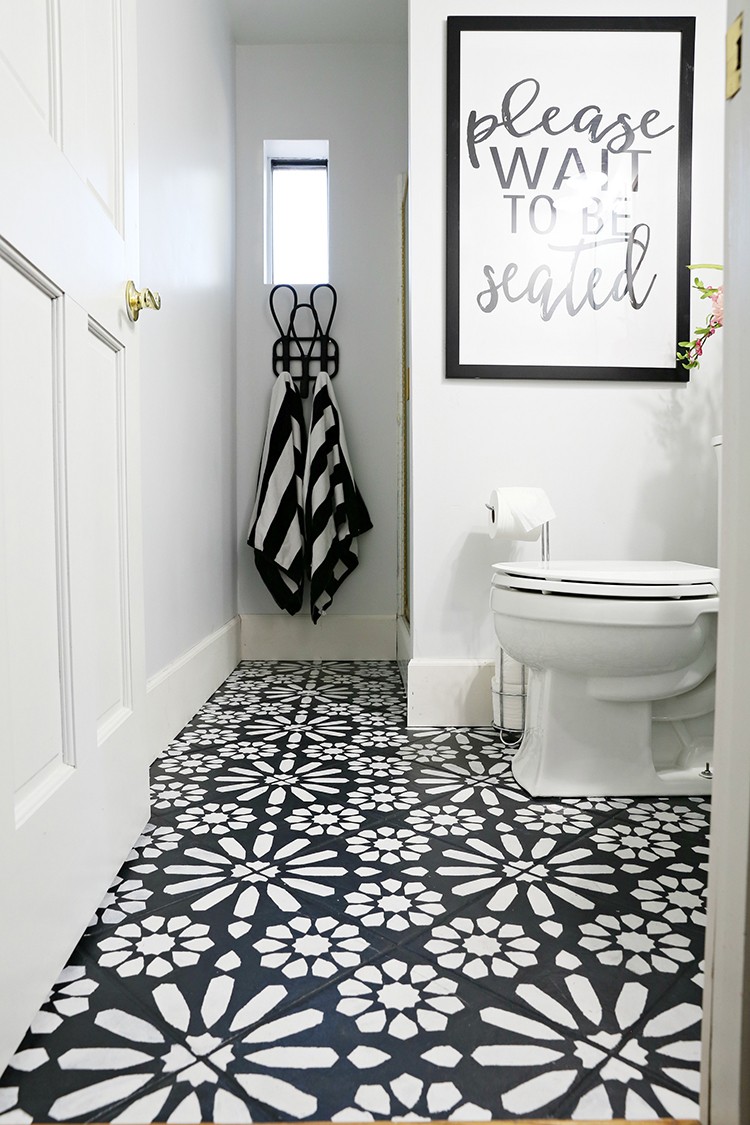
I am beyond thrilled on how the painted stencil bathroom floor turned out. For less than $50 I was able to take a boring old bathroom and turn it into something fun with a ton of character.

I love that Rust-Oleum Chalked Paint can be used in so many different ways. The super matte finish looks great on the old tile.
Check out this full bathroom reveal plus you can see the original chain pulling toilet and green wood trim that was in the bathroom when we moved in and all the other details about this bathroom on our Blog Classy Clutter HERE.
You can find all the materials you need for the painted stencil bathroom floor project in The Home Depot’s Paint Department.
Follow our All About Paint board on Pinterest for more painting ideas and inspiration, and check our more DIY projects here on The Home Depot Blog.
The post DIY Painted Stencil Bathroom Floor appeared first on The Home Depot Blog.
