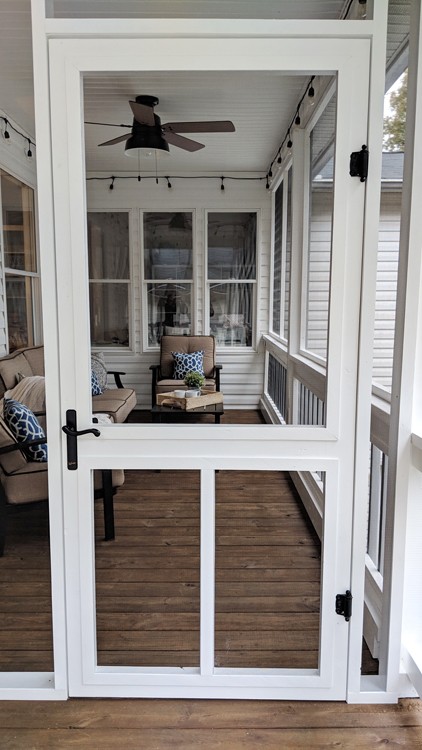
Mike Poorman from Woodshop Mike walks through how to build a screen door from scratch. Read more to find out how to do it yourself.
DIY Screen Door Project
Have you ever needed a new screen door and wondered if you could just make it yourself? I built this farmhouse style door for our back porch overhaul using simple pocket hole joinery for a quick and sturdy assembly. Follow along to see how you can tackle this easy weekend project!
Tools and items I used for the project can be found at the end of the article.
Milling Lumber for a Screen Door
When working with dimensional lumber for anything other than framing, I typically buy the next widest board. So if I need a 2×4, I’ll buy a 2×6. This allows me to build my pieces from the straightest sections of the board. I also have much better luck overall finding straight boards from 2×6’s than 2×4’s.
My DIY screen door will be 80 x 36. This way I have plenty of room to get furniture through the doorway. If you’re building a door to match an existing doorway, just build your door to fit that space. To optimize my material, I used two 10′ 2×6’s and one 8′ 2×6.

My first step is to cut my stock to rough length on the miter saw.

I used my two 10′ 2×6’s and ripped them down to 3-1/2″ wide. These will make the outer frame of the door. I then took the straightest offcut and ripped it to 1-1/2×1-1/2. This will be the vertical piece at the bottom of the door.
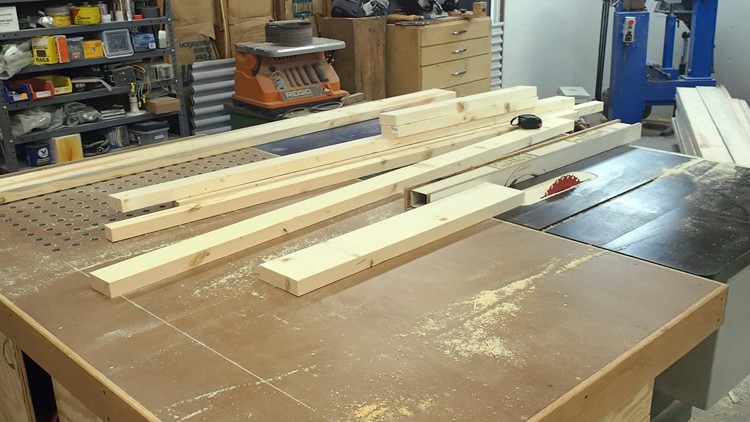
The trim for this door is made from offcuts of ripping the 2×6’s down to size. Simply cut strips 1/4″ wide and then break the edges with some 120 grit sand paper.
Cut to Length
It’s now time to cut the door components to length before assembly. I head over to the miter saw with my boards that have been ripped down and cut two pieces of the 3-1/2″ wide lumber to 80″. I then cut the drop from those boards to 29″. Once assembled, this will make my door 80″x 36″.
While at the miter saw, I grab my 8′ 2×6 and also cut it to 29″ long. This will be the horizontal board that’s about 1/3 from the bottom.
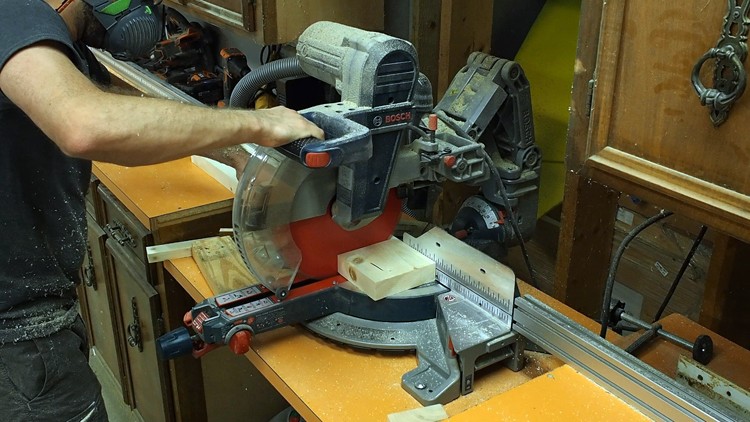
The last item to cross cut is the 1-1/2×1-1/2 piece that will vertically divide the lower portion. I cut this piece to 27″ long.
Pocket Holes
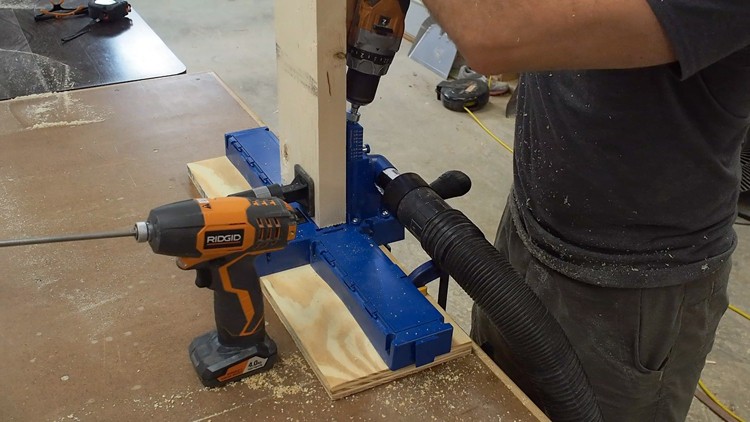
I grab all of my boards that are 29″ long along with the 1-1/2″ x 1-1/2″ piece and set up my Kreg K5 for 1-1/2″ material and 2-1/2″ pocket hole screws.
I put one hole in each end of the 1-1/2″ wide board, two holes (A & C on jig) into each end of the 3-1/2″ wide boards, and three holes into each end of the 5-1/2″ wide board.
Assemble the Screen Door
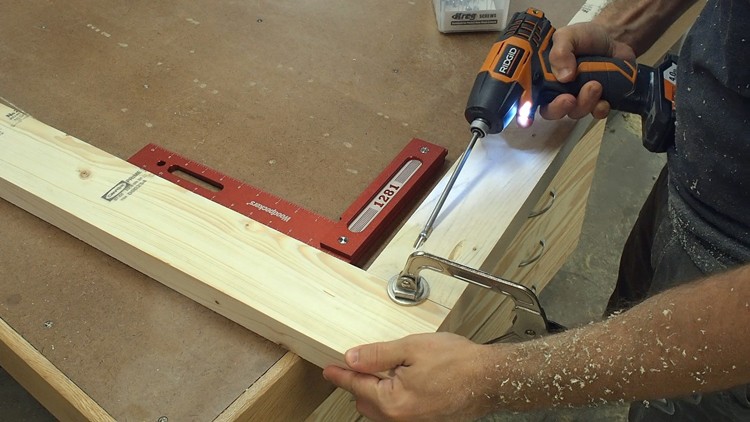
Assembling the DIY screen door is a piece of cake. Lay out your boards on a flat surface per the design with the pocket holes facing up. Then using the Kreg Face Clamp, hold the pieces in position while driving in the 2-1/2″ screws. Repeat this process until the entire door is assembled.
Now grab your 3/8″ dowel and cut it into a million plugs about 2″ long. Place a little glue into each of the pocket holes and then insert a plug. With the dead blow hammer, drive it into the hole until the plug is fully seated.
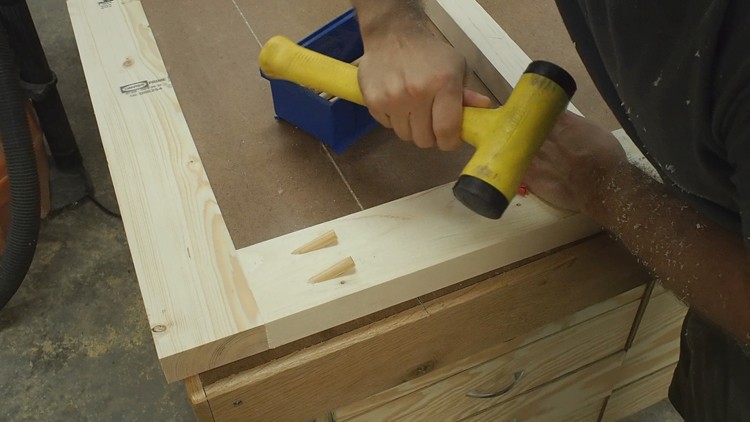
A word of caution: If you use too much glue, it can cause the wood around the pocket hole to split while you’re hammering in the plug.
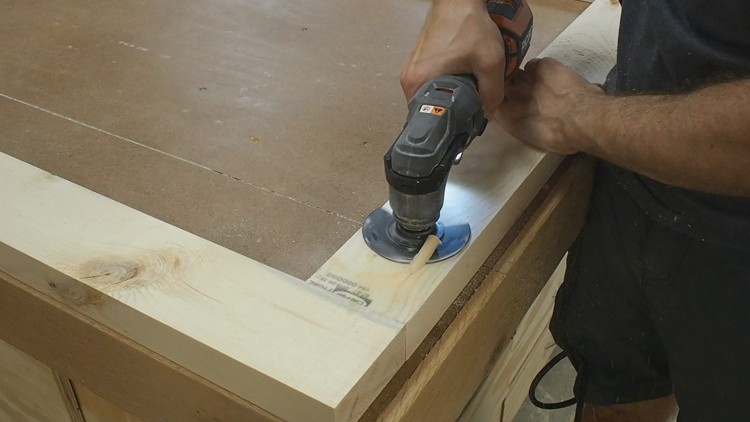
The last step here is to flush cut the plugs once the glue is cured. You can use many methods for this step, but I personally prefer using my multi-tool with a flush cut blade attached.
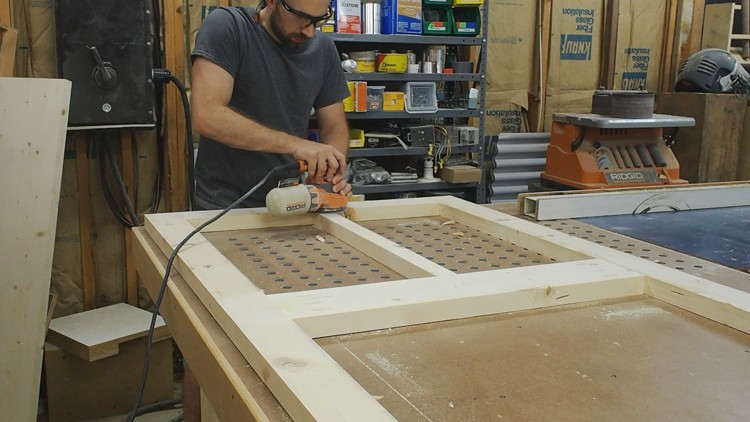
I add an 1/8″ round over on all the edges with a palm router. This makes the door “softer” to the touch, easier to paint, and will reduce the likelihood of damaging the screen while securing it to the door.

Before moving on to painting, I hit the entire door with 120 grit sandpaper.
Prime and Paint
For protecting all that hard work I’ve done, I chose to first prime with Gripper primer and then follow up with PPG Timeless paint. The results look fantastic and the coverage is very consistent!
Install Screen
If you are looking for screening that is practically invisible, then Phifer Ultravue Screen is what you need. This screening is very easy to work with. All you need is a stapler and scissors/utility knife!
Start by measuring your opening and then cut your screen to be about 6″ longer. One thing to keep in mind is the width of the trim is 1-1/2″ wide, so make sure that you staple in the area that will be covered by the trim.
Center the screen on the opening and staple about every 6″ starting from the middle. Then gently stretch the material on the opposite side and staple every 3″ starting from the middle and work your way out. Now return to the original side and gently stretch the screening between your first staples and add additional staples as needed.
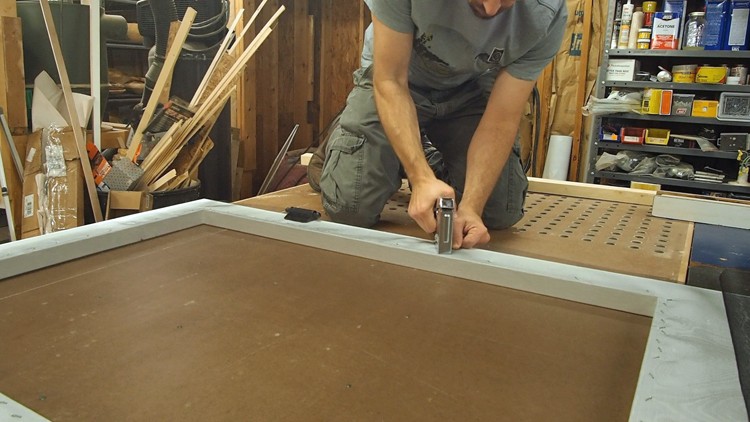
Simply repeat this process on the other two sides and remaining openings.
Add Trim to Screen Door
Adding trim to the door is completely for aesthetics, but if you’re like me, it’s just not something you can leave out.
Set your miter saw for 45° and cut your trim to fit each of the openings.
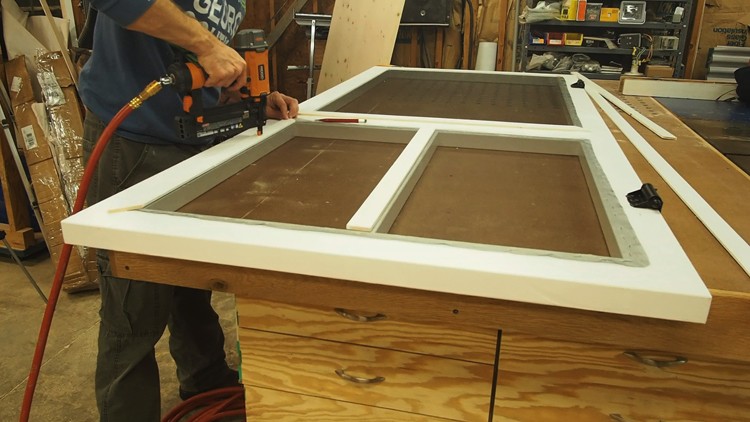
With all your pieces cut, grab the brad nailer and get to work! A brad about 1/2″ from the miters and every 8″ after that will secure your trim pieces well.
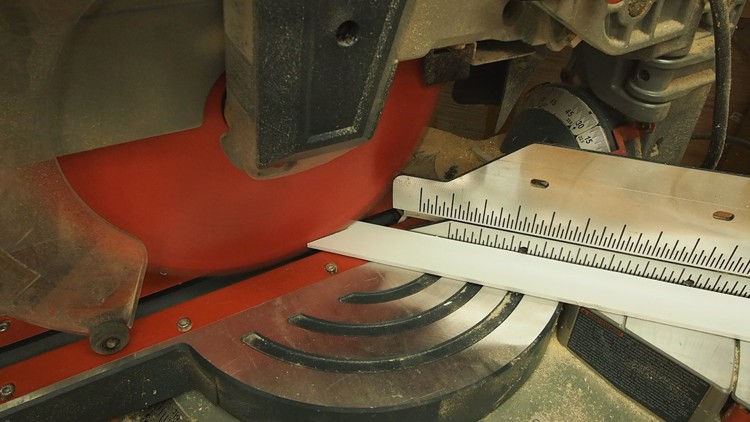
Hey congrats! That’s a pretty killer looking DIY screen door isn’t it?!
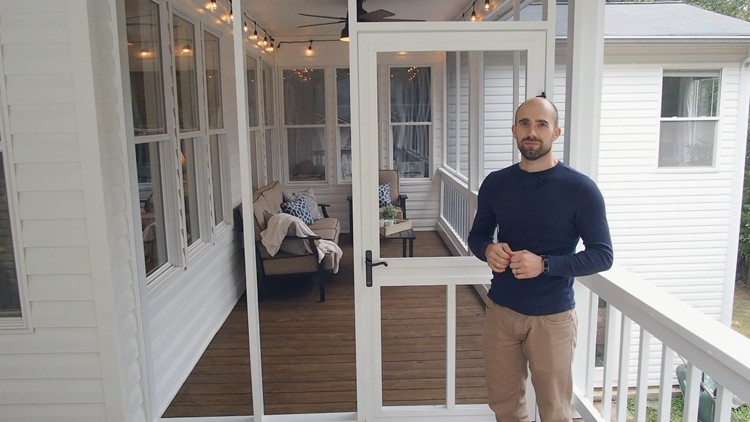
I know you’re just dying to know more about what this DIY screen door looks like installed, so head over to Back Porch Overhaul and check out the entire back porch renovation!
Materials
- 2″x6″x10′
- 2″x6″x8′
- 2-1/2″ pocket hole screws
- 3/8 dowel
- Phifer Ultravue screen
- Gripper primer
- PPG Timeless paint
- Sanding disks (80-120 grit)
- 1″ brad nails
Tools Used
- IsoTunes
- table saw
- miter saw
- Kreg K5
- Kreg Jig clamp
- drill
- impact driver
- dead blow hammer
- multi-tool
- palm router
- 1/8″ round over bit
- Shortcut brush
- roller
- paint bucket
- stapler
- staples
- scissors (my favorite shop scissors!)
- brad nailer
For more DIY home projects, head over to The Home Depot Blog.
The post DIY Screen Door Project appeared first on The Home Depot Blog.

