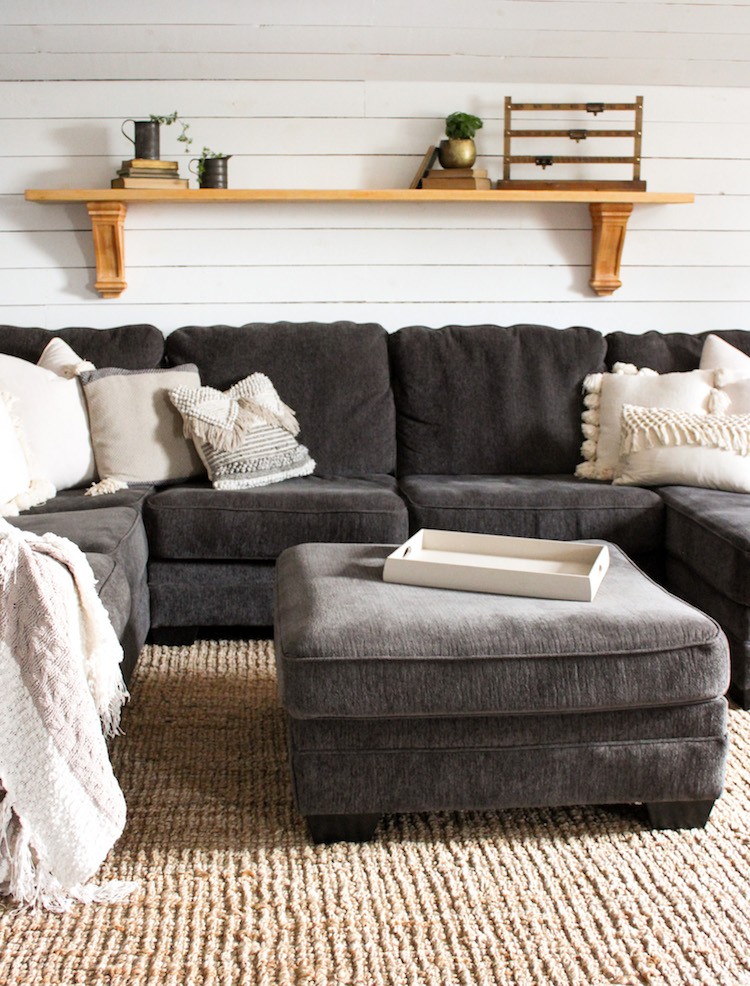
I love it when a DIY project can add functionality and beauty to my home! I love it even more when the project is super simple, requires very few materials and you can get it done in just one afternoon!
This DIY Is Fun And Easy To Do
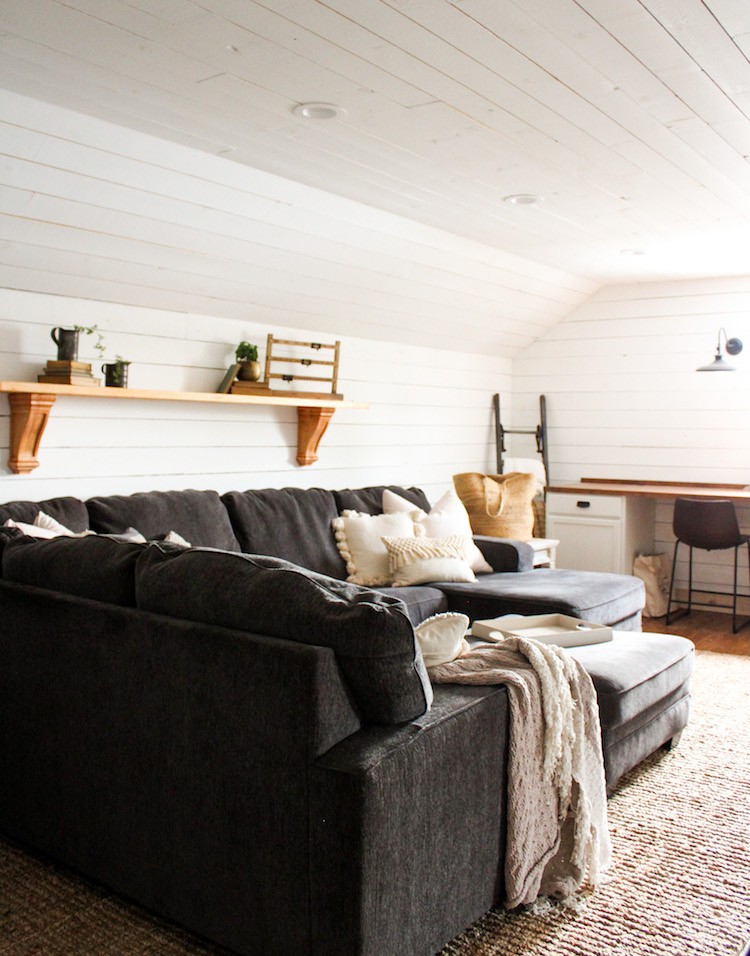
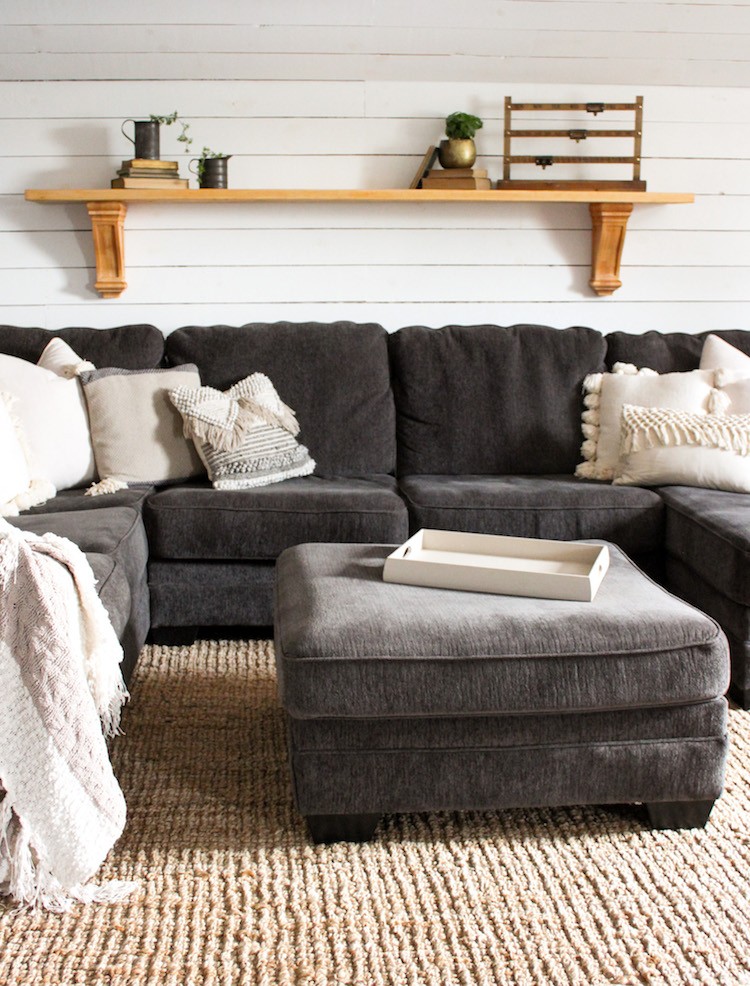
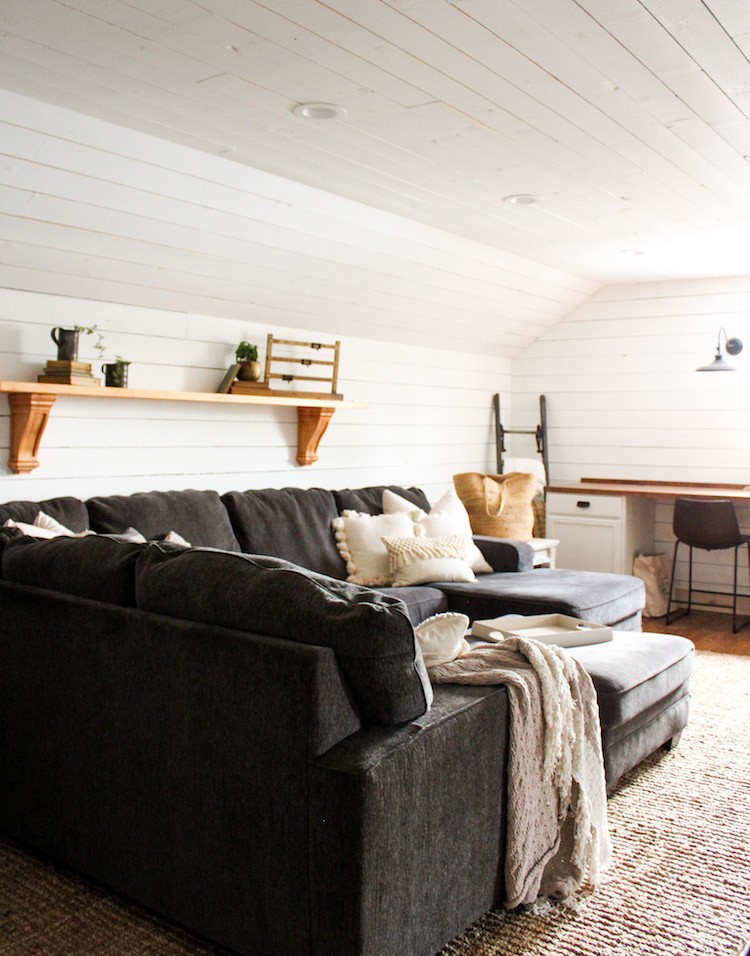
Today I’m excited to share the steps on how I built the large wall shelves that I have in our home! I’m also going to share how to finish them, so they have a custom look that’ll help them to really stand out on your wall. Chances are if you have a garage with a few things on hand you won’t need to buy a lot for this project! I only needed to buy the three following materials to build this shelf.
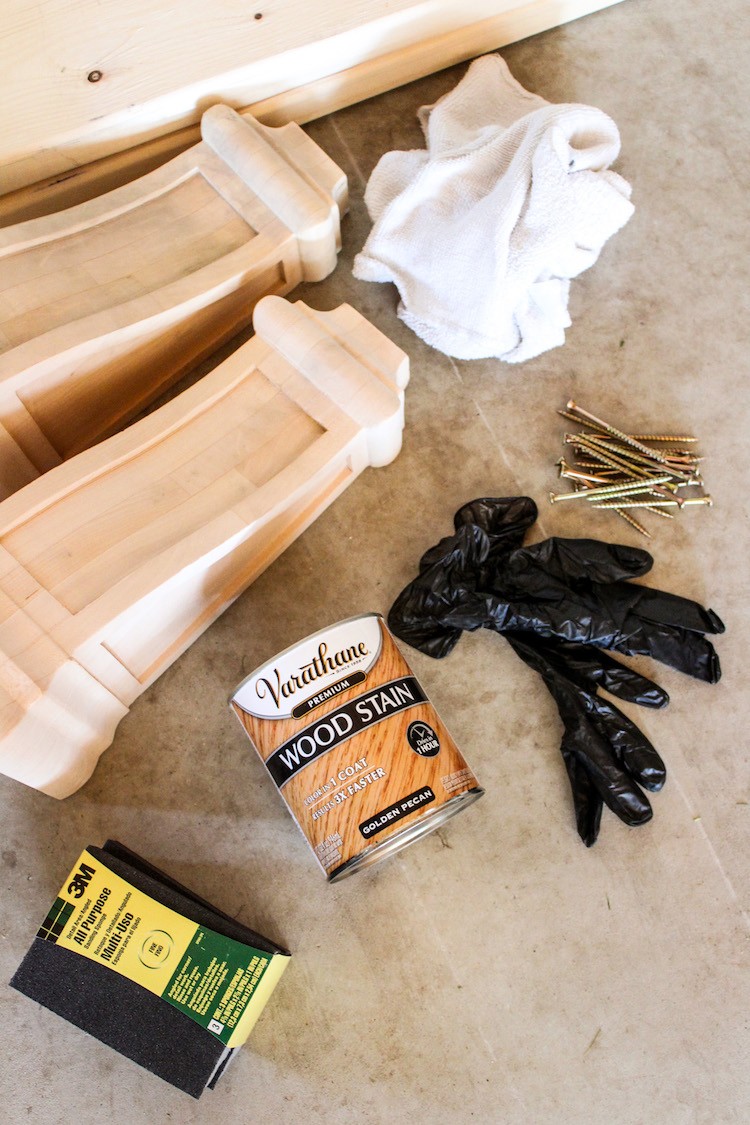
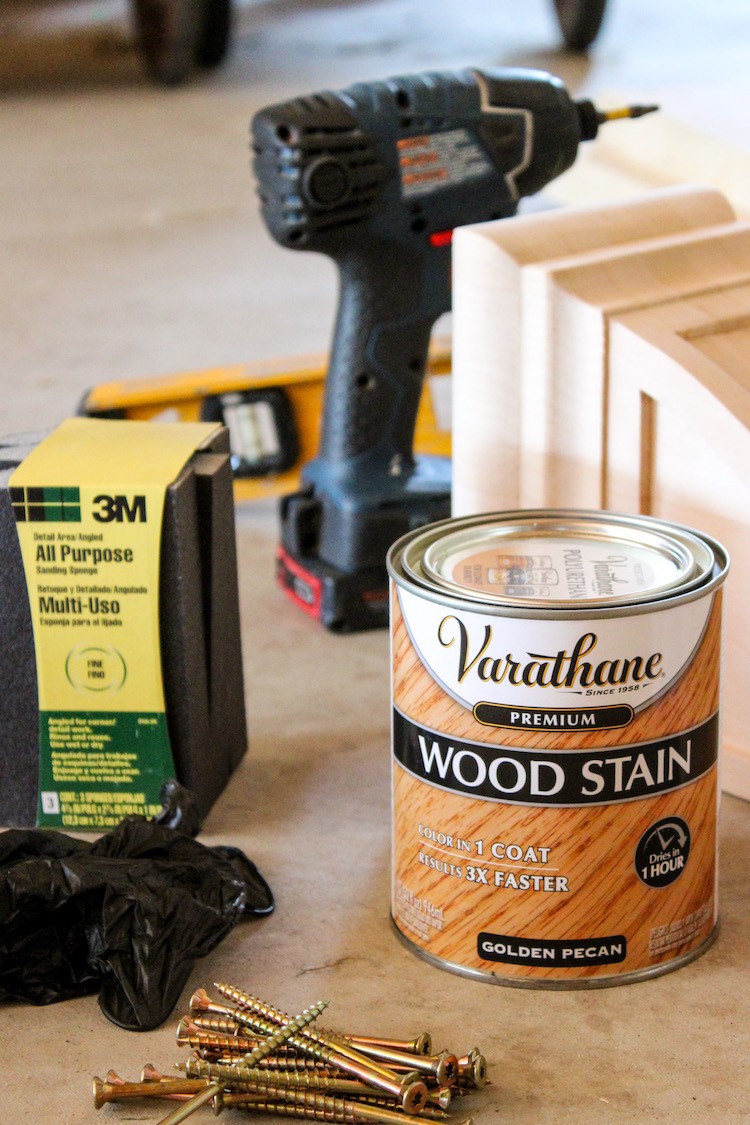
Materials Needed To Build This Large Wall Shelf
- Two wood corbels like these ones I purchased from The Home Depot that are 7-1/2 in. x 5 in. x 14 in and called Basswood Mission Corbels.
- Two, 2×6 pine boards in whatever length you would like your shelf to be (I chose 8 ft.).
- Varathane Premium Wood Stain in the color of your choice (I chose Golden Pecan)
- Gloves
- Tack Cloth/Lint Free Cloth
Tools Needed For This Project
- Tape Measure
- Level
- Cordless Drill & 3 ½ inch screws
- Sandpaper/ Sanding Block (120+ grit)
- Compound Miter Saw (You won’t need to make any cuts if you purchase your 2×6 boards already at the length you want your shelf)
This project is super simple so you’re only going to need a few tools. You will need to cut your boards to length if you don’t buy them the length you want. My boards are 8ft and I am going to use the entire length. I am only going to cut off the rough end using my compound miter saw. You could also use a circular saw for this step if you don’t have a miter saw.
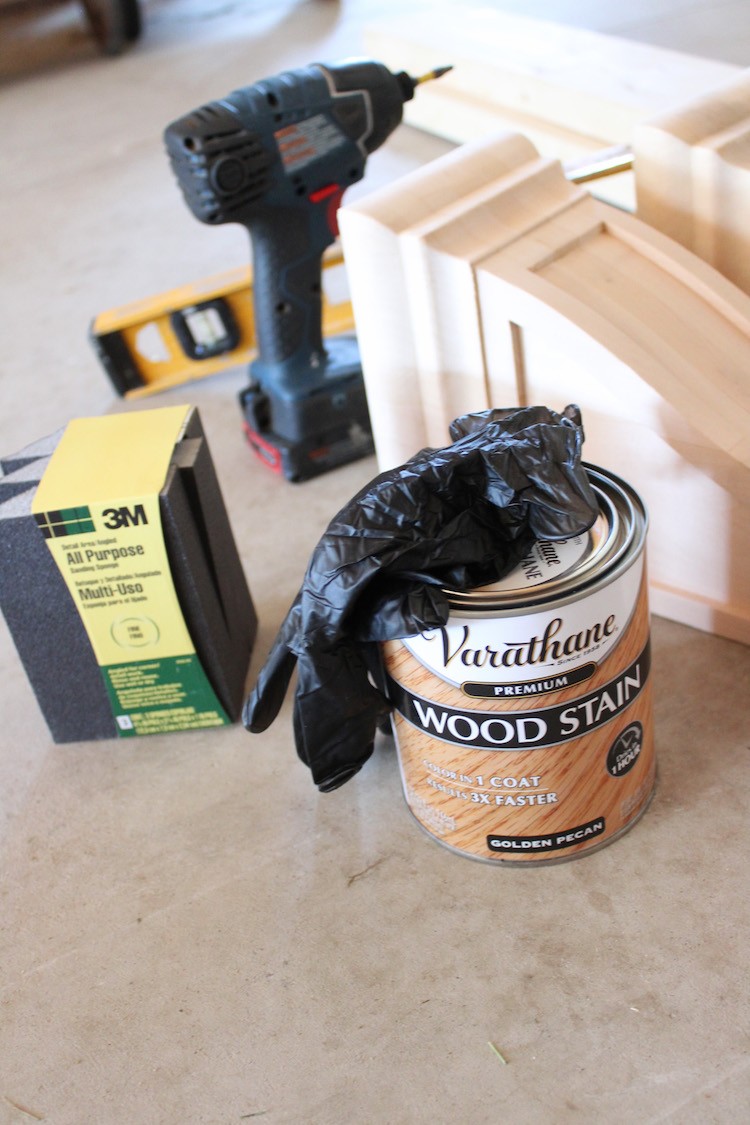
You will also need a cordless drill to attach the 2×6 boards to the corbels, either a sanding block or an orbital sander (I used a sanding block) and a level (for hanging the shelf).

Here’s a Helpful Tip to Consider Before Getting Started
Lumber, such as 2x6s, come with a rounded edge. If you don’t want your shelf to have that look you may want to take a ⅛ or an ¼ inch off both sides of your 2x6s by running them through a table saw. This step is totally unnecessary, but it will give your shelf more of a polished look if you take the corners off just ever so slightly. I don’t mind the rounded edge so I’m going to skip that step…just know it’s an option!
Assembly
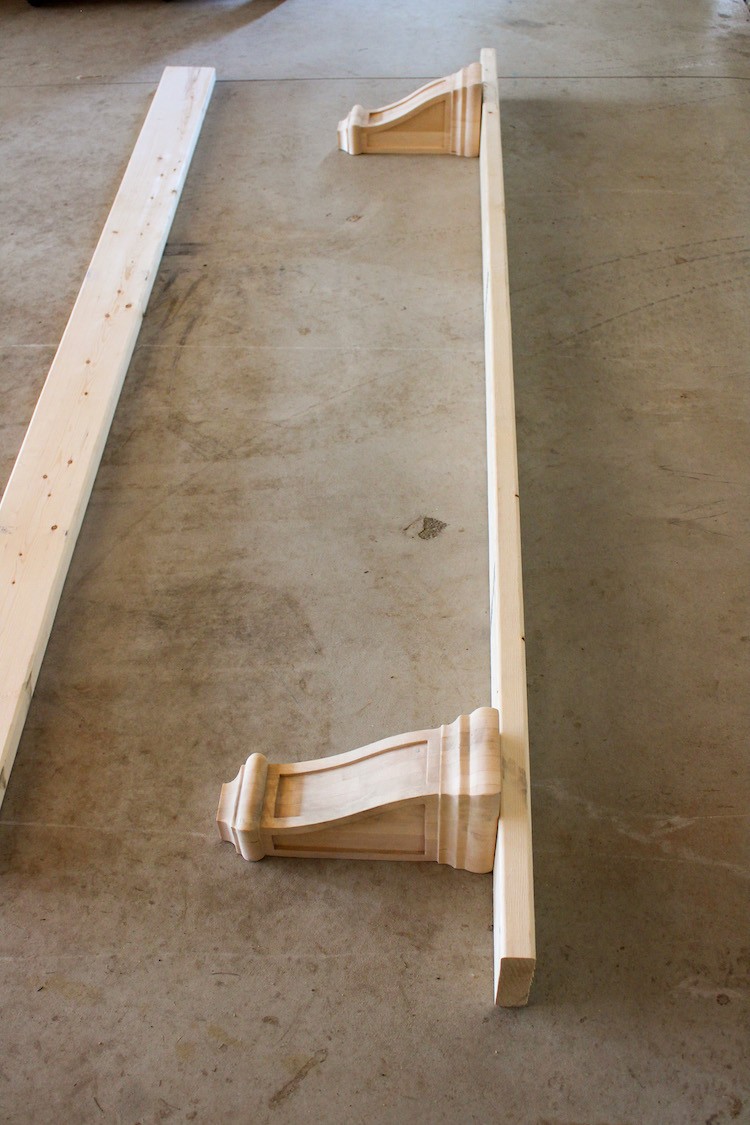
Once you have your boards, corbels and stain you are ready to start. The first step is to lay one 2×6 on the ground and then place both corbels on their backs (the side that goes up against the wall) and then decide how far in you want your corbels to be from the edge of the shelf. Since my shelf is 8ft long I decided to put my corbels 8 inches in from each end.
Helpful Tip

The longer your shelf is, the further in from the ends (towards the middle) you should place your corbels. This helps with support and it also looks better overall. If you are making a shelf that is a little shorter (like 3-4 ft long), try keeping the corbels closer to the ends. I would probably place them at 4-6 inches from the ends on a 4 ft shelf.
Using your cordless drill, screw two, 3 ½ in. construction screws into the top of the shelf and down into the top of the wood corbel.
Repeat that same step on the opposite end of the shelf. Make sure that your corbels stay flush to the board while you are attaching them. Now that you have the first board attached, place your second board in front of the first one and repeat the steps one more time.
Prepping The Shelf For Stain
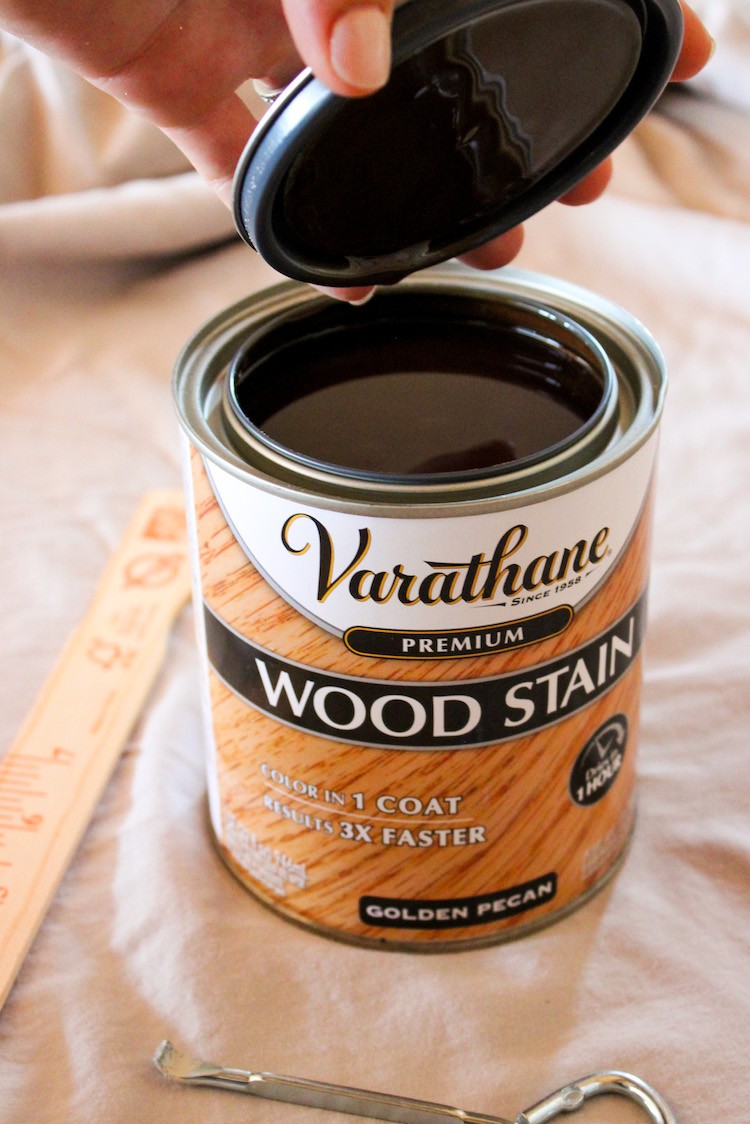
You now have a shelf and it’s time to prep for stain! Ventilation is important so I like to work outdoors or in my garage with the doors open when sanding and staining! Because these corbels come pre-sanded this step is a breeze! Simply run a sanding block of 180 grit or more on any rough edges and remove any dust with a lint free cloth and that’s it! Now you’re ready for the fun part…finishing it with a beautiful stain! If you are working indoors/garage, be sure to use a drop cloth or plastic to protect your floors before staining.
How To Finish Your Custom Shelf Using Varathane Premium Stain
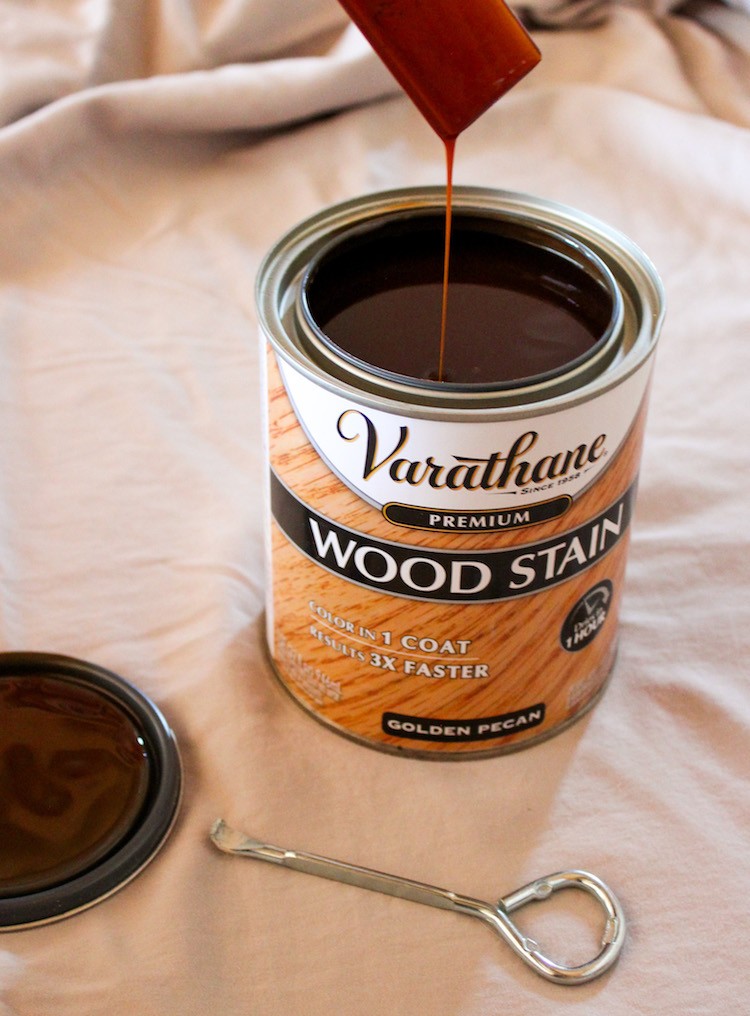
Choosing what stain to use is easy…I’ve been using Varathane Premium Stain for years on countless projects and it always does a beautiful job! I love using Varathane Premium Stain for my projects because it only takes one coat, it dries in 1 hour and there’s no need to apply a wood conditioner when using this stain! It’s easy to use and a little goes a long way! I love that I can rest assured knowing my projects are well protected.
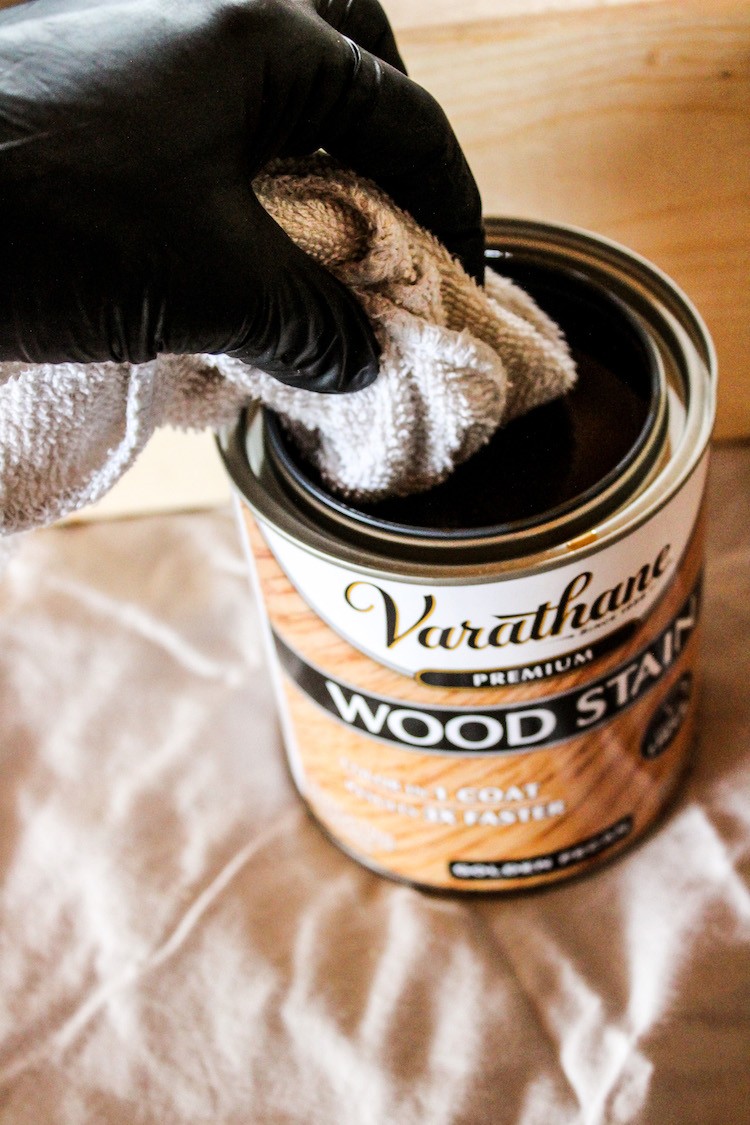
Helpful Tip: If you are unsure about what color to use, try testing more than one color of stain on a scrap piece of wood before deciding or applying it directly to your shelf.

Varathane Premium Wood Stainhas lots of trending colors to choose from. For this project I used the color Golden Pecan. Some of my other favorite colors Varathane offers are Kona and Dark Walnut! Weathered Gray is also one I’ve used a lot and I love it. Sunbleached is also fantastic for getting more of a whitewashed look (like I have on all our interior trim and molding). I think it would be beautiful against a darker paint color on a wall. Because my walls are white shiplap, I think the Pecan looks great on this shelf helping it to stand out just enough without being overpowering!
Varathane Premium Wood Stain Application Steps
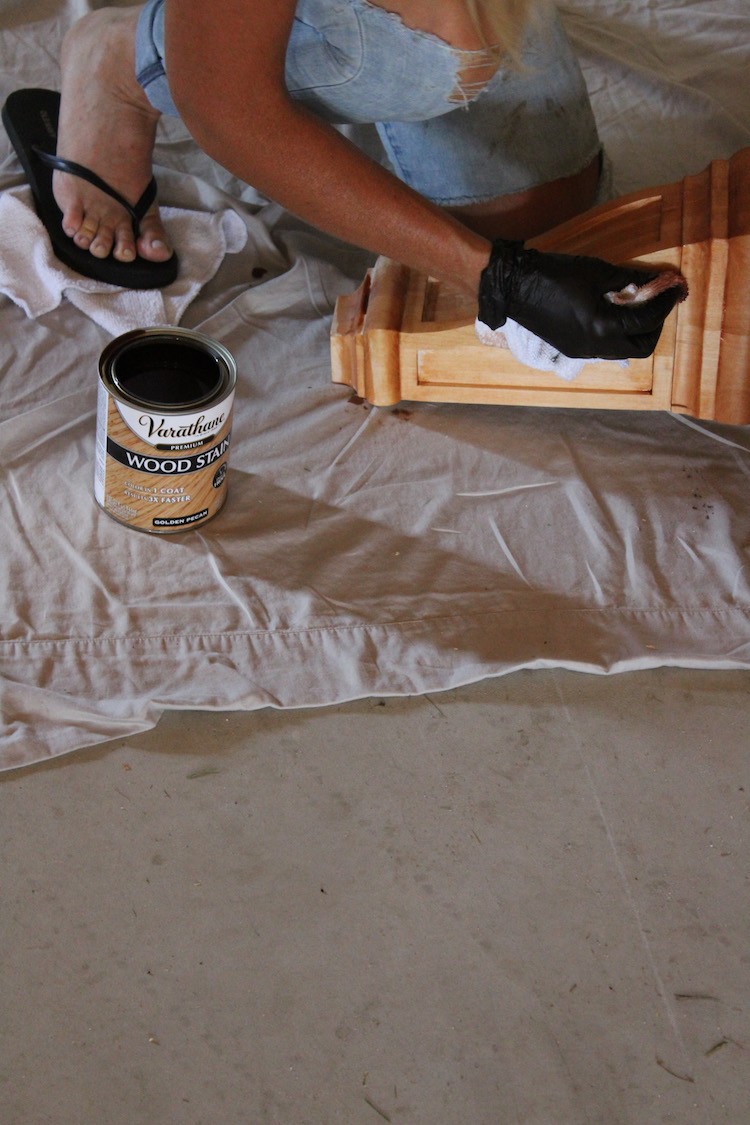
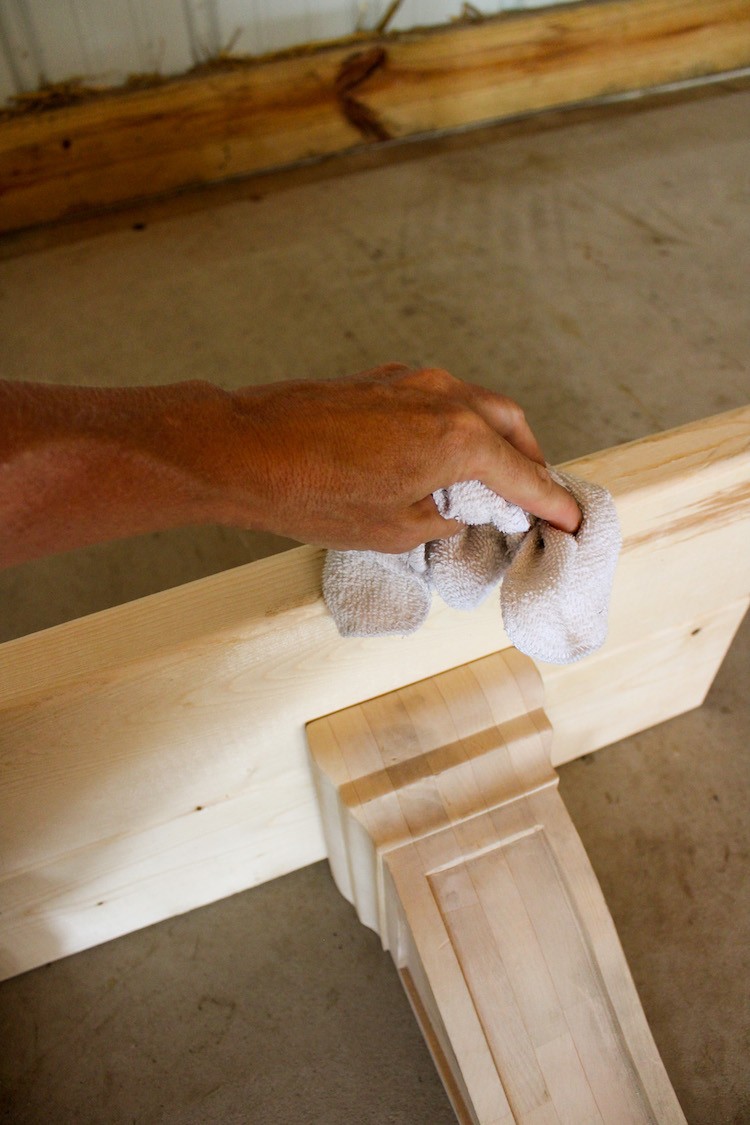
Always stir the wood stain before applying it to your shelf. I like to use a rag or cloth when I stain something this size. You can use a brush if you’d prefer (this is an oil-based stain so if you use a brush you can clean it easily with mineral spirits). I also recommend wearing gloves when using a rag to apply the stain. If you do use a rag, you want it to be wet but not soaking wet (not dripping). Make sure to thoroughly saturate the wood when applying the stain. Then remove any extra stain with a clean, lint free cloth making sure to pay attention to any areas where it may have run or dripped (like inside corners). If you do have a drip on the wood, be sure and wipe it up immediately before it has a chance to soak in. Repeat over the entire shelf.
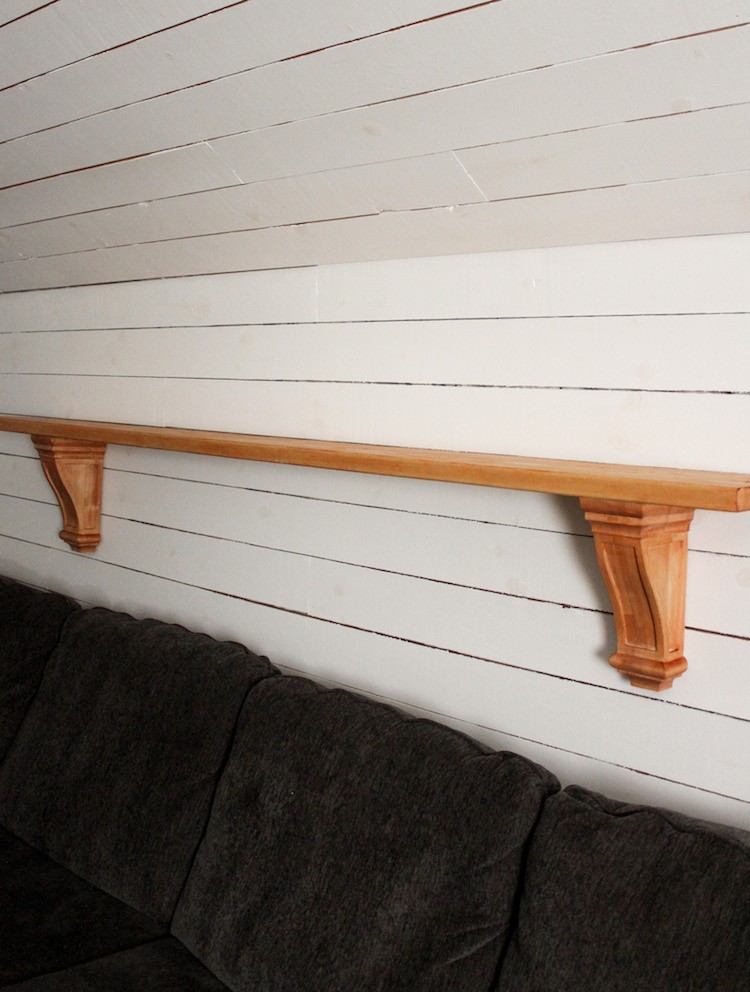
Once your shelf is completely stained…let it dry for the recommended time of one hour and then you’re ready to hang it up! Projects like this are so fun and can really add so much interest to your home! I have made lots of these shelves over the years and I love how Varathane Premium Wood Stain can completely transform regular old, inexpensive 2x6s into a gorgeous shelf! No one would ever guess this was only pine underneath that beautiful color!
Hanging Your New Wall Shelf
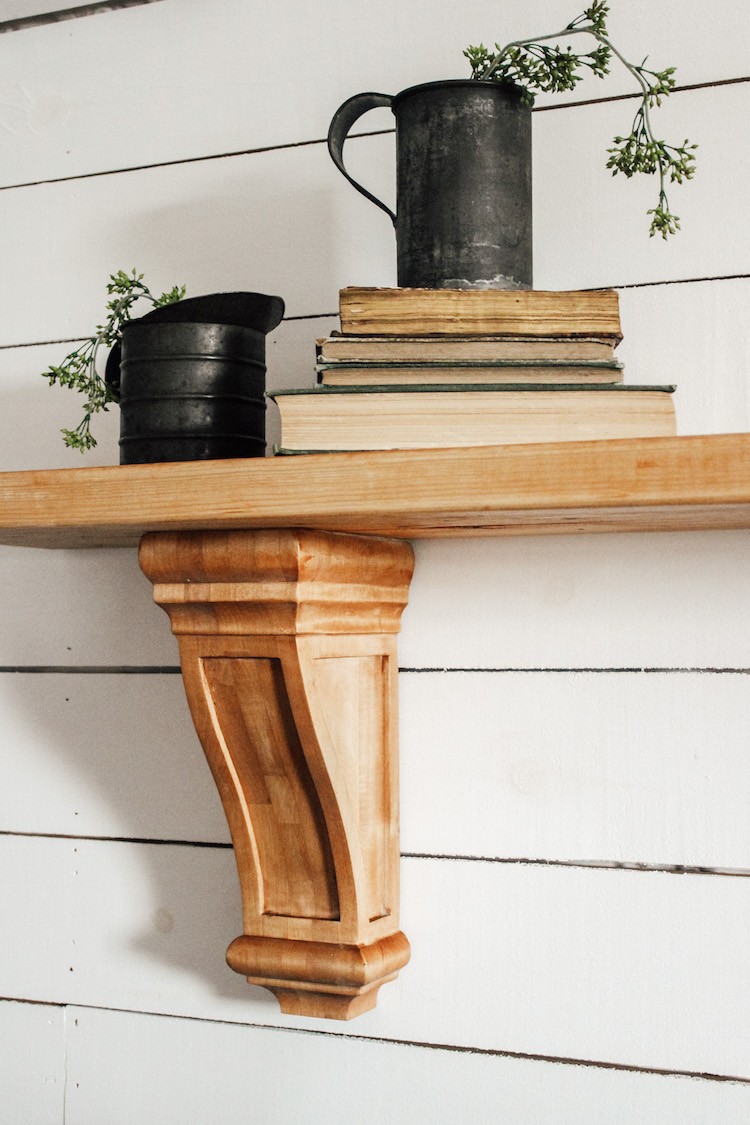
These corbels are my go- to when building shelves because they come with a recessed bracket already on the back of them! When shopping for corbels…be sure to buy solid wood ones! The first time I tried this project I used faux wood corbels. They broke after being up on the wall for a few weeks and the entire shelf came crashing to the floor!!! Thankfully, no one was hurt! Lesson learned and that’s not a mistake I’ll make again!
You will need to make sure that you hit a stud in your wall when hanging your new shelf. Or, make sure to use a wall anchor that is rated for the weight of your shelf. My shelf is hung on my 1×4 pine boards (diy shiplap). I knew it would hold the weight of the shelf and anything that I put on top of the shelf!
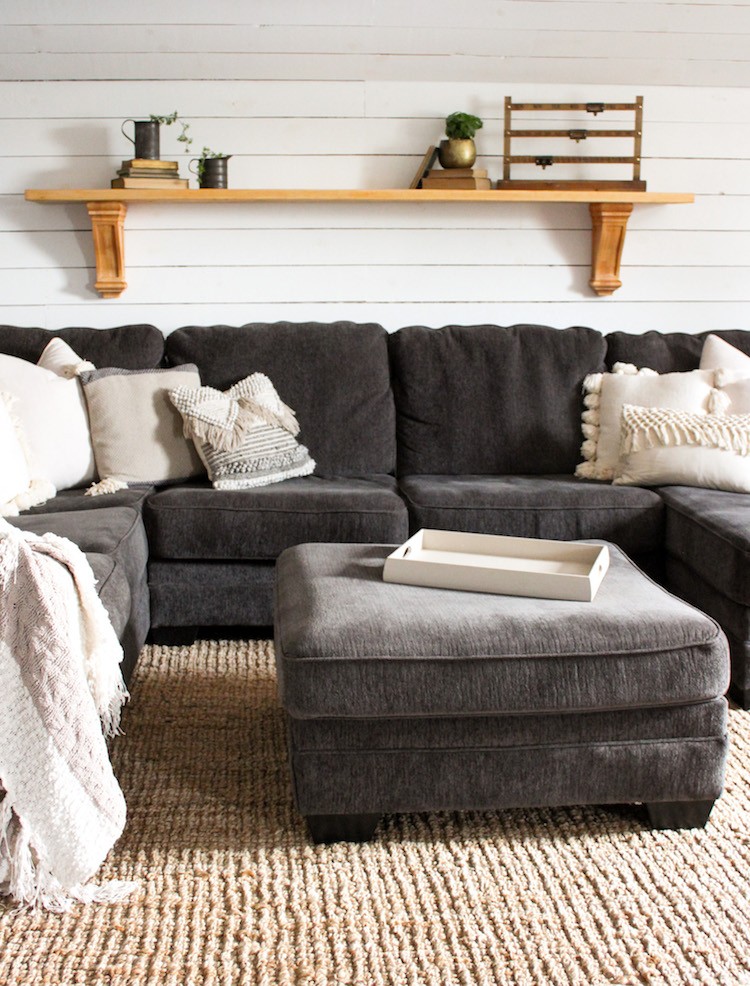
I love a fun project that only takes an afternoon to build and looks fantastic when it’s done! Now that I’ve shown how simple this project is…I’d love to know who else is going to build their own shelf?

The post How To Build A Large Wall Shelf with Varathane Premium appeared first on The Home Depot Blog.

