This ombre dresser looks great in a child’s room, but the painted ombre look is popular throughout the house these days.
Natalie Dalpias, The Creative Mom, used chalked paint to create the ombre effect on this old dresser. And as you’ll see, it’s an easy paint project that’s fun to do.
Painted Ombre Dresser Project
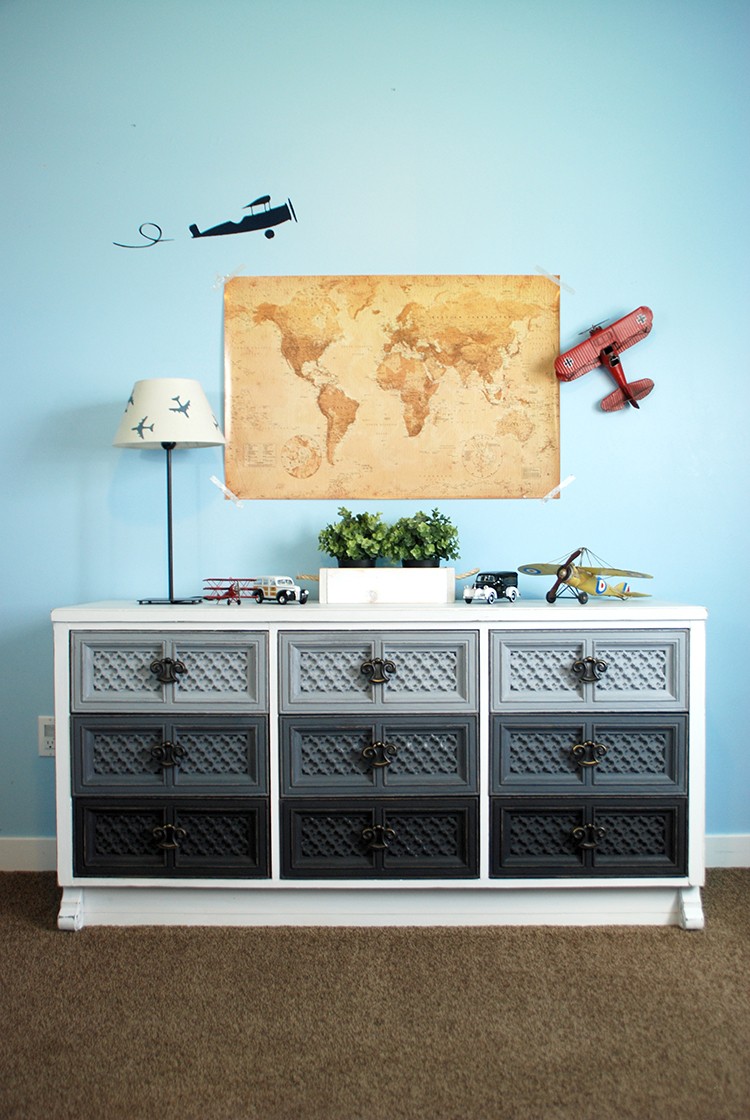
I have been loving the ombre trend, which has become really popular the last few years. I knew I wanted to try it out somewhere in my home, but I wasn’t sure where I wanted it. So when my little boys wanted their room updated and refreshed, I found the perfect place to try ombre– their old dresser.
I am in love with the way it turned out, and I’m excited to show you guys how I painted this dresser with Rust-Oleum Chalked Paint. I’ll let you in on a little secret… this whole transformation only cost about $60. You can’t beat that price for a truly custom piece of furniture.
The Old Dresser
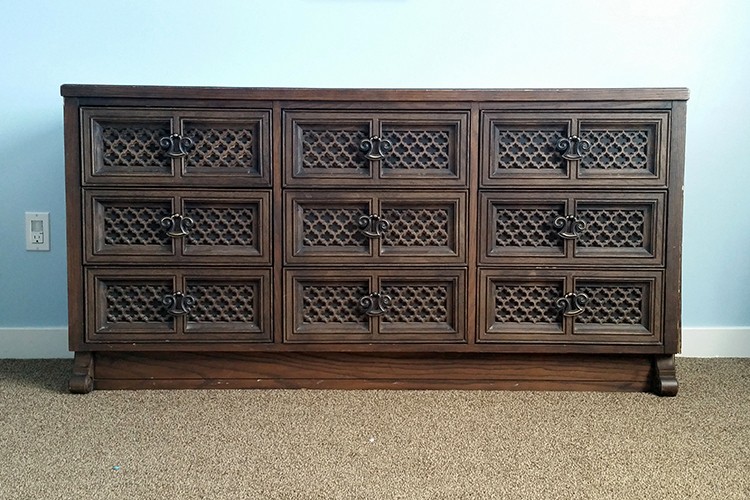
We’ve had this dresser for a few years. It was a yard sale find, and it was in great shape- super sturdy and strong! It had good bones, but wasn’t anything special, so it was the perfect piece of furniture for a face lift and a new paint job.
The Ombre Painted Dresser
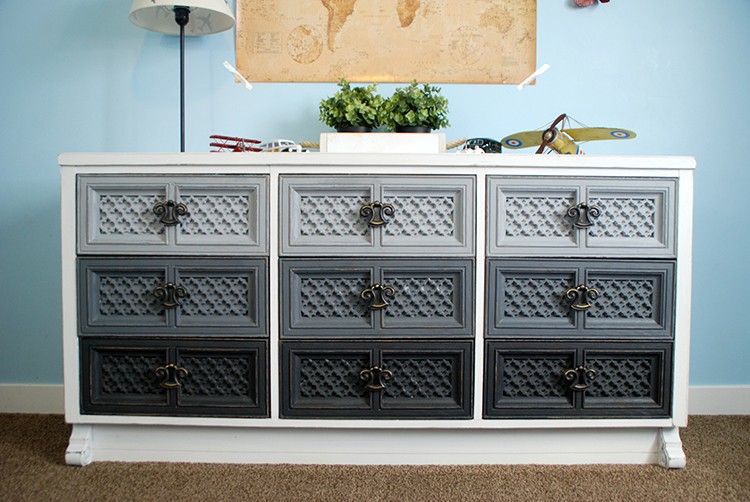
And this is what it looked like after a fresh coat of paint with the ombre effect.
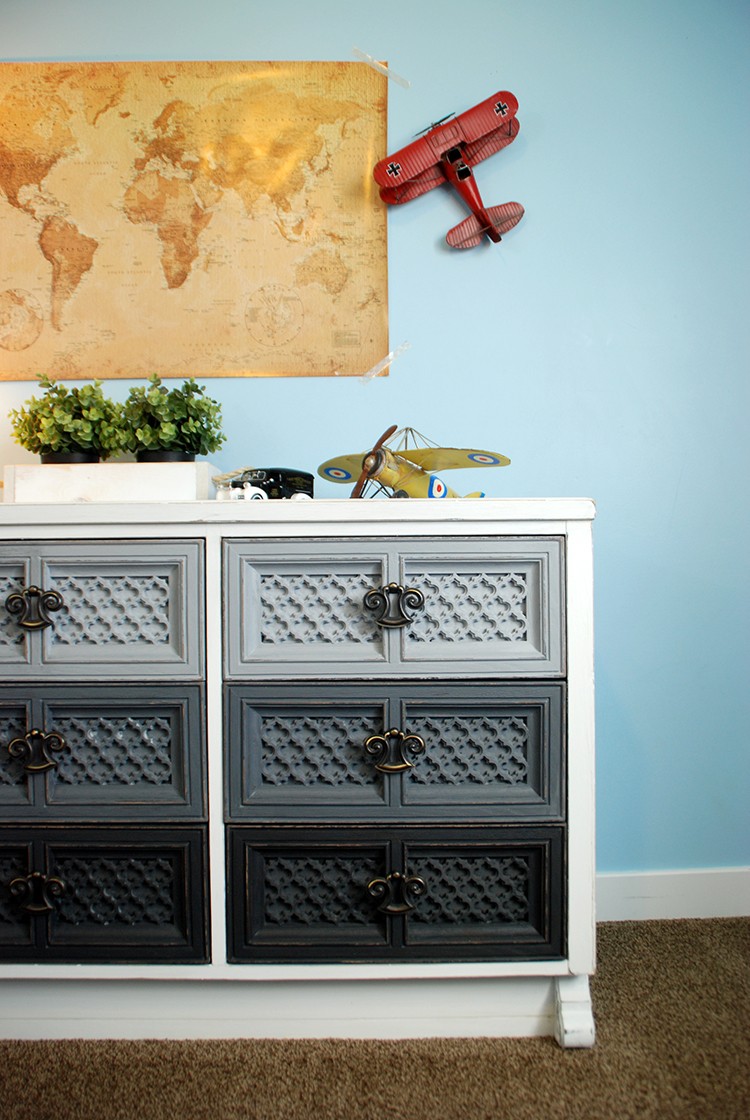
Those ombre drawers turned out exactly how I had hoped they would. This dresser is just boyish enough to be cool for my sons, but cute enough that I’m in love with it too.

The bright white sides and top really brightened everything up, and made such a difference in the way this dresser looked. I just love the moody, charcoal gray paired with this bright white- it is such a great color combination.
Are you ready to see how I transformed this yard sale dresser for about $60?
How to Paint a Dresser with Chalked Paint
Supplies
- 1- 30 oz. can Rust-Oleum Chalked Paint- Charcoal
- 1- 30 oz. can Rust-Oleum Chalked Paint- Linen White
- 1- 30 oz. can Rust-Oleum Chalked Paint- Matte Clear Topcoat
- Drop Cloth
- 2 in. Angled Paintbrush
- Medium Grit Sanding Sponge or Power Sander
- New Drawer Pulls or Knobs (optional)

You can find almost all of these supplies, including Rust-Oleum Chalked Paint, down the paint aisle at The Home Depot. You can also order all the supplies I’ve listed above onlineand just select in-store pickup. When you pick it up at the store, don’t forget to ask the people at the paint counter to give your paint cans a little shake for you, and you’ll be ready to go.
Directions
Step 1: Prepare the Dresser

Remove drawers from the dresser cabinet. Remove any hardware from the drawers. Since I only painted the fronts of my drawers, it wasn’t necessary to remove the drawer slides.

If the dresser surfaces are shiny or slick, give the surfaces a quick sanding with a medium grit sanding sponge, or a power sander with a medium grit sandpaper (80-120). My drawers didn’t need any sanding, but the top and sides of my dresser were pretty shiny, so I sanded them really quick so the paint would adhere to the surface better.
One of the reasons I love the chalked paint is that there isn’t very much prep work or finish work involved. As long as your furniture is clean and not too shiny, you are good to go.
After everything is sanded, wipe the dresser down so there isn’t any dust left. You’ll want your dresser to be nice and clean.
Step 2: Prepare Your Paint

Since my dresser had three rows of drawers, I needed three different colors of paint. I wanted my bottom drawers the Charcoal color, then I mixed a little more Linen White in each layer as I went up.
My middle layer was about ¾ charcoal and ¼ white (6 oz. charcoal and 1½ oz. white). My top layer was about half charcoal and half white (4 oz. charcoal, 4 oz. white). You can adjust the ratio of paint to your liking.
Step 3: Paint the Dresser

Put your dresser on a drop cloth and using a nice 2 inch angled paintbrush, start painting the base cabinet of your dresser.
I found that two thin layers of paint worked best. I painted my first layer pretty thin, then let it dry for about an hour, then I painted my second thin coat.
This paint dries super fast, which I love.
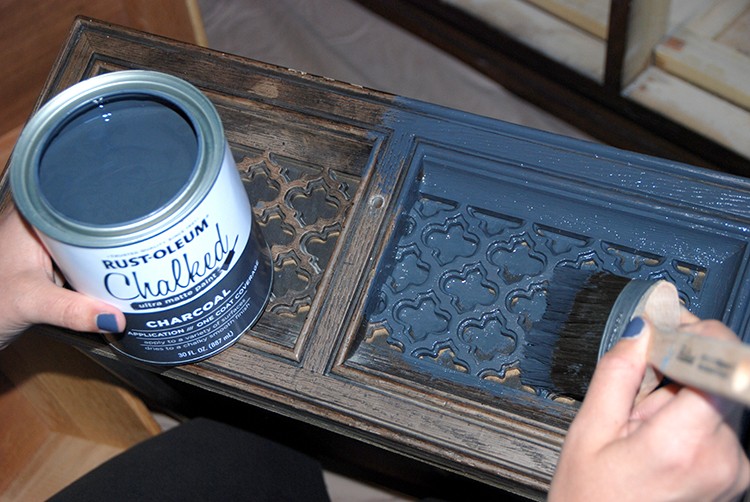
While you’re waiting for your coats of paint to dry on your dresser cabinet, you can start painting your drawers.
Use the same type of paintbrush, and the same technique to paint your drawers– two thin coats. You’ll want your darkest color on the bottom, medium in the middle, and lightest on the top.
Step 4: Distress the Dresser
If you are going for an antique or farmhouse look, you’ll probably want to distress your dresser, but it’s optional.
I always distress my furniture because my kids are really hard on my furniture, and I want my scuffs and scratches to look intentional- haha! But if you want a cleaner, more modern look, you can skip the distressing.

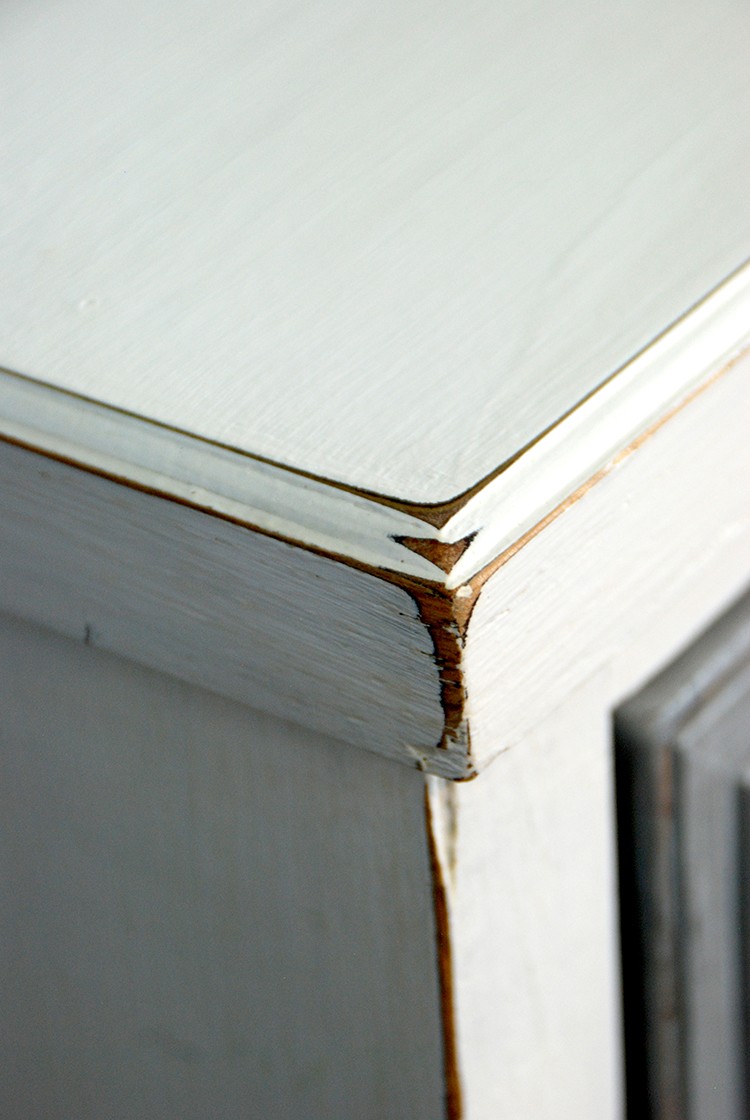
You’ll take your medium grit sanding sponge, or a power sander with a medium grit sandpaper (80-120), and sand the corners and edges of your dresser. I always think of the parts of the furniture that’s most likely to get worn and scuffed, and sand those until the original finish shows through.
Step 5: Apply Topcoat
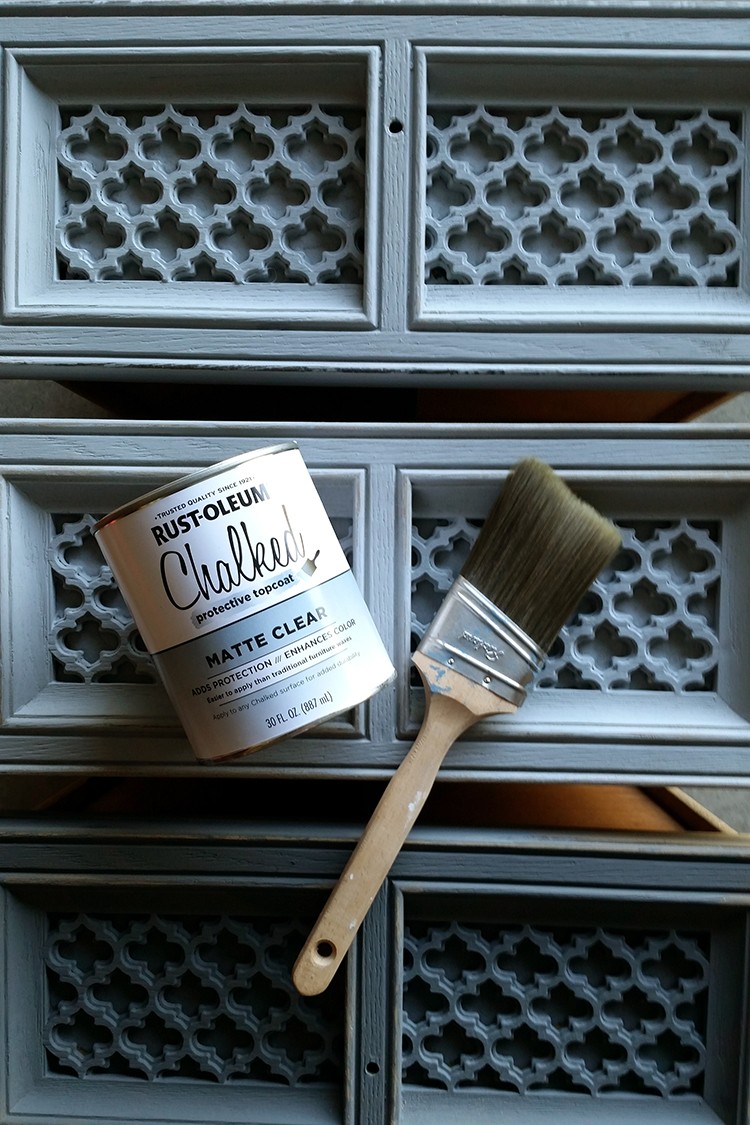
After your chalked paint has completely dried, apply your Rust-Oleum Chalked paint- Matte Clear Topcoat. Use the same type of paintbrush and brush the topcoat on top of your painted surfaces.
Let it dry completely.
Step 6: Add New Cabinet Hardware

Once your topcoat has dried completely, replace your drawer pulls or knobs. There are some seriously cute ones I was dying over in the aisle at The Home Depot– the knob aisle just might be my favorite aisle. Haha!
Put your drawers back in your dresser, and enjoy your good work!
The post How to Create an Ombre Dresser Using Chalked Paint appeared first on The Home Depot Blog.
