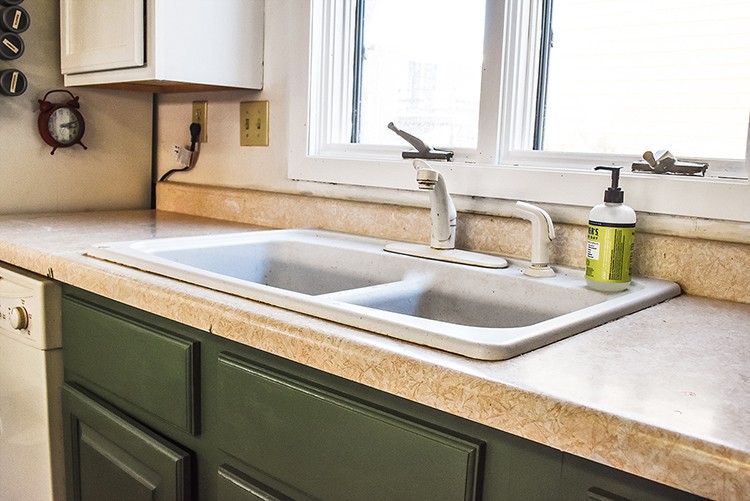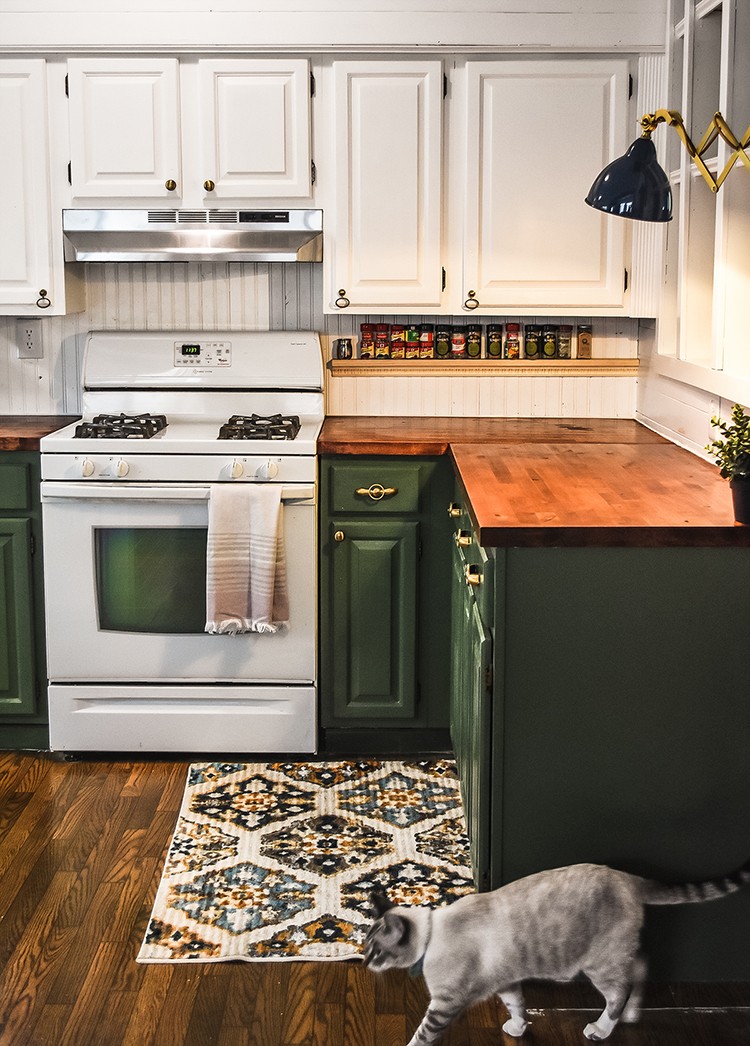
Janel Hutton of Nellie Bellie took her sad kitchen and turned it into a bright and beautiful room by adding butcher block countertops! This simple DIY project changed the entire look of the room.
Read on to see Janel’s step-by-step instructions on how to install butcher block countertops!
How To Easily Install Butcher Block Countertops
Materials
- Birch Butcher Block Countertops
- Measuring tape
- Straight edge
- Circular saw with 7¼ in. with 60 teeth blade
- Masking tape
- Jigsaw
- Cordless drill
- Sander
- Wood screws (#6 11/2)
- Pre-stain conditioner
- Wood stain
- Butcher block conditioner
Before the Update 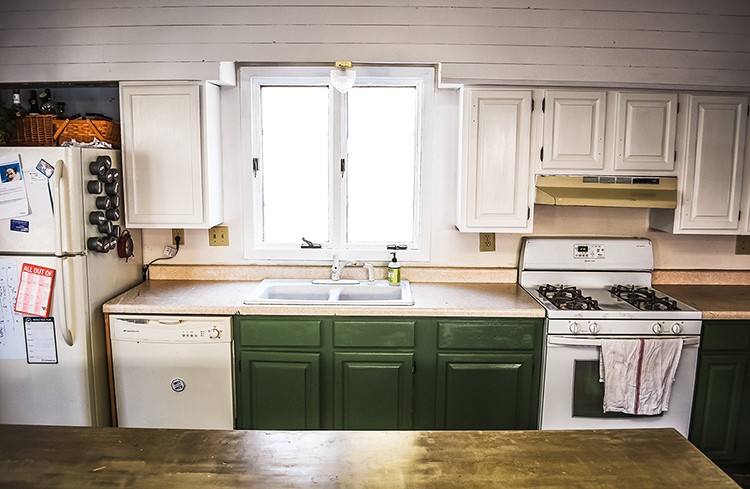
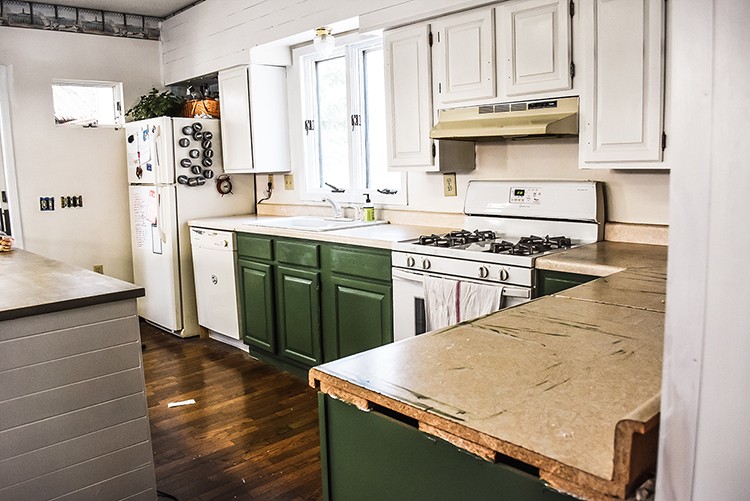
Butcher block countertops are an inexpensive and relatively simple DIY solution for those of you that are tackling kitchen updates, like we are.
Choosing Butcher Block
We chose to install butcher block countertops because we love how they look, we love that they are simple for a DIY’er to install, and that their price tag is very reasonable. They helped us take our kitchen from a sad room to a bright and beautiful room that we look forward to walking into each day.
Installing a butcher block countertop isn’t difficult, but does require a circular saw and jigsaw. The simplest method, which we did, lines up the countertop in an L shape rather than using an angled corner (much more difficult!).
If you, like us, are fairly basic in your DIY knowledge, stick with the simple L shaped corner and try not to get too fancy.
And give yourself plenty of time.
Tip: Choose the simplest, most straight-forward counter to start with. You’ll feel more confident as you move forward as well as have a better handle on any quirks. (code: don’t start on any sink cut-outs first)
Step 1: Measure for the needed material
And then measure again. Be sure! Order your countertops several weeks prior to needing them to allow for delivery.
Note: There are several kinds of butcher block countertop materials available. We used birch with a walnut stain. Do your research prior to ordering to determine which material you would prefer.
Step 2: Remove existing countertops
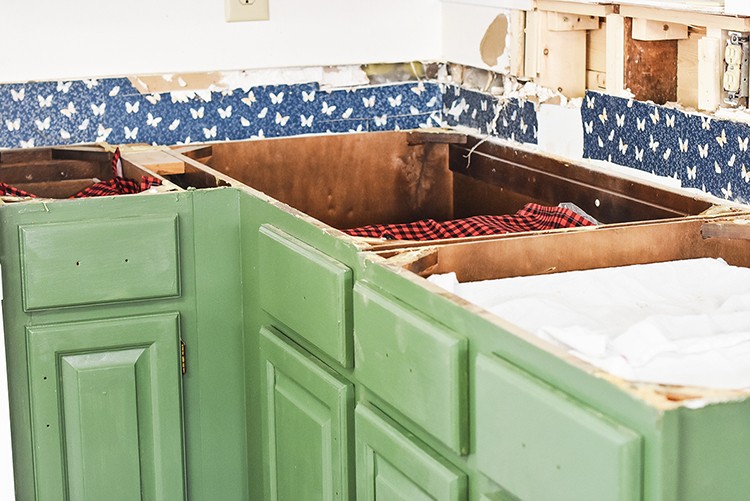
We chose to remove part of the room, do the butcher block, and then move on. This meant we could keep the sink in operation for as long as possible. A good solution for a kitchen remodel that still needs to function.
Step 3: Remove any leftover adhesive
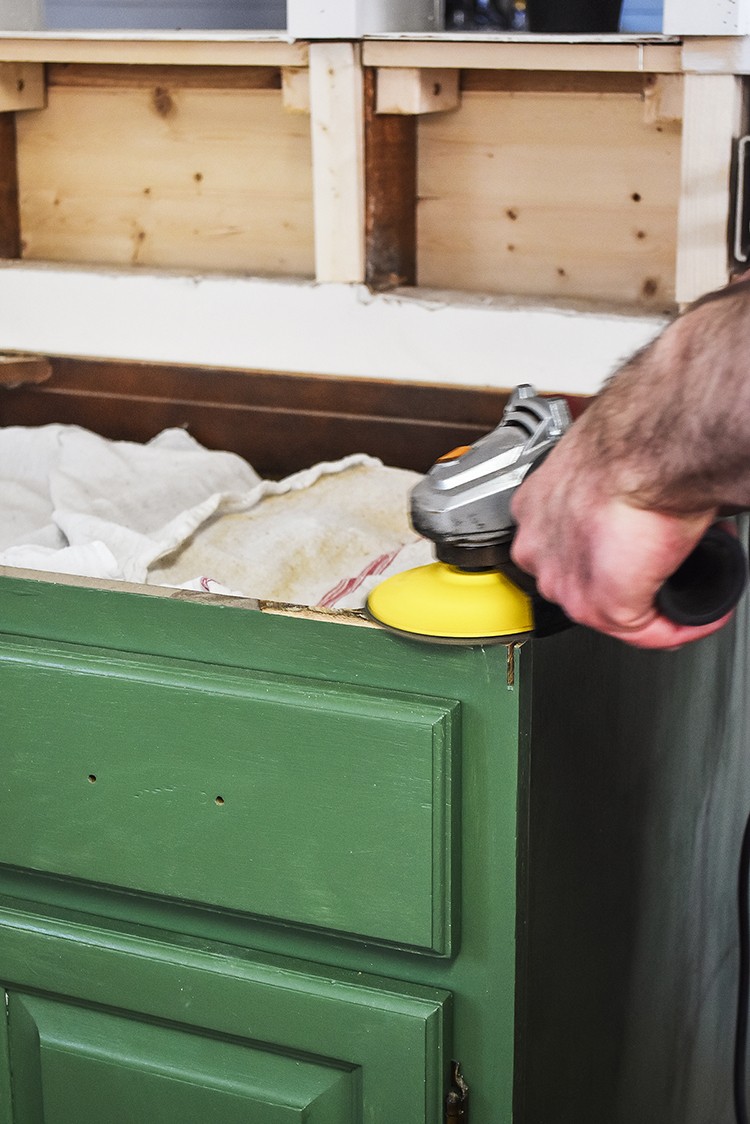
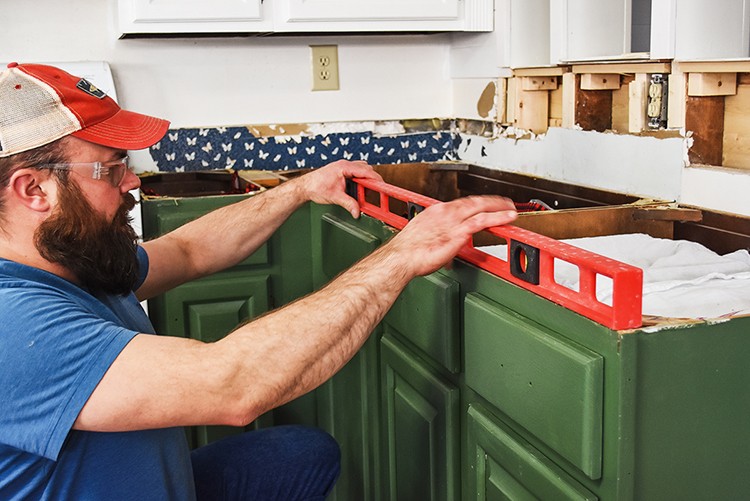
To make sure your butcher block countertop is level you will need to remove any remaining adhesive. Perhaps it will come off easily. Or, like in our case, you will need a bit of extra help to get it off. We used our angle grinder with a conversion kit (to use it as a sander) and coarse grit paper. This went really fast and we had to be careful!
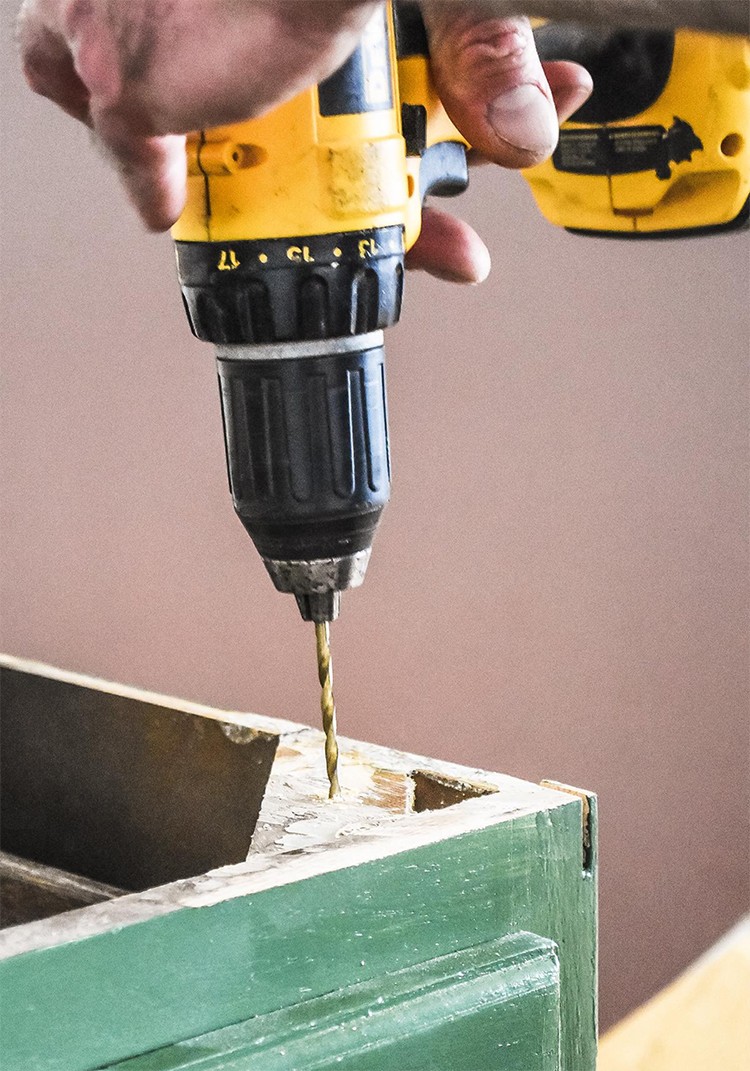
At this time, it is also wise to drill your pilot holes for securing the counter with wood screws if you are choosing that method. Remember to drill your holes a bit smaller than the screws to give the screw wood to grab on to.
Step 4: Measure your first counter
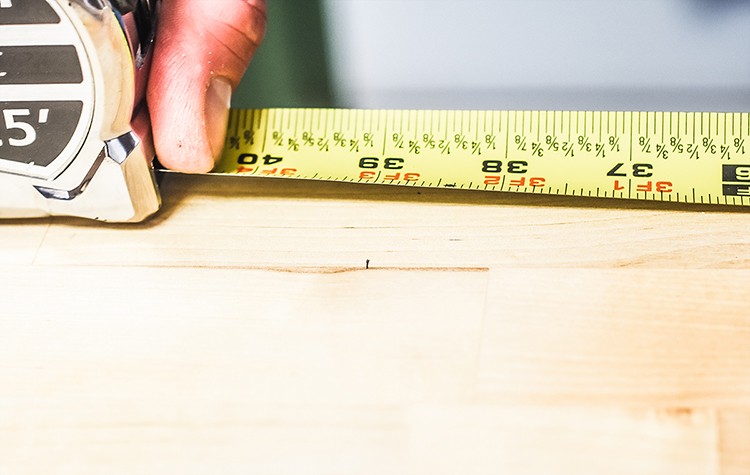
And then again. Measure far more times than you think you need to. If you can, check your measurements against the previous countertops that you removed. Alternately, use plywood or cardboard to create a dry run of your countertop cut. Be sure, when measuring, that you include any overhang that you may want on the end of your counter.
Tip: If possible, have 2 people independently measure every cut and make sure each arrive at the same measurement before moving forward.
Step 5: Make your first cut and drylay
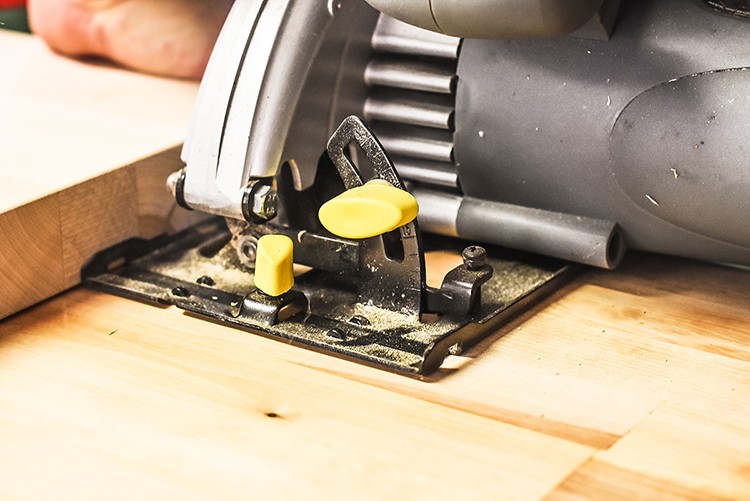
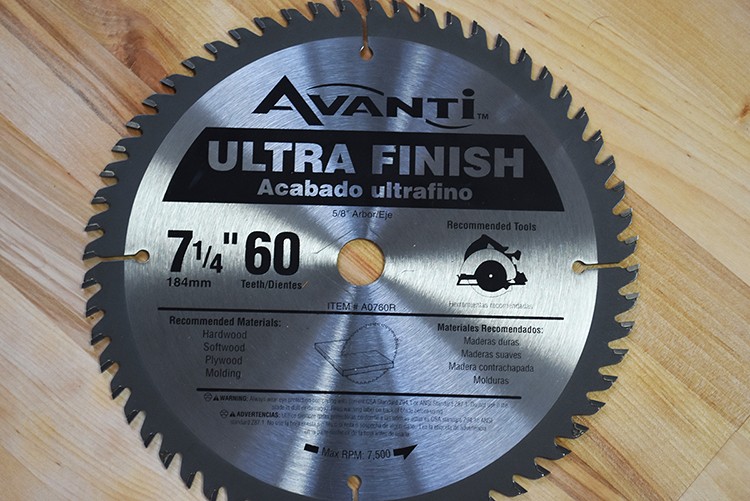
Use a circular saw with a 7¼ in. 60 teeth blade to make your first cut. Be sure to use a straight edge to help guide the blade. Keep the cut slow and steady. Lay your countertop out and double check for accuracy.
Repeat this step as needed to finish each section of countertop.
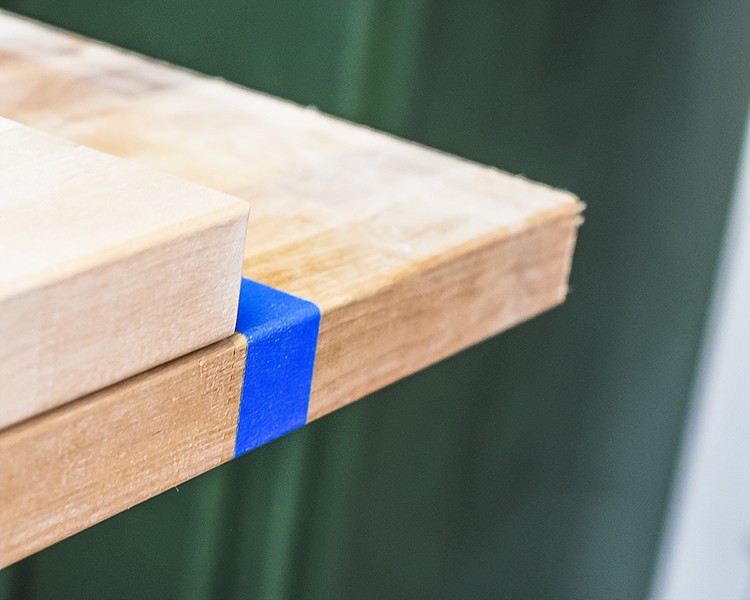
Tip: Apply masking tape along the entire line where the cut will be to keep the wood from splintering.
Step 6: Secure Countertops
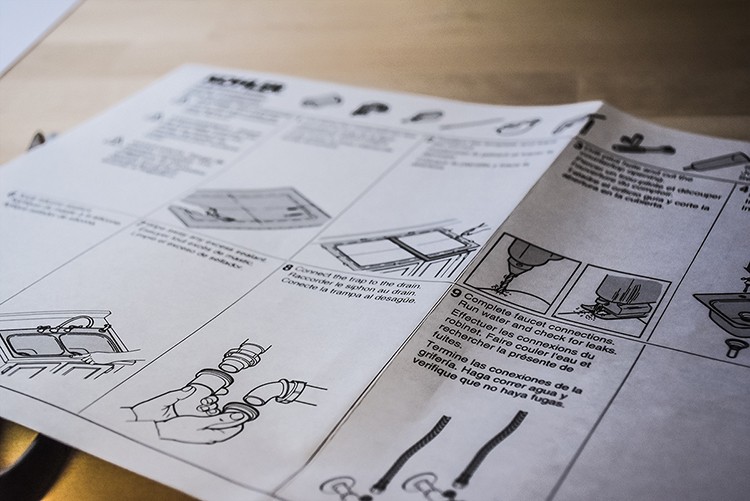
When you have completed cutting all of your sections (instructions above addresses any sink cuts) push pieces tightly together as best you can and secure into place. We chose to use wood screws (#6 11/2 in.) that are screwed into the butcherblock from underneath the countertop using the holes we previously started.
Step 7: Cut the Sink
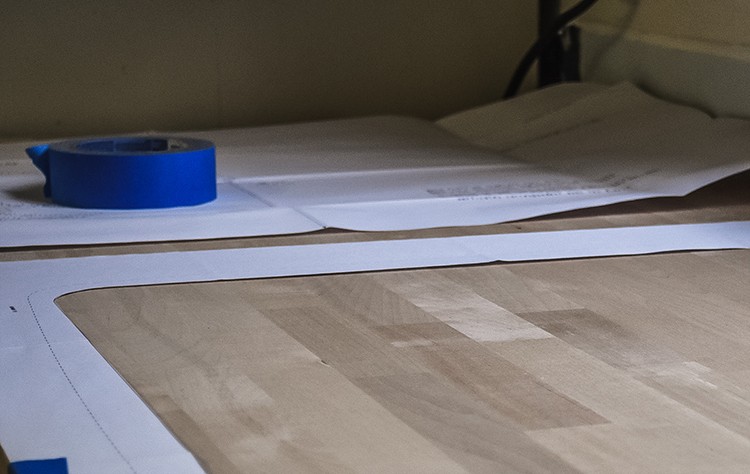
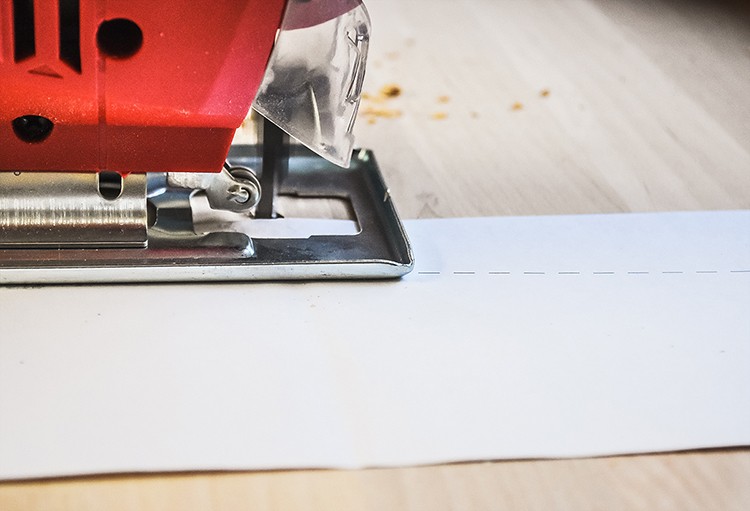

Use the above steps to cut the butcher block section to fit into the sink countertop area. Set it atop the counter, align, and secure into place as instructed.
If your sink came with a template, utilize that to mark where your cut should be. If your sink did not come with a template it would be wise to use a piece of cardboard or large paper to create your own.
After your cut has been drawn out, properly marked, and double-checked…drill a pilot hole with a large drill bit to get the jigsaw started with.
Carefully use the jigsaw to make your sink cut.
Drop in your sink to test, adjust the cut if needed. Finish according to your sink directions.
Tip: This cut will take a bit of time…be patient!
Step 8: Finish the Counter
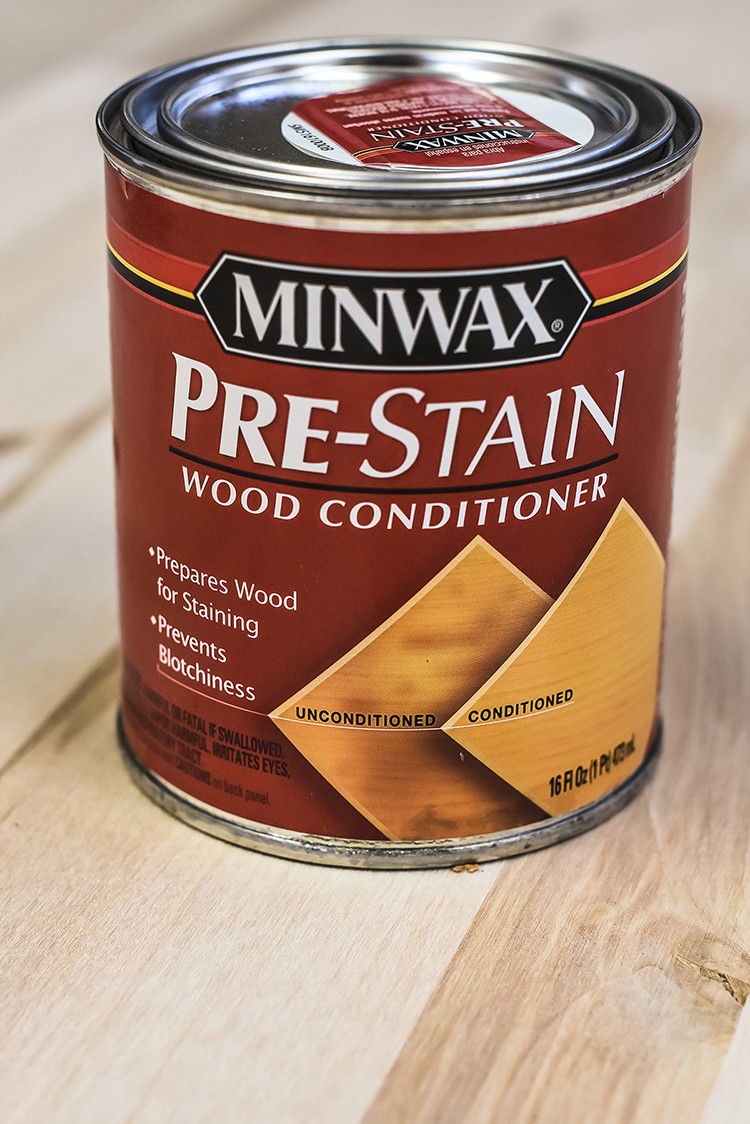
Apply pre-stain conditioner if you are staining. After about 20 minutes, apply your stain according to directions. Once you’ve allowed for proper drying time, apply butcher block conditioner according to directions.
To care for your counter, be sure to wipe liquid off countertops quickly after spilled, keep dry, as best as possible, use trivets or pot holders, and apply additional conditioner, as needed, to keep the countertops looking beautiful.
Final Reveal


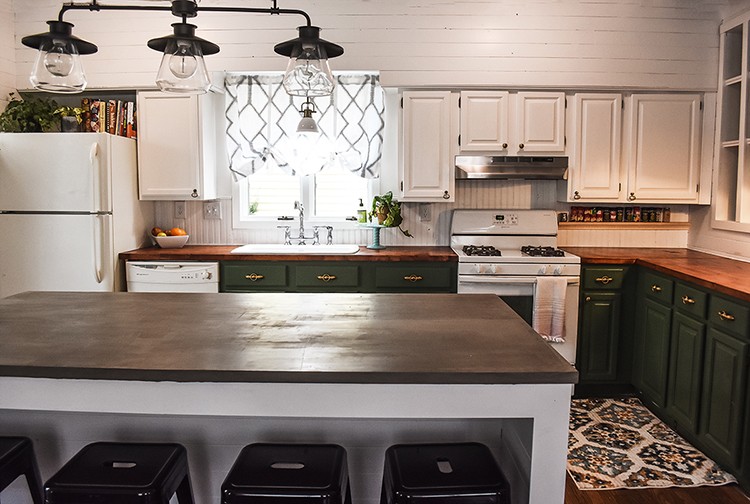
We are so incredibly pleased with how beautiful these countertops are in our kitchen. The best part is that we were able to install butcher block countertops in a weekend (complete with sink and faucet) and they look amazing!
The post How To Install a Simple Butcher Block Counter appeared first on The Home Depot Blog.
