(BPT) – Cooler weather has arrived and the holidays are quickly approaching. That means it’s time to focus on your home decorating and, while you can always buy your holiday décor, making it can be so much more fun. Kick off your decorating by breaking out the wood, power drills, Arrow Fastener tools and other materials to create unique wall art that will literally light up your holidays and say “Family.”
Follow these steps from blogger Serena Appiah from ThriftDiving.com and you’ll be able to invite your family to enjoy your handiwork with you.
1. Assemble your materials.

To build this project you’ll need: Arrow Fastener T25 Professional Low Voltage Wire/Cable Staple Gun, 3/8″ wire cable staples, Arrow T50X TacMate and 5/16″ T50 #505 staples. You’ll need a jig saw, power drill and brad point drill bit as well as a large drill bit for pilot holes. Finally, you’ll need 3/4″ plywood if staining word art, 3/4″ MDF if painting word art, string lights, large “Family” stencil, stain or paint, foam brush for staining, paintbrush for painting, sandpaper, dust mask, boards for DIY picture frame (optional), D-ring picture hangers, wall hooks and wood glue.
2. Create the stencil.

To make this light-up word art, you’ll need a large stencil. If you’ve got a personal cutting machine (such as a Cricut or Silhouette), you can easily create a large stencil. However, those machines can be costly. A more cost-effective way to create a stencil is to download a free font you like at DaFont.com, then create your own large stencil at Rasterbator.net. Once the font is downloaded, open a Word document and type the word “Family.” Save the document (or screenshot the word) as a .jpg picture file. Next, head over to Rasterbator.net and follow the instructions to enlarge your .jpg picture file. The website will create a PDF of multiple sheets that you can now print on your own printer in a large version of your word “Family.” Cut out the word and tape it together.
3. Trace and cut.

It’s time to trace and cut out the word. Use your 3/4″ plywood or 3/4″ MDF board and trace out the entire word, being careful not to move it. Once the word is traced out, use a jigsaw with a fine-cutting scroll blade to cut out the word. Plan to spend about one hour cutting out the word. You’ll want to take your time around the corners, using drilled pilot holes to insert your jigsaw blade in the tight areas.
4. Time to sand.

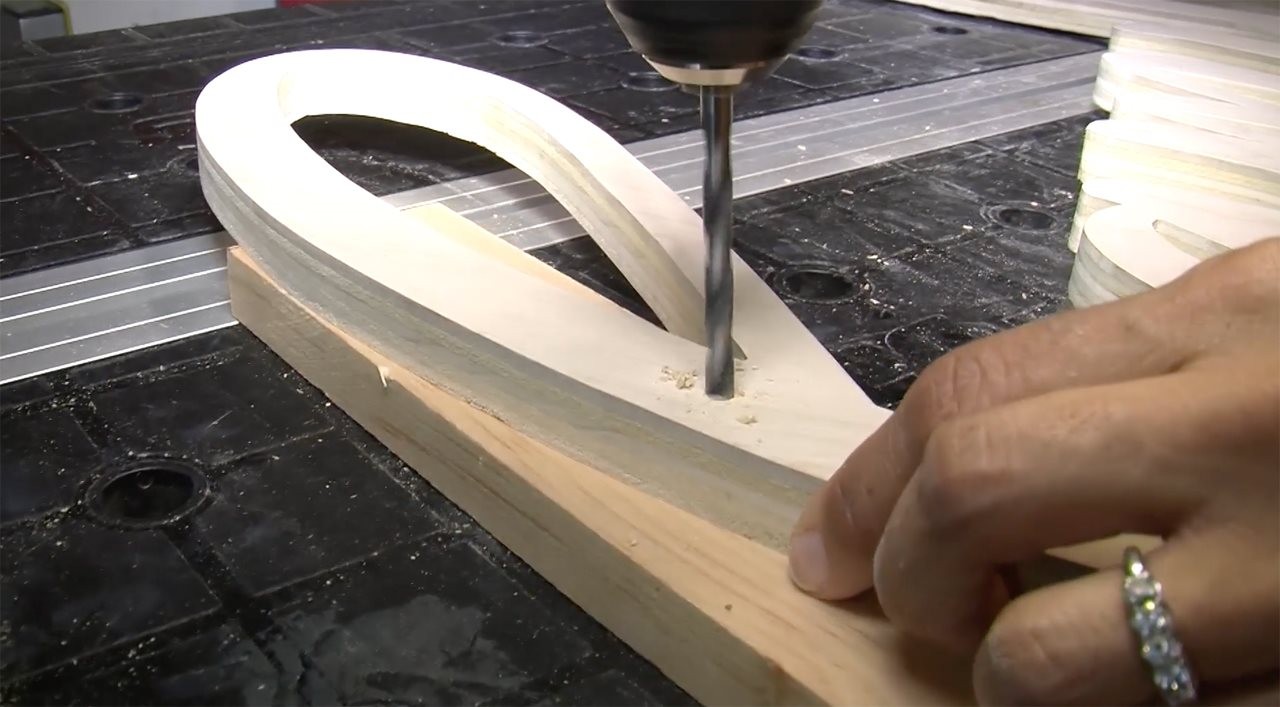
Once your “Family” word art is cut out, sand it smooth with fine sandpaper. Use the power drill with the brad point drill bit and cut out holes for the lights. The size of the brad point drill bit will depend on the size of the lights you’re using, so choose the appropriate drill bit size. Insert the string of lights as you add your holes, making sure that the holes are spaced appropriately for the length of your lights. Be sure to use a sacrificial board on the back side to avoid ripping out the back of the board when drilling holes. Sand smooth after all holes are added.
5. Apply the stain.

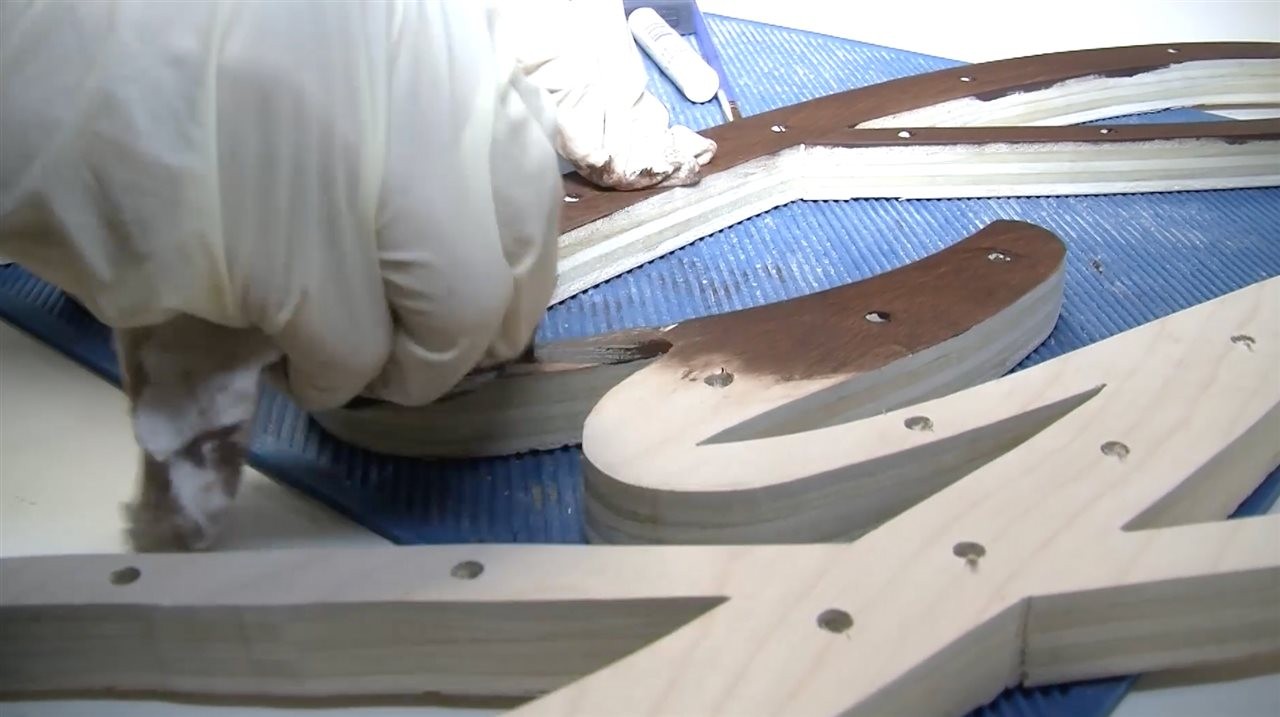
Stain your “Family” word art next using a stain of shade that appeals to you. If you’re painting, use a brush and paint it.
6. Insert the lights.

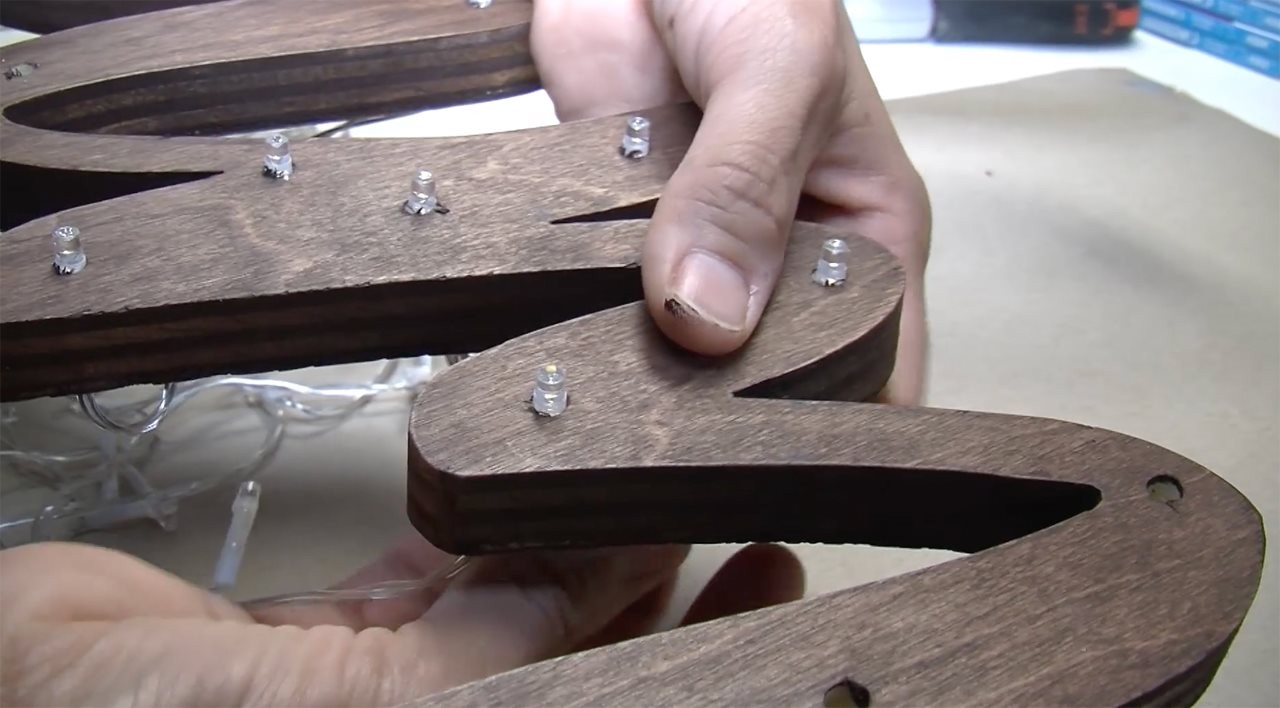
Insert the lights into the holes. Since you’ve already used the lights as a guide when drilling, you know that the lights fit appropriately.
7. Apply Arrow Fastener wire/cable.

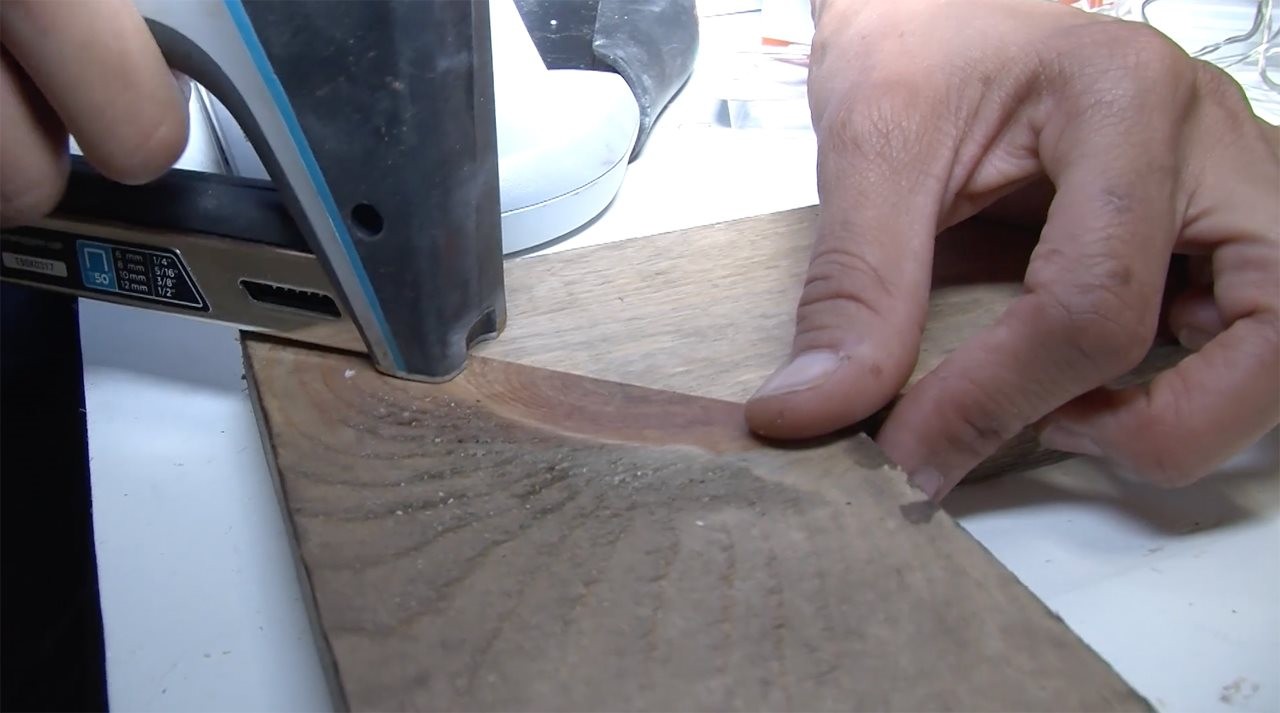
Use the Arrow Fastener wire/cable stapler to adhere the cable to the back of the word art. The curved staples protect the wire from being damaged. Be sure to use a board underneath to give the word art some support while stapling. Twirl and loop excess wires and then secure to the back of the word art. Next, add hooks on the back to hang it on the wall. Try different positions to make your word art hang straight, or angle it upward for a bit of flair, which looks really good when using a script font for your word art.
8. Add your DIY frame (optional).

If you want, you can make a DIY frame to hang around your word art. Cut four boards with mitered corners. Then use the Arrow Fastener T50 or T50X TacMate with the appropriate-length staples to glue and staple it (and clamp) together. Hang around your word art to accentuate it.
For more project inspiration around the holidays or anytime, visit www.arrrowfastener.com.
