Creating a fresh garden doesn’t have to be a daunting project. Follow along as Ashley of Heirloomed shares a few easy tips for planning your own farmhouse inspired garden. Click here to check out the rest of her Farmhouse Garden series.
Planning and Preparing Your Garden
It’s Ashley from heirloomed again and today I’m sharing a bit more about all the planning and preparation that has gone into our Farmhouse Garden project.
Once I got all the inspiration I needed (more on my mood board and garden sketch here) I was ready for the real planning to begin. A Farmhouse Garden is the perfect plot for anyone who loves to entertain, with fresh fruits, veggies + herbs to whip up some easy and seasonal, farm-to-table fare and put together an effortless floral arrangement at a moments notice. But just like any great party, planning and preparing your space is essential to success.
The area I’m using for my garden this season was filled with weeds and not-so-great dirt when I began. Getting the basic foundation for my garden ready to host a whole crop of plants is one of the most important steps of all for any gardener.
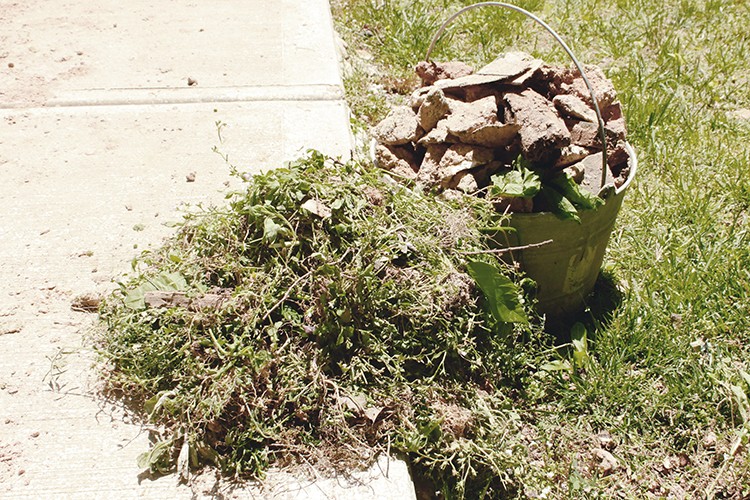
I put on some good gardening gloves and armed myself with a garden soil rake and was ready to get in there and work with the existing dirt. Several hours were spent pulling weeds down to the roots, tossing them into a big container that would later be dumped into my compost pile. I also roughed up the soil and removed some pieces of brick and rocks that were mixed in to the sub-par soil. It was finally beginning to take shape.
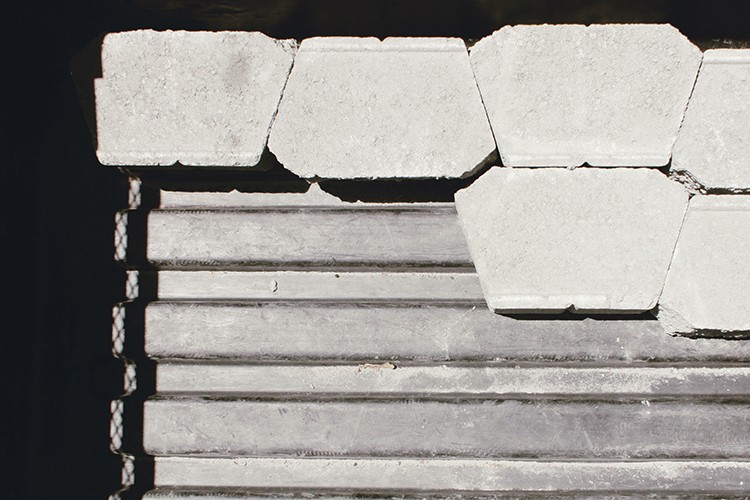
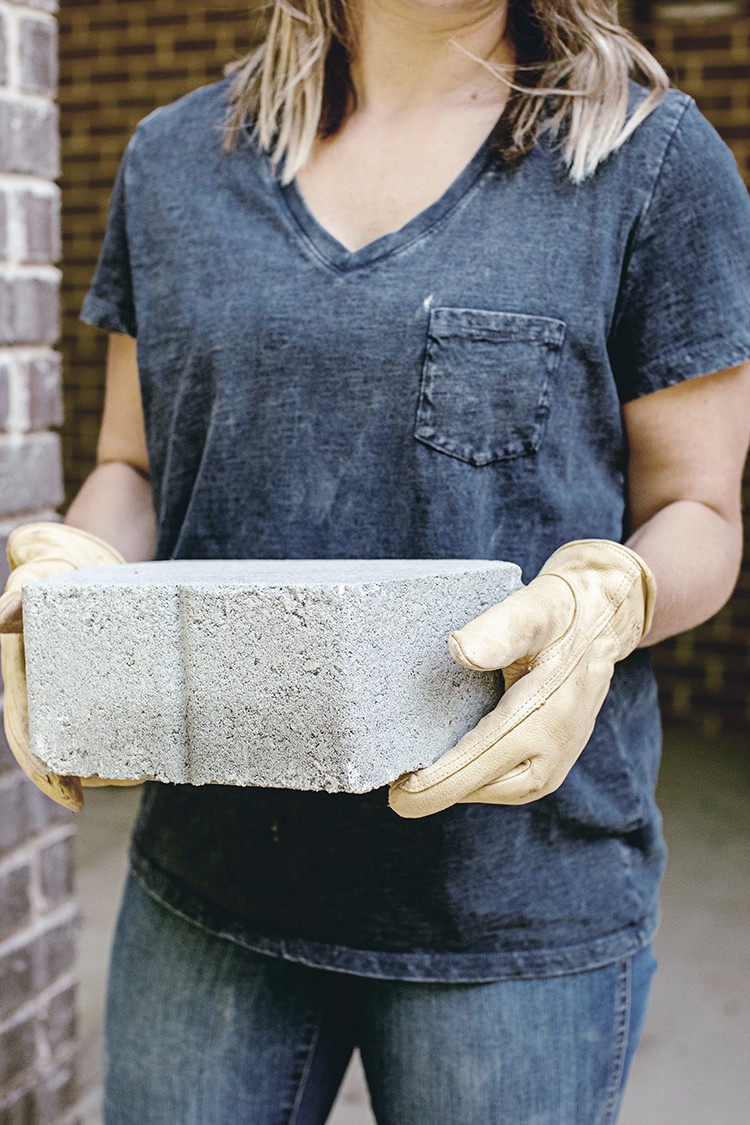
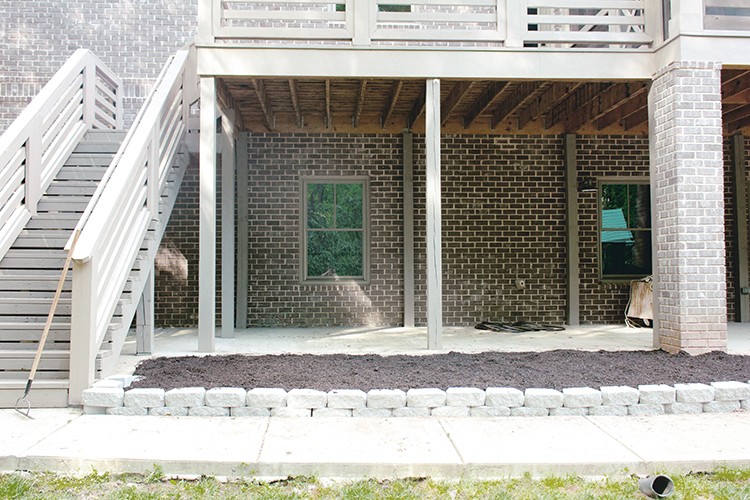
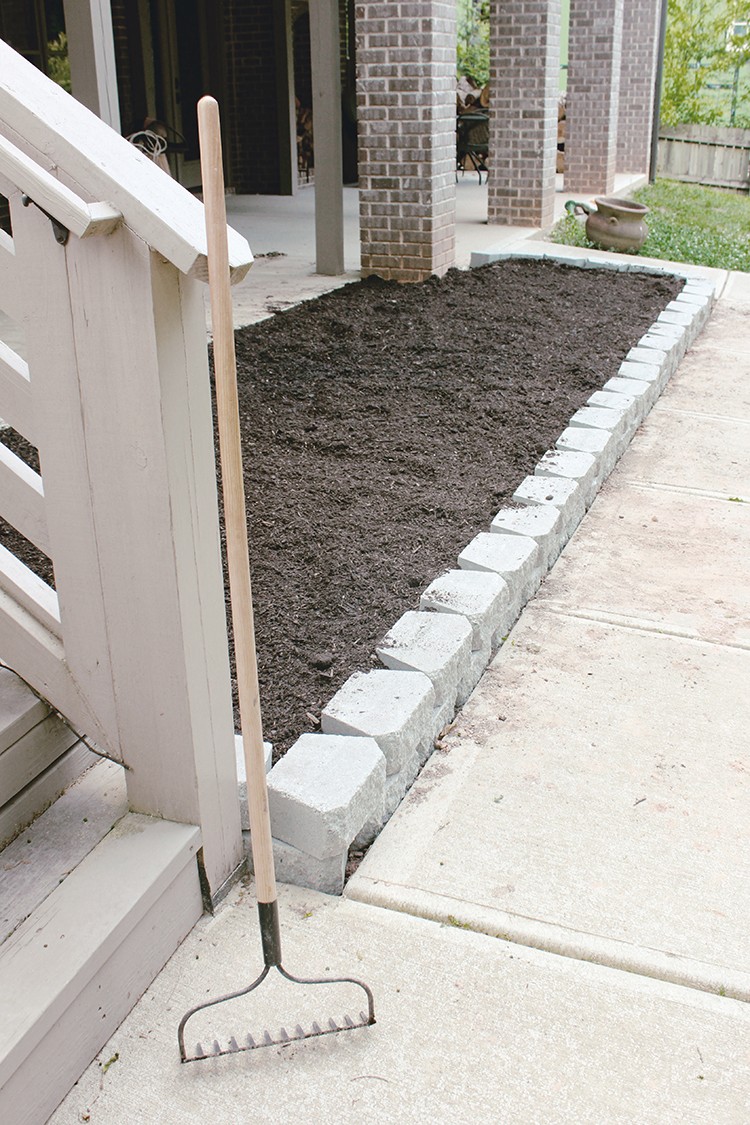
Because we are working with a bigger garden plot that normal and due to the slight slope it sits on I knew we’d have to do some work to line the garden with some edging to accommodate for the new dirt we’d be adding. After looking at quite a few options to form the edge of the bed we went with some concrete blocks that could easily stack on each other as needed and would provide a nice clean surrounding to really support our new garden home.
For this space we used about 65 stones stacked two high, just to give you an idea of what you’ll need for planning your own space. I also got some white marble chips to fill in the corners of the garden to finish it off and keep any would-be weeds at bay – they were such a nice touch and I can use them for so many other garden projects.
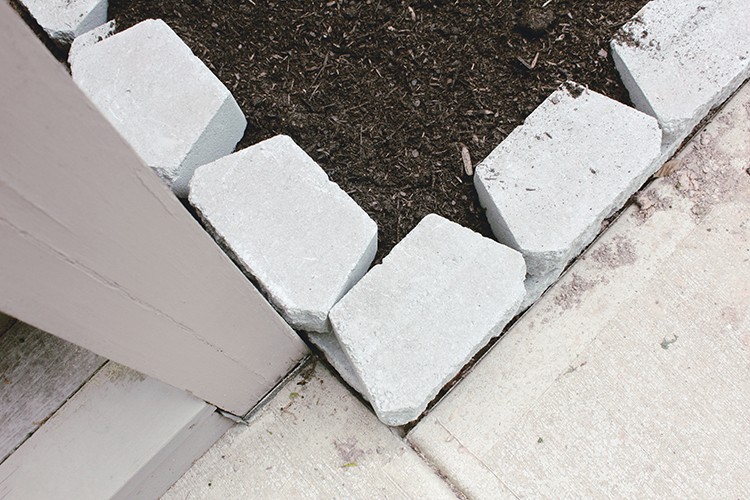
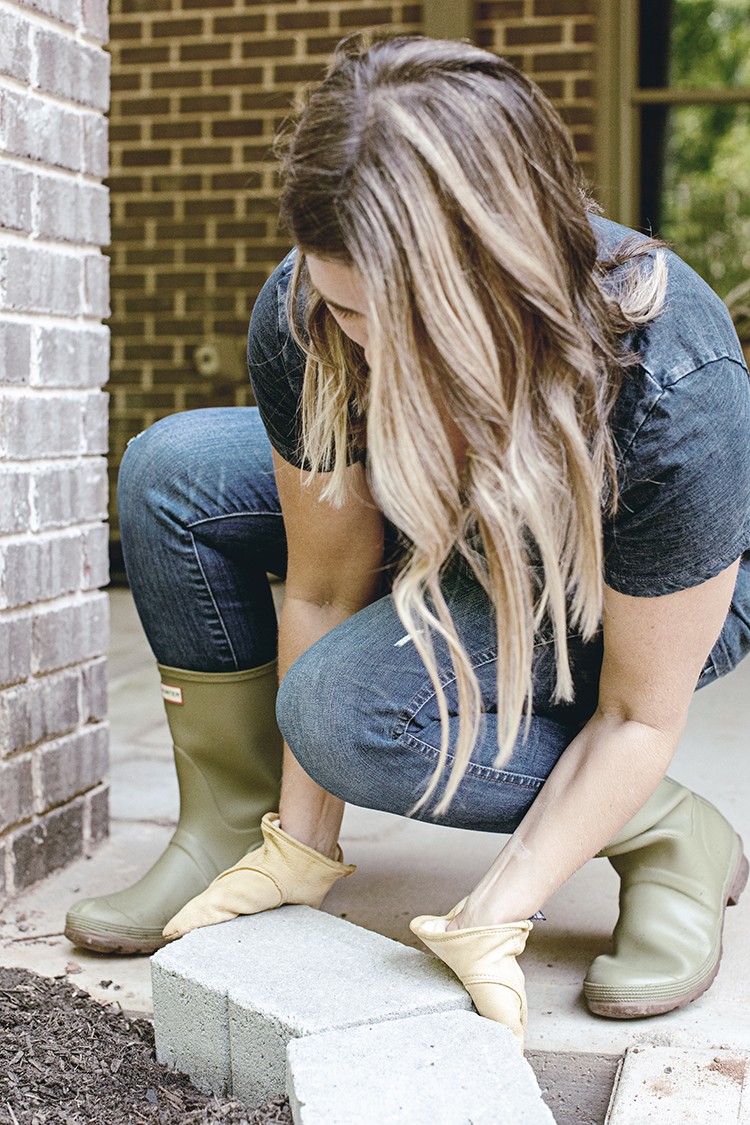
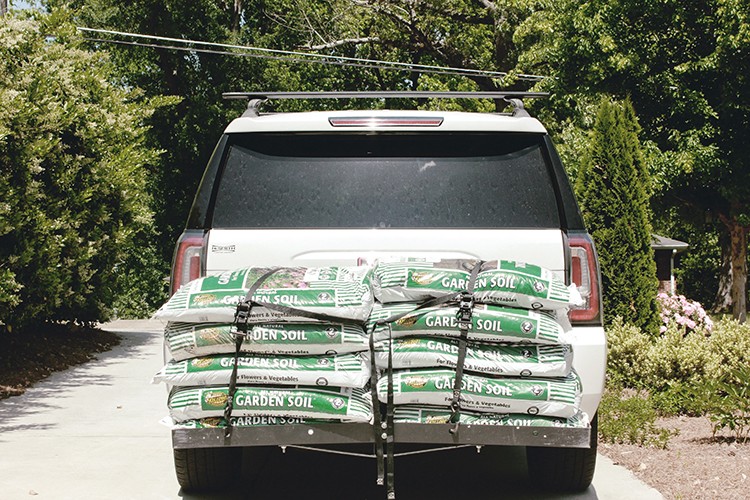
Because our existing dirt was really poor in this area we decided to fill the space with a good organic garden soil. And despite my best efforts to plan we ended up going back twice for more dirt to really get it to the level we needed for a successful base of dirt for the garden. I hosed down the garden bed with a good heavy watering and walked over the soil in my boots, which made the dirt more compact and settled, at which point we added several more bags of dirt to fill it back to the top of the bed. About 50 bags of dirt later we were finally ready to get the plants in there.
If you remember, I already measured and sketched out my plan for all the plants I wanted to incorporate and a good layout to scale for the garden. I was finally ready after all the prep and planning to head over to the Nursery at Home Depot to get everything I needed to fill my garden space.
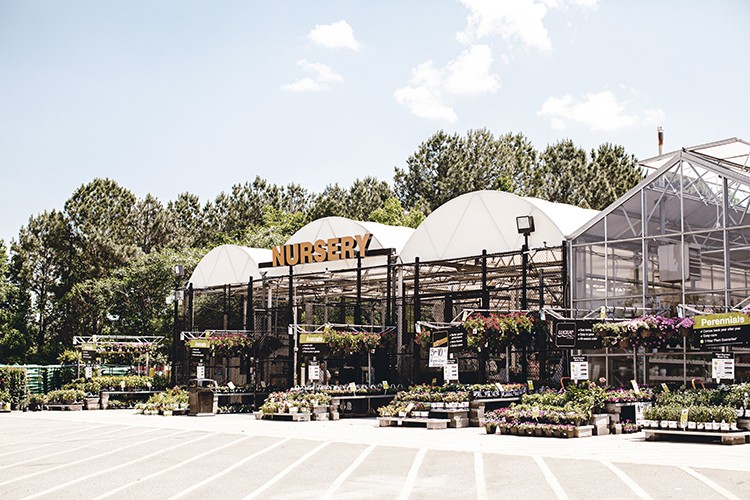
One thing that was handy for me to have while shopping was a list I had made from my garden sketch of all the plants and how many I needed of each. This way I knew I wouldn’t miss any of the must-haves as I began filling my cart. Because I was planting my garden a little bit later than normal (OK, and because I am more of a “starter plant” kind of gardener than a sprout-from-seed kind of gardener …) I made a few changes to my original plan along the way.
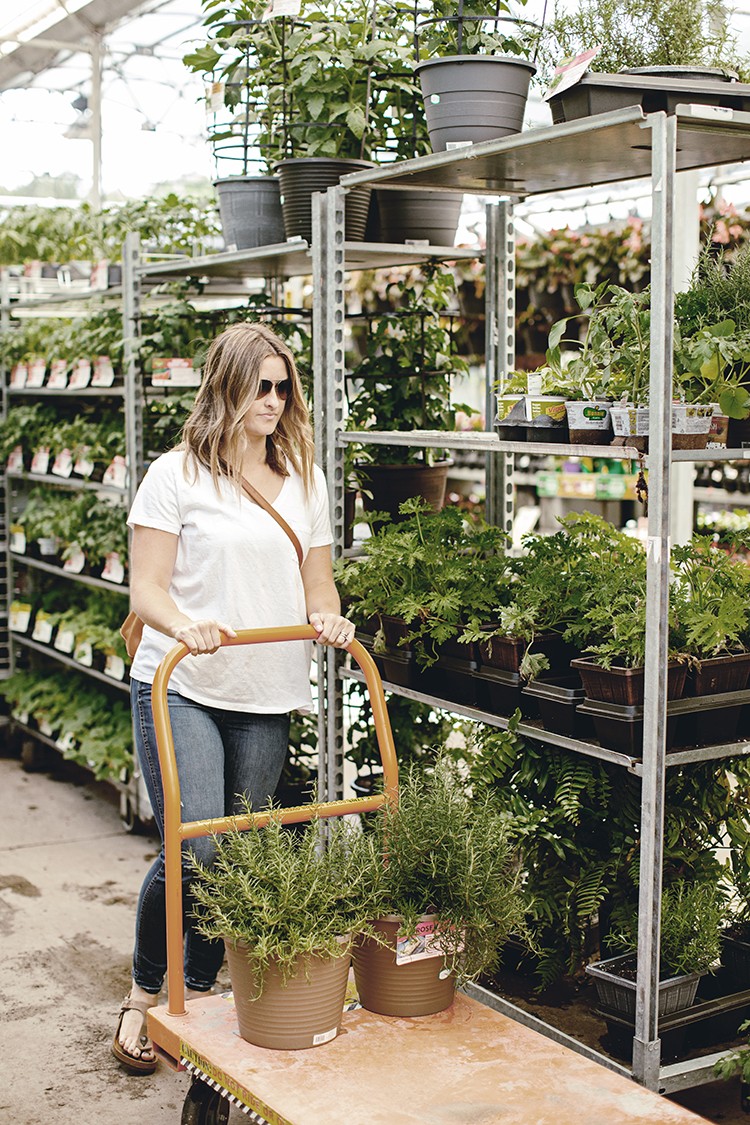
I nixed the lettuce, radishes and green beans (though I’m still considering trying to start a few seeds to see what I get because I love them all) and added in some really great purple peppers, some variety to my chives to include both onion and garlic, and some okra that I hadn’t thought to include before. That’s the beauty to browsing the varieties on the shelf once you’re there in person, you’re always sure to find something that just really speaks to you in the moment so be willing to be flexible and keep an open mind.
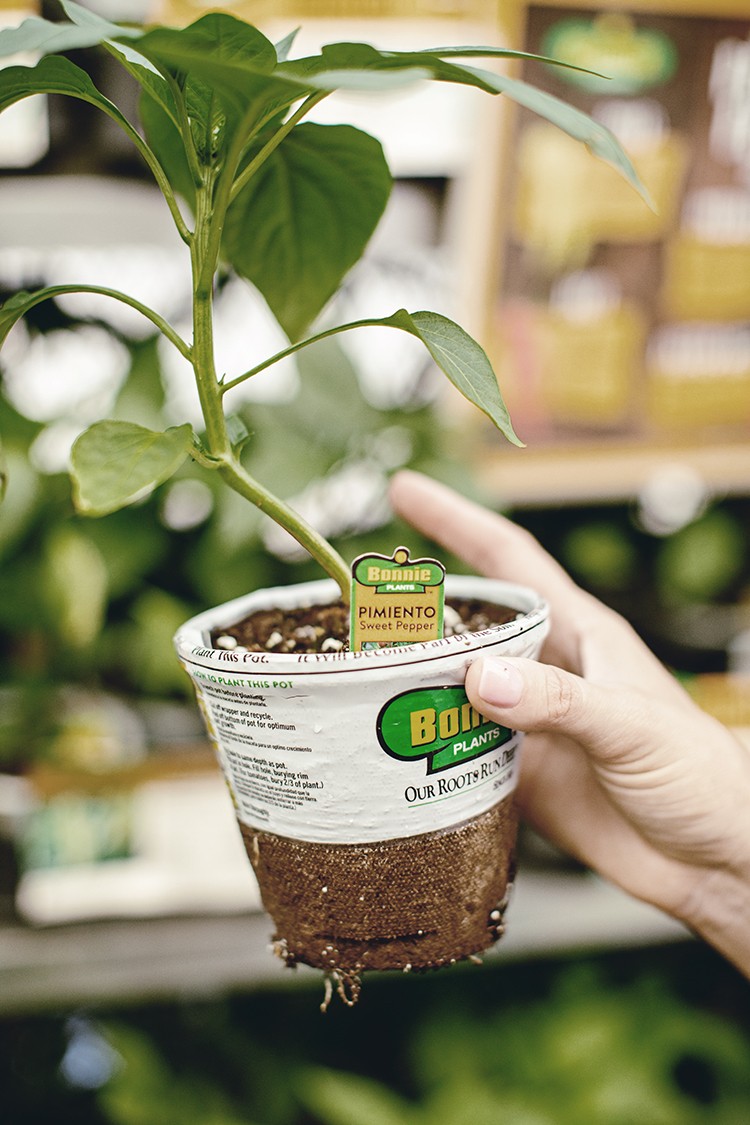
Because my car can only hold so much at one time, and because I love to plant everything “according to plan” and then fill in layers from there, I tried to stick to my plan as closely as possible and get home for the first planting to begin.
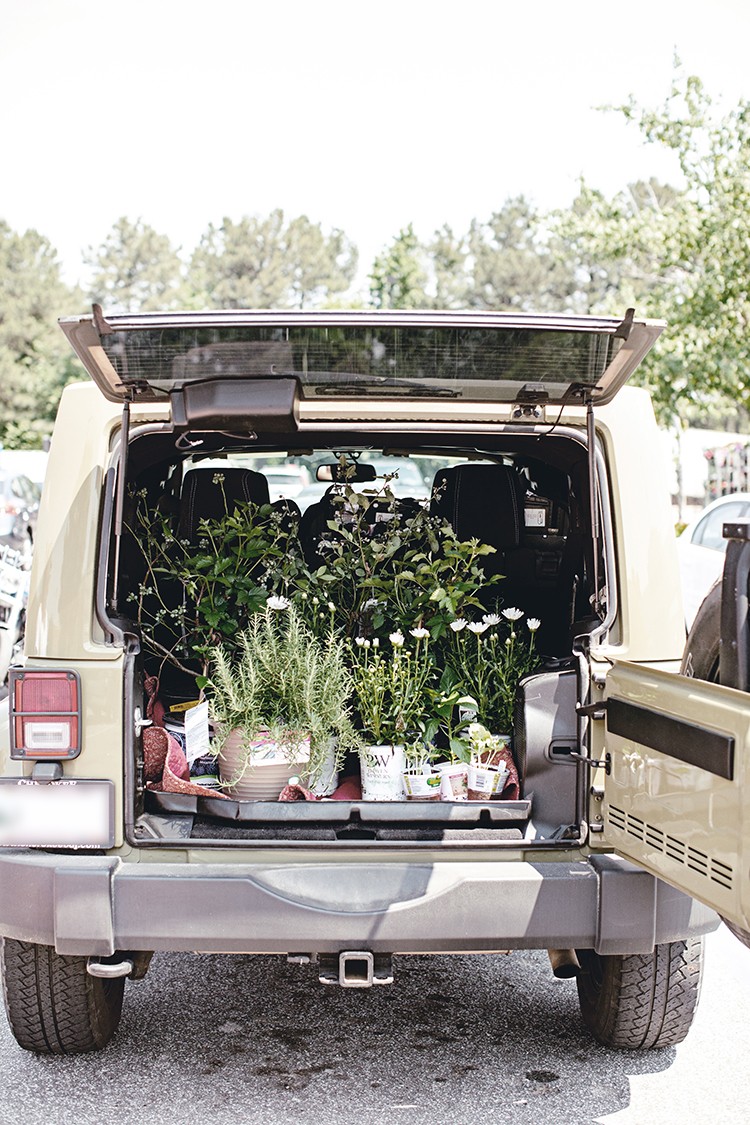
I can’t wait to share with you how it has all turned out so stay tuned for my upcoming post where I’ll share more on the planting of my Farmhouse Garden and more of the elements I’m including to make it a cozy, beautiful space for my home.
Join the Home Depot’s Garden Club to follow Ashley’s garden progress, and for ideas, inspiration, and tips for starting your own garden.
The post Planning and Preparing Your Garden appeared first on The Home Depot Blog.

