As a mom of three, Meghan Dyal, of Ahoy Native, knew her small laundry room just wasn’t cutting it. After a few years of not having anywhere to fold clothes or store items, she knew it was time to give her laundry room the update it needed.
Read on to see 5 tips Meghan recommends to help make your small laundry room feel bigger!
Small Laundry Room Makeover
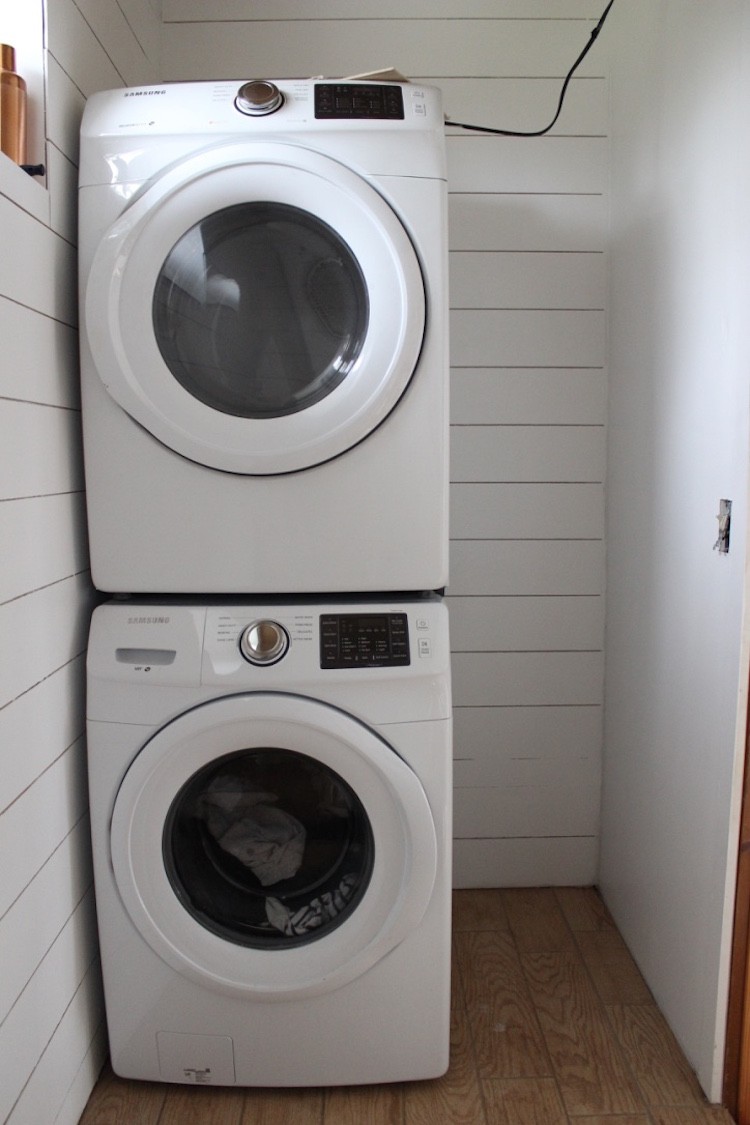
Do you ever have those projects that you start out with the best of intentions but because of time, money, uncertainty, or life in general you end up sort of putting a Band-Aid on and calling a day? For us, that was our laundry room.
When we bought our house, I was actually afraid to go in the laundry room! It was a cement room with a giant water heater in the corner and nothing more. We set to work on the space immediately after closing on our house. The room was dry walled to make it feel like an actual space and hide the cement walls. We put up some shiplap, flooring and a simple shelving system. After living with and using this space though, we really started to notice what wasn’t working for us. There was hardly any storage and nowhere to fold clothes! Fast forward two years later and we are finally giving this space the proper love and functionality it deserves because, after all, laundry is such a big part of our family!
Brighten up the Space with Paint
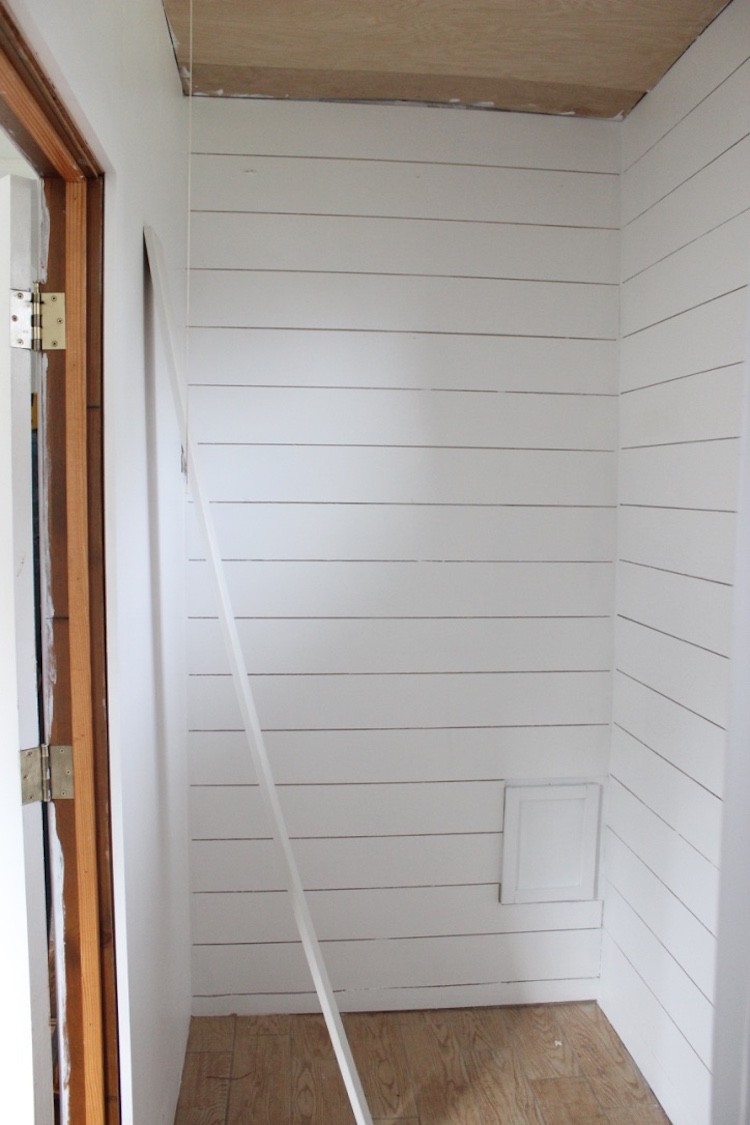
After clearing out the space, taking down the existing shelving and patching the holes, we painted. We used a can of Behr Ultra Pure White right off the shelf, hoping to brighten the space up!
Add Cabinets for Maximum Storage
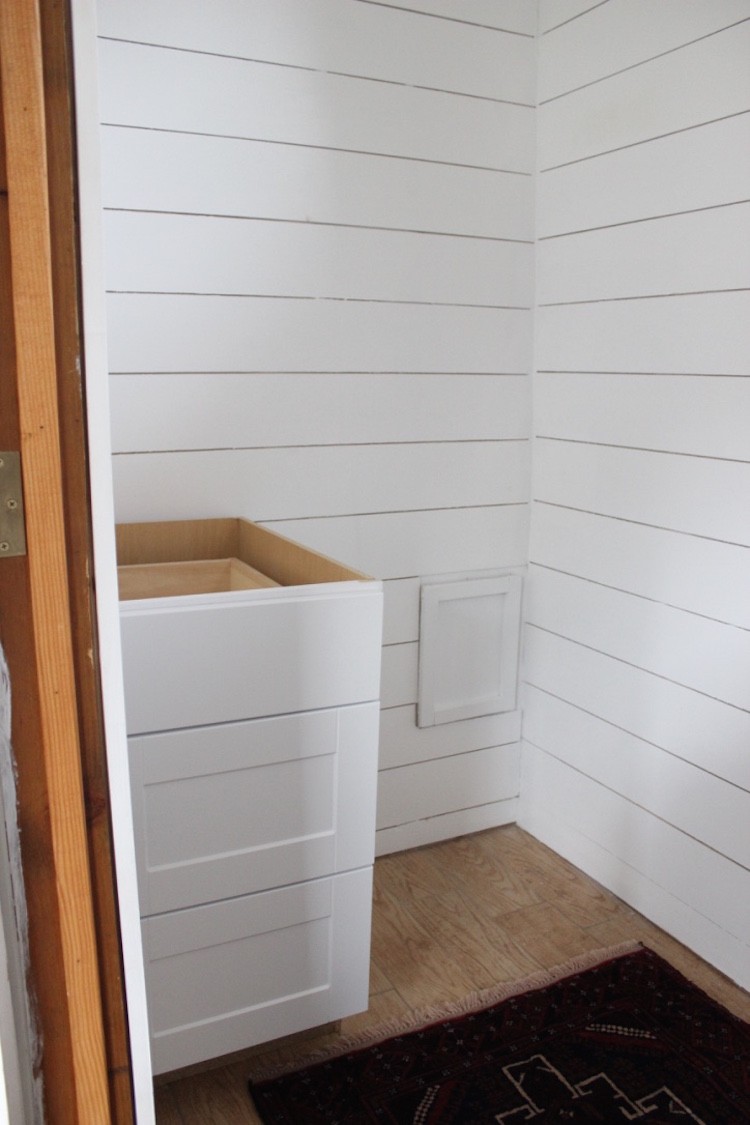
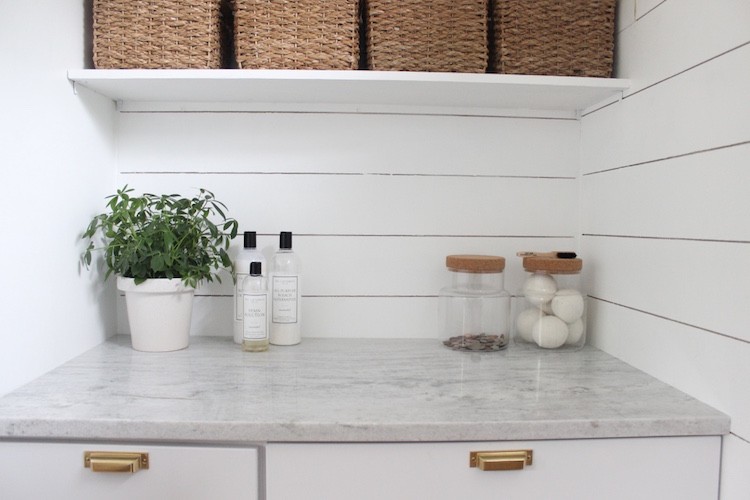
We decided to go for a modern look in the space and found the perfect prefab shaker style cabinets that looked custom made from The Home Depot. On the wall, opposite of the washer and dryer we decided to do full upper and lower cabinets for maximum storage and a place to fold clothes. We lucked out that the width of the space was exactly 48 in., making picking out cabinets super easy. We went with one 30 in. cabinet in the middle and two 9 in. cabinets on either side.
For the bottom we went with a 30 in. cabinet and an 18 in. 3 drawer cabinet for extra storage. Are you sensing a theme here? Storage, storage and more storage please!
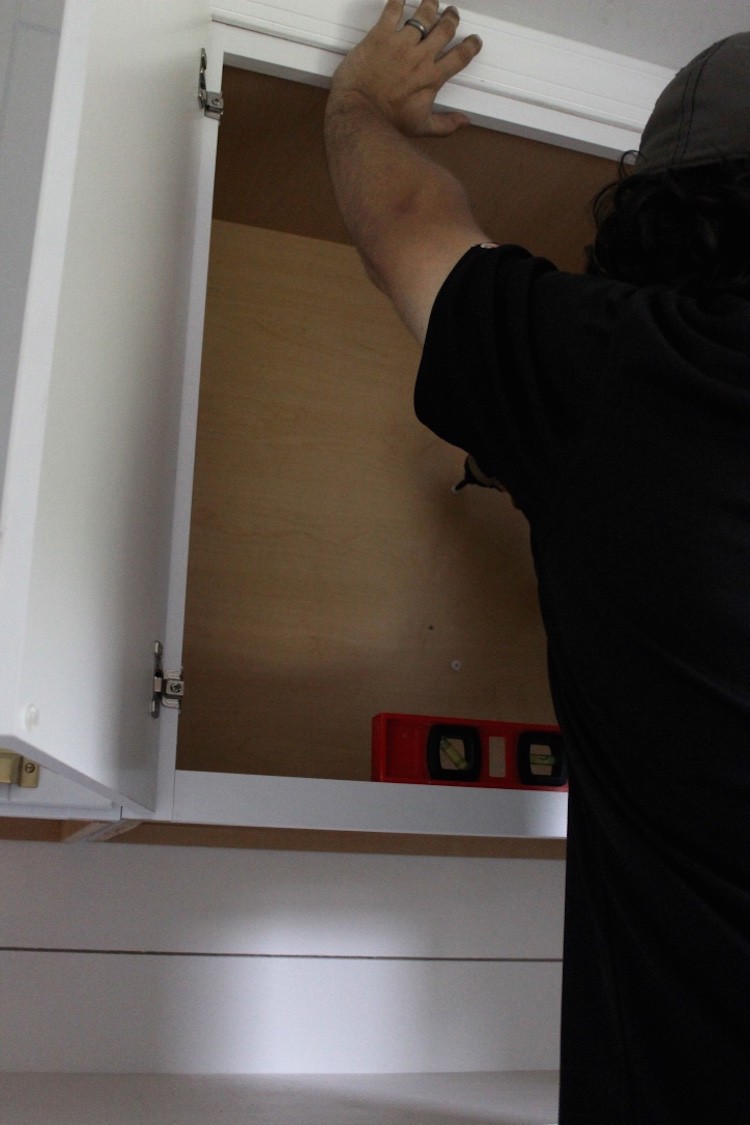
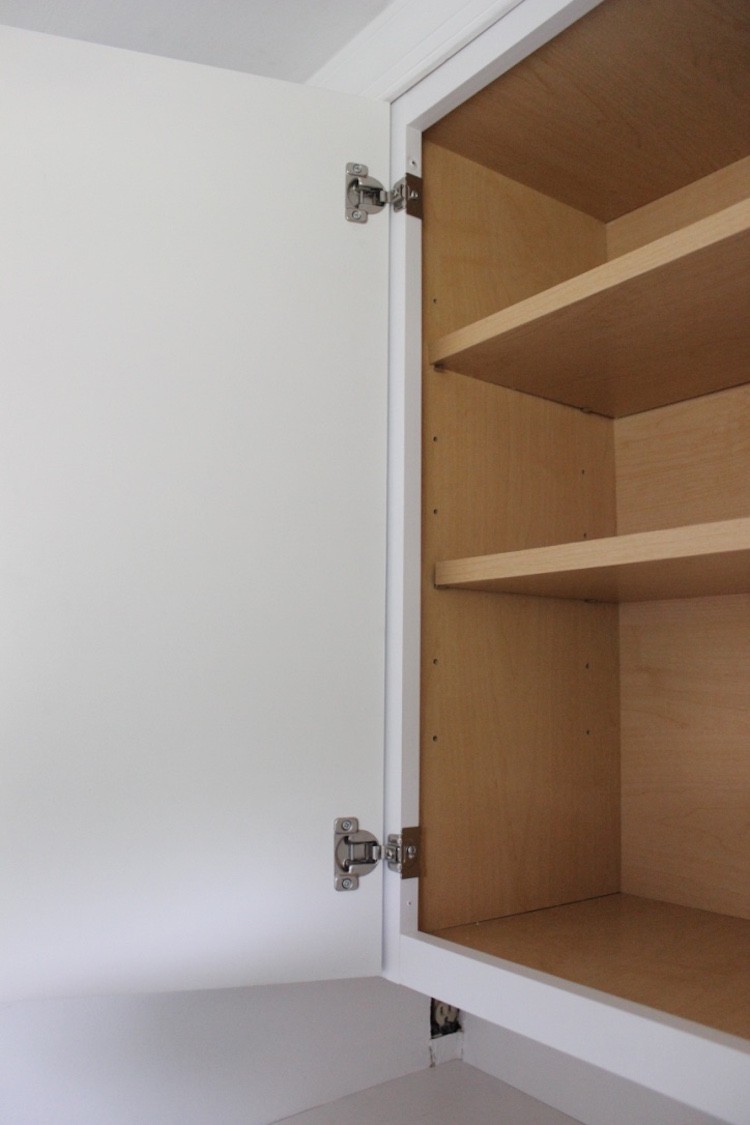
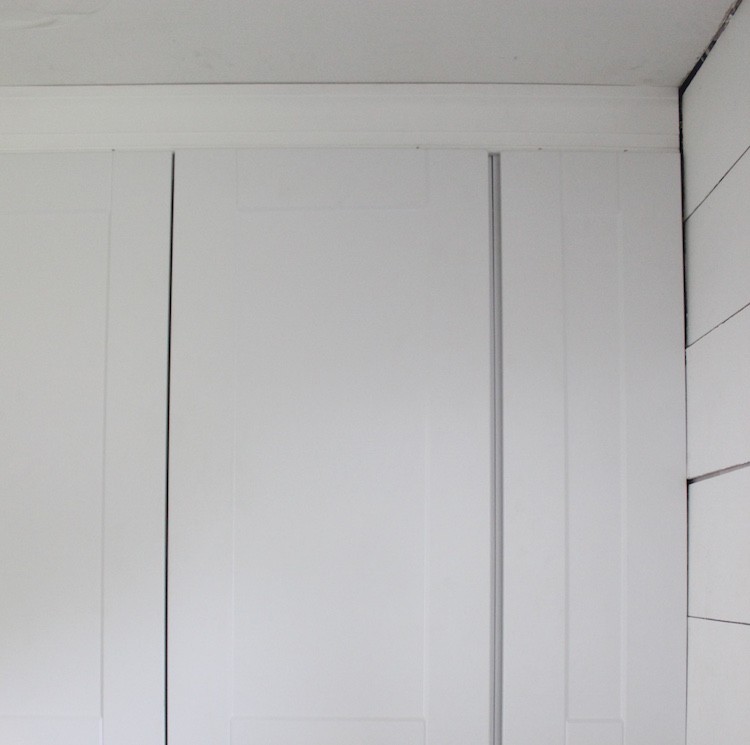
We installed the cabinets by finding the studs. We leveled the cabinets, used cabinet screws to secure them into the wall and secured the cabinets to each other using the same screws. Once we hung the upper cabinets, we installed a piece of trim up top to make them look built in. This also helped hide the fact that the celling in the room isn’t completely level (old house problems). We had a 3 in. piece of trim cut to size and we painted it with the same paint we used on the wall.
Incorporate Floating Shelves
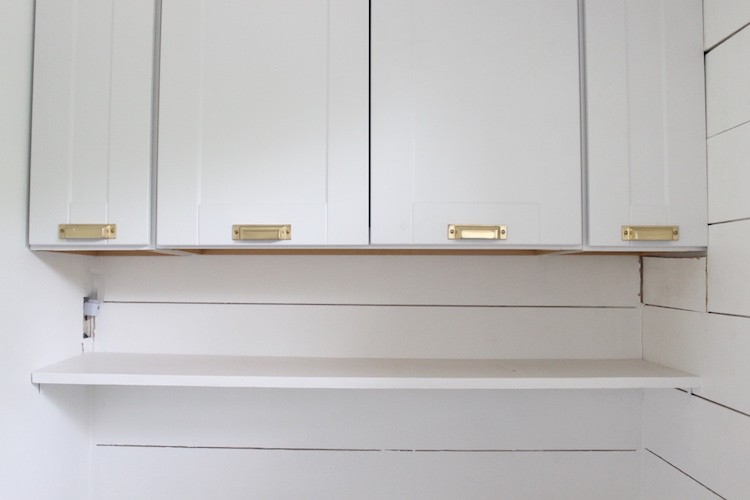
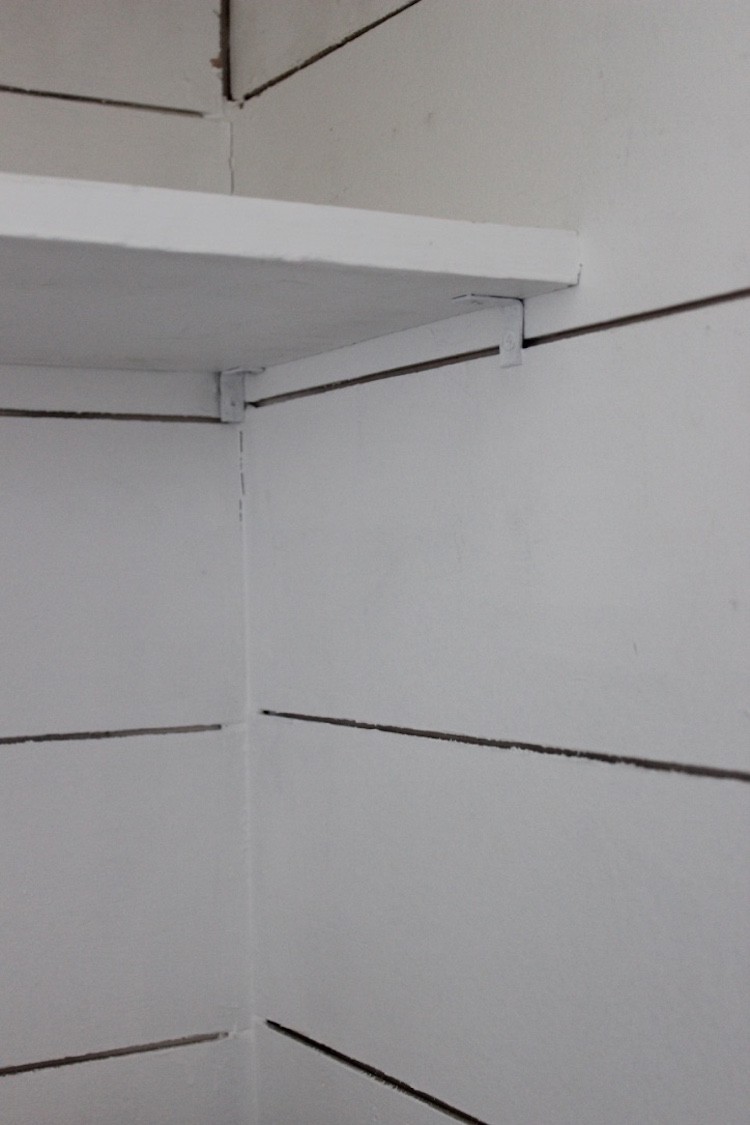
A shelf was installed under the upper cabinets for additional storage. We had a piece of wood cut to the same depth and width of the upper cabinets (12 in. x 48 in.), painted it the same color as the wall and used small brackets to secure it. The brackets were painted white to give the appearance of a floating shelf. We keep lost socks and other random things in the baskets.
Utilize Small Spaces
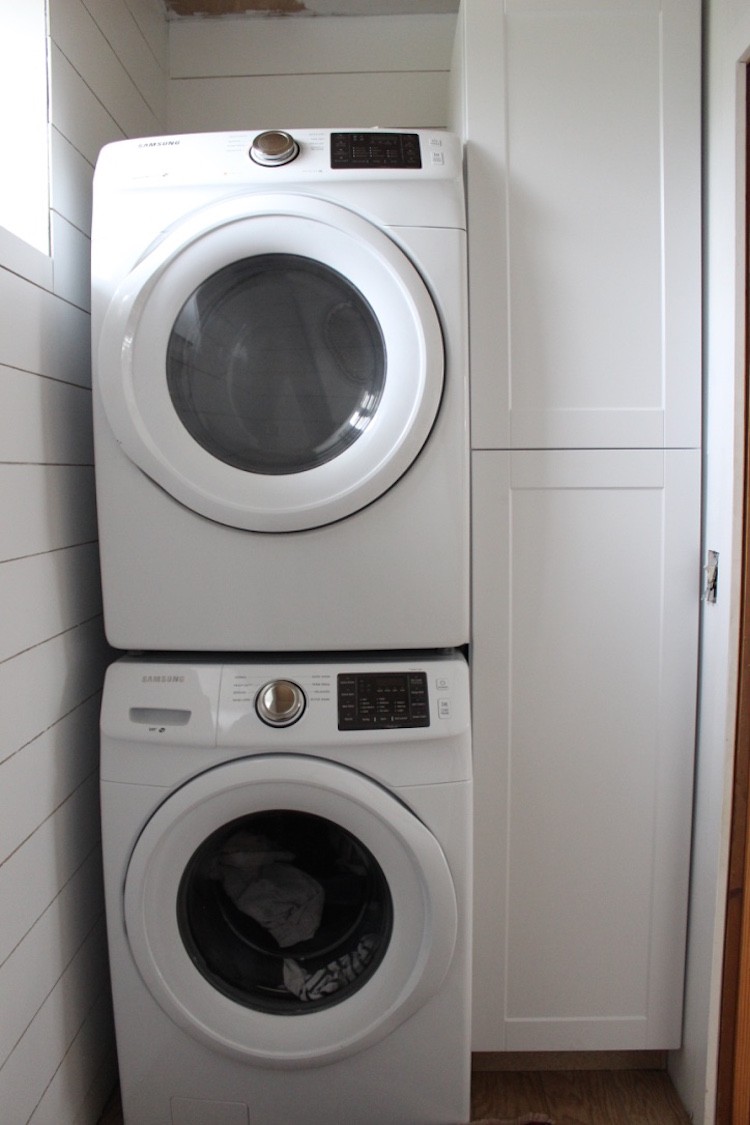
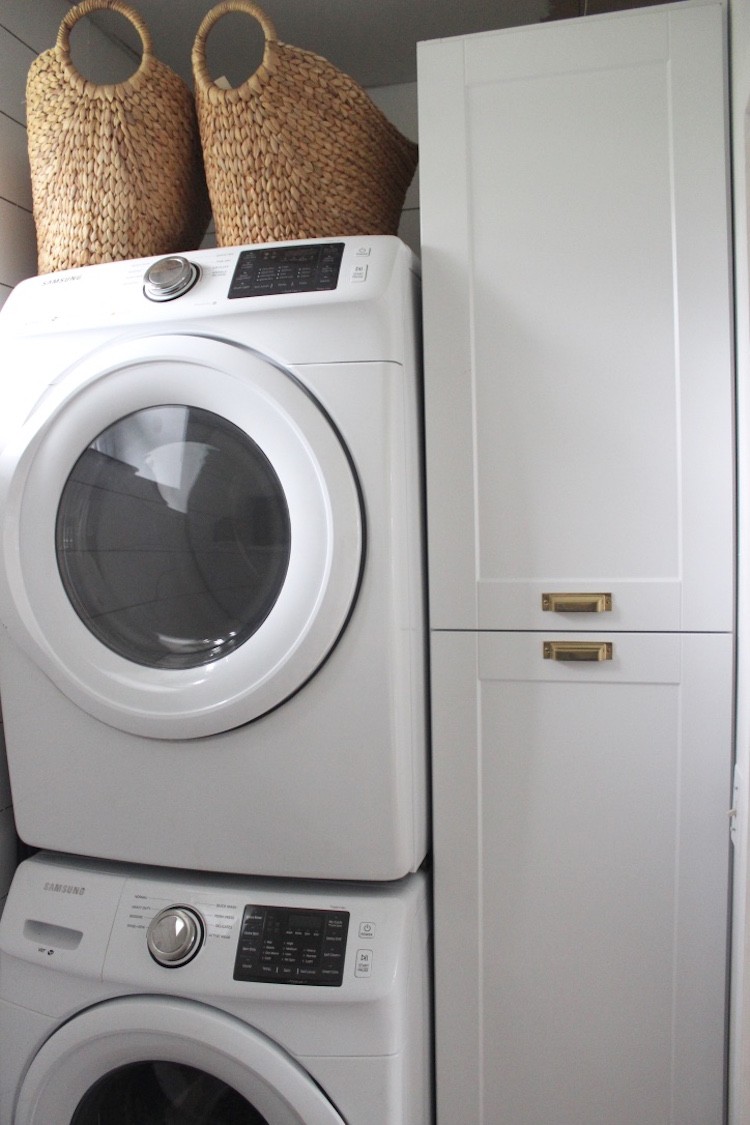
We decided to maximize storage and space on the wall with the washer and dryer by squeezing a 7½ ft. pantry cabinet in the small opening we had. It was exactly 18 in. and fit snug enough to secure one side to the wall since we couldn’t secure the side next to the washer and dryer. It’s the perfect linen closet!
Install New Hardware
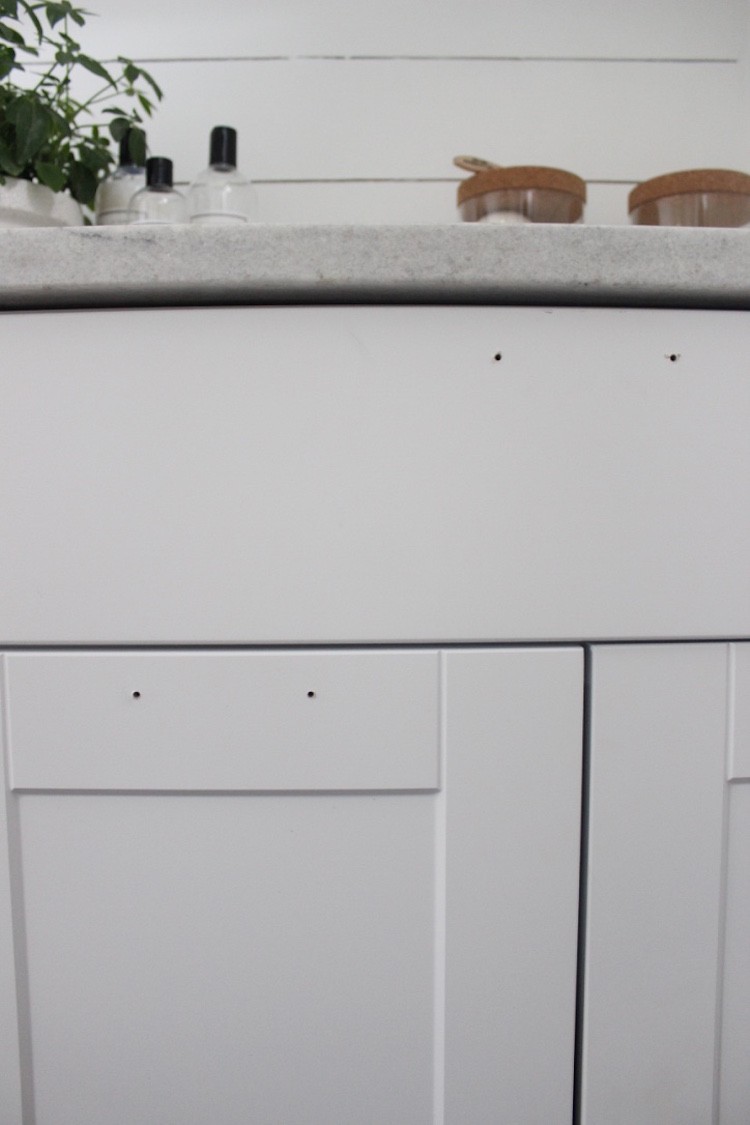
We installed some modern brass hardware on all of the cabinets by marking where we wanted each pull to go with a pen, then drilling a small hole and screwing them in place.
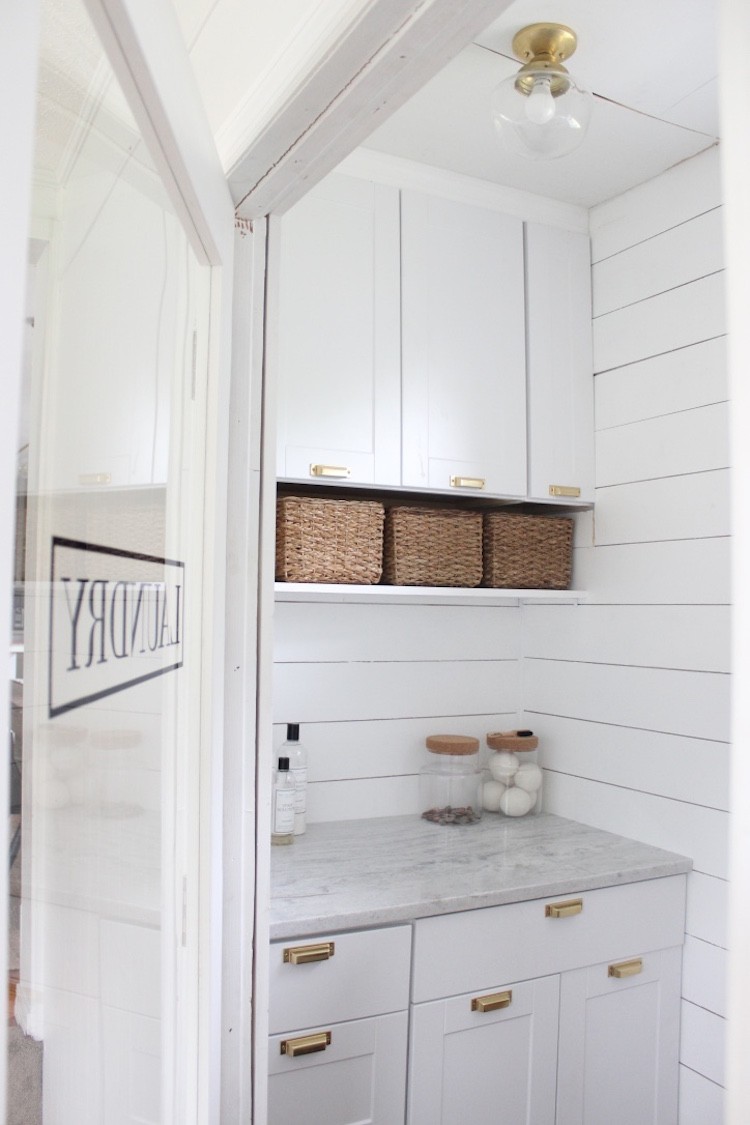
Finally, we replaced our basic door with this super modern one. I love that we can now see into the space we worked so hard to make!
Final Reveal

I think the after pictures are totally unrecognizable from the cement cell this little room use to be. It turned out perfect!
The post Small Laundry Room Makeover appeared first on The Home Depot Blog.
