
Spring Cleaning: A Garage Makeover
New year, new garage, who this? That’s right! I had the opportunity to partner up with Home Depot to transform my lack luster garage into the ultimate one stop shop for all my organization and cleaning needs.
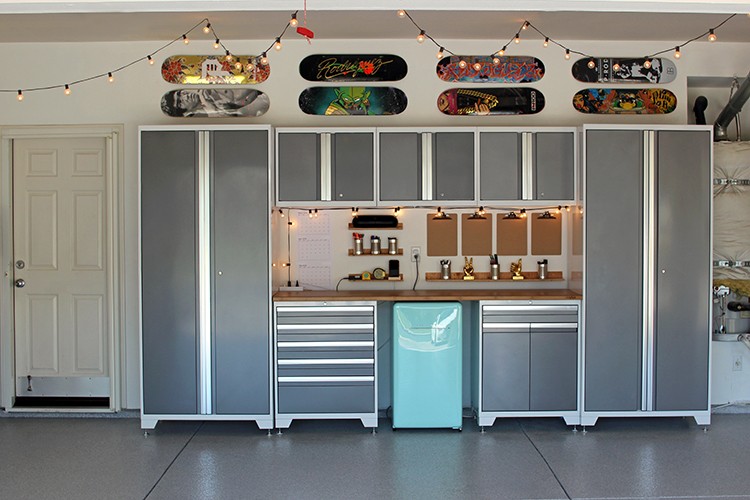
Fun fact: I wanted to sleep on top of the workbench the night I put it together!
Materials:
- Clorox ProResults Concentrated Outdoor Bleach
- Clorox Fresh Scent and Citrus Blend Disinfecting Wipes
- Formula 409 Lemon Multi Surface Cleaner
- Formula 409 Multi Surface Cleaner
- Windex
- Bounty Paper Towels
- ZEP All Purpose Cleaner & Degreaser
- Rubbermaid Vented Trash Can
- Rubbermaid Maximizer Push Broom
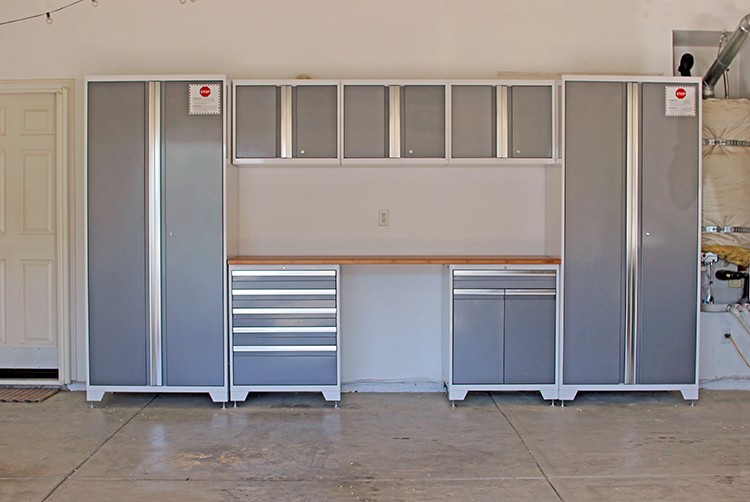
- New Age Pro 3.0 18Gauge Welded Steel Bamboo Worktop Cabinet Set in Platinum
- Mini Fridge in Mint Green
- Sterilite Ultra Storage Box
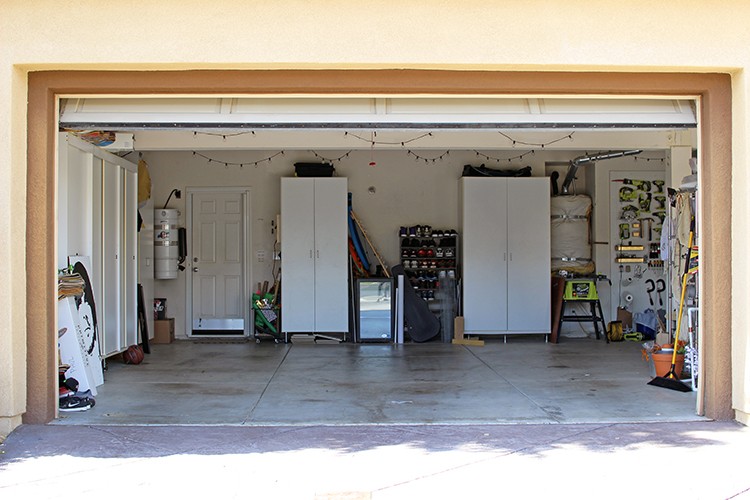
What I Was Working With…
Step 1 | Organize + Declutter
At first, I wasn’t sure how to tackle the space because the thought of opening the cabinets was a headache and a half. The amount of items my boyfriend has shoved in those cabinets without using boxes half the time made me cringe!
Nonetheless the first step for any garage makeover is going through every and anything that lives within it.

Not everyone’s method of organizing is going to be the same so if you have a way that works best for you, go at it! Personally, I like to open up the cabinets to get a “preview” of what I’m in for. When I say get a preview, I mean it! I open it up, step back, peek in and around items all before physically moving an item out. This sounds crazy but bare with me…I start grouping things in my head while browsing through that way when I do take everything out, I have a rough outline of what goes where.

Typically that breaks down to donation, trash, a keep pile that will go into storage and a keep pile of items we’d like access to.
Step 2 | Pack It Up
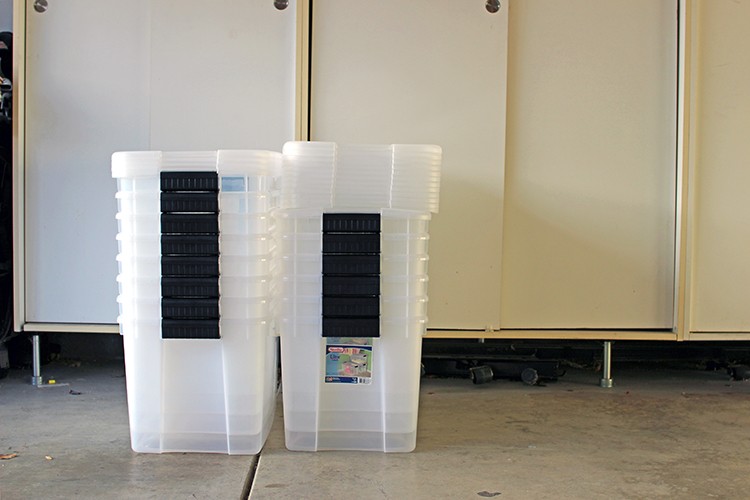
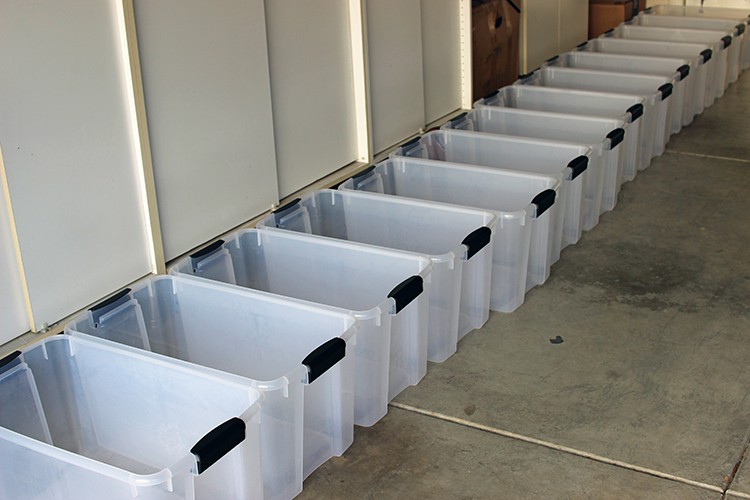
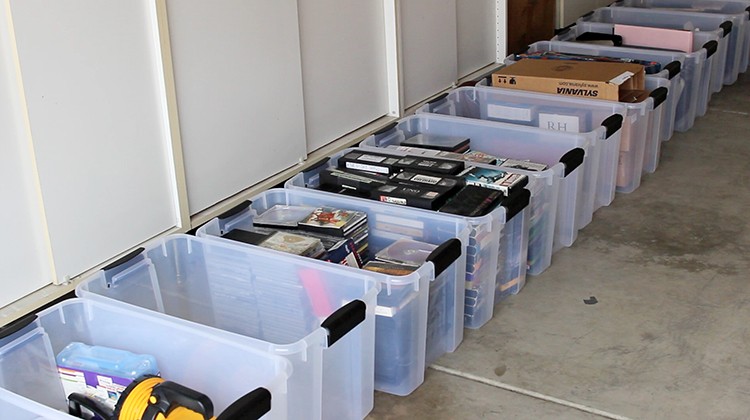
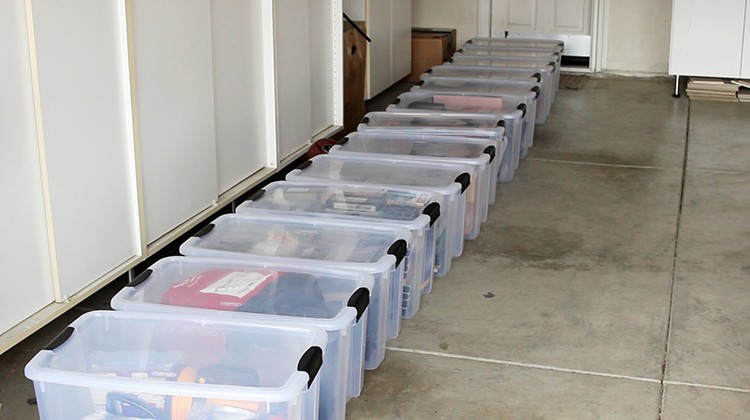
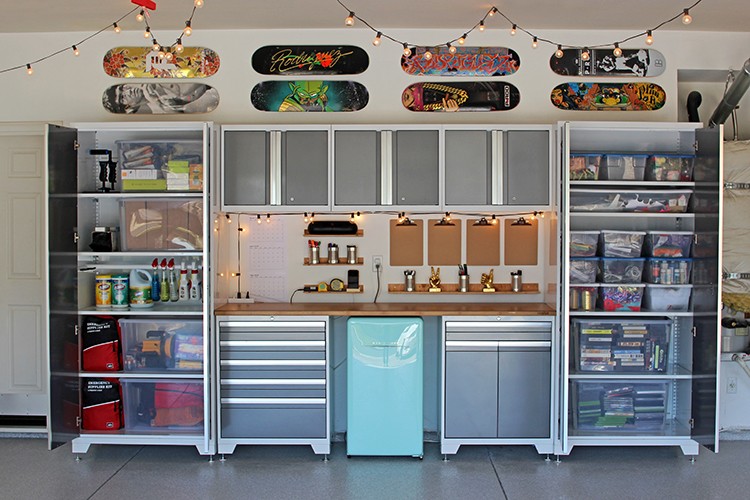
The cardboard boxes and free floating items weren’t going to cut it anymore. I went with these Sterilite Storage boxes with black handles and love them! To stop myself from giving up halfway through, I lined all of them up and started packing them full.
Step 3 | Installation

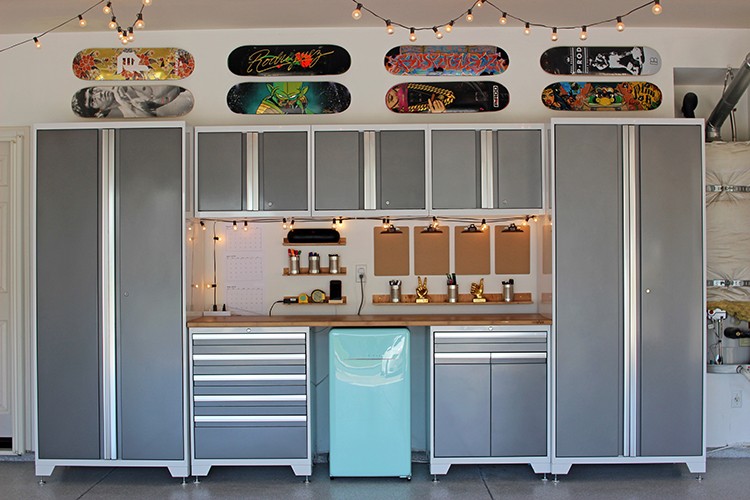
I introduce to you the newest addition to the family New Age Pro 3.0 18Gauge Welded Steel Bamboo Worktop Cabinet Set in Platinum! The minute I saw this baby in person my vision started coming together.
With this new workbench coming in, it inspired me to get rid of my old shelving entirely and fit what I have into that one unit versus the four that currently exists. I wanted to get rid of my current shelving units for a lot of reasons but to keep it brief:
- I didn’t want to have it as an excuse to lean on to allow things to pile up.
- This garage is actually home to two of my sets for shooting my content! Out of the three “liveable” walls, two are dedicated to storage that we never touch. I took this opportunity to create my dream workbench area and challenge myself to only store the necessary.
- They were so dated and dinged up …they h a d to go.

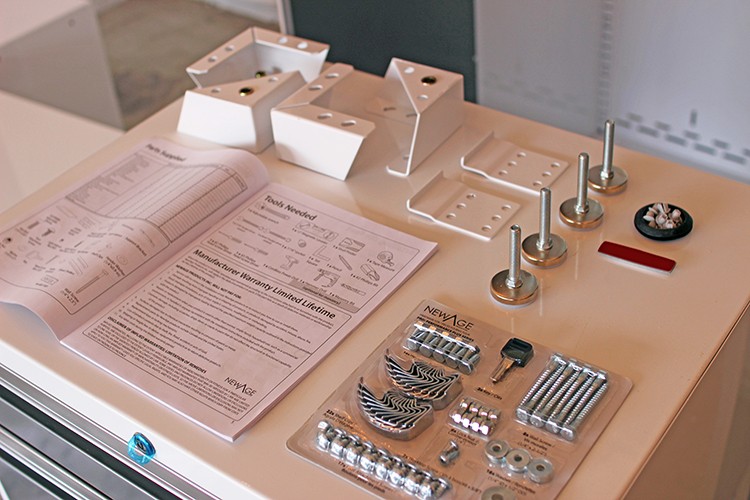
Keep in mind: you will need multiple humans to help you safely unload and install.
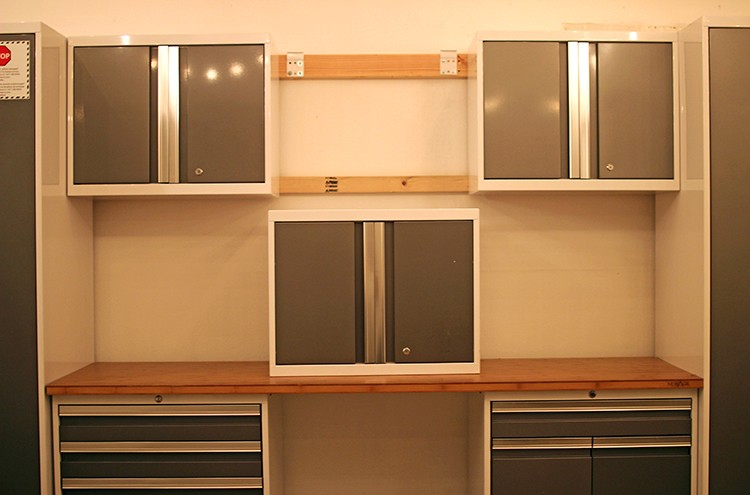
To be honest, I was so intimidated diving into this but quickly realized anyone can set this up and install per the manual. It lays any and every situation you may run into during the process.
Step 5 | Organize
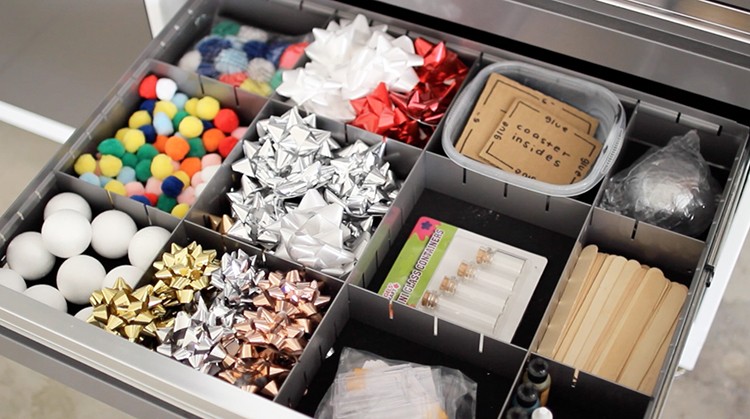
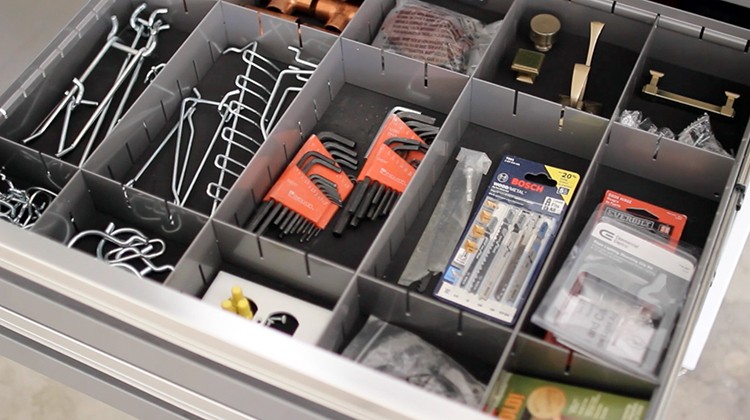
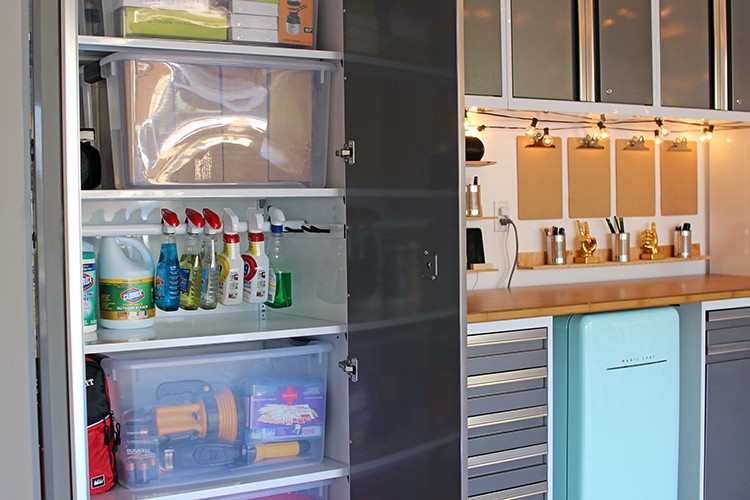
After I had the workbench installed, I dove into organize all my things into it. Being a DIY YouTuber that is using power tools one day then frosting a cupcake the next; the New Age Pro 3.0 18Gauge Welded Steel Bamboo Worktop Cabinet Set in Platinum allowed me organize both of my worlds into one spot.
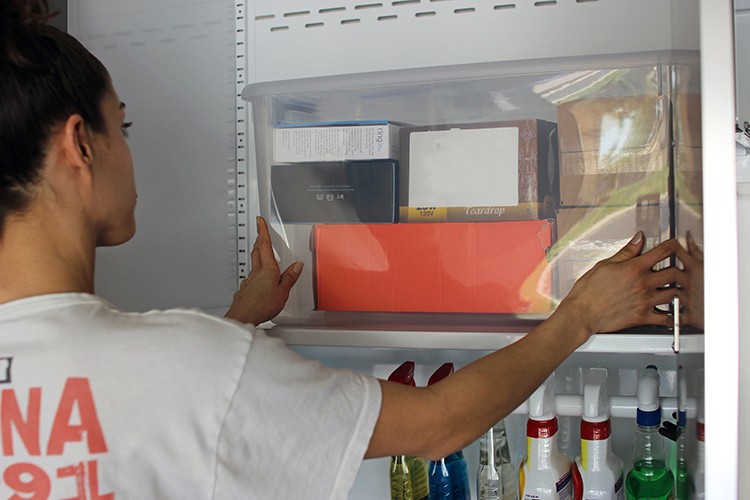
I love that the Sterilite Storage Boxes are clear so I don’t need to label since I can see right through it.
Step 6 | Adding Details
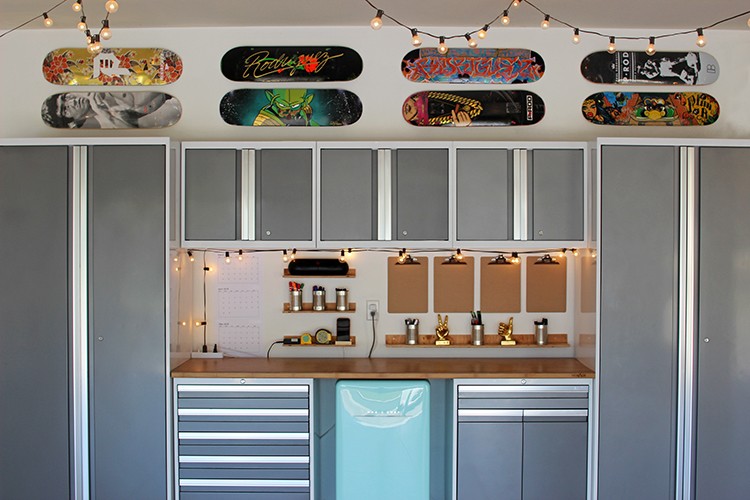
I always say there is no reason not every part of your home can’t look incredible! To the wall above, I added some skateboard decks that are near and dear to my heart. Adding a unique decor item instantly adds personality.
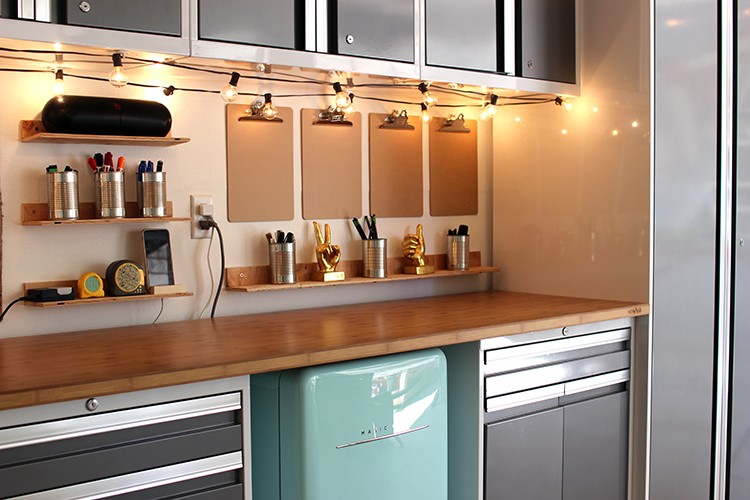
To the wall space above the workbench table, I decided to turn it into an area where I can storyboard all my projects and builds. You can add a pegboard, cork board, LED lights, framed photos or even turn it into a chalkboard…there is so much you can do with the wall space that is left so be sure to make it work for your lifestyle.
I added clipboards to keep my projects in one place, simple shelving and of course gold home decor accents from Home Depot.
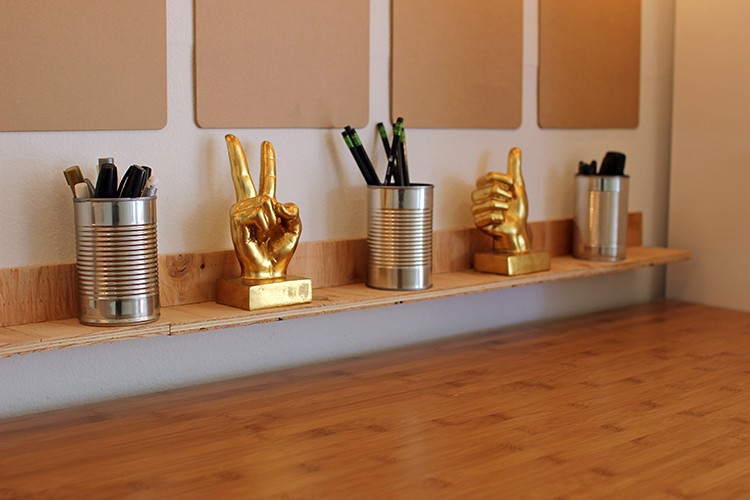
Step 7 | Step Back & Enjoy!
This was my first garage makeover and to be honest, I had no clue where to take it when staring at this…
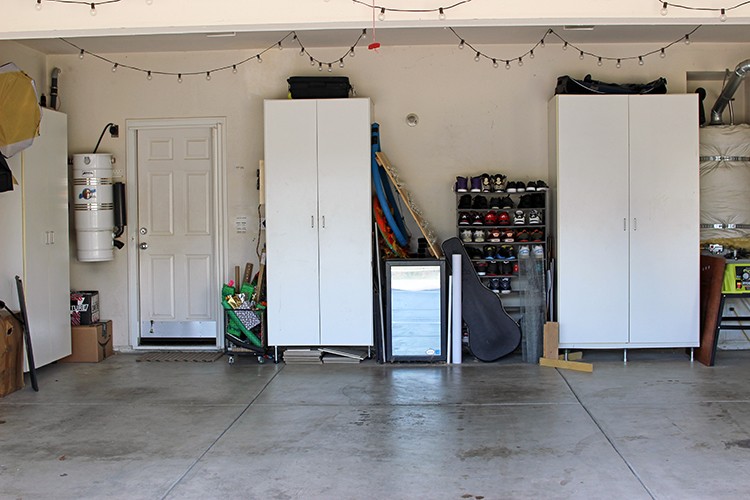
But now? Are you kidding me!?
I will have to physically be removed to stop creating, cleaning and organizing. Tackling a garage was one of my adulting nightmares but with these tips, tricks and materials from Home Depot; it became a fun weekend passion project.
Click here to shop the items you’ll need to complete your garage makeover like Rachel Metz from Living to DIY.
The post Spring Cleaning: A Garage Makeover appeared first on The Home Depot Blog.
