Adding Value to Our Home
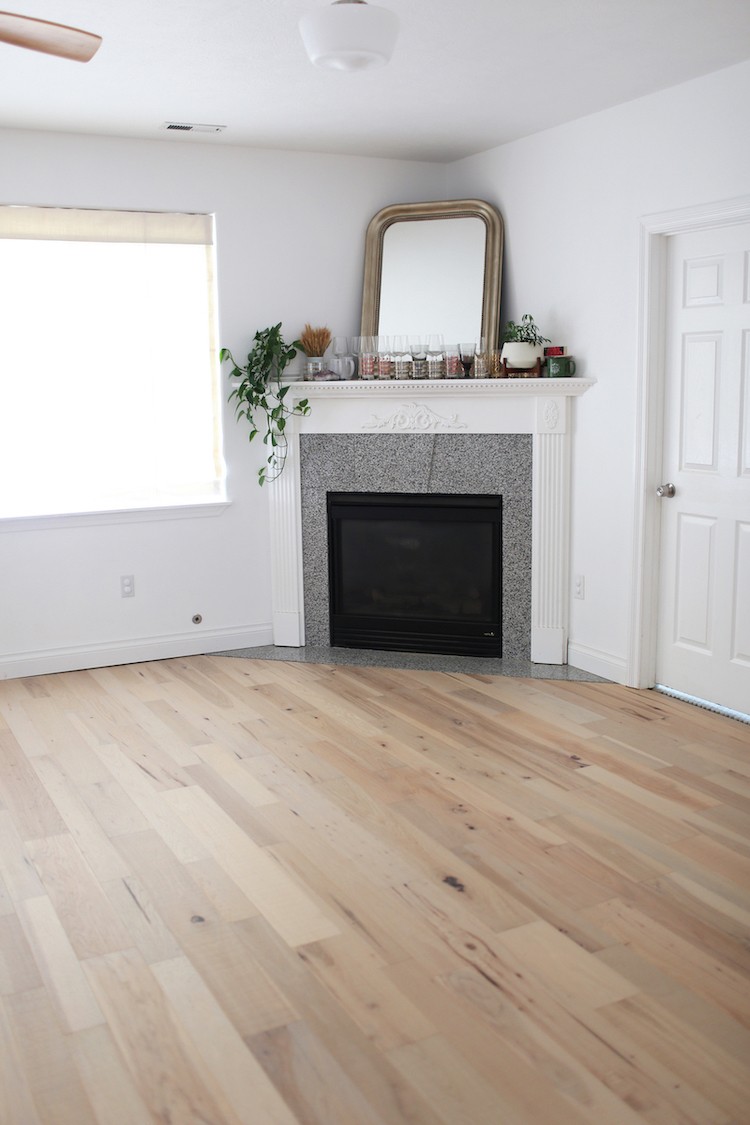
My husband and I bought our first house almost exactly two years ago. It was a builder home with worn-out, cookie-cutter finishes from the ‘90s…but it had the layout, price, and neighborhood that we wanted. We knew we could upgrade those dated finishes over time, adding value to the house and making it more our style. And in the past two years, that’s exactly what we’ve done! We’ve renovated bathrooms, updated every light fixture, painted every wall, and made lots of cosmetic changes that we’re proud of. But none of those upgrades compare to this one! We just installed new engineered hardwood flooring throughout the main level of our house, and it is such a huge improvement! Because it flows from room to room, it really feels like the entire house got a major makeover.
We were renters before we bought this house, so we’d never shopped for flooring before. We had no idea how many options were out there! All we knew was that our shiny, dinged-up laminate floors were nearing the end of their life. Since we first viewed the house, I had dreamed of taking down the wall between our kitchen and dining room and remodeling the builder oak kitchen. When we decided to go for it this summer, we knew that we’d need to replace the flooring as well, to cover the gaps where the wall and old cabinets used to be.

Making the Best Design Decision
Flooring is a big project. It’s not like painting a wall, where changing the color a few years later is no big deal. Flooring is expensive and takes a ton of effort to replace (before you can even start, you have to move every piece of furniture, including appliances!). So we wanted to get it right the first time. We started out by looking at inspiration photos. My husband and I don’t always agree on design decisions, but this time we easily did: light and natural looking wood, with warm undertones (not too dark, not too gray, not too whitewashed).
With that in mind, we headed to our local Home Depot to start our search. We quickly realized there was a lot more to the decision than just choosing the perfect color. First of all, did we want solid hardwood floors? Engineered hardwood? Bamboo? Luxury vinyl planks? Laminate? Wood look tile? And beyond material, there was more. Standard planks? Wide planks? Smooth planks? Or texture? There were rows and rows of different options, and many of them fit our criteria of “budget-friendly” and “looks like light wood.” Clearly, we needed to narrow things down.
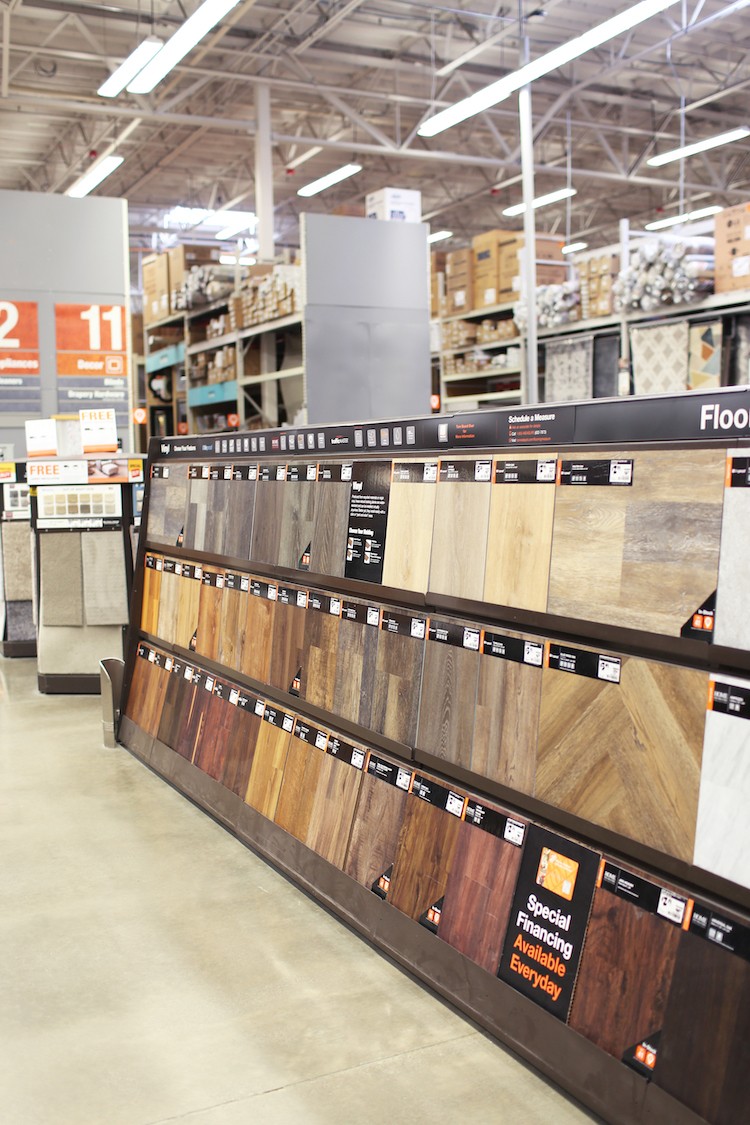
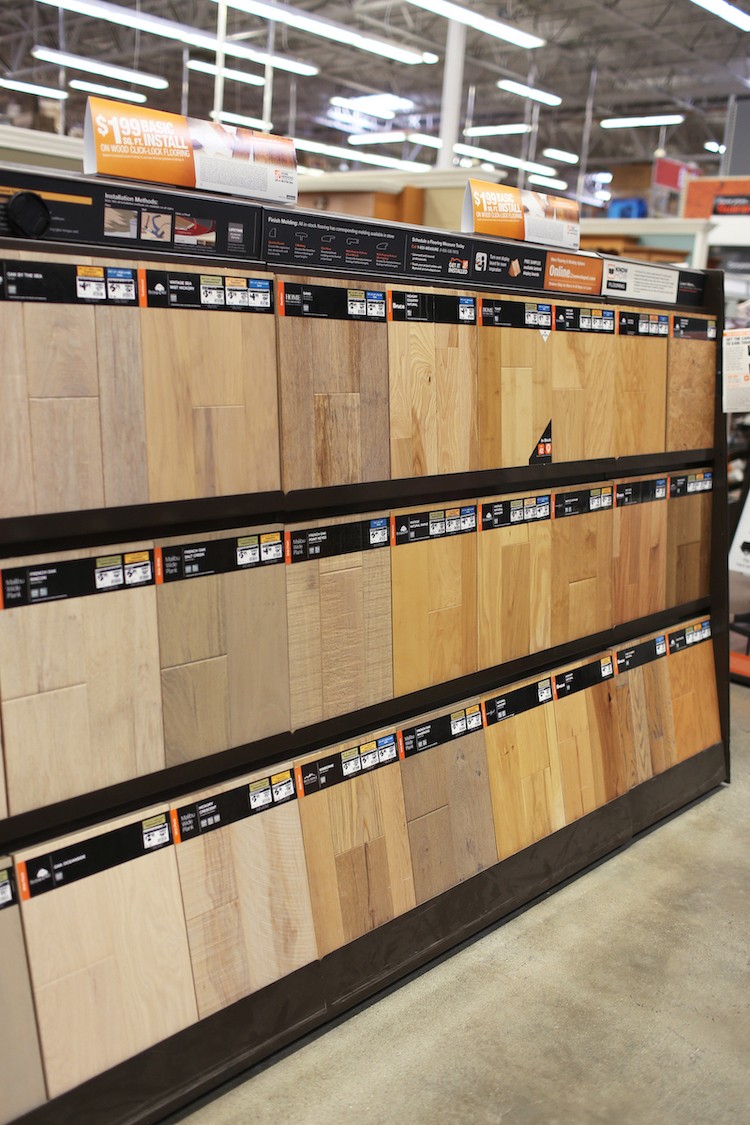
I went into research mode and dived deep into all the different types of wood-look flooring. I chatted with store associates, read articles and forums online, and pored over the reviews and product specifications. Ultimately, I knew we would have to take home samples to really make our decision. It’s so important to be able to compare colors side by side, in the environment they will actually be in. Under our lighting and next to our furniture, some of the same samples looked way different than under the store’s fluorescent lights.
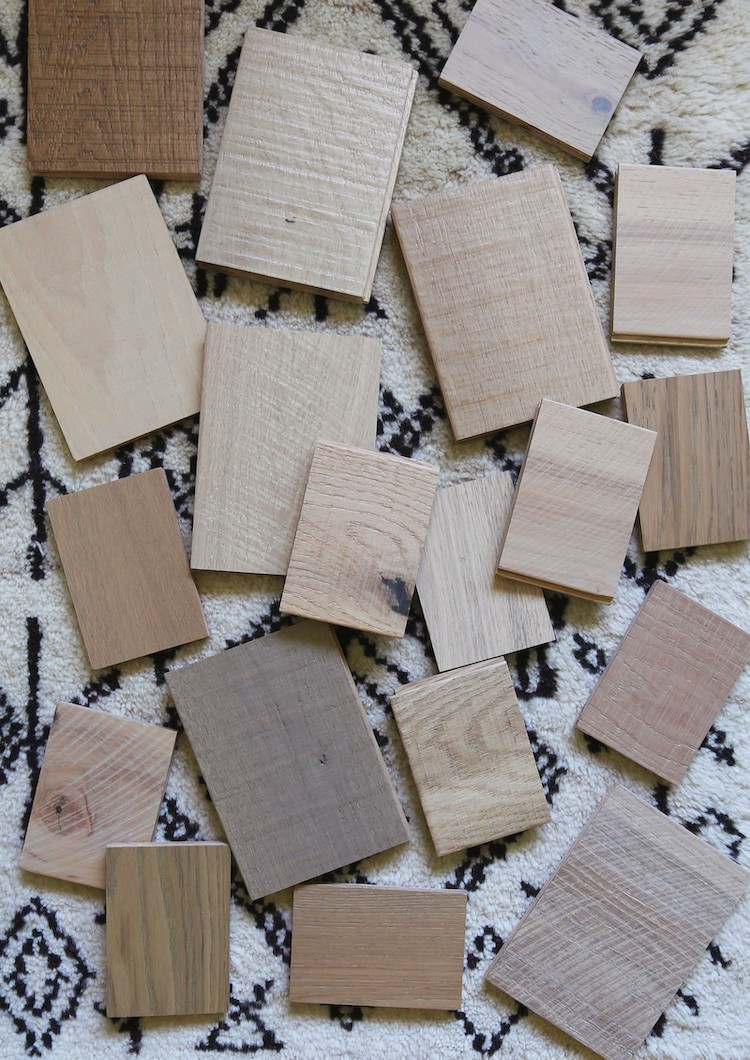
Free Samples in Store
Here’s a tip: most of the samples I grabbed were free from the store! Did you know that every one of those display panels pulls back to reveal take-home samples of that flooring?

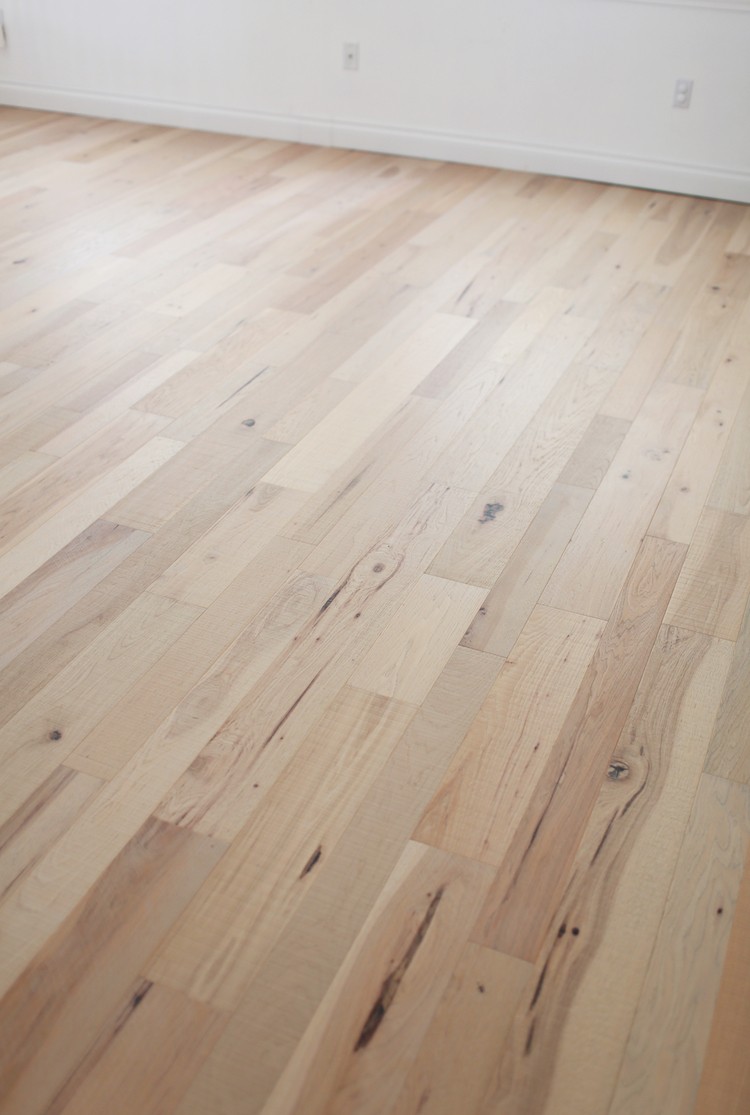
When we had narrowed our choices down a bit, we took the samples we liked best and put them through a little trial: we hit them with knives, poured water on them, and basically put them through anything we thought our floors might have to endure. In the end, we chose a hickory engineered hardwood by Malibu Wide Plank. Aesthetics definitely played a role in our decision; I love the on-trend, Scandinavian look of the wide planks and light wood. But these floors also won us over for several other reasons. First of all, the price was really affordable. The Home Depot already has unbeatable prices, and we waited until these were a Special Buy on top of that.
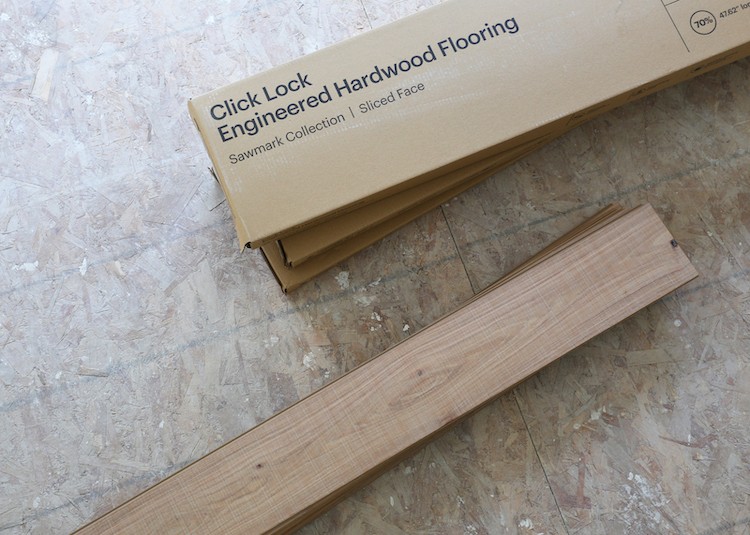
Because they’re engineered hardwood, they have a lot of the same benefits as solid hardwood, without all the same issues. Engineered hardwood has a thin veneer of real wood on top, backed by layers of plywood or fiberboard. That actually means it’s less susceptible to moisture, which was important for us since these floors were going in our kitchen. Another important difference from solid hardwood: engineered hardwood can be installed as a floating floor, instead of being nailed down. That allowed us to use the same floors throughout the house, including the family room where we have a concrete subfloor. It also made meant that installation went more quickly and cost much less. And because the top layer IS real wood, these floors look more genuine than other wood alternatives like vinyl or laminate. There’s a lot of beautiful, natural variation between the boards.
Flooring Installation
Once we decided on the type of flooring, we still had a few decisions to go. First of all, we had to decide whether to hire out the installation or do it ourselves. The click lock engineered hardwood is known for being fairly DIY-friendly. But we have two toddlers and were worried that the project would take more than a weekend to complete, so we decided to leave it to the pros. A big plus of this? By using The Home Depot’s installation services, we could get our floors warrantied, which gives us great peace of mind.
If you’ve never had flooring installed through The Home Depot before, here’s what to expect. First, you’ll schedule an in-home measure. There are usually plenty of time slots to choose from so you can find one that works with your schedule. Someone will come to your house to measure the floor plan and get the accurate square footage (take this number and order at least 10% extra to account for cuts). They’ll also check for dips and moisture in your floor. Based on their readings, you’ll get a call with a quote for the installation project.
The quote includes every little thing you might possibly want as part of the service; they’ll even disassemble beds and move furniture for you. But if you’d rather save money (always a priority for us!) you can take any of those extra services out. We chose to have the professionals JUST install the floors, which shaved quite a lot off our estimate. It also meant it was still a lot of work on our end to get ready! We removed all the furniture and appliances ourselves, took up the old flooring, removed the baseboards, and brought in the boxes of new flooring.
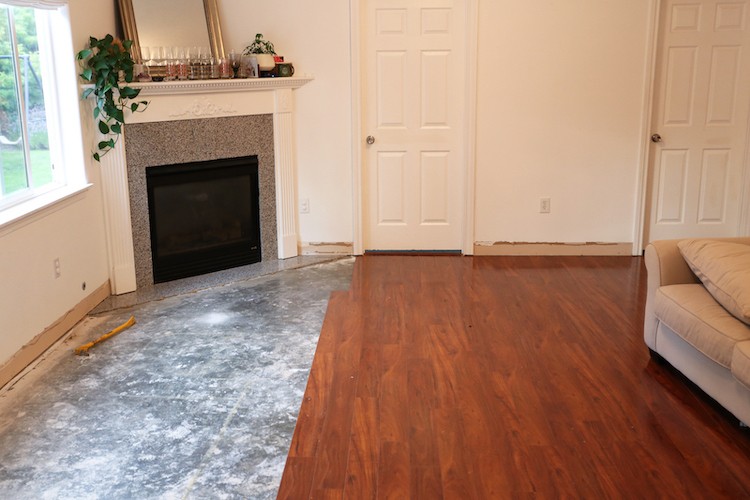
Getting a Sneak Peek at Our Floors
We could have stopped there, but I was really eager to see the planks so I unboxed the majority of them. It was at this point that I really started to get excited. It’s one thing to see a little sample, but it feels so much more real when you see the full size boards! I could already tell, these floors were going to be beautiful.

Then the day of our install arrived! We had two Home Depot service providers working together over the course of two days. I was really impressed with both of them. They had a ton of experience with flooring and were very friendly, respectful and knowledgeable. They did a great job.


You can see how the flooring clicks together and floats over the underlayment (the red stuff)–no glue or nails necessary. That allowed installation to move along quickly!
Malibu Wide Plank flooring comes in two different widths and several lengths. This helped the installers to achieve a random look that I love. They used the shorter boards to start most of the rows, so they had very little waste (hooray!)
New Luxurious Floors

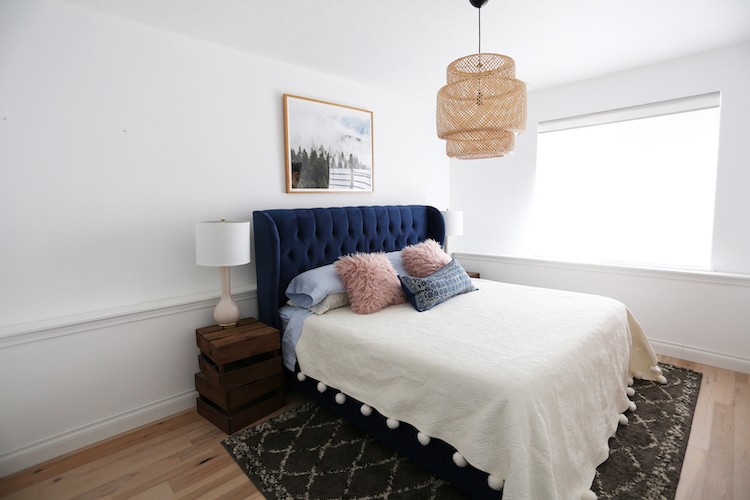
Our new engineered hardwood floors are absolutely gorgeous! I feel like they really made our house “level up”. The floors feel way more custom and luxurious than the builder grade laminate our house came with. We are still in the middle of our kitchen remodel so most of the house is a work in progress still…but the guest room is finished, and I love it.
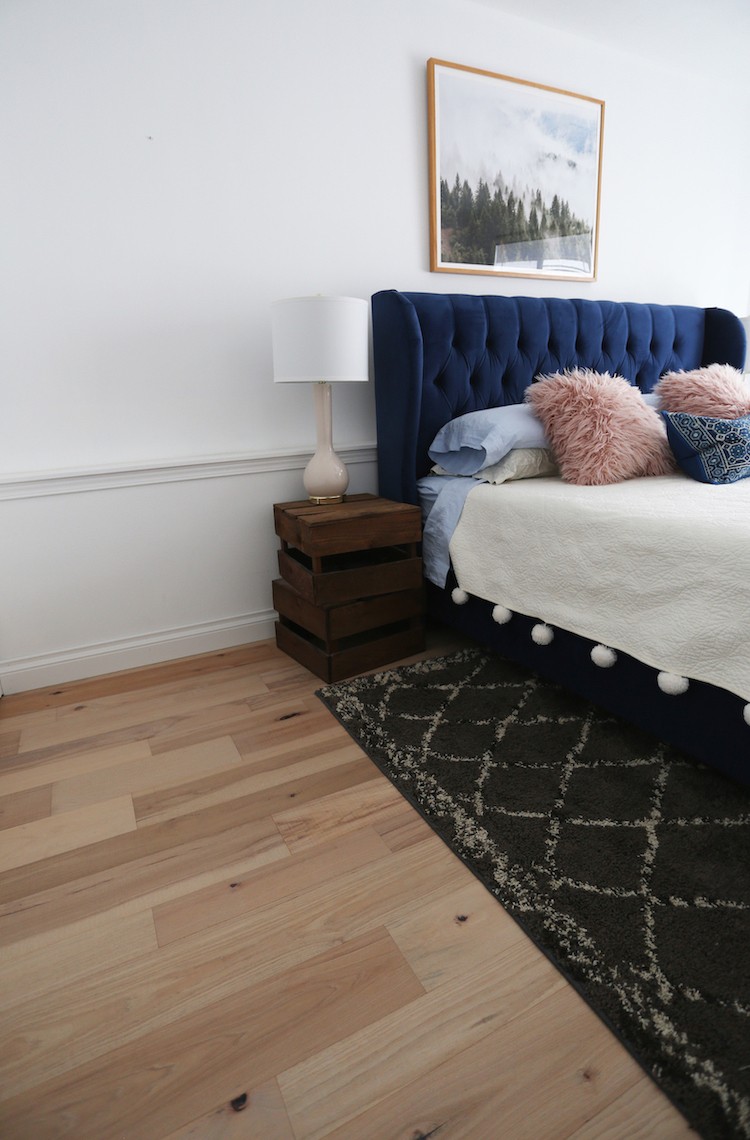
If you’re looking to upgrade your floors, now’s the time! The Home Depot has the latest trends in flooring (including area rugs!) at great prices – check out other hardwood flooring highlights here.
The post Upgrading to Engineered Hardwood Floors appeared first on The Home Depot Blog.

