
After Shelby Vanhoy of Pretty in the Pines bought a new home, she knew she wanted to redo the fireplace to match her style. By re-tiling the fireplace and adding shiplap above the mantle, Shelby was able to elongate the fireplace and make the entire room feel brighter.
Read on to see the steps Shelby took for this tile fireplace makeover!
How to Brighten Up a Room with a Tile Fireplace Makeover
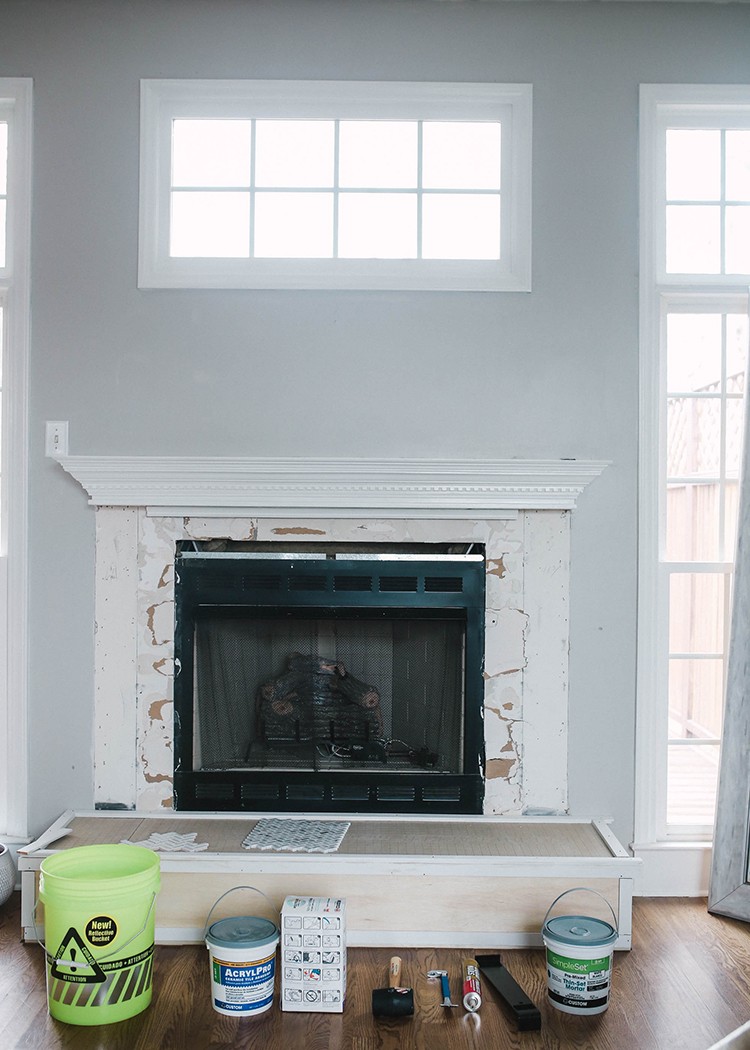
When we first bought our house a few months ago, we knew one of the first things we wanted to do was a tile fireplace makeover! We weren’t big fans of the dark, black tile that not only surrounded the fireplace, but also the hearth, and I had always dreamed of having a bright white and marble fireplace with a farmhouse feel. We began brainstorming on how we wanted it to look and the project steadily grew in scope:
- Replace black tile on fireplace wall and hearth with white and marble herringbone tile
- Rebuild the hearth box and lay tile on the top only with a white wooden front
- Rebuild the vertical columns to match the newly built hearth
- Add shiplap going from the mantle up to the ceiling to elongate fireplace
Materials

When figuring out the exact tile fireplace makeover look that we wanted to create, we began listing out what we needed to get this project done. Here is what we ended up getting for our tile fireplace makeover:
Retiling
- Crowbar
- Rubber hammer
- Pull Bar
- Mortar
- Grout – Cape Gray
- (2) 5 x 3 ft. boards Hardie Board Cement Backer
- (12) 1 x1 ft. white tiles sheet Herringbone tile
- (8) 1 x 1 ft. Marble tiles sheet
- 7 in. Tile Wet Saw
- ~10 ft. of Floor Trim
- Thin set mortar
- Trowel
- Grout Float
- Tape Measure
- Level
Hearth Box & Columns
- (2) 4 ft. x 8 ft. sheets of ¼ in. Underlayment Plywood
- Hardie Board Cement Backer
- (5) 12-ft. strips Lattice Trim
- Jigsaw
- ¾ in. Nails
- Loctite
- Hammer
- Caulk
- Behr – Ultra Pure White paint
Faux Shiplap Wall
- ¼ in. Underlayment Plywood
- 1 ¾ in. Nails
- Table Saw
- Base Moulding
- Behr – Ultra White Paint
Step 1: Demo
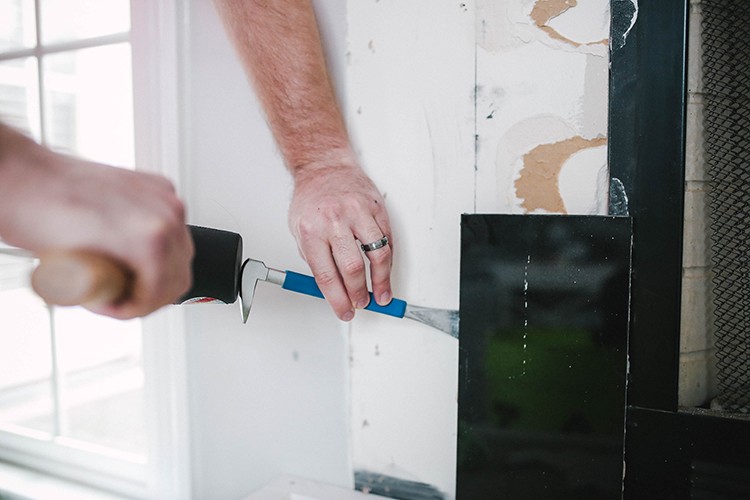
The first thing we needed to do before the tile fireplace makeover was demo. This was probably the most fun, yet most nerve-racking part if you haven’t done it before. We did not want to damage any of the drywall around the mantle and columns, but you do have to be firm when prying off those pieces and the tile.
A crowbar and rubber hammer to dig out behind the columns and separate them from the wall. We decided to leave the mantle attached because it would not affect the demo and applying of the new tile.
Pro Tip: cut the caulk lines before trying to pry the columns and mantle away. You may even need to use a pull bar to help pry the columns and mantle.
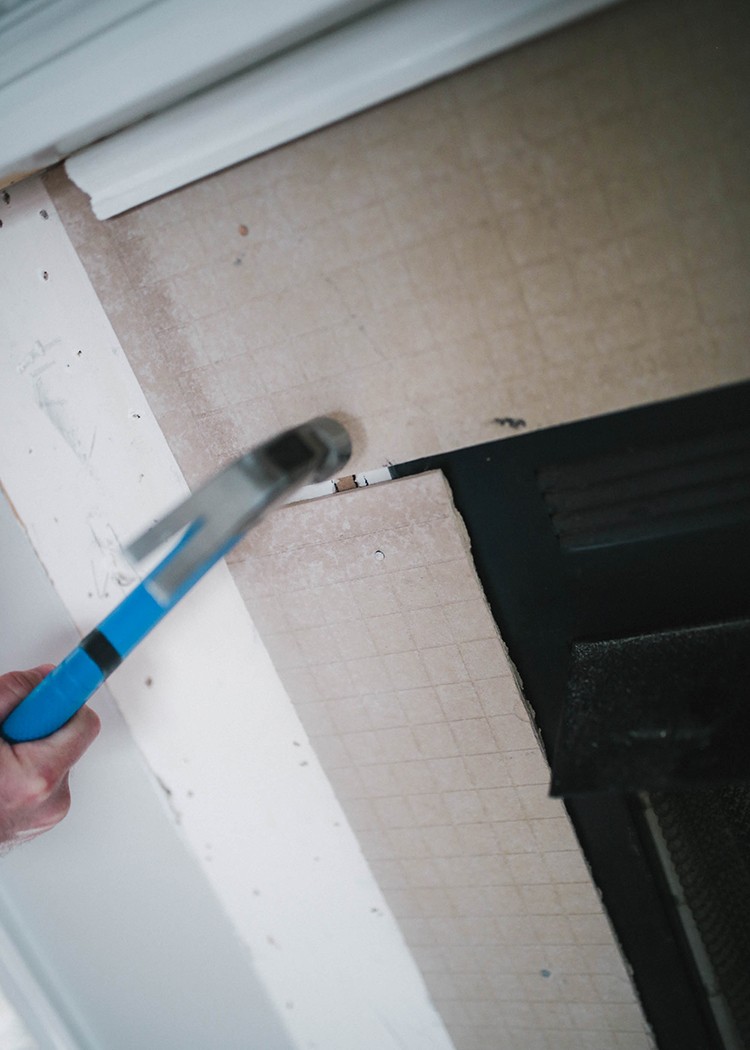
Step 2: Remove the Tile
After removing the columns (and mantle, if necessary), it was time to get after the tile! Using the same method you used to pull the columns and mantle from the wall, use the crowbar and rubber hammer to separate the tile away from the mortar that was used to lay the tile. Once you get one up, the others are fairly easy to get under and separate from the surface to which they are adhered.
Be careful around the drywall, especially if the tile is mortared directly on top. We had a number of holes where the tile pulled off the drywall with it when it came off.
Carefully chisel away any remaining mortar so you are working with a clean and smooth surface for the new tile.
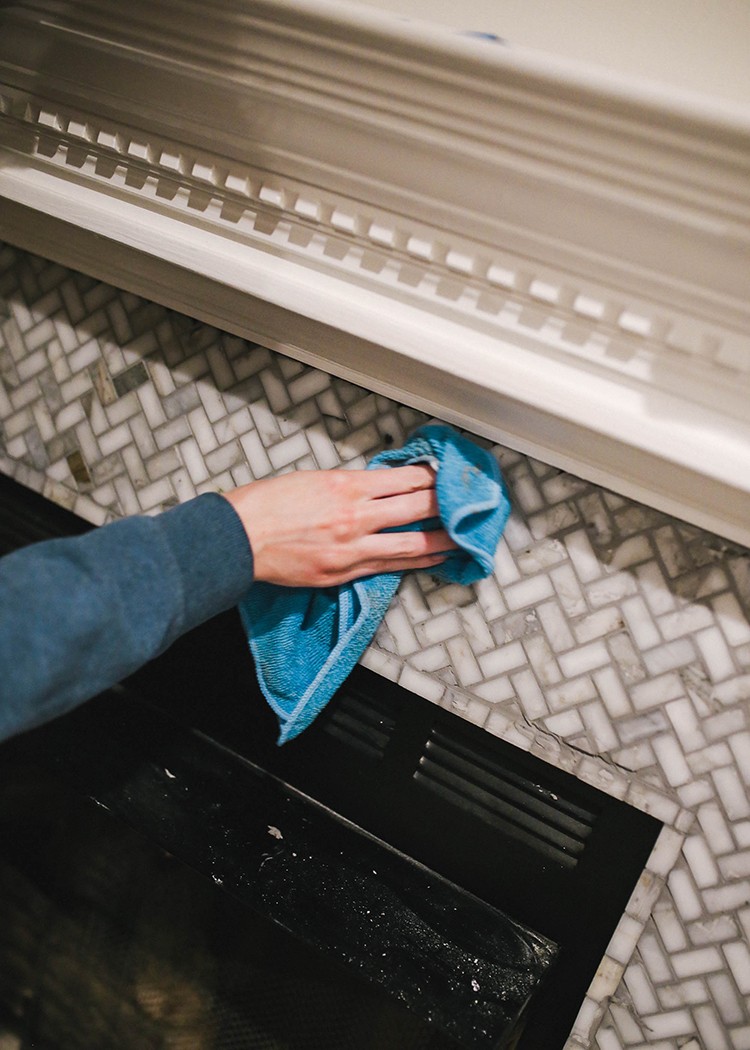
After the demo, you’ll want to clean up before moving on to the next step.
Discard the old tile and loose mortar pieces that broke off when removing. We just used a broom and vacuum to clean up the little pieces of drywall and mortar. Wipe down with a clean cloth before moving on.
Step 3: Lay the Base
After completing the demo, we began to work on the top where the tile would lay. We scored the Hardie Cement Board to the dimensions of the top of the hearth and applied the board using the thin-set mortar. Let the mortar dry for 24-36 hours before laying any tile.
When using the cement board, avoid creating a weak point by staggering the lines where the board meets. We did not have to worry about this as we only needed one large piece and one smaller piece.
You want to use the cement board instead of laying tile directly onto plywood because the cement board does not expand and contract as much as wood. This keeps the tile from being strained with those fluctuations.
Step 3: Build the Hearth
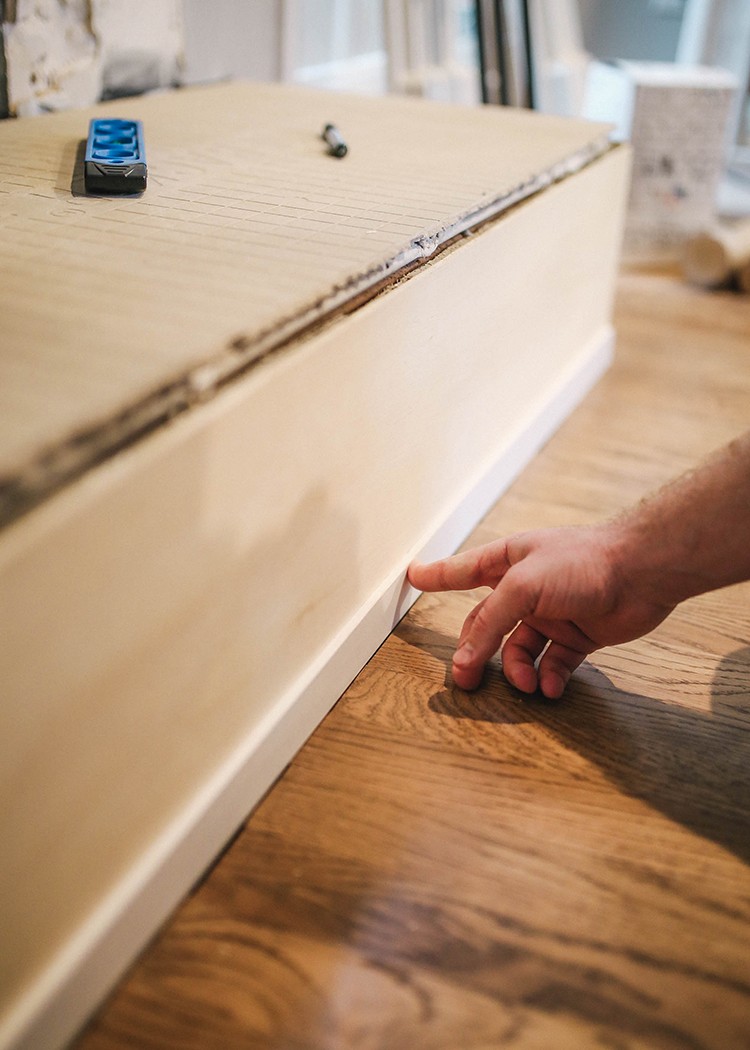
For us, the next step was to build the new hearth box. We knew we didn’t want a full tile hearth, so we had to build a new front and sides of the hearth using plywood and lattice trim. The hearth was built on a very stable plywood box and cement backer previously, so we cut and nailed in the new plywood to make the front and sides of the new hearth box.

Our hearth measured 70.5 in. x 18 in. x 10.5 in. We added lattice trim because we liked the look it provided as opposed to just the plywood. Then, we added shoe moulding at the bottom of the hearth as well. We used a jigsaw to cut the lattice into the right sizes and a table saw to cut the plywood. After the box was complete and sturdy, we closed up any gaps with white caulk.
Step 4: Prepare the vertical fireplace wall
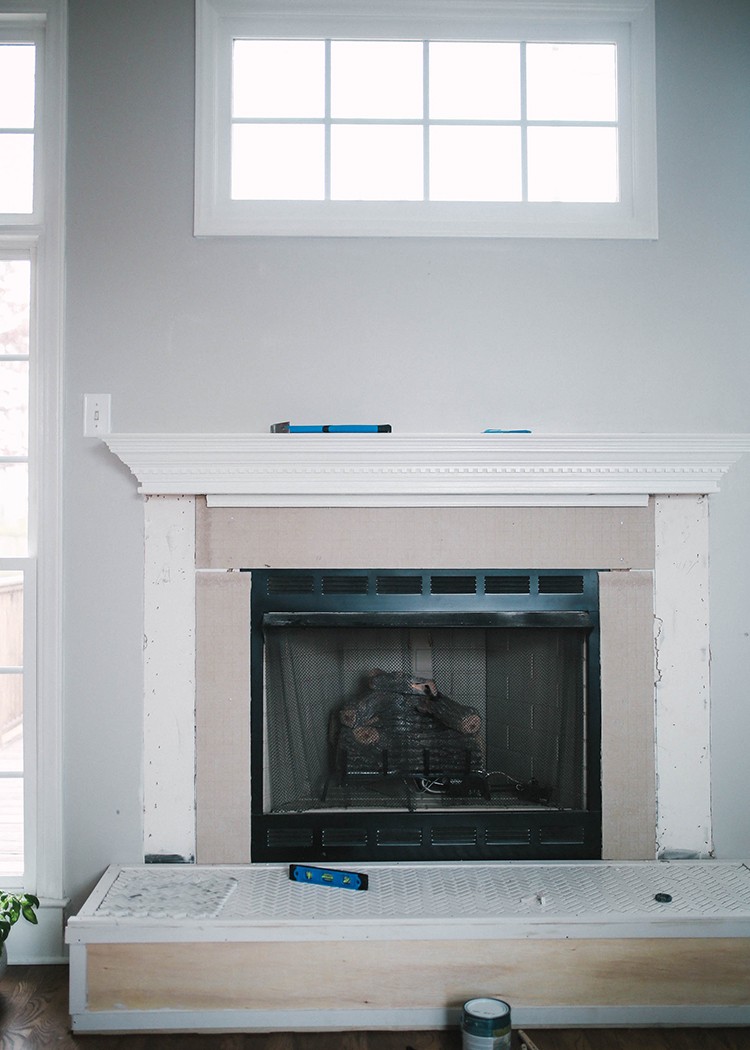
While the mortar was drying on the hearth, we moved on to the vertical fireplace wall. Again, we used the Hardie cement board as a base to lay the tile. Then, we nailed the cement board into studs that lined the fireplace, lining up where the old tile used to be. We scored the cement board into 3 different pieces, one running horizontal and 2 vertical.
Step 5: Cut & prepare the tile

Measure the tile. Working with the herringbone tile was a little more difficult than laying squares or rectangles. We measured the spaces where they were going to lay, as the herringbone edges needed to line up and have consistent spacing.
We used a 7 in. wet saw for cutting the tile. For the hearth, we were able to use 6 ½ full tile sheets along with 6 ½ quarter sheets. To make the quarter sheets, we lined up where they would connect to full sheets and cut between the netting that was holding each tile together.
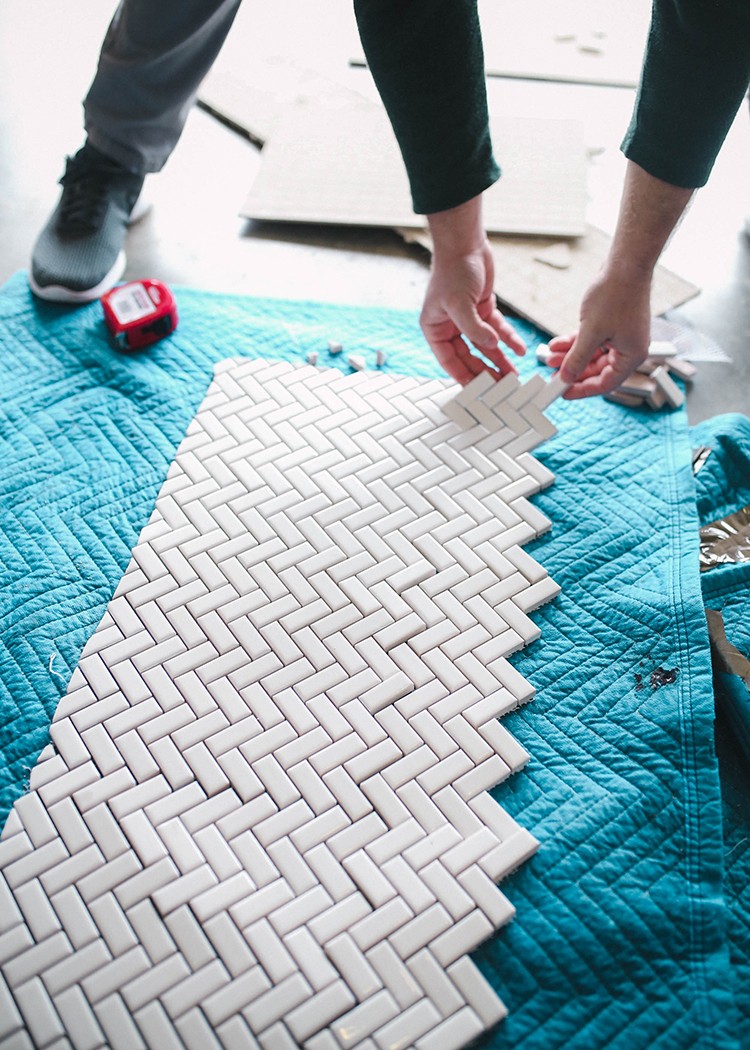
To make a polished look, we wanted the tile to be flat against any surface that it may come into contact. We trimmed the edges on some, and on others, we cut smaller triangular tiles that we would fit between any gaps. Once we had everything cut and laid out on the floor we began to lay the tile.
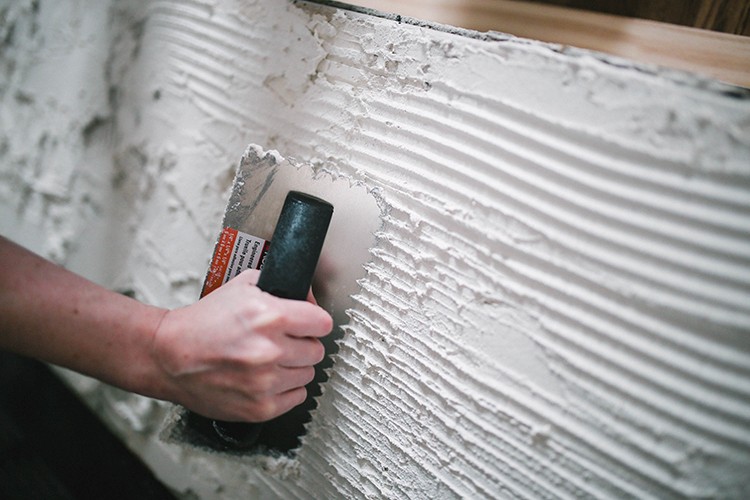
Step 6: Lay the tile
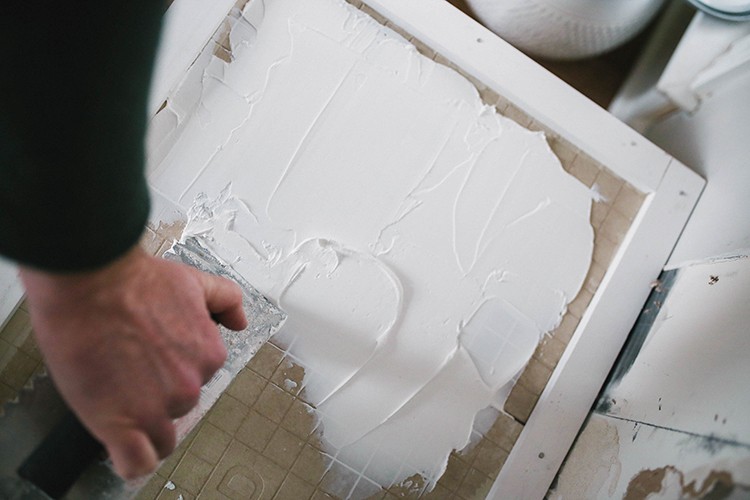
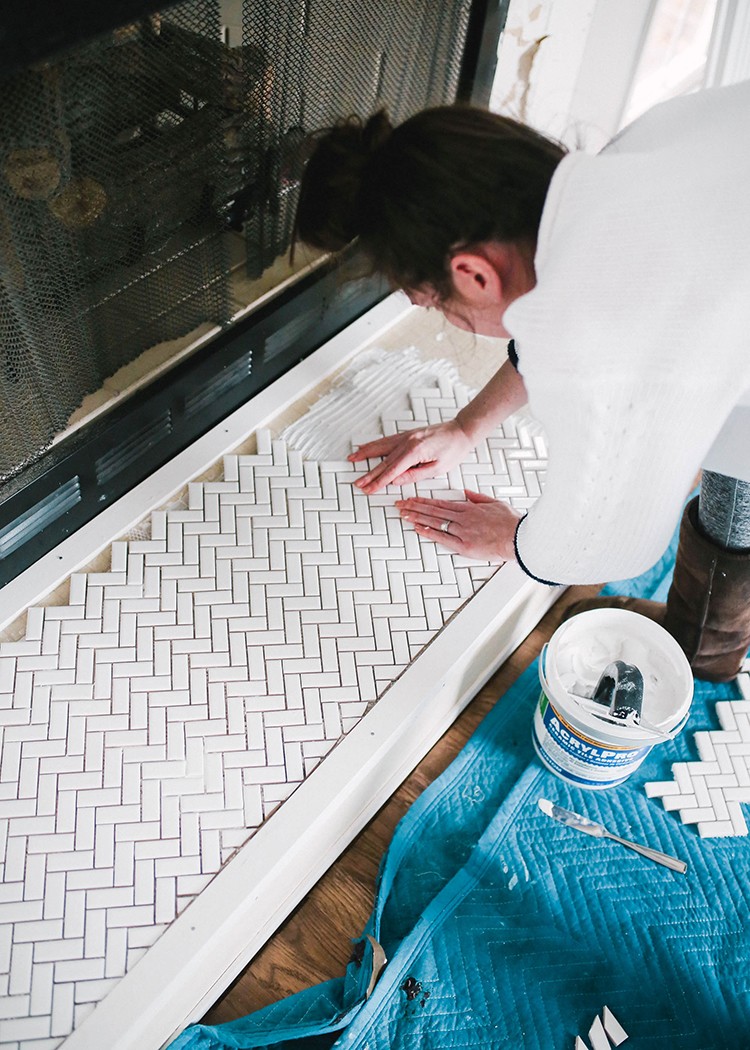
Lay the tile in small sections at a time. Scoop the mortar (we used pre-made mortar that came in a tub) and spread evenly to where one tile piece will be laid. Avoid spreading the mortar into larger areas as it may dry before you lay the tile. Firmly press tile into mortar.
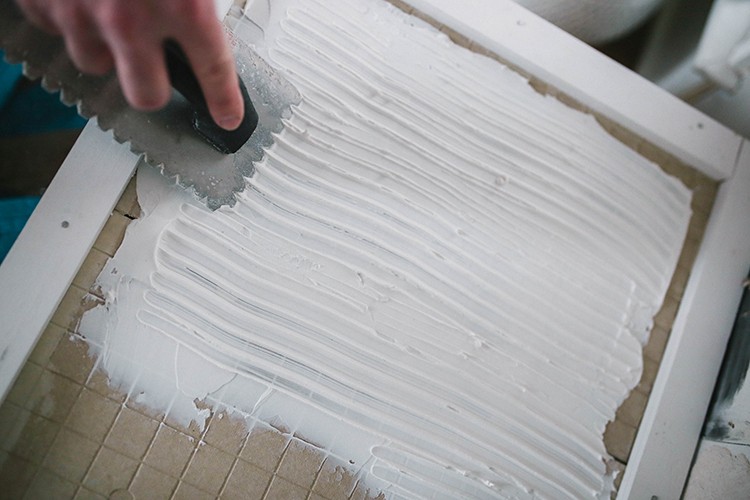
Spread the mortar evenly across the cement backer, using the ribbed edge of the trowel to make indentions into the mortar. This helps with the tile sticking to the mortar. If working with herringbone tile, do not over-mortar as it will begin to rise between the spaces in the tiles. If this happens, use a rag to wipe away an excess.
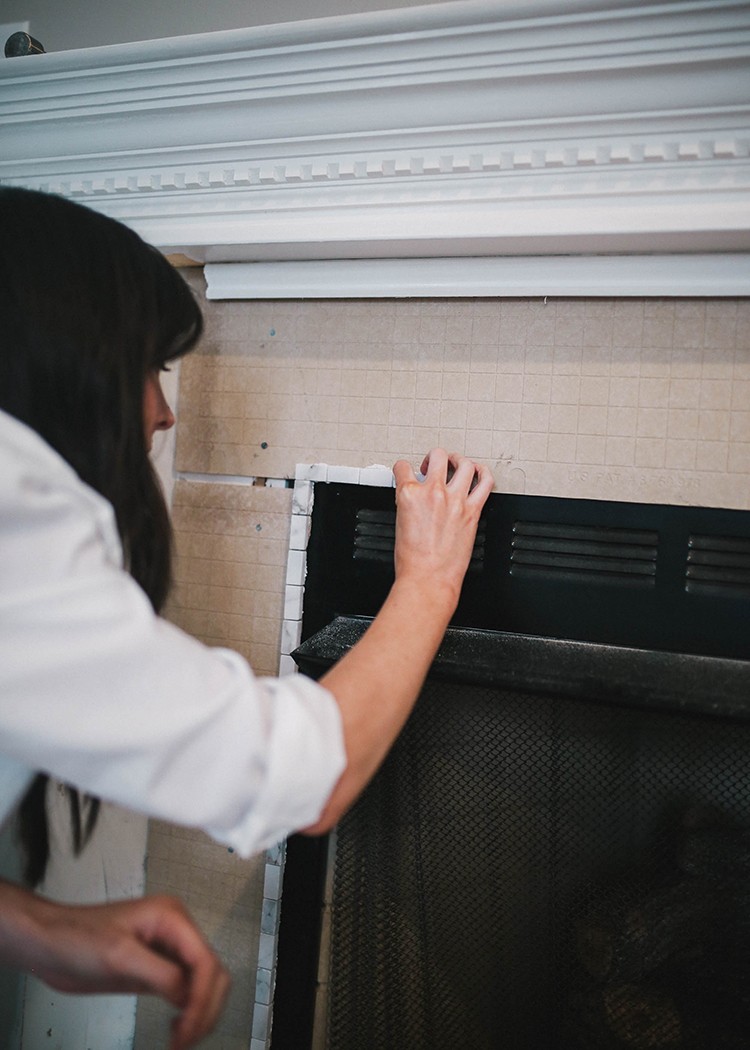

For the vertical tile surrounding the actual fireplace, we began with individual tiles to make a border on the edge of the cement backer. We thought this would be a nice look and give us clean grout lines.
Once the all the tile has been laid, wipe down any excess with a clean cloth and let cure before adding grout. Wait 24-36 hours.
Step 7: Grout the tile

After the mortar has cured and is dry, begin to grout. We used Cape Gray as the color because it went well the white as well as the marble tile we were using. Mix the grout according to the box instructions, typically just adding the grout to water and mixing. We did not have a grout mixer, but a garden shovel did the job.

Once the grout is mixed, use a grout float to apply the grout at a 45° angle, ensuring you are spreading evenly between the herringbone tile. Then, once you are sure that it is spread evenly, wipe away excess using a 90° angle with the float. We tried to spread the grout with one end of the float and wipe away with the other end.

Let the grout dry for 10-15 minutes before taking a damp cloth or sponge and wiping the excess away. Wait an additional 2 hours before taking a cheesecloth or textured cloth to wipe the leftover film. Next, let the grout dry for 36-48 hours before standing or putting pressure on the tile.
Step 8: Work on the accents

Once the grout was finished curing, we moved on the columns and shiplap walls. We rebuilt the columns to make them more similar to the hearth. We used a base of plywood with foot moulding on the top and bottom. Then, we added the lattice trim down the sides for a coherent look. We used ¾ in. nails and Loctite to adhere all these pieces.

Once the pieces were dry and ready to be mounted, we used Loctite and nails to remount the columns under the mantle and along the vertical tile. We closed any gaps with caulk. Once the columns were securely in place, we used the same Behr – Ultra Pure White paint to match the hearth box.
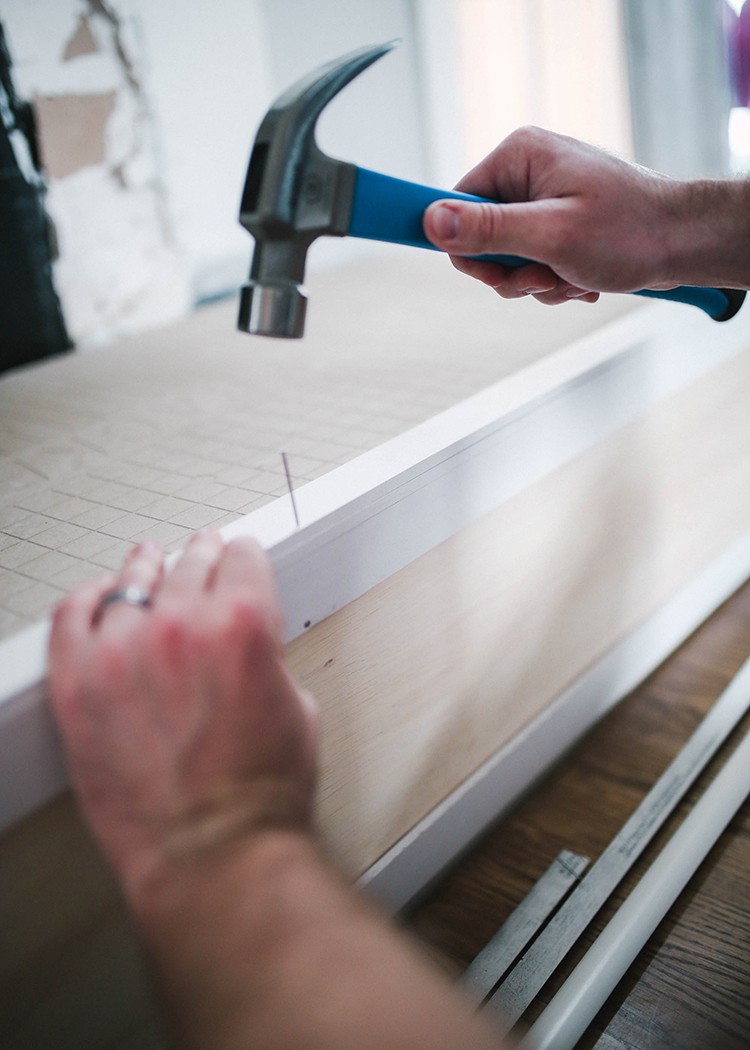
Step 9: Add faux shiplap
This was the final step for us. The fireplace and hearth itself, was complete, but we wanted to tie the room together with something else. We chose to do faux shiplap as we had done this on a project previously.

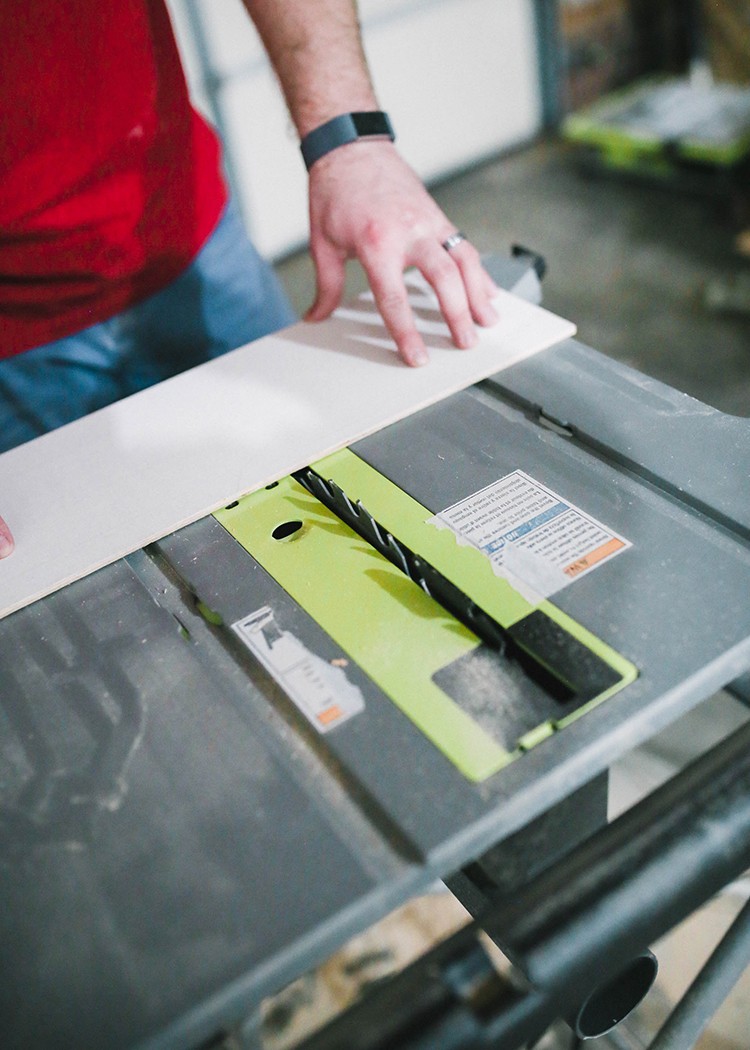
We used a table saw to cut 5 ft. x 7.5 in. strips of underlayment plywood. When mounting the plywood, we used nickels to keep spacing consistent, and nailed the plywood into the studs along the drywall. We had to maneuver around a window, but we were able to cut the plywood as needed.
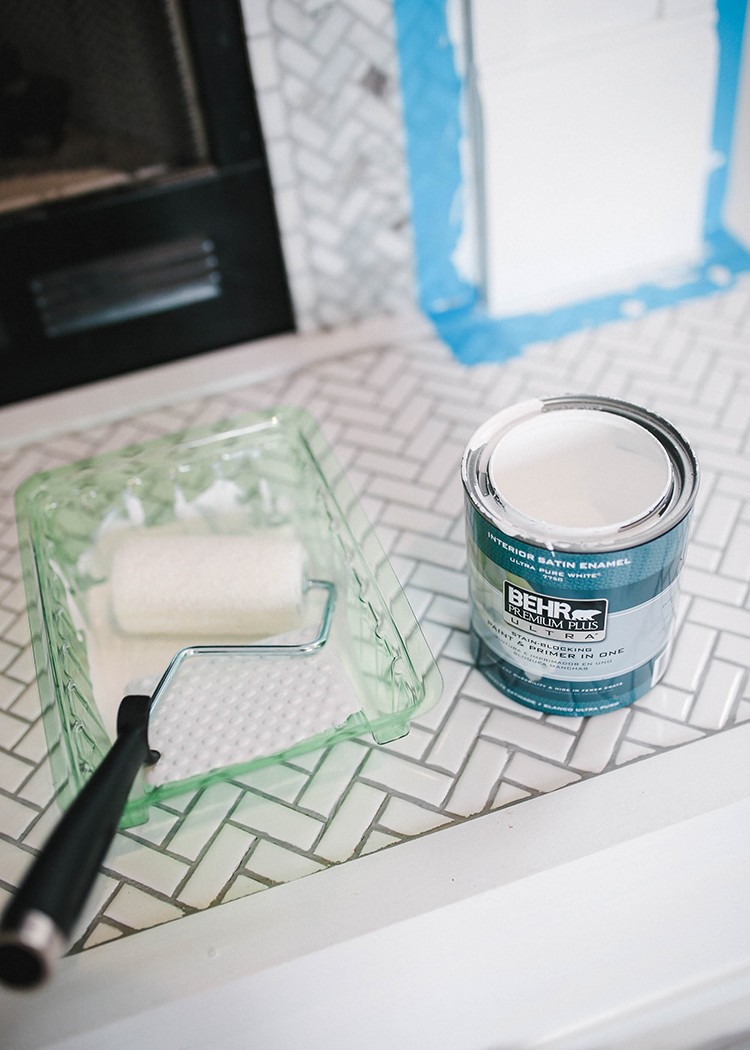
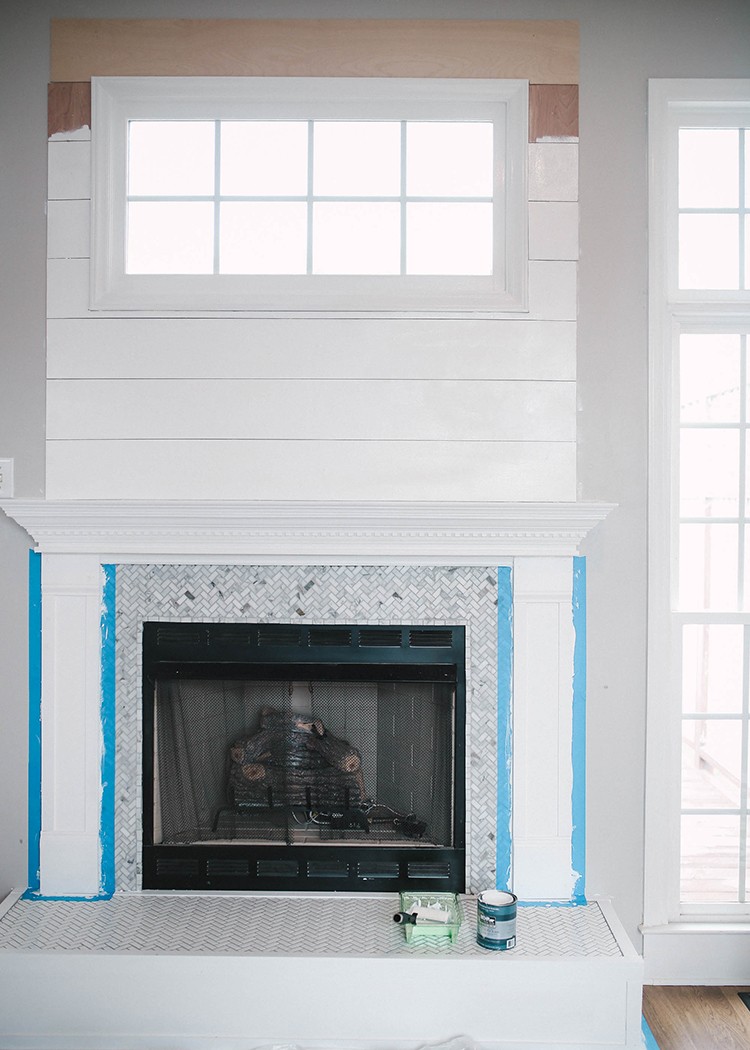
Once the shiplap boards were mounted, the last piece we needed was trim. We used ceiling trim at the top, and moulding trim along the sides. This tied together the trim that we used on the columns for a cohesive look. The last piece we did was painting, using the same Behr paint.
Final Reveal


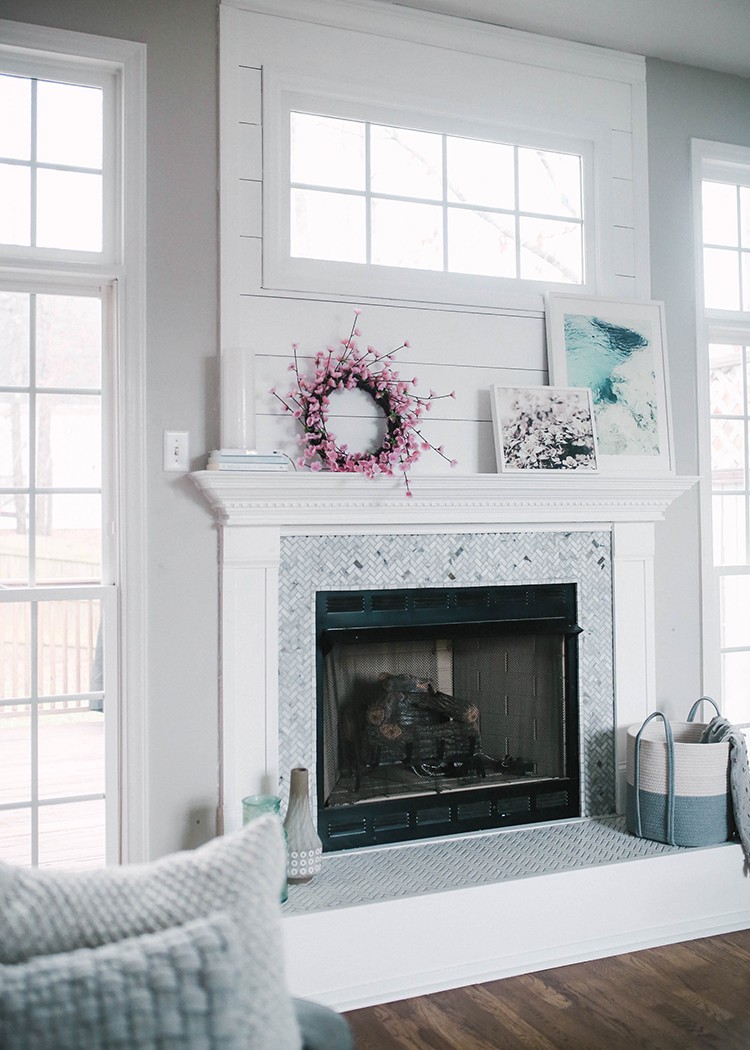

Our originally dark fireplace resulted in a bright fresh and white more modern farmhouse looking fireplace and we are thrilled with it! We enjoyed giving this tile fireplace makeover and hope this tutorial was helpful! Replacing tile is a time-consuming process as there are a number of steps where you need to wait for adhesives to dry, but other aspects of the makeover helped us pass the time. Let us know what you think!
The post How to Brighten Up a Room with a Fireplace Makeover appeared first on The Home Depot Blog.

