Easy Laundry Room Makeover
After living with our builder grade laundry room for the last two years, we decided it was about time for an update. We decided to add some functional storage and organization. In just a few short days of work, the laundry room went from boring and impractical to beautiful and well-designed. We even ended up with an empty cabinet! Our goals for this space were to add large upper cabinets, floating shelves, and vertical shiplap. Keep reading to see how these easy changes can make a huge transformation to your laundry room!
The Before
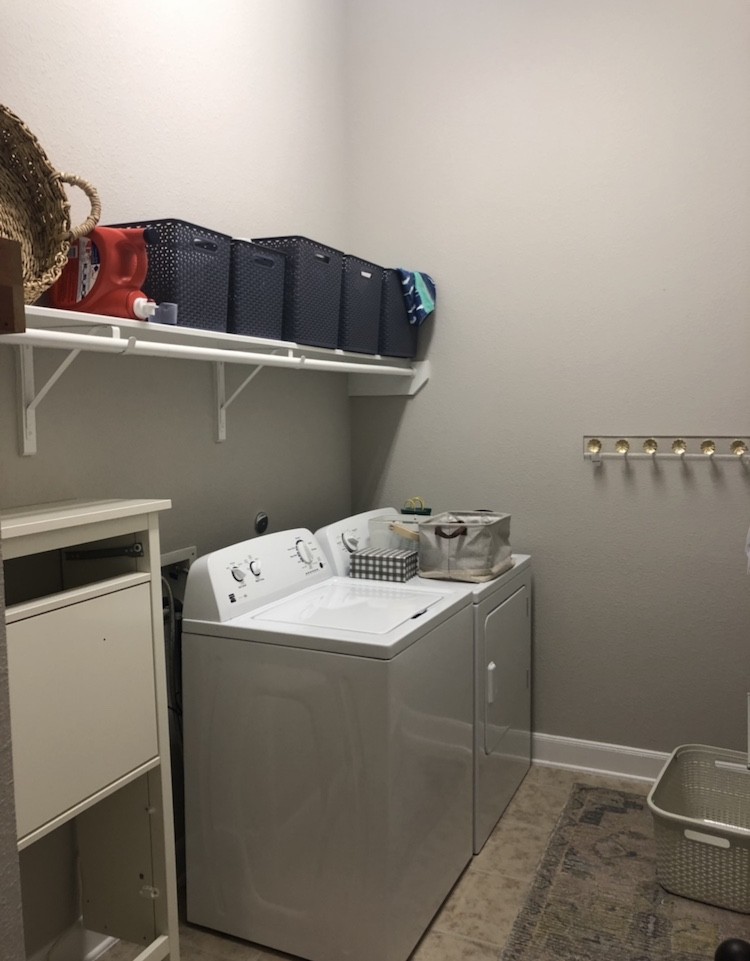
Like any good house project, we started our work with a little demo. We began by removing the basic shelf and hanging rod that ran along the wall above the washer and dryer. Removing the shelf caused some damage to the textured finish on our walls, but we knew we would be adding shiplap and covering it up. Next, we had to remove the base boards and quarter round, so we would be able to add new trim on top of the shiplap.
New Hampton Bay Cabinets
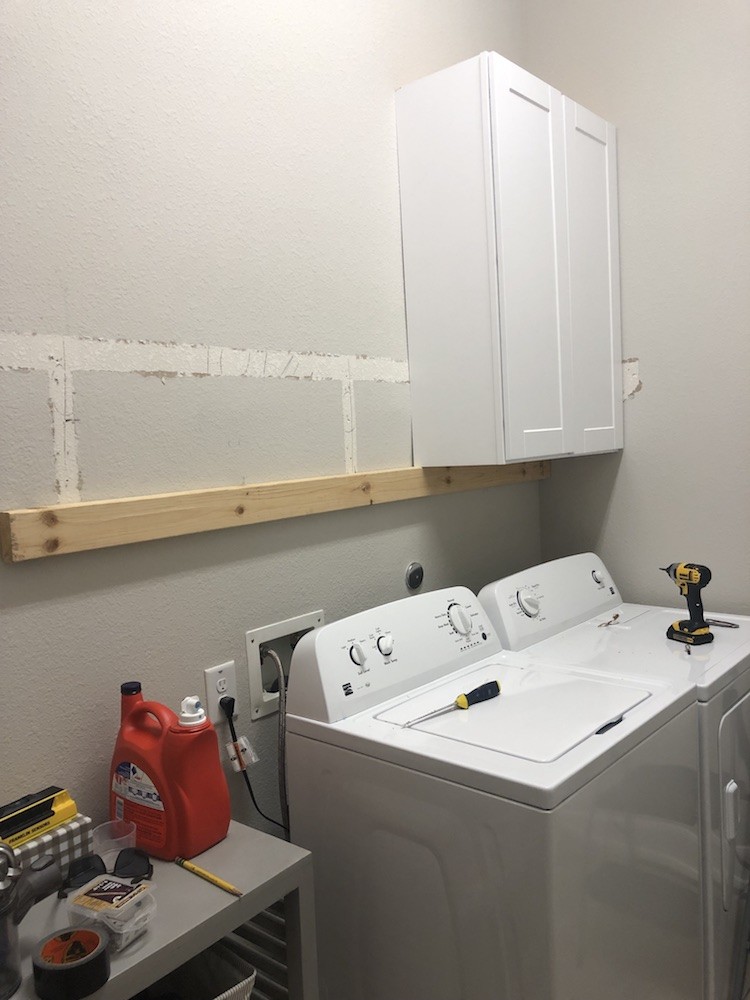
Then it was time to hang the cabinets. We ordered these affordable shaker-style cabinets by Hampton Bay from The Home Depot. We went with the 42 inch height because we have really tall ceilings. To hang these, we started by marking the studs along the wall and measuring how far the studs were from the adjacent wall. We used that measurement to mark inside the cabinet where the screws would go. Next, we mounted a 2×4 horizontally on the wall. This acted as a temporary resting spot for the cabinets while we screwed them into the studs. We made sure this 2×4 was perfectly level.
How to Mount Your Cabinets
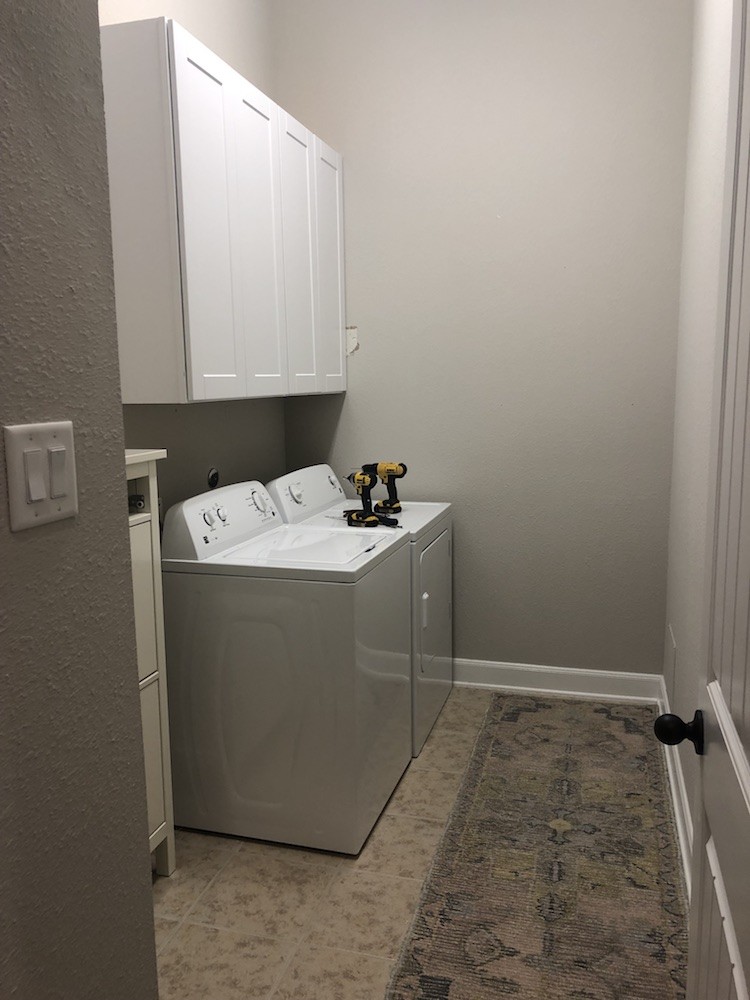
Then we lifted up the first cabinet, rested it on the 2×4, and screwed through the back of the cabinet into the studs. There were four screws per cabinet. We followed these same steps for the next set of cabinets. Once both sets were attached to the studs, we screwed both cabinets together and removed the 2×4 underneath from the wall.
Installing Vertical Shiplap
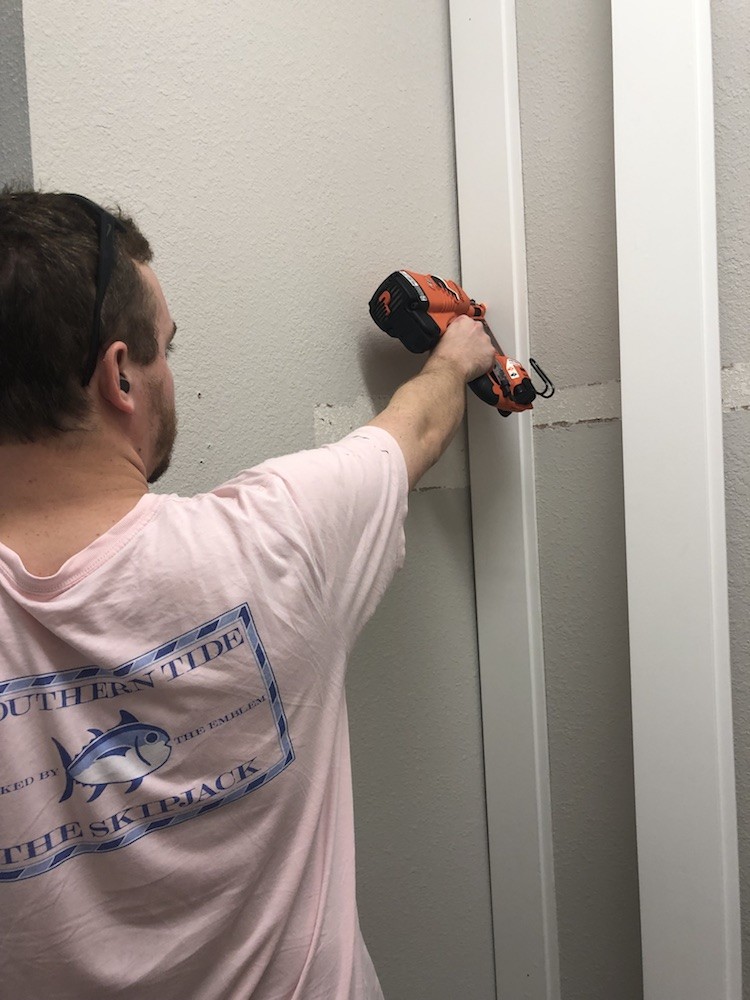
Once the cabinets were set, we began to install the vertical shiplap. We love this shiplap from The Home Depot. It is so easy to work with, affordable, and already primed. We didn’t have to be super precise on our cuts. This is because we were trimming out the edges and adding new baseboards. Applying this shiplap is straightforward. Just put your first piece up, ensure that it is level, and nail it in. The next piece will slide in place and leave the perfect gap. We still checked each board to ensure that we were level as we added pieces across the wall.
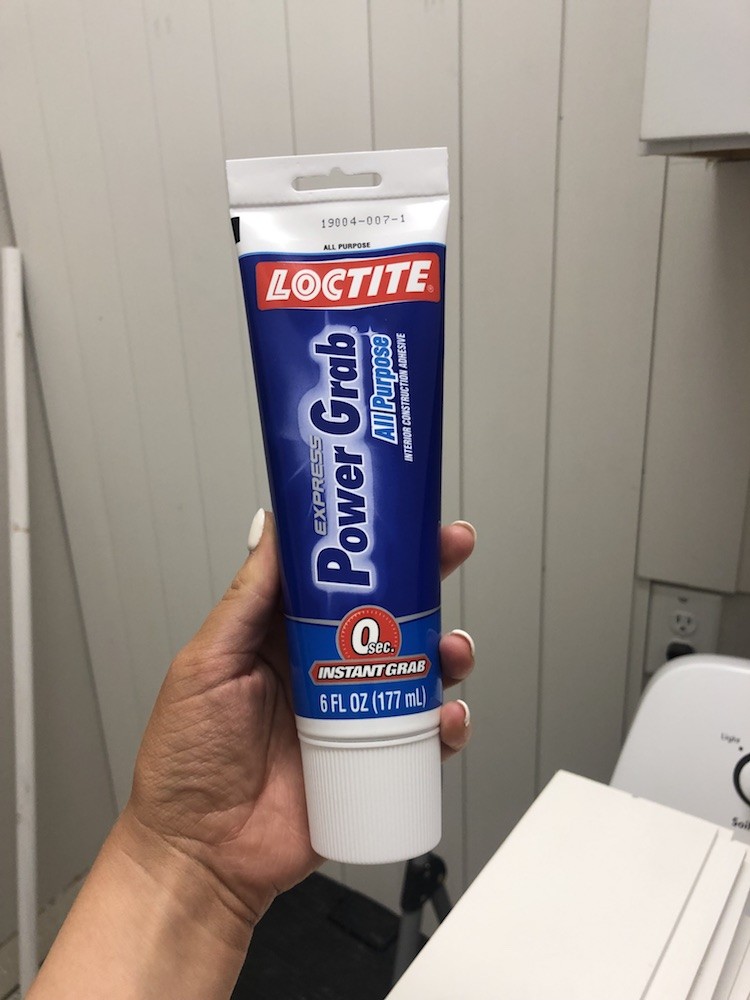
Gluing the Smaller Pieces
Once we got to the space right above the washer and dryer, we decided to glue these smaller pieces on to avoid hitting pipes, vents, or electrical wiring in the wall. We trimmed out the wall with 1x2s and used 1x6s for the baseboards.
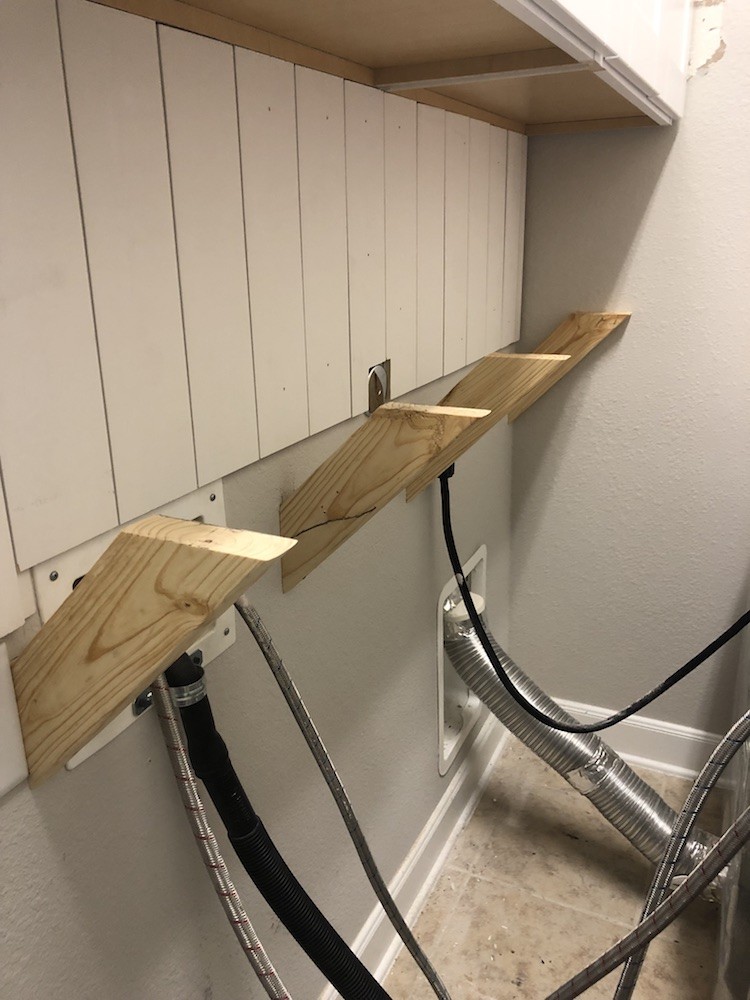
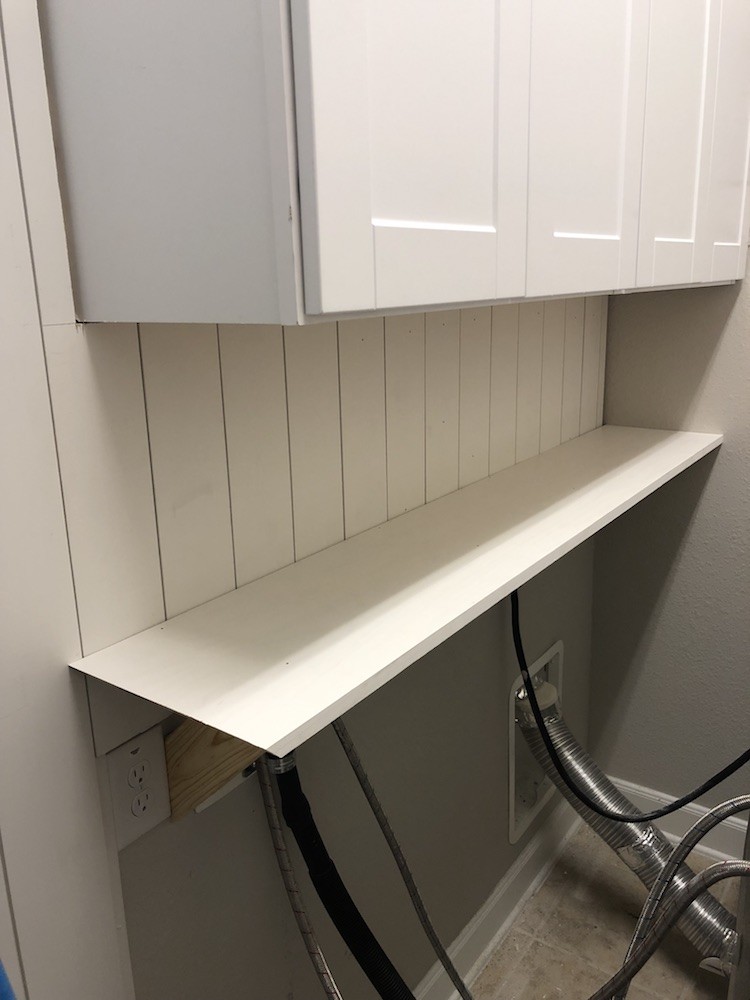
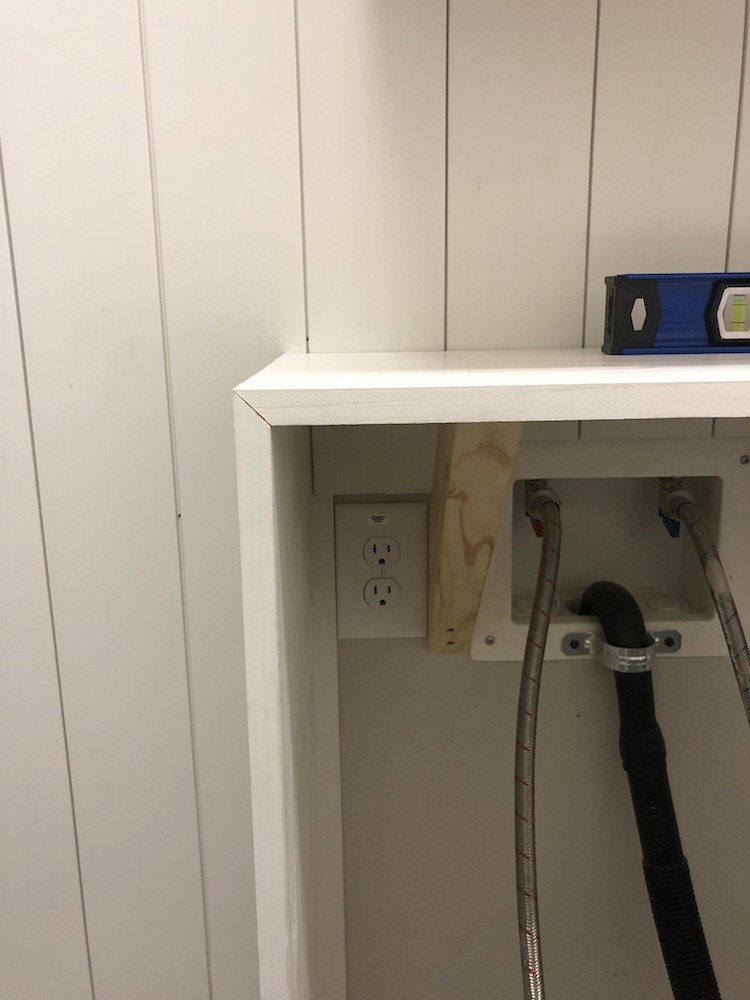
Additional Storage Space
We added a shelf directly above the washer and dryer for additional storage and to hide the wires behind them. We made supports with 2x4s cut at a 45-degree angles, then placed a 1×12 across them. We added another 1×12 from the shelf to the floor, and then added trim to the fronts.
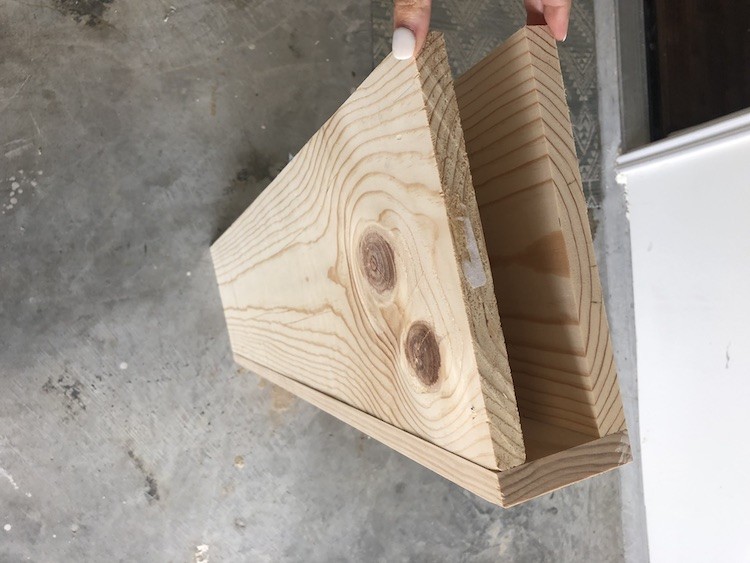
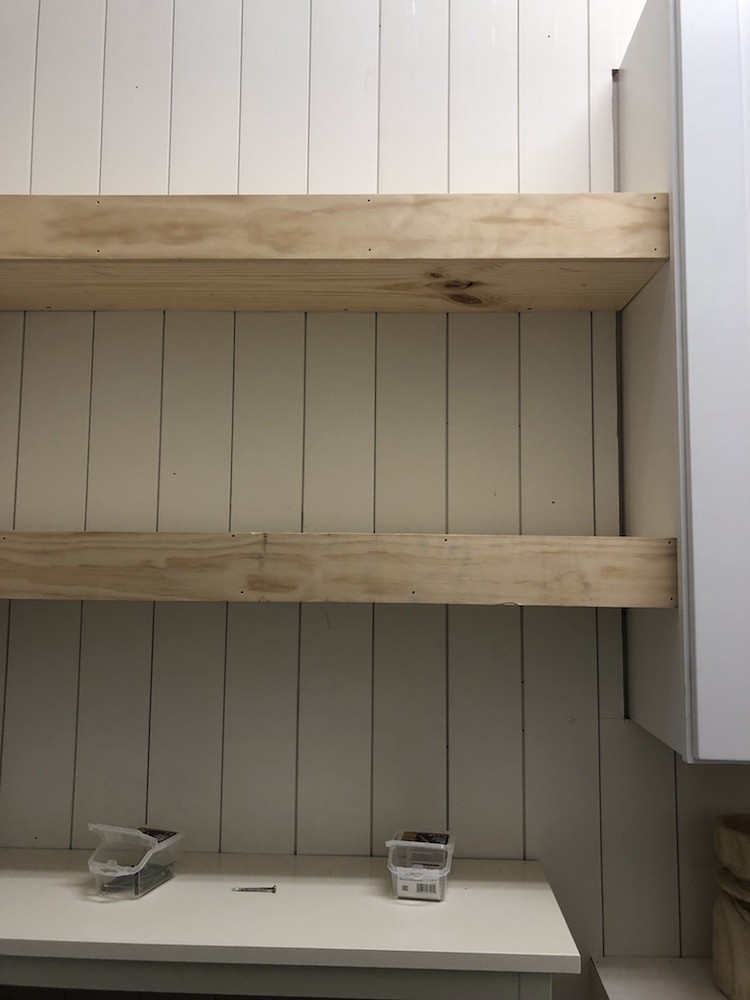
Installing Floating Shelves
Finally, we built 2 large “floating” shelves to go from the cabinets to the wall. We wanted a spot to display something pretty to bring more fun into the space. These were so easy to build. We nailed a 1×4 to two 1x10s to create a “box.” We ripped a 2×4 to size, and screwed it horizontally into studs where we wanted the shelves to be mounted. We then placed our “boxes” over these ripped 2x4s, and screwed into them from the top and bottom.
We stained the shelves first with Minwax White Wash Pickling and then topped with two layers of Behr Cordovan Brown stain (our favorite stain combo).
The Finished Laundry Room

We can’t believe the transformation from our laundry room makeover! Our laundry room is now functional and beautiful, all thanks to The Home Depot!
The post Laundry Room Makeover: Adding More Storage Space appeared first on The Home Depot Blog.


