Tired of your outdated bathroom, but don’t want to break the bank renovating it? Lifestyle blogger Carrie Waller, of Dream Green DIY, spent one weekend tackling small updates in her hall bathroom, and it made all the difference. Take a look at these eight simple bathroom updates you too can complete in just a couple of days.
Simple Bathroom Updates


It’s no secret that updated bathrooms and kitchens provide the best return on your investment at resale, but what if you’re working with a small budget? Can you pull off enough of a makeover to make your buck go “BANG!” when it counts?
To answer this question, I spent a single weekend making a number of budget-friendly tweaks to our outdated hall bath in order to bring it into the current millennium. The good news? Our pint-sized bathroom now feels nice and new, and I didn’t have to break out a sledgehammer to get it done.
The Bathroom Before Updating
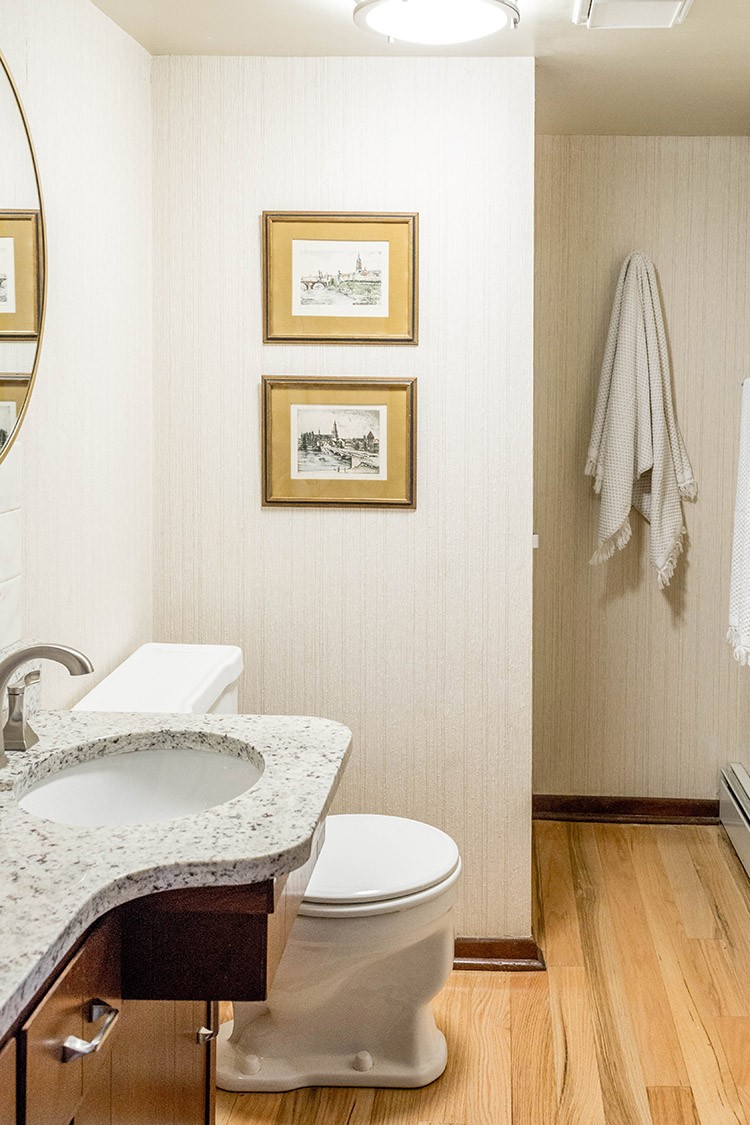
Before I jump right into the simple bathroom updates, though, here’s a quick tour of the space pre-update. We think—judging by the dated fixtures and finishes—that this bathroom was added on to our 1960s home sometime in the ’80s or ’90s.
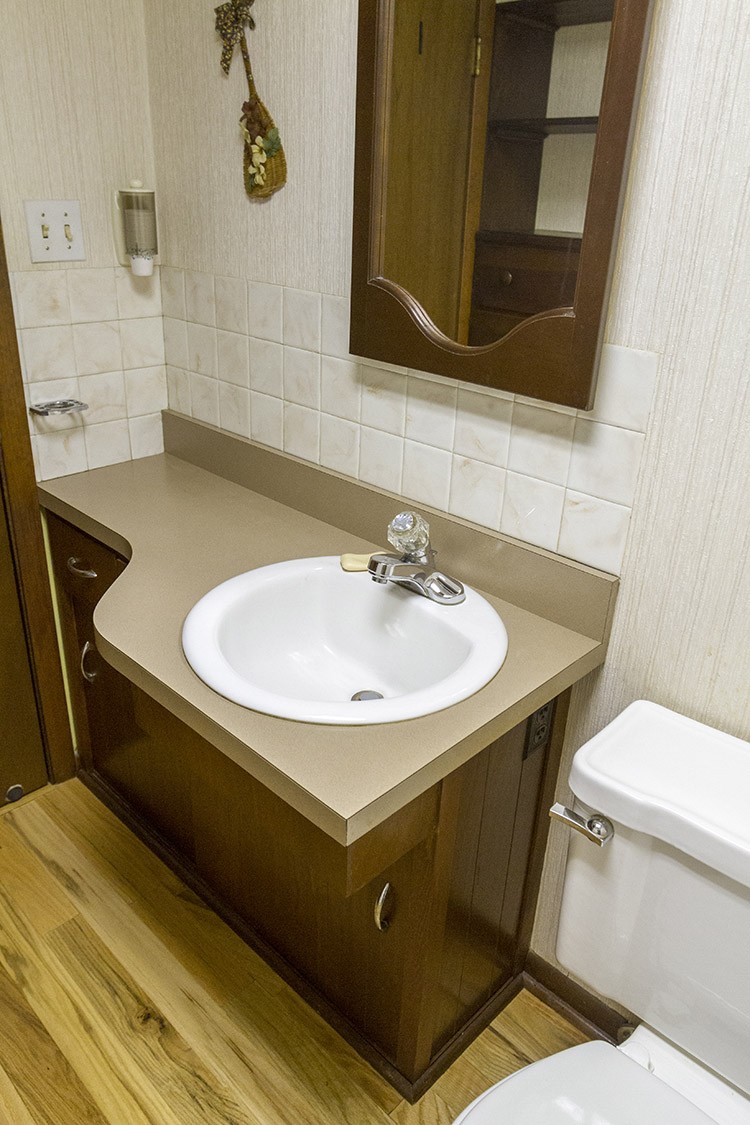
The previous homeowners had left behind lots of little decorative accents on the walls and ceiling, as well as plenty of ugly built-in accents (think: fluorescent lighting, cheap faucets, flimsy towel bars). It all needed to go.
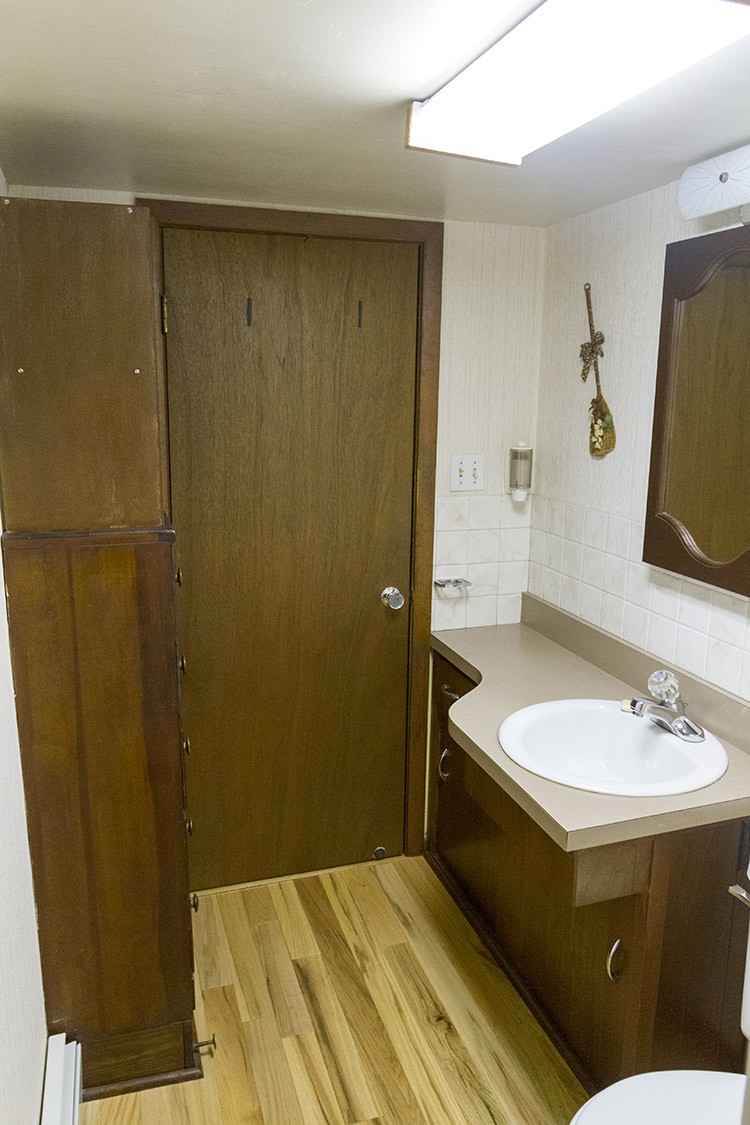
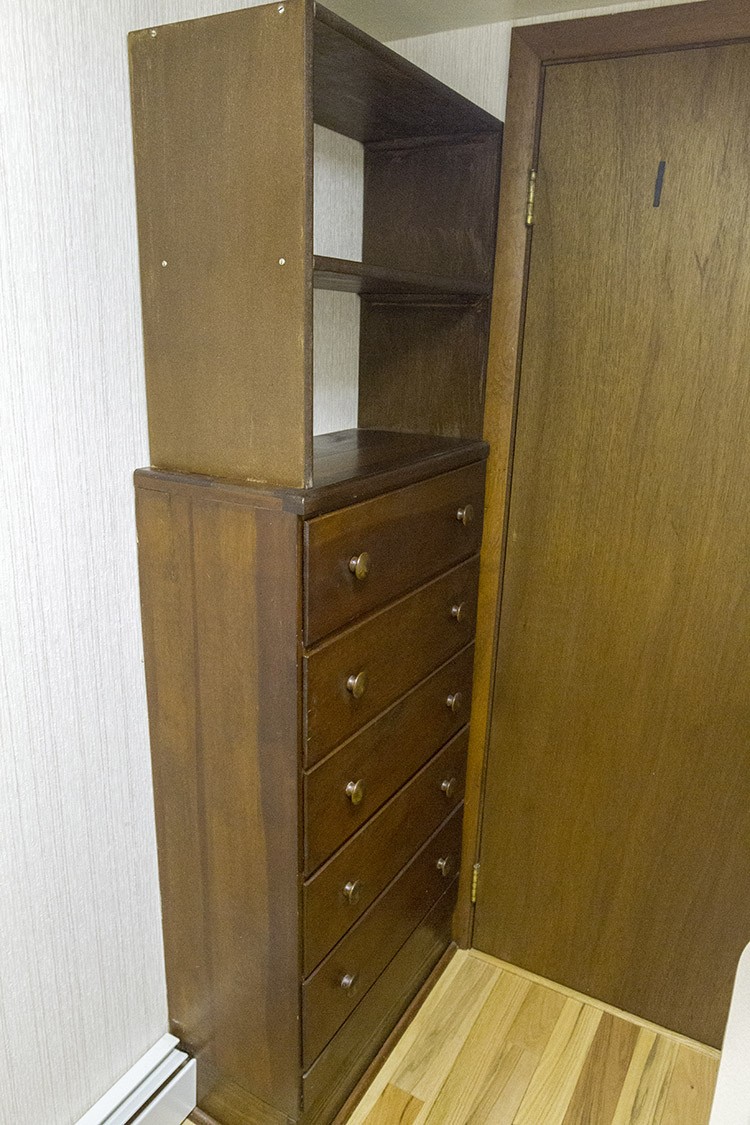
Even the cabinet hardware on the vanity and built-in dresser screamed for an update. Everything just felt retro, and not in a “cool,” on-trend kind of way. Instead, the room was filled top to bottom with scratched up old pieces of wood, metal, and plastic that combined to give the space the type of appeal that made us avoid opening the door at all.
First things first with our bathroom updates: I started by setting aside one weekend on our calendar to cross off all the items on my to-do list for the makeover. Then, after the products had all been delivered to our front door from The Home Depot, I pulled on my paint-covered jeans and an old t-shirt, and got to work tearing out and replacing things, one piece at a time.
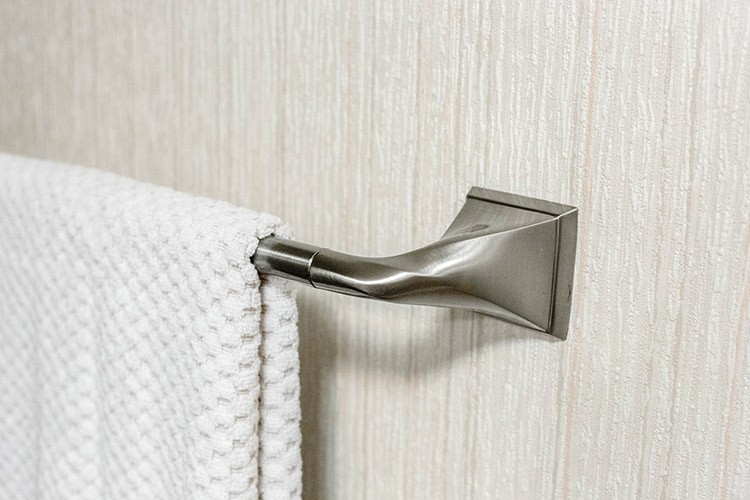
1. Replace Old Towel Bars

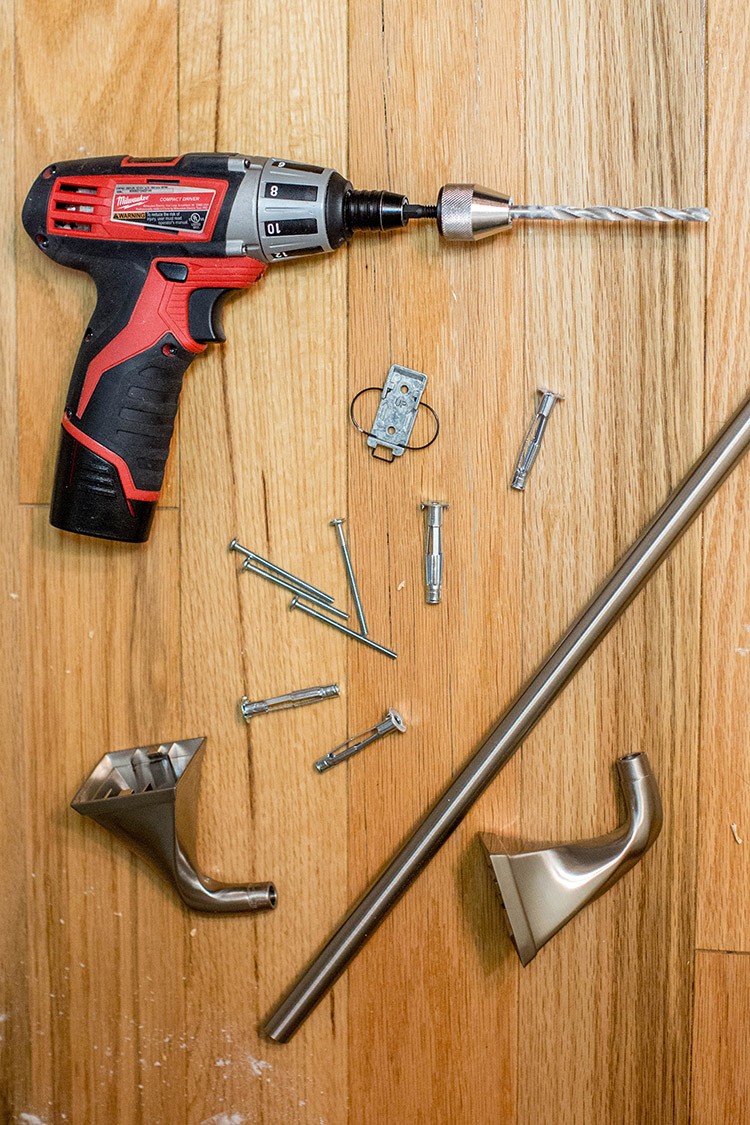
I kicked things off by removing the old towel bars from the walls. Tthen I unpacked our replacement towel bar (from the Everly collection by Delta), laying all of the materials and instructions on the floor.
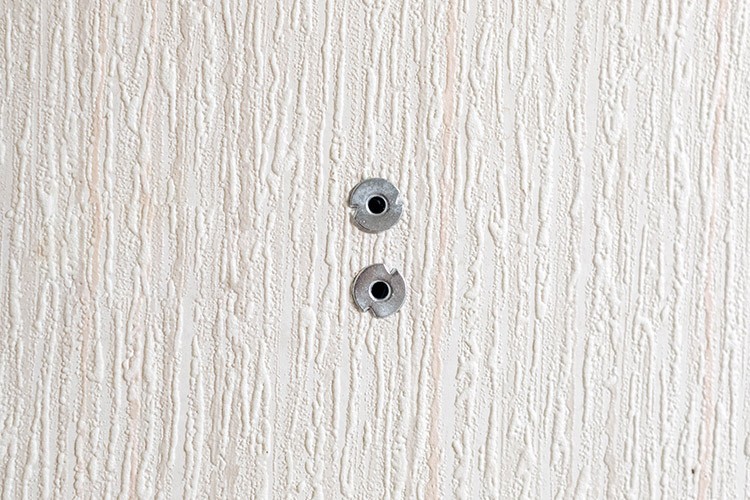
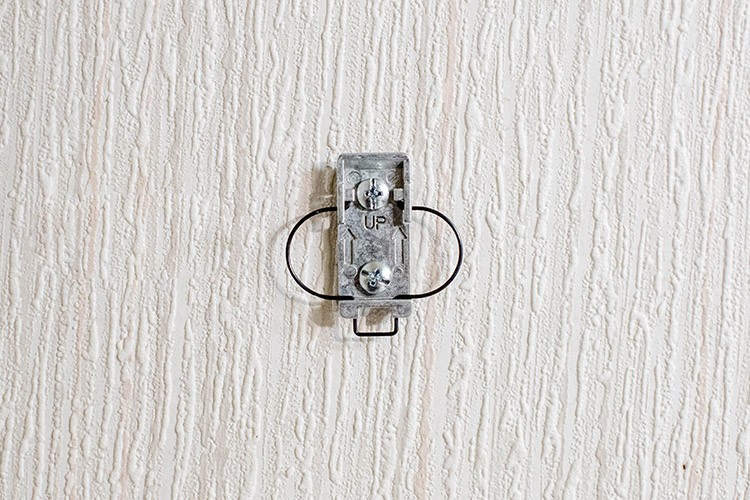
The manual directed me to the correct drill bit, which I used to pre-drill new holes in the wall. I then installed the included metal wall anchors.
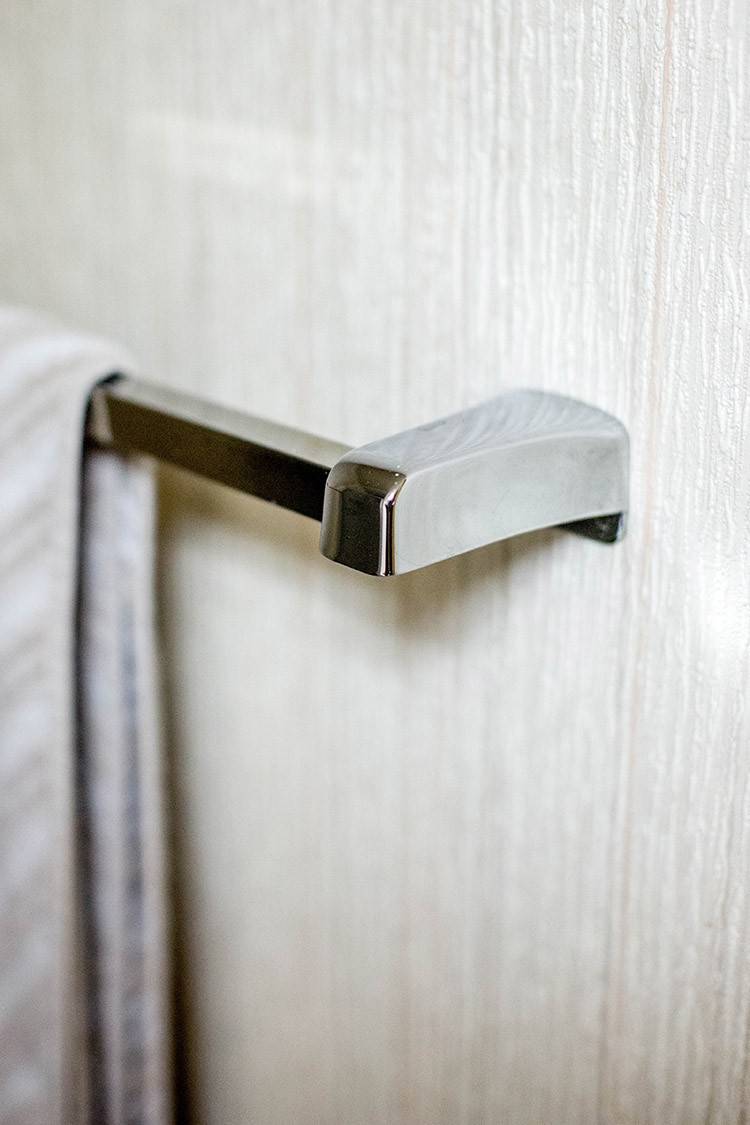
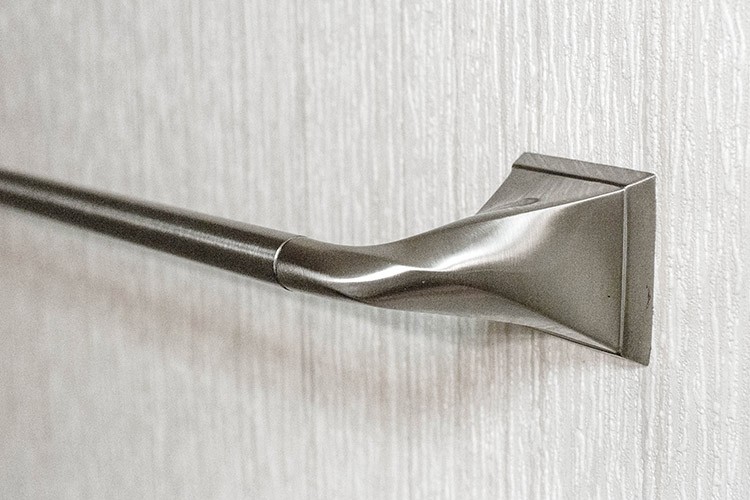
To finish, I screwed the new metal plate over the anchors, and then I popped the new towel bar connections over the plate with the bar snugly sandwiched in between.
2. Add Coordinating Hooks and Holders
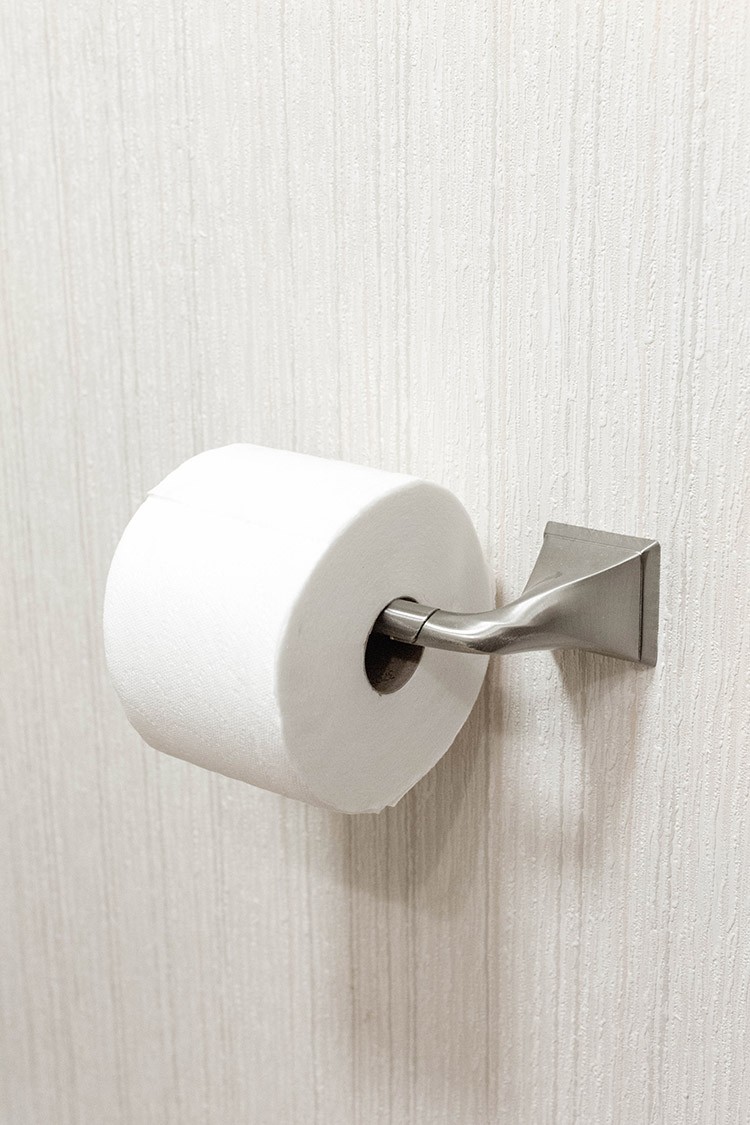
Since we decided to replace all of the mismatched wall hooks and bars with coordinating pieces from Delta’s Everly collection, I was able to follow the exact same install instructions all the way around the room.
The first towel bar took about 20 minutes to install as I worked my way slowly through the process step by step. I was able to install the rest of the pieces in a matter of minutes—less than five, to be exact—because, by then, I had the process down pat. My only regret after installing the new towel ring, hook, and toilet paper holder? That I hadn’t done it years ago!
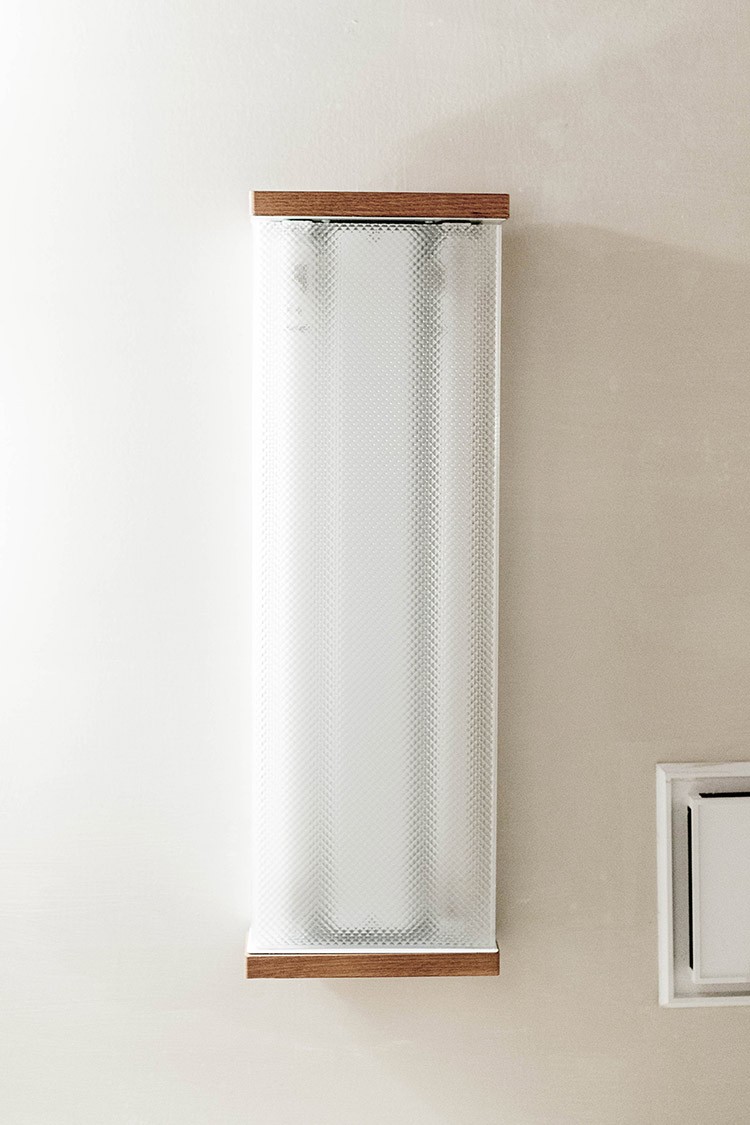
3. Install Overhead LED Lighting
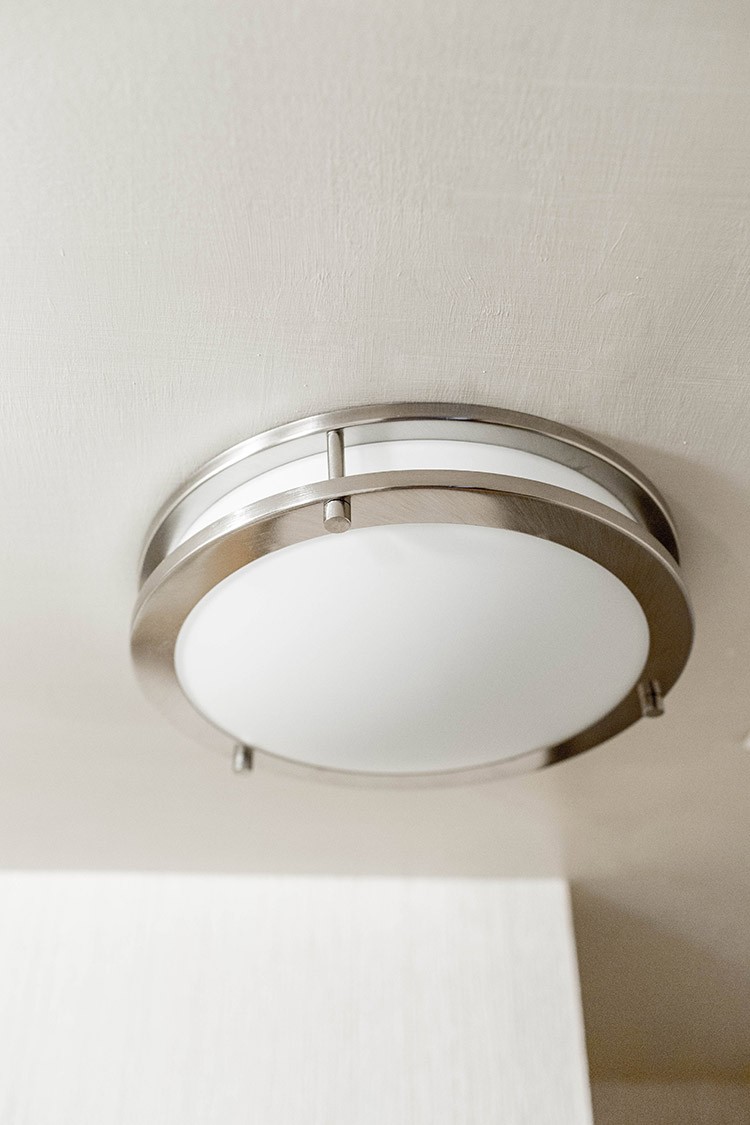
Another thing that needed to go immediately (if not sooner) was the old fluorescent light fixture.
To do so, I shut the power off to the overhead unit, unscrewed the old piece from the ceiling, and disconnected the wires. Then, I followed the same steps in backward order with our new fixture—a pretty brushed nickel flushmount light. I kept the instructions that came with the light close at hand for reference and troubleshooting.
After turning the power back on, the room was filled with bright, happy LED light.
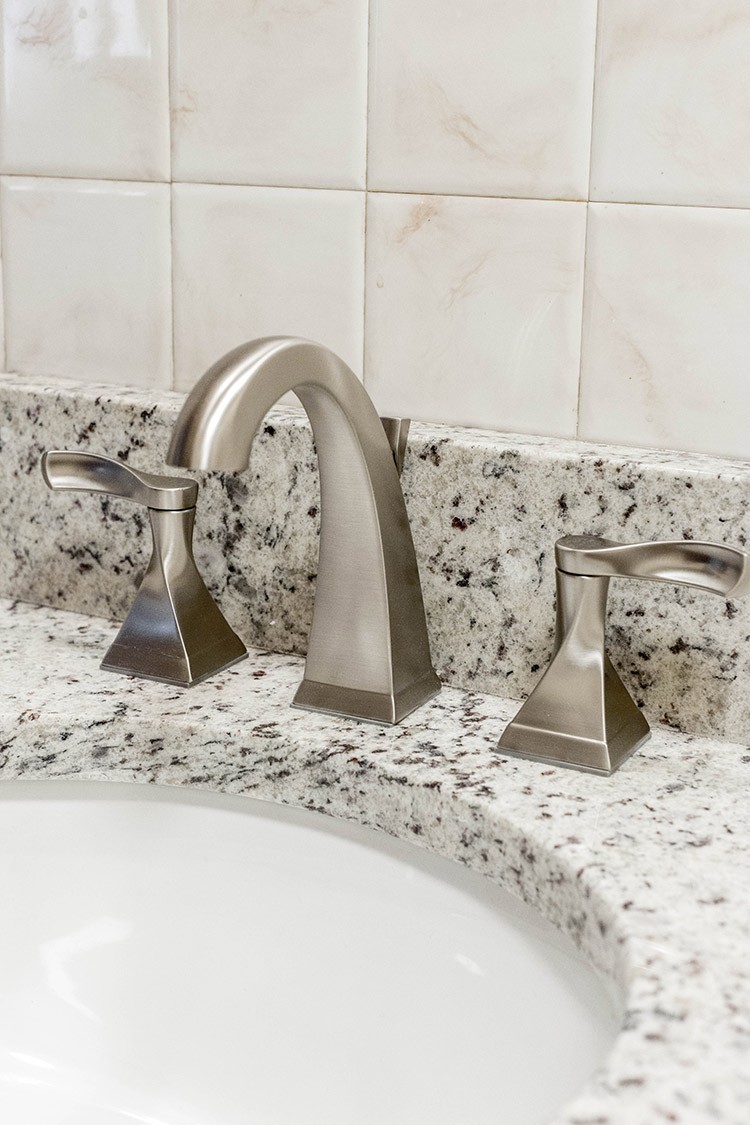
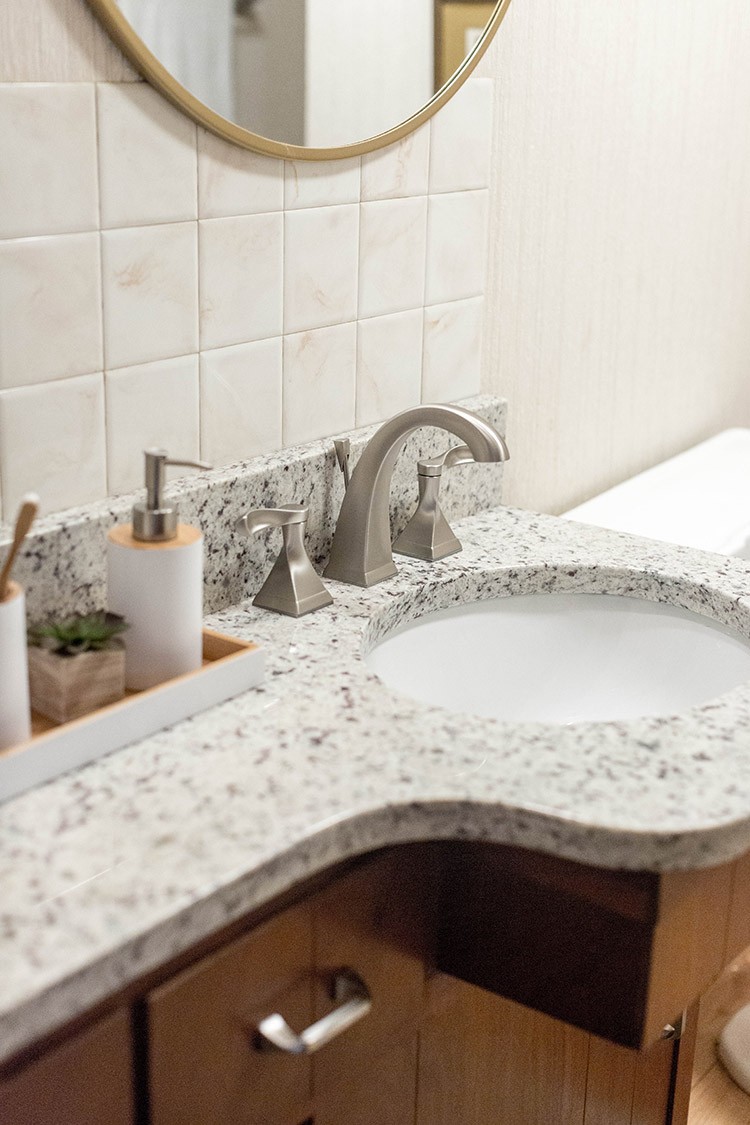
4. Replace The Faucet
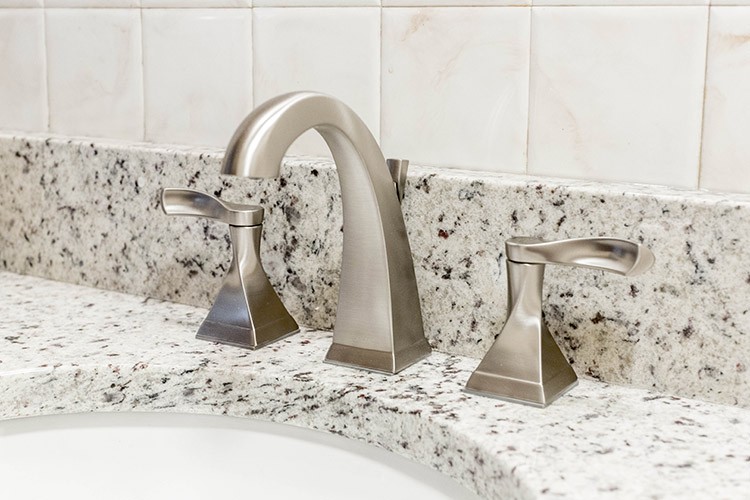
One thing that happened a little before this weekend makeover was the installation of a new granite countertop. We love the updated look, and certainly didn’t have the heart to re-install the old builder-basic faucet that had been put in place back in the 1980s. So, during my weekend bathroom update project, I followed the instructions from Delta to install a new brushed nickel widespread faucet.
The pretty new faucet added instant modern style to the space, and it also functions a lot better than the old single-handle model that we had used up until this point. If you aren’t able to do anything else in your weekend bathroom makeover, make this update your top priority!
5. Install New Drawer Pulls
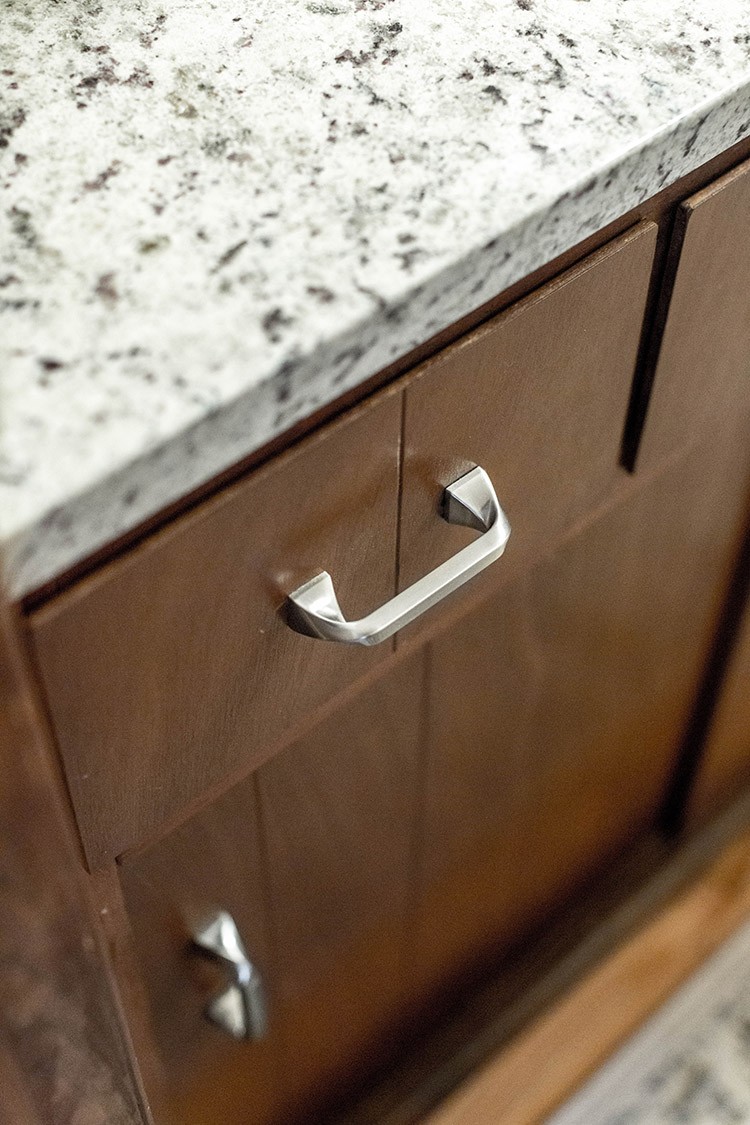
Despite the small square footage of this bathroom, it actually sports a ton of storage. The vanity features two drawers and sizable space behind two sliding doors under the sink. You may have spotted the built-in dresser in the before photos—it’s situated behind the door to the bathroom.
In order to make the two match with the other accents in the space, I replaced all of the mismatched handles on both with new satin nickel cabinet pulls from Delta’s Everly collection. They say that handles are the “jewelry” of any space, and this quick update proves that a little sparkle can do wonders for modernizing a space, too.
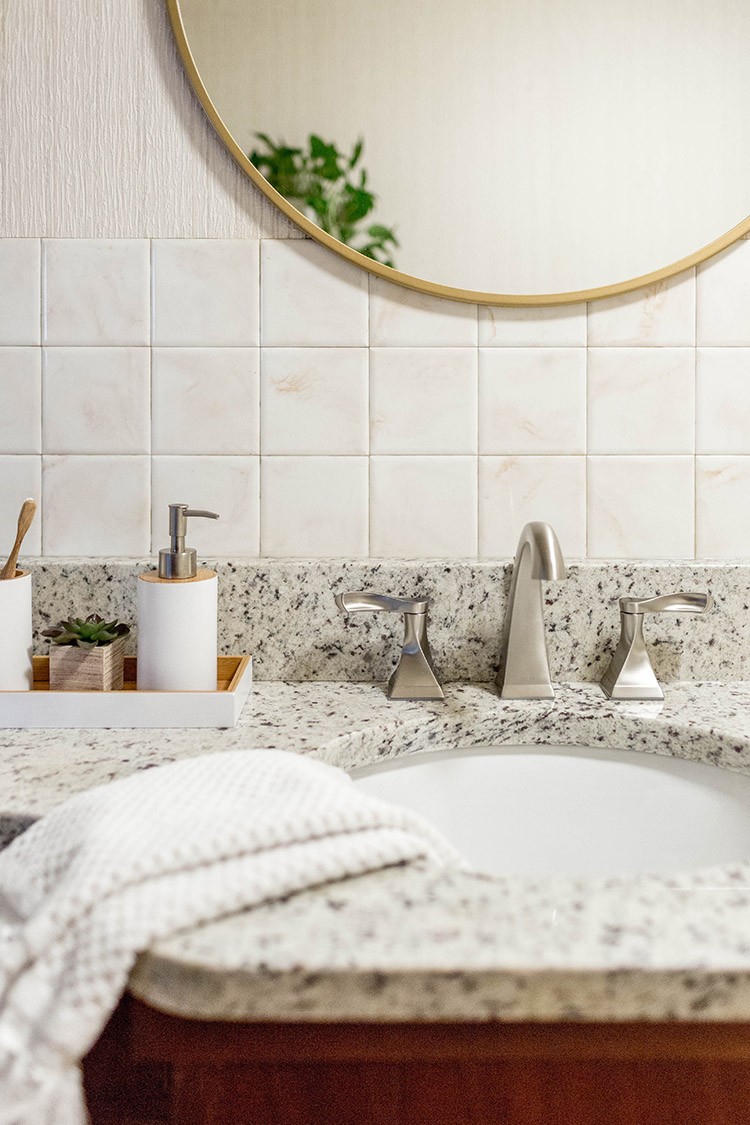
6. Add Some Greenery
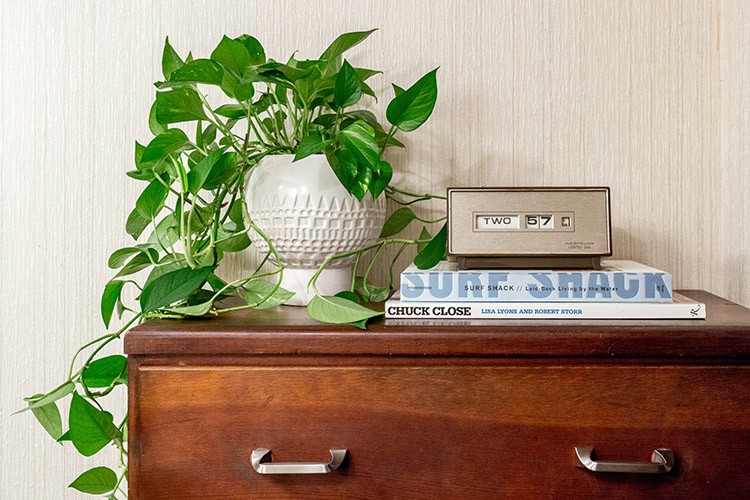
If you’ve gotten this far in your own weekend bathroom updates and things are feeling kind of sterile, it’s probably because you need to bring in some color and softness.
Balance out all of the hard tile and cold metal surfaces you’ve installed thus far with hints of greenery, like potted succulents and air plants. These low maintenance plants love humidity, so they should thrive, even in a confined space like a bathroom.
7. Lay Down A Rug
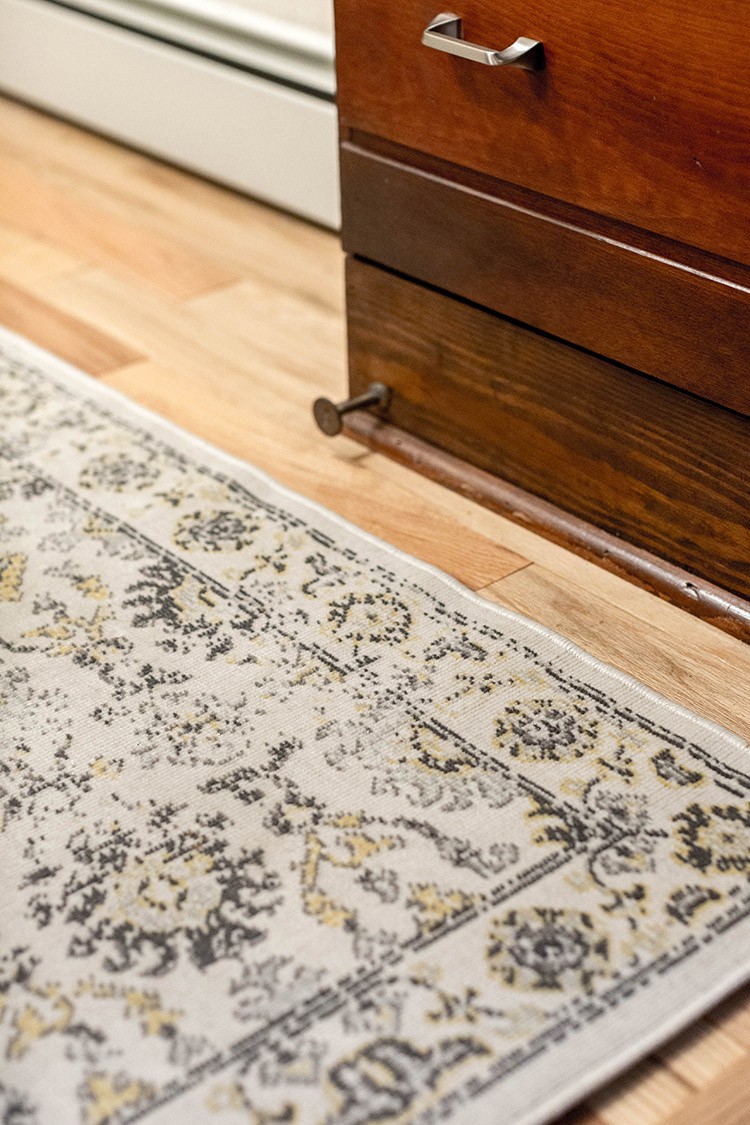
One of my personal favorite ways to add style and sophistication to a utilitarian room like a bathroom is with a formal patterned area rug. These do just as well in a bathroom as they do in any room of your house. Consider switching out that run-of-the-mill high pile, rubber-backed bath mat with a pretty oriental-inspired version.
Don’t forget to lay down a non-slip rug pad underneath to help wick away moisture and so that the rug feels nice and soft underfoot while you’re doing your makeup at the vanity mirror.
8. Hang Framed Art
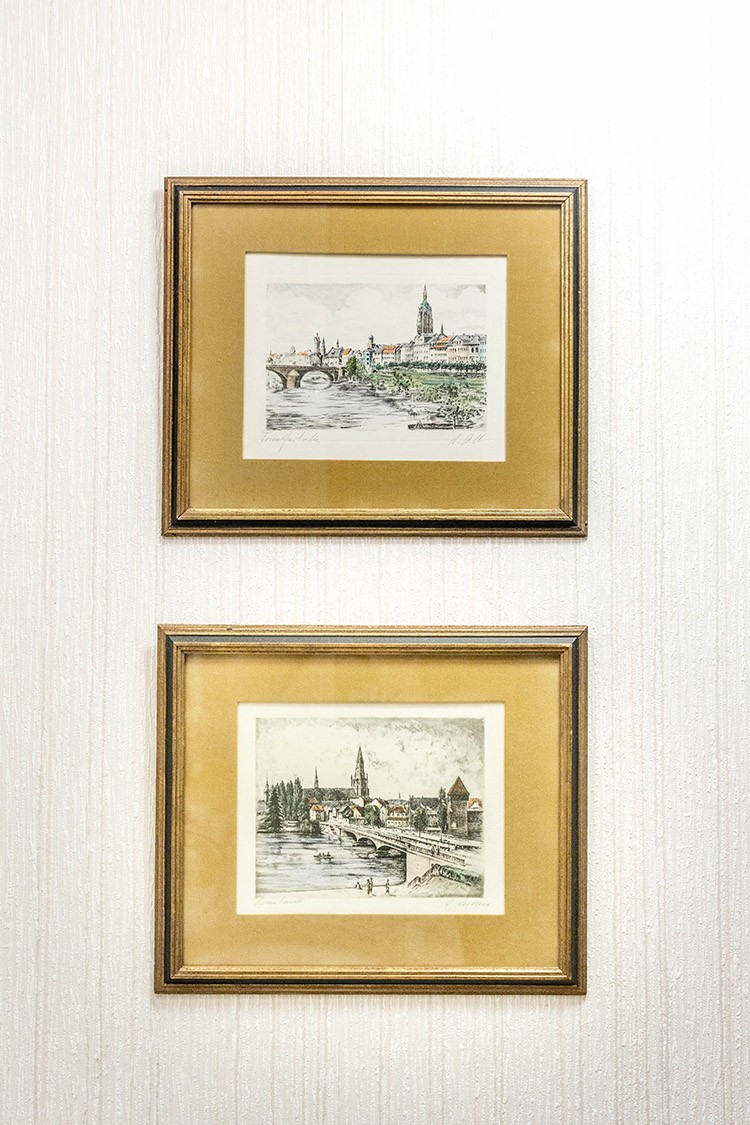
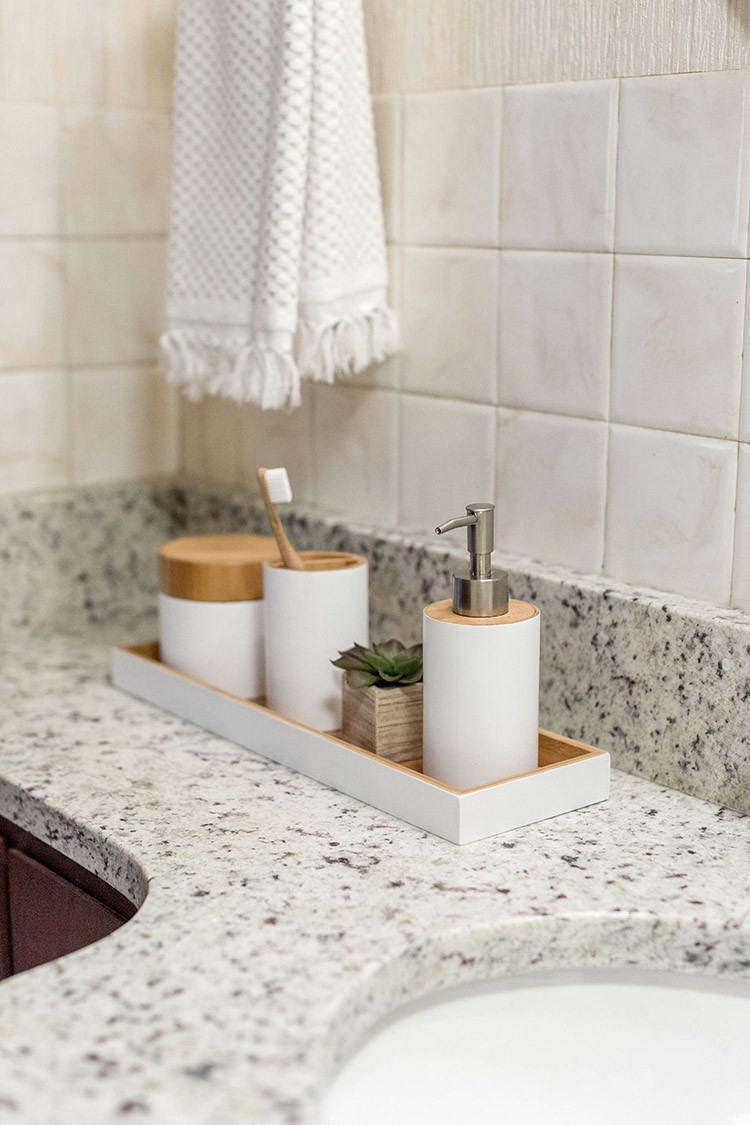
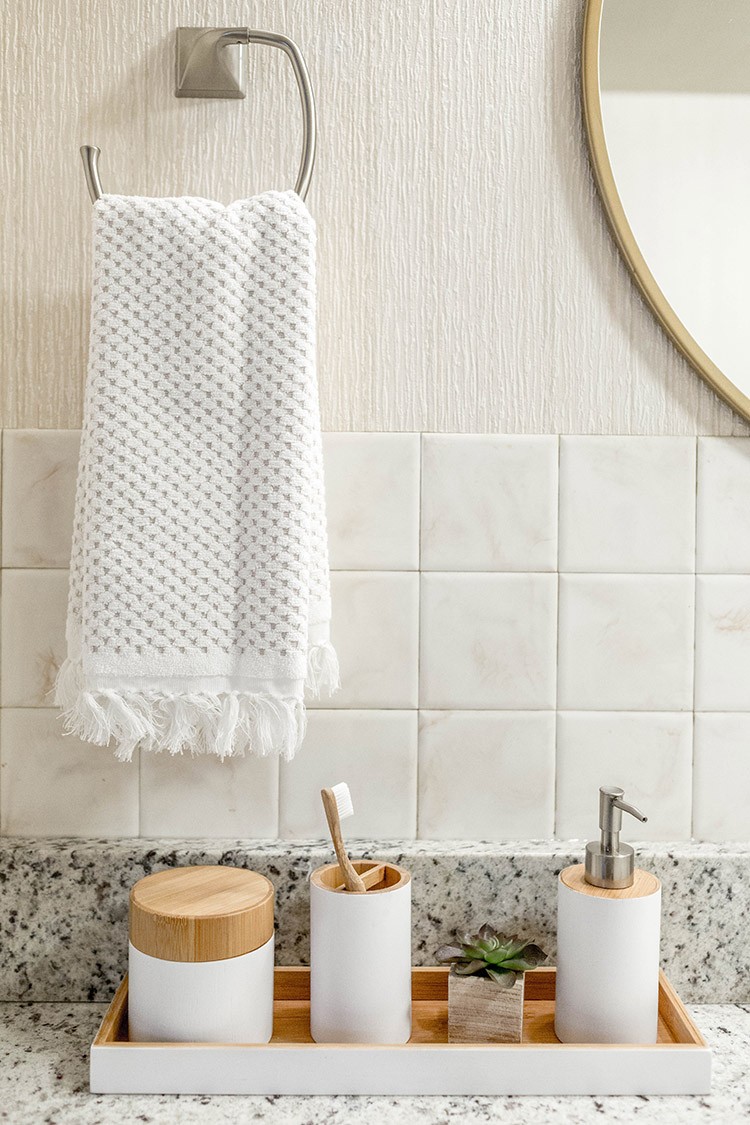
Now for a few finishing touches—things like vintage framed art, a vanity accessory set, and new coordinating linens (we love bath towels that feature a slight pattern and fringed edges to step things up a notch!). By incorporating a handful of these types of decorative accents into your bathroom, the space will ultimately feel finished, modern, and cozy.

When I started this project on Saturday morning, I was surrounded by dated details covered with dust and ugly fluorescent light, but by the time I wrapped things up on Sunday night, our small bathroom was the prettiest room in our house.
I had high hopes that these bathroom updates would leave me with a space that I could be proud of, but the finished look goes way beyond anything I could have imagined—and I still can’t believe how inexpensive and quick it was to pull off. It just goes to show that, when it comes to home, a little love and elbow grease both go an extra long way.
The post 8 Bathroom Updates You Can Pull Off In One Weekend appeared first on The Home Depot Blog.

