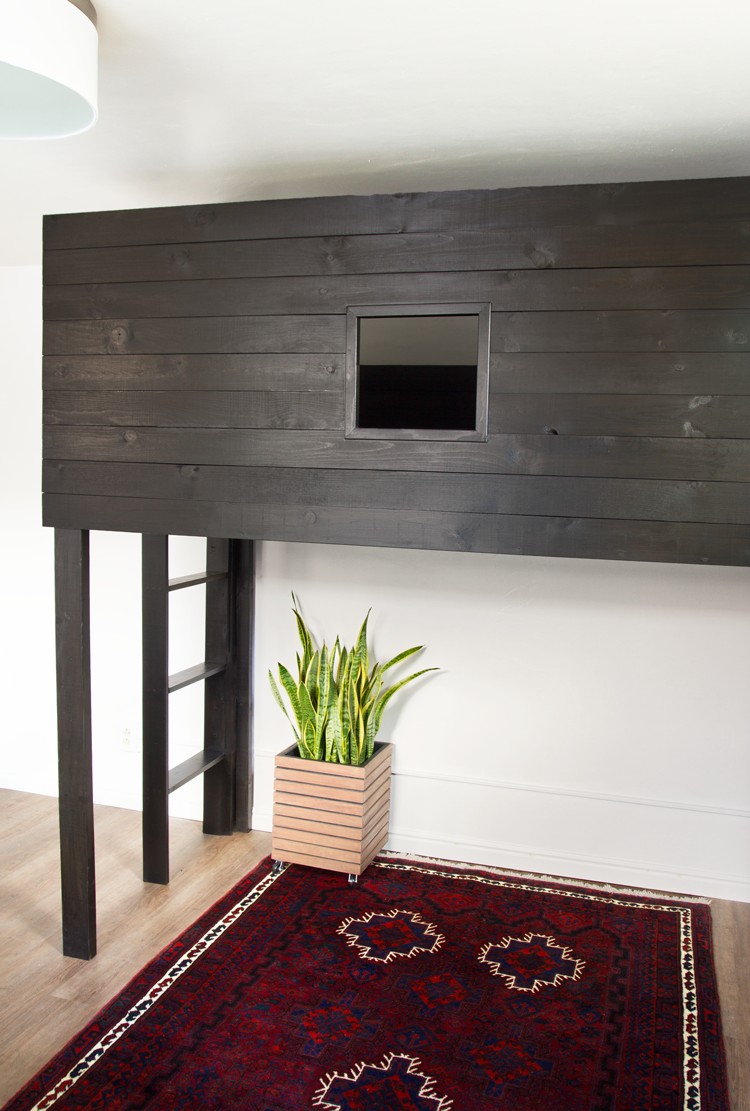
Stacy Risenmay of Not Just a Housewife recently re-designed her son’s bedroom. For the new space, Stacy built a custom modern loft bed.
Find out how you can recreate this look in six simple steps!
Six Easy Steps to Build a DIY Modern Loft Bed for Teens
When I was planning this bedroom makeover I knew that my two boys, that are 16 and 10, would be sharing the space. They both love music and like the same colors, but I worried the age gap would be hard to address. My oldest wanted a modern, urban feel, and my 10-year-old wanted a fort for a bed. Most fort beds I have seen are rustic and sometimes resemble a cabin or treehouse. The question was: how do I mesh the fort idea with the modern feel my teenager was wanting? I came up with this modern loft bed and both my sons couldn’t be happier!
It was a fairly simple build.
Materials
- 2 x 4 boards
- 1 x 4 boards
- 2 x 2 boards
- Moulding
- Pencil
- Sand Paper
- Stain
- Screws
- Wood Glue
Cut List
Legs
- (2) 78 in. cuts for the legs
- (2) 68 in. cuts for the legs
- (12) 79 in. cuts for the front and back pieces
- (18) 41 in. cuts for the mattress slats and end pieces
- (7) 20 in. cuts for the end pieces
- (6) 33½ in. cuts for the front pieces next to window
- (1) 30 in. cuts that connect the 20 in. end pieces
- (2) 54 in. cuts for the ladder sides
- (3) 18 in. cuts for the ladder rungs
- (4) 2¾ in. cuts for the end pieces
- (2) 78 in. cuts for the legs
- (2) 68 in. cuts for the legs
- (2) 70 in. cuts for the side rails for slats
- (2) 11½ in. cuts for the window trim
- (2) 10.375 in. cuts for the window trim
Step 1: Label the pieces


Because there were so many pieces, I labeled them with pencil as I cut them.
Step 2: Sand and Stain

After sanding all the pieces, I added one coat of Minwax Classic Black water-based stain.
Step 3: Build the rails
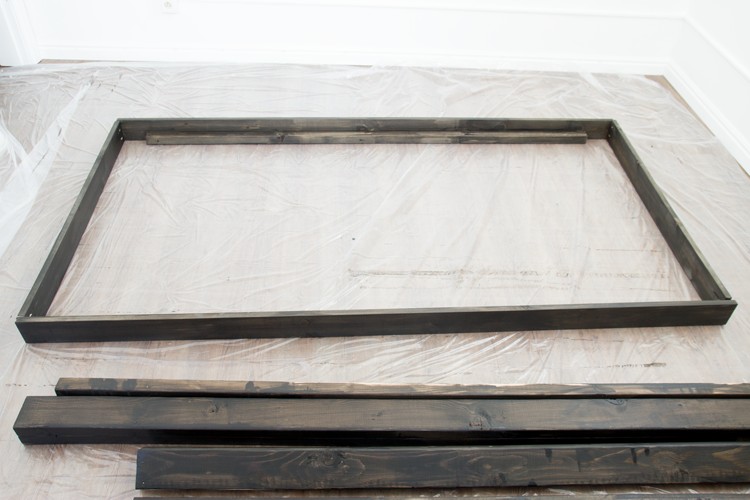
The 70-in. 2 x 2 boards were attached to two of the 79-in. boards using screws and wood glue. These will be the rails that the mattress slats will rest. I attached those two 79-in. boards and two 41-in. boards together using pocket holes.
Step 4: Build the legs
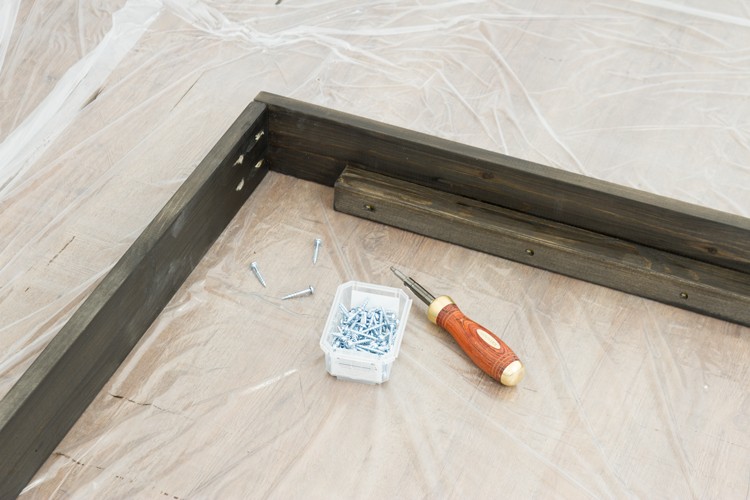
To create the legs, I attached 2 x 2 to 2 x 4’s making an L shape. I did this using screws and wood glue. I sunk the screws heads and puttied over them before staining.
Because there is an air vent on the wall, I made the back of this bed shorter, so it wouldn’t cover it. You can make this bed the same height in the front and back if you want.
Now that the base and the legs are assembled, it is time to join them together. I used six screws per leg.
Step 5: Assemble the bed
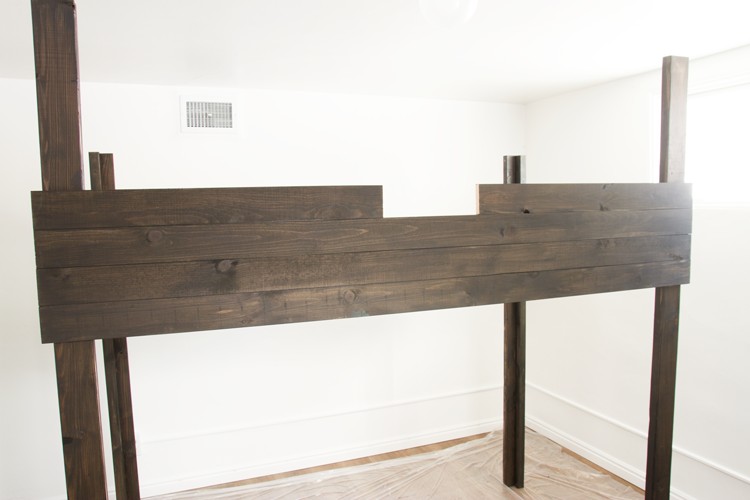
Now it is time to start adding the front pieces. Start with 79-in. pieces and then in the middle add the 33½-in. pieces to form an opening for the window. Then finish it off with more 79-in. pieces.

The right-side end will consist of all 41-in. boards but will not go as high as the front (unless you chose to make the front and back equal). The left side will go as high as the front (since it will be seen) but will be made up of 20-in. boards so that there is an opening to get on and off the bed. All these boards are attached with screws from the back side, so they are not seen.
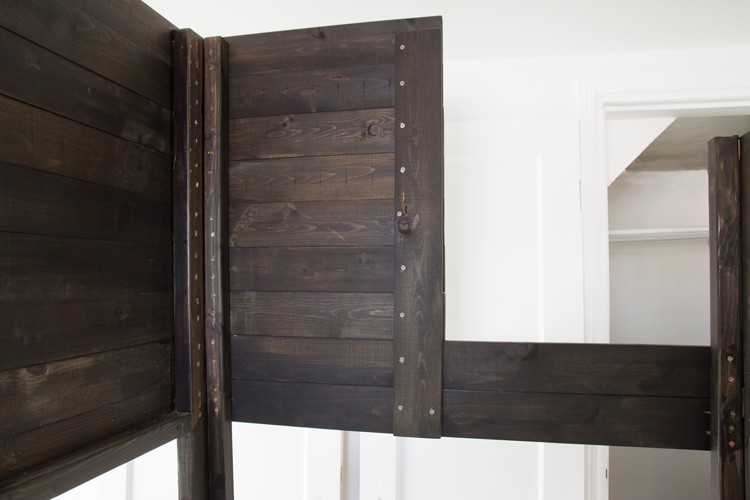
On the end with the 20-in. boards, you will need to add the 30-in. board vertically to hold the ends in place.
On the other side of the opening you will need to add the 2¾ in. 1 x 4 boards to give it a finished look.

The 54- and 18-in. pieces will become the ladder. I attached them with screws and wood glue. I sunk the heads of the screws and puttied over them before staining.

The outside corner trim will be cut at a 45° angle (like a picture frame) and will get nailed on the window. Putty the nail holes and then stain.
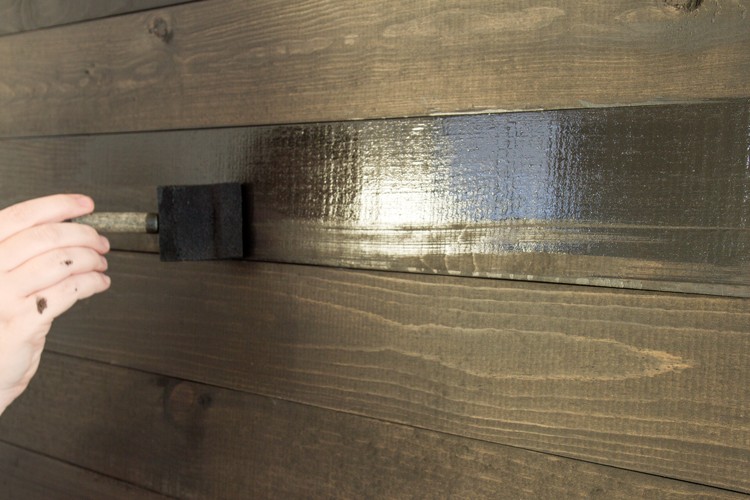
Once complete, I added a second coat of stain to all visible areas.
Step 6: Add the mattress
Add the 41-in. mattress slats and then the mattress. Because of our low basement ceiling, it was easier to put the mattress over the back (which was lower) before putting the bed into place. You can also put it up through the bottom, keep it slanted, add the slats, and then lay the mattress down.
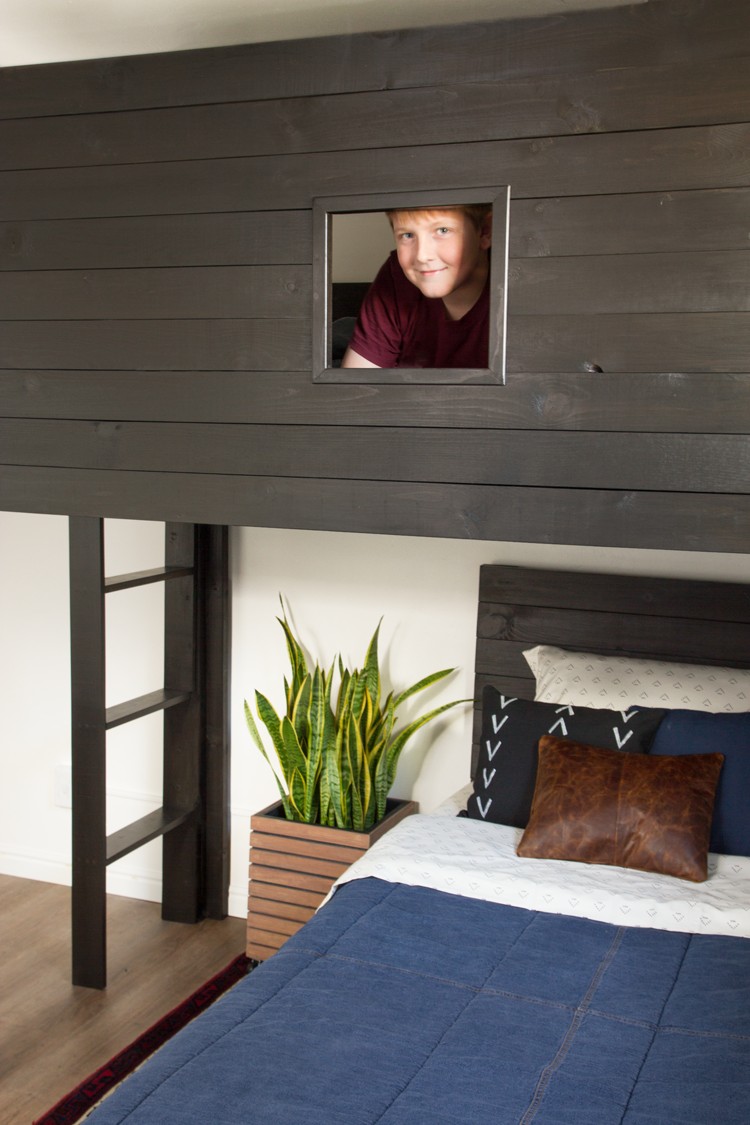
Final Reveal

My son was over the moon! It fulfilled all his requirements for the perfect bed and it fit in with the style of the rest of the space.
Find the tutorial for the modern bed with storage on The Home Depot Blog here.
The post Build a Modern Loft Bed in Six Steps appeared first on The Home Depot Blog.

