
Kati Farrer, of Houseful of Handmade, always wanted an outdoor dining and kitchen area, but didn’t want to break the bank doing it. To turn her dream into a reality, Kati used her DIY skills and made an oasis.
Read on to see how Kati created her dream backyard on a budget.
Creating a Backyard Oasis on a Budget

I have always dreamed of a beautiful outdoor kitchen and dining area. The kind you see in the magazines. Unfortunately, they were not in my budget. But I didn’t let that stop us from creating a backyard oasis, complete with kitchen and dining area!
Before the Update
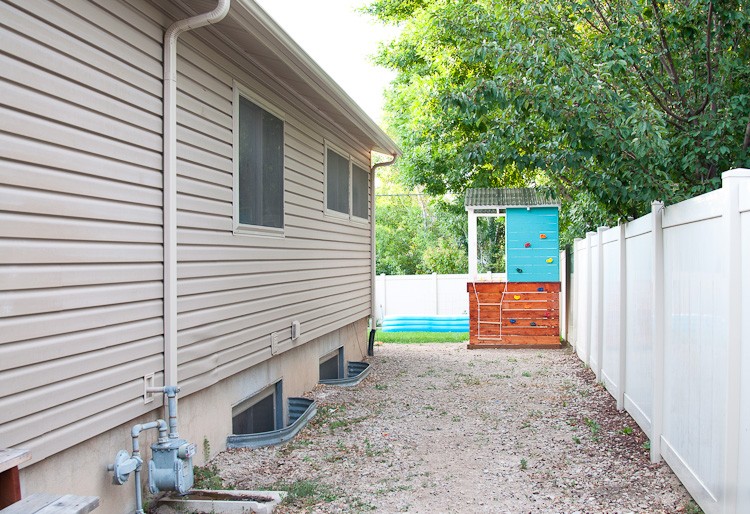
This is what our yard looked like only two months ago. We had been saving for six years to be able to pour a concrete patio. After the patio was in, the space was still unusable. A blank slate! But our budget was small because we just spent all our money on the concrete. So we DIYed everything! And with some careful material choices we created the perfect outdoor space for our family without breaking the bank.
The Pergola
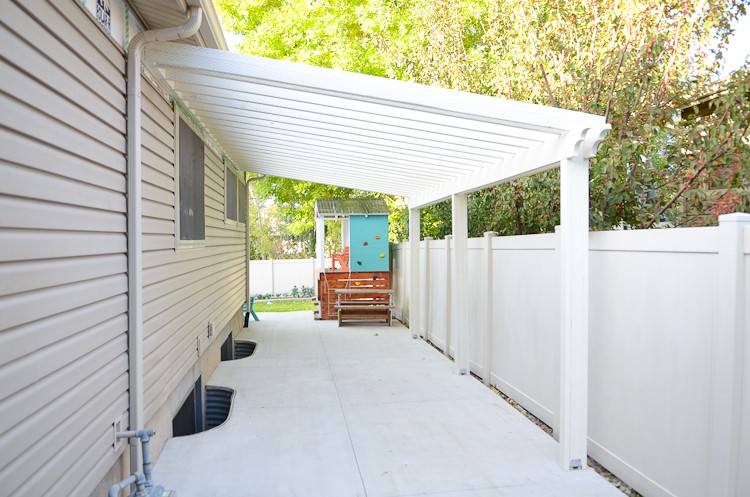
Since our patio area was long and narrow, we started by building a pergola to define the space. Our pergola is 20 ft. x 11 ft. and could have broken our budget immediately! Instead, we used budget friendly pressure treated lumber for the entire pergola. Then we covered it in a couple coats of Behr Premium Plus Ultra paint to brighten up the pergola and make it fit in with the house. Now it looks like it was always meant to be there.
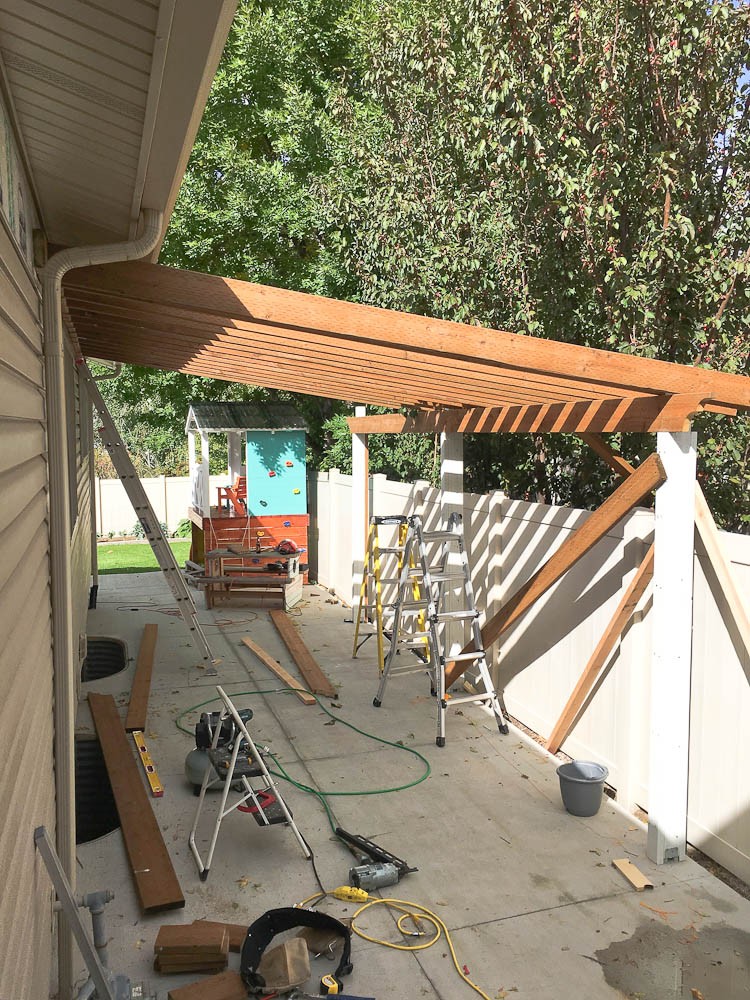
We built the entire pergola for only $700. The project took us two weekends to complete, with an extra set of hands (those 2 ft. x 6 ft. x 12 ft. boards can get heavy). The hardest part was ensuring everything was square and plumb as you build. You can see the entire patio pergola build here.
Roofing
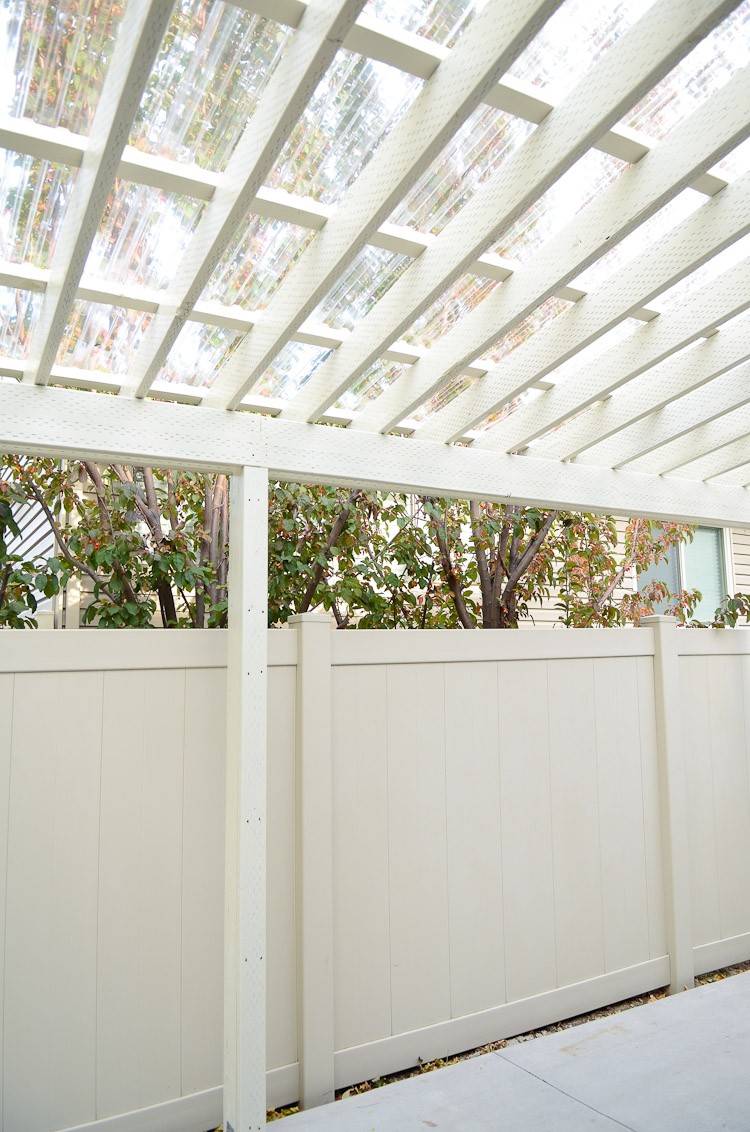
After the pergola was built and painted, it was time to cover it! We had just used the Suntuf corrugated roofing for our kid’s playhouse and I knew I wanted to use it again to cover the pergola. However, this time we chose to go with a clear roof to allow more light into the space. The clear roof also turned our pergola into a three season patio so we can enjoy it all year.
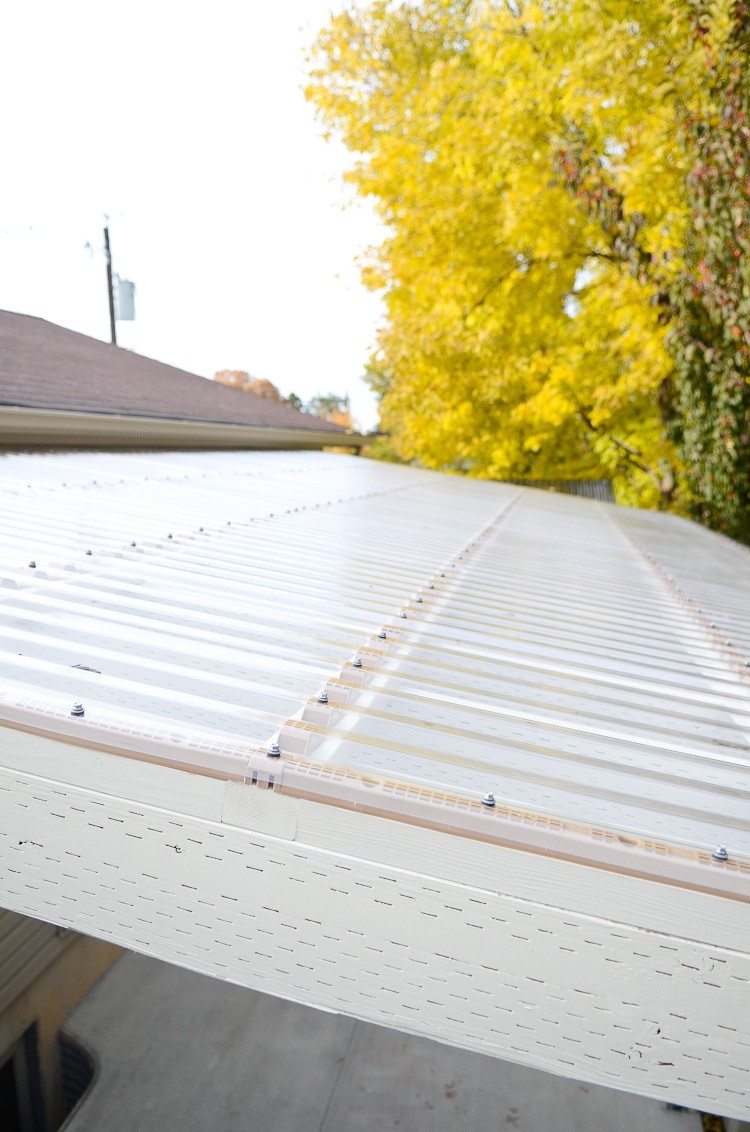
What I love most about the Suntuf roofing is that it blocks 99% of the harmful UV rays (even the clear roof). This will not only make it easier for us to enjoy the pergola all year, but it also protects all the furniture and decor we have under it from fading and sun damage. And it only cost $500 to cover the entire 20 ft. x 11 ft. pergola.
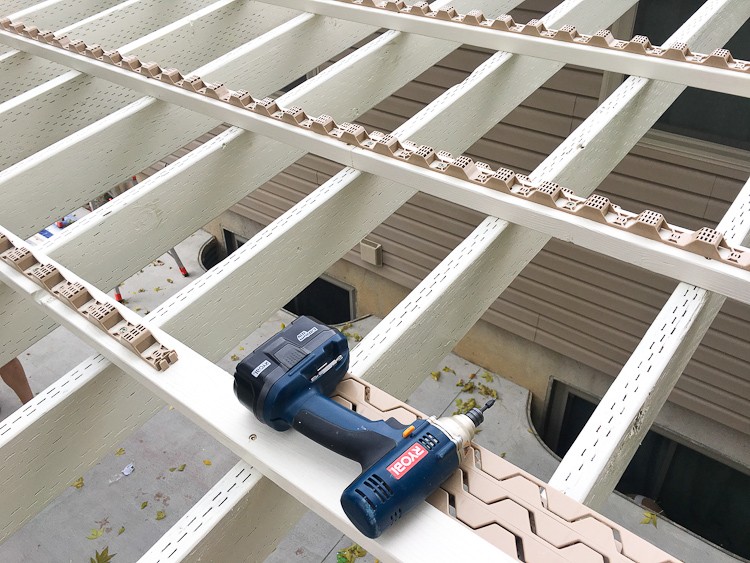
Covering the pergola was really easy, but time consuming. There are a lot of screws in the top of the roof holding everything in place. We were able to completely install the roof with two full days of work. You can see how we installed the clear pergola roof here.
Kitchen Island
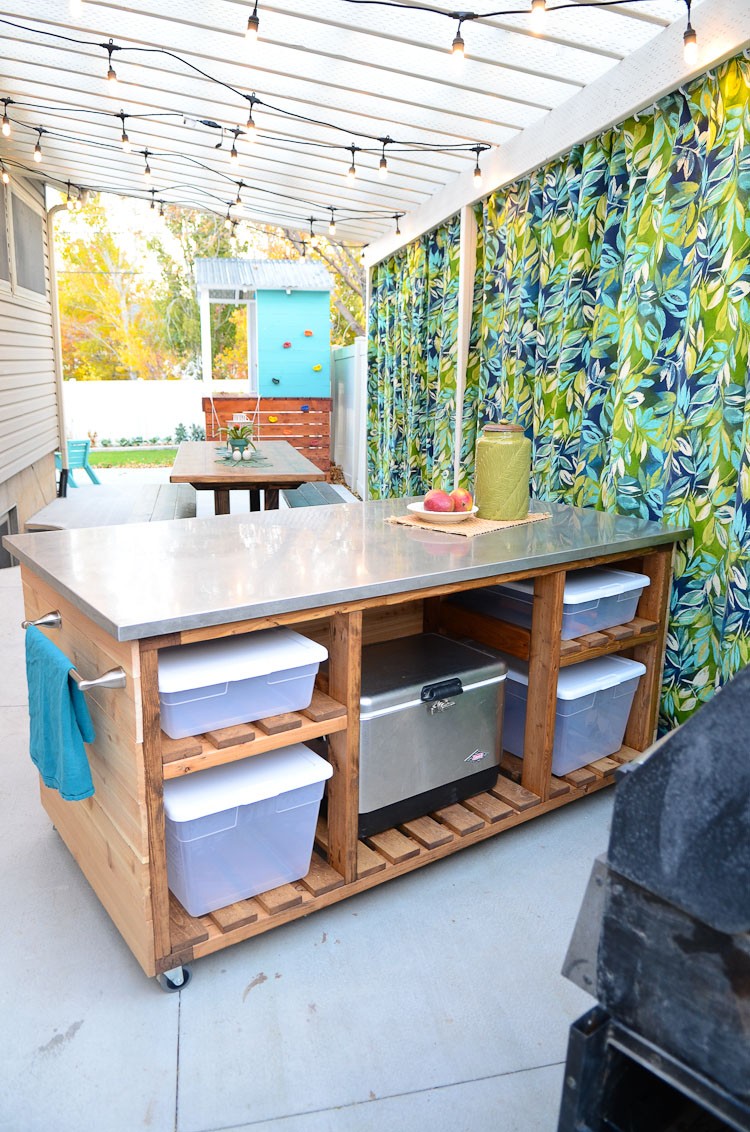
Once the pergola was built and roofed, it was time to turn it into the oasis I always wanted. I knew I wanted to include a kitchen area and dining area in the space. And with 20 ft. x 11 ft. we had plenty of room to do it. To create a kitchen area, I built an outdoor kitchen island to go next to our barbecue.
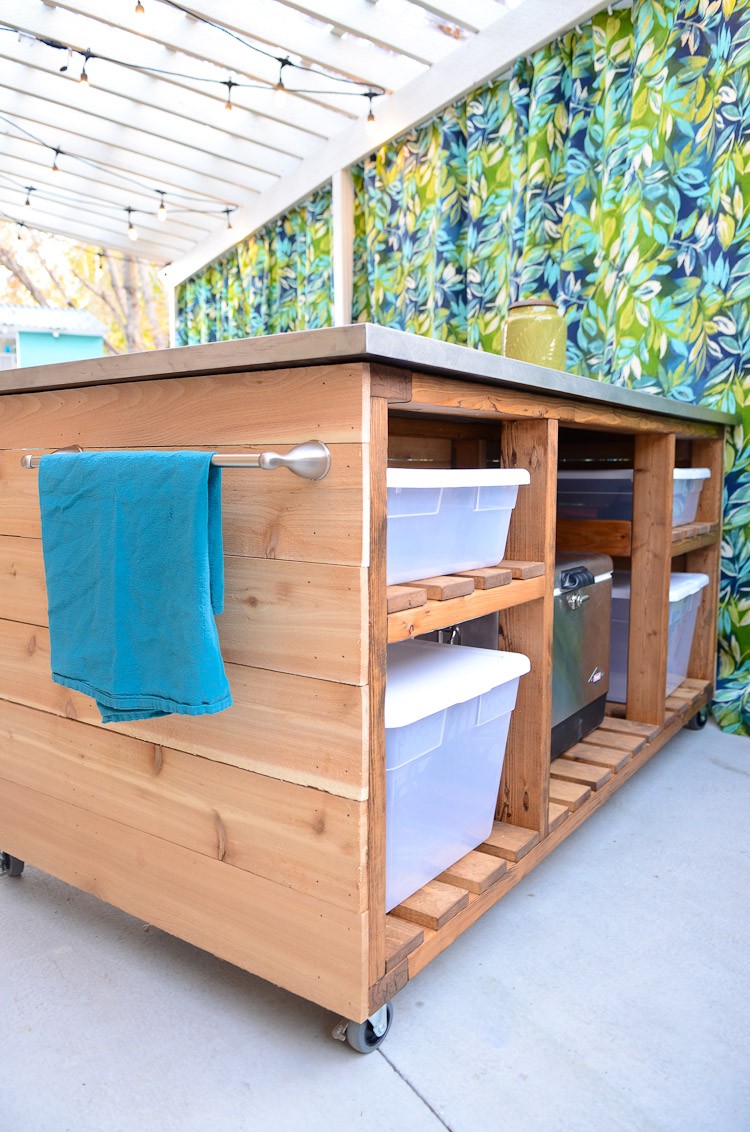
This kitchen island was built out of 2 x 4s and then covered in cedar fence pickets. On the front of the island, there are shelves for storage. I added plastic bins to these shelves so that all our outdoor cooking supplies will stay protected even in a storm. Then in the center there is a large area to hold a cooler. Now we have a place to keep food and drinks cold even on the warmest summer nights.
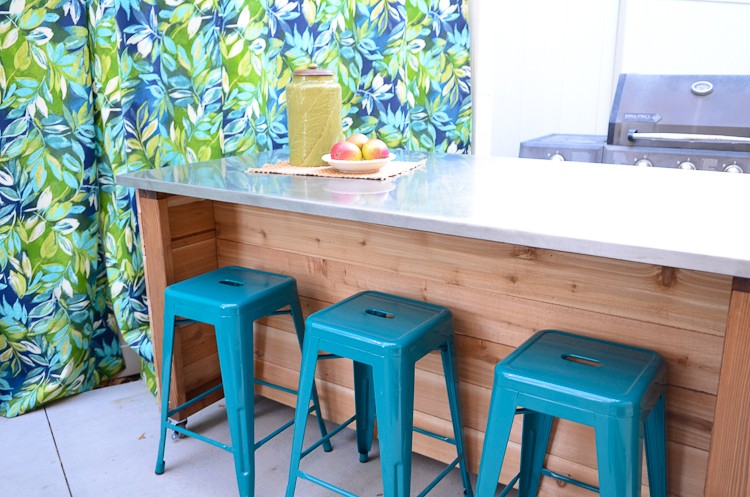
The back of the kitchen island is my favorite. I created a bar area with three bar stools. This is the perfect place for the kids to climb up to help with the cooking. And it adds additional seating in case we have a lot of people over!
Dining Area
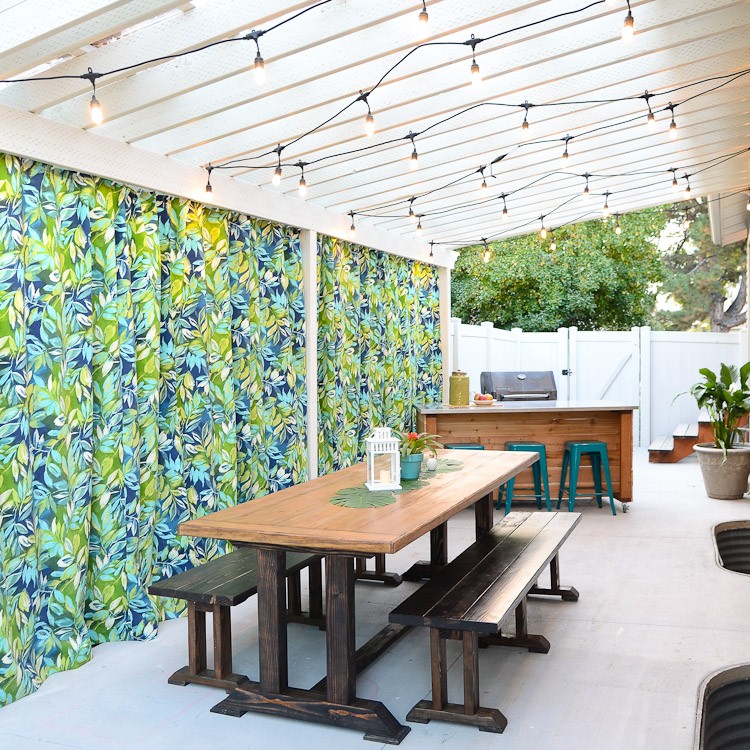
For the dining area, I built the largest picnic table ever. I had purchased the table top from a local scratch and dent furniture store many years ago. There were no legs, it was just the table top, but I knew it would be the perfect outdoor dining table someday. The table top is 96 in. x 35 in. and will easily fit eight to ten people. So I built large benches for each side of the table for easy seating.
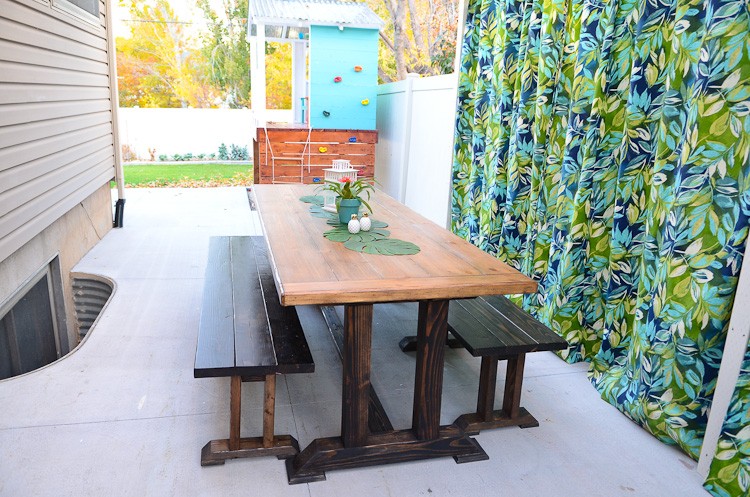
The dining table and benches were built out of 2 x 4s and 4 x 4s. Then I used Preserva Wood to seal the wood for outdoor use. The sealer will need to be reapplied every year, but allows the wood to patina nicely over time. And since they are protected by our covered pergola, they will be protected from the elements even more.
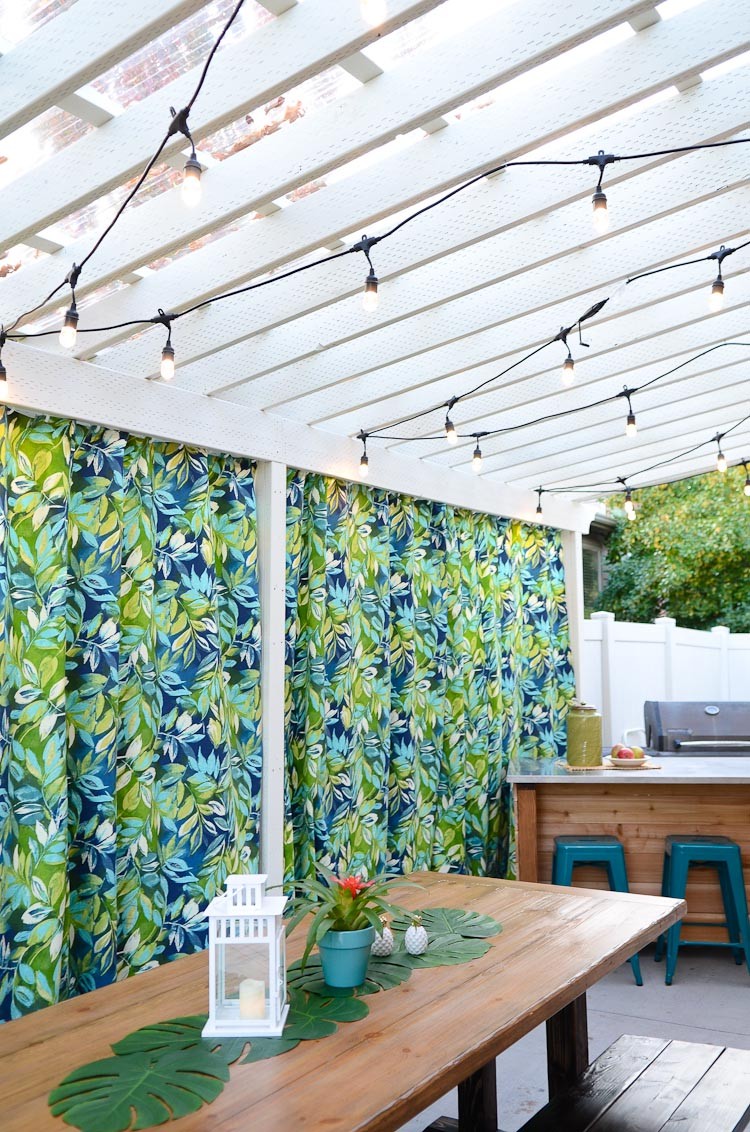
I purchased outdoor fabric for $100 and sewed tropical curtains for one side of the pergola. They help add privacy and block the view of the fence. Now when we are enjoying a dinner outdoors, we can forget that we are at home and imagine the ocean is on the other side of the curtains. You could also use long shower curtains for outdoor drapes if you do not sew.
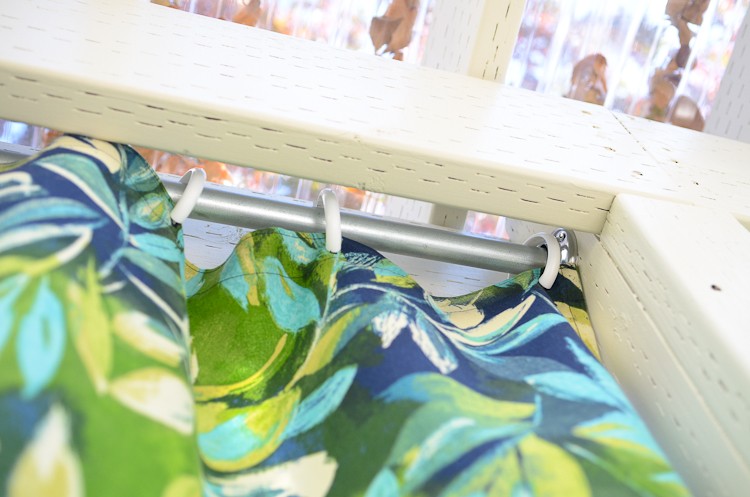
The drapes were hung between the 2 x 8 pergola beams with ¾ in. electrical conduit, inexpensive shower curtain rod holders, and plastic shower curtain rings. How’s that for budget friendly? But since the hardware is hidden, no one will ever know (unless you are reading this, then you know all my secrets).
Décor
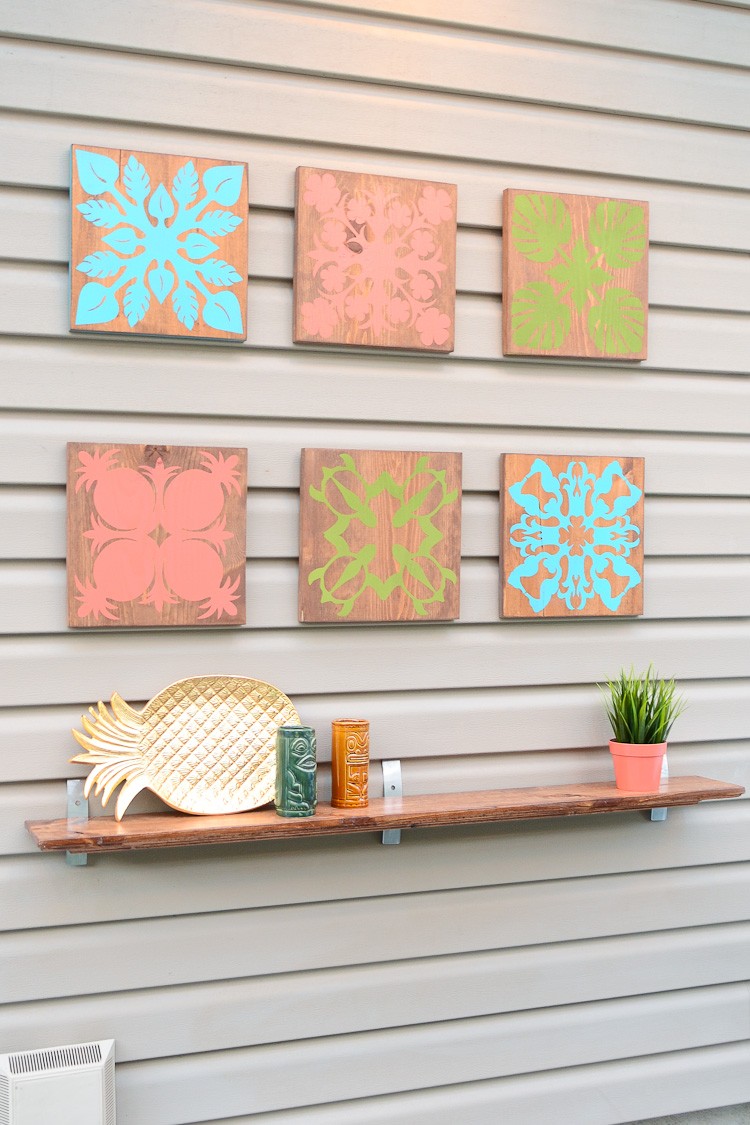
I could have stopped there. We had all the essential elements. But I wanted to create a magazine worthy space and that is all in the details! On the house I decided to create an area for decor. I built a simple shelf with a 1×6 and 1×4 and hung it on the vinyl siding. Then I was able to add some tropical decorations that I had on hand or found at thrift store.
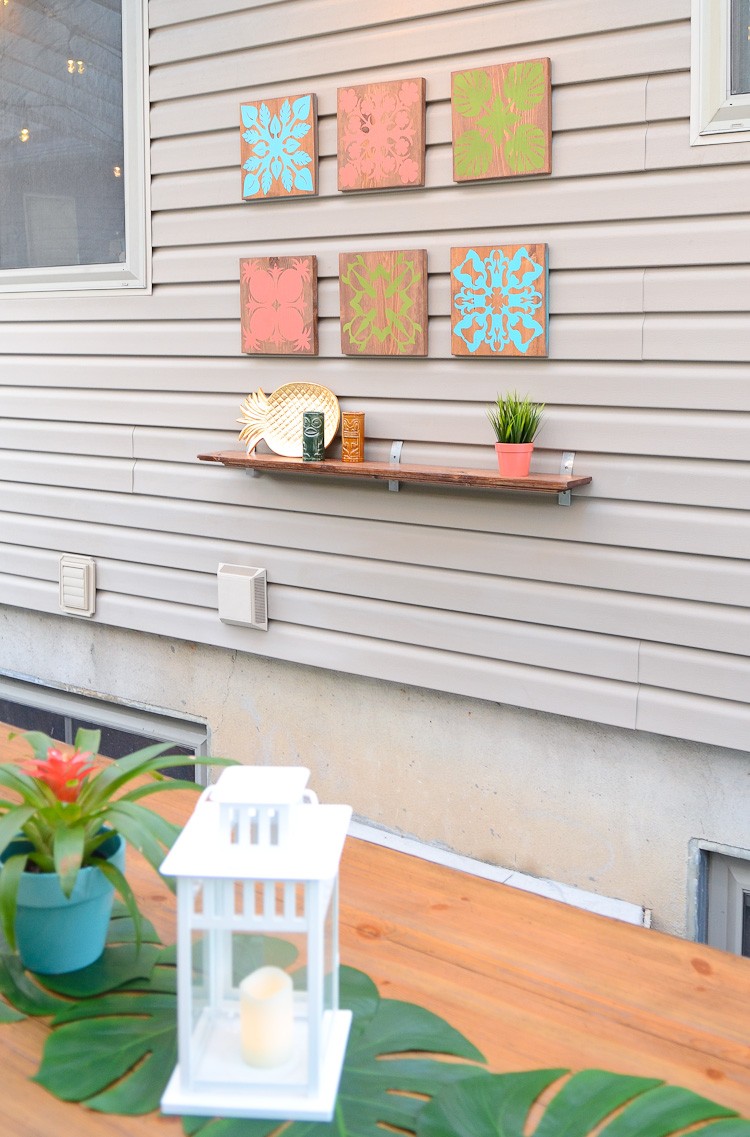
Above the shelf I added tropical wall art. I created designs reminiscent of Hawaiian quilt blocks. Armed with a 1 x 12 and some Rustoleum spray paint, I was able to turn the empty side of our house into a focal point for our patio oasis.
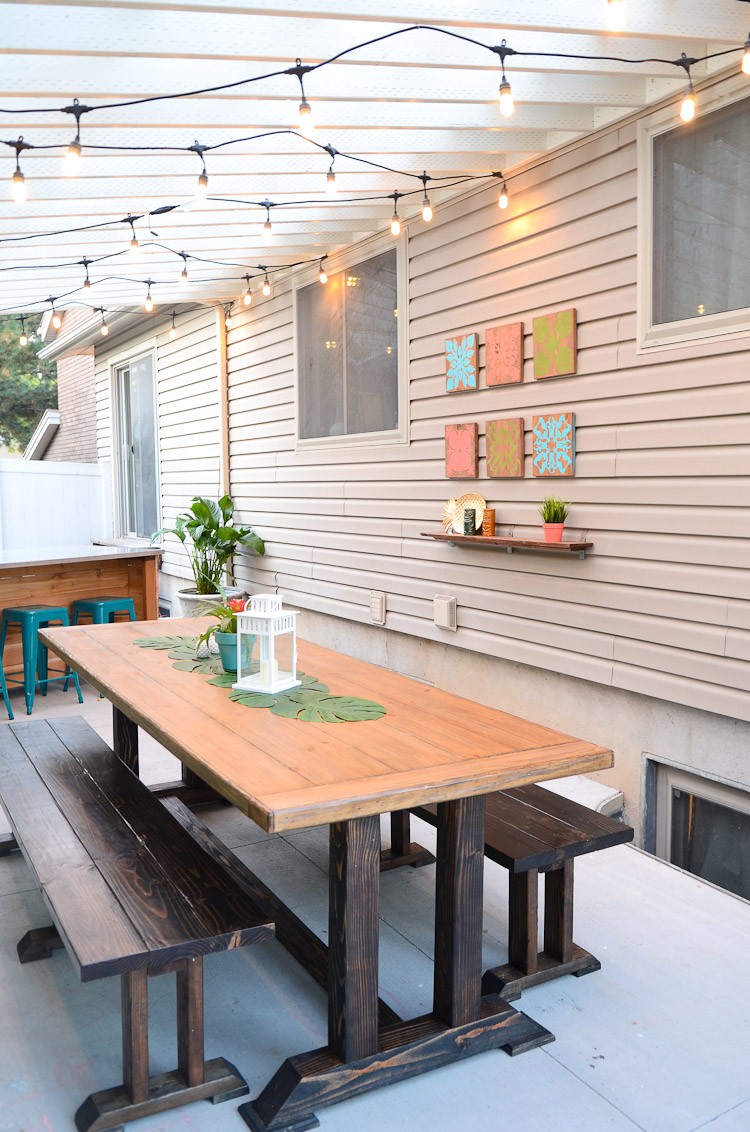
We added lighting to the pergola with a couple strings of cafe lights. I cannot believe how well these small lights can light up the entire space. They add the perfect glow for late evenings outdoors. And were so easy to attach the the pergola with eye hooks and a pair of pliers.
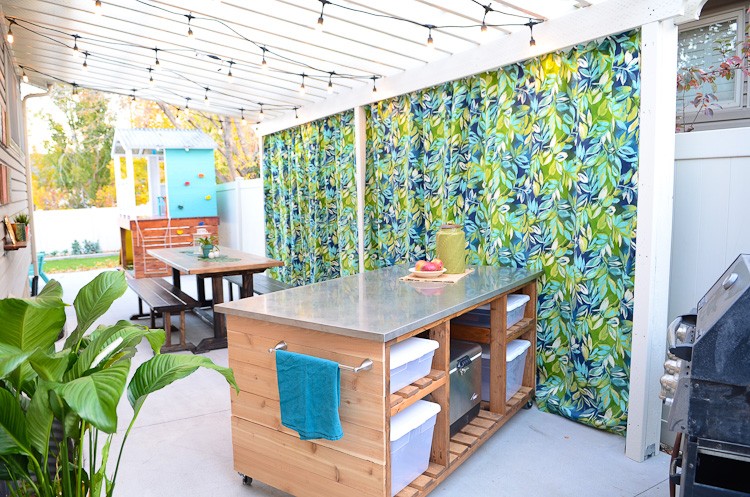
And the final touch, to make it feel like you are in the islands, is to add greenery! A few large leafed plants help turn our concrete patio into an island lanai.
Final Reveal

Now it truly is a tropical oasis! It’s the perfect place to gather with our family and friends, no matter the weather. We cannot wait to enjoy our new patio. I still cannot believe that it has been totally transformed from an unusable space to the perfect gathering space. stop us from creating a backyard oasis, complete with kitchen and dining area!
Get more patio ideas and inspiration on The Home Depot Blog. Follow our Outdoor Living board on Pinterest to get inspired.
The post Creating a Backyard Pergola and Oasis on a Budget appeared first on The Home Depot Blog.
