Achieve a bold and beautiful look in your master bedroom using charred wood appearance boards. Blogger Amanda Hendrix of Love and Renovations gives us a step-by-step guide.
DIY Charred Wood Accent Wall for Your Master Bedroom
As much time as I have put into making my home beautiful in the 6+ years that I’ve lived here, one room that my husband and I have always tended to ignore is our master bedroom. I’m not sure why it is, but in talking with other people, I know it’s true for a lot of us! We tend to focus our efforts on the rooms that everyone else will see, and put our room on the back burner.
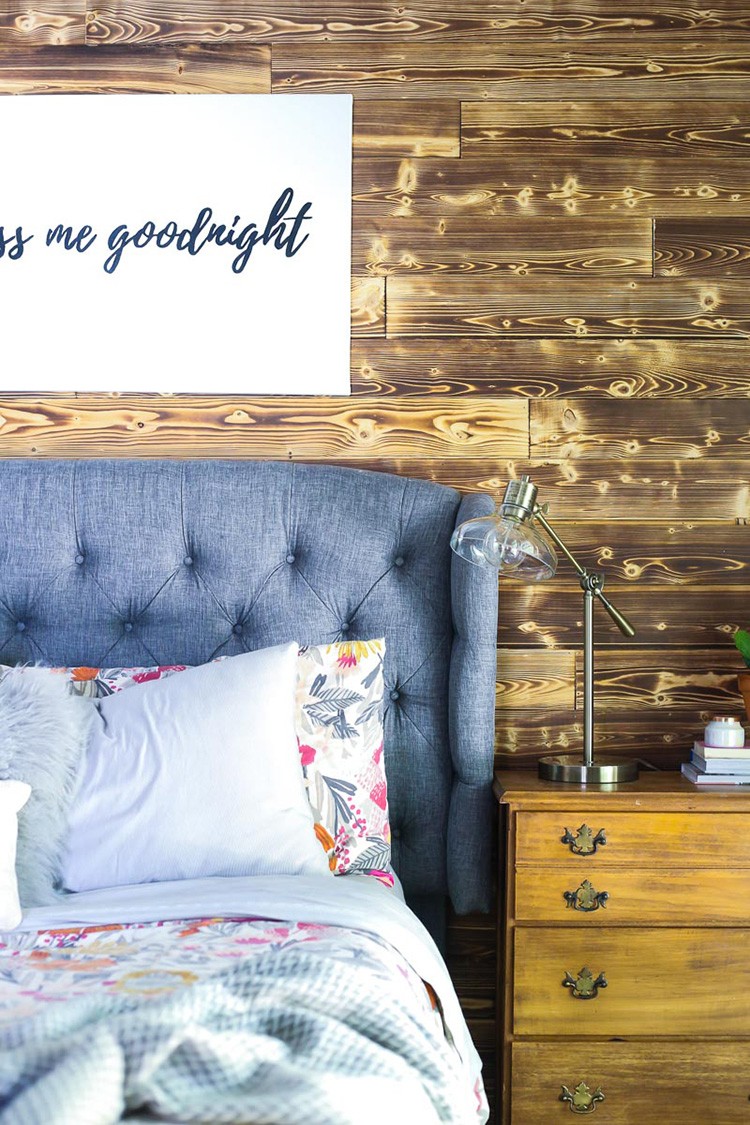
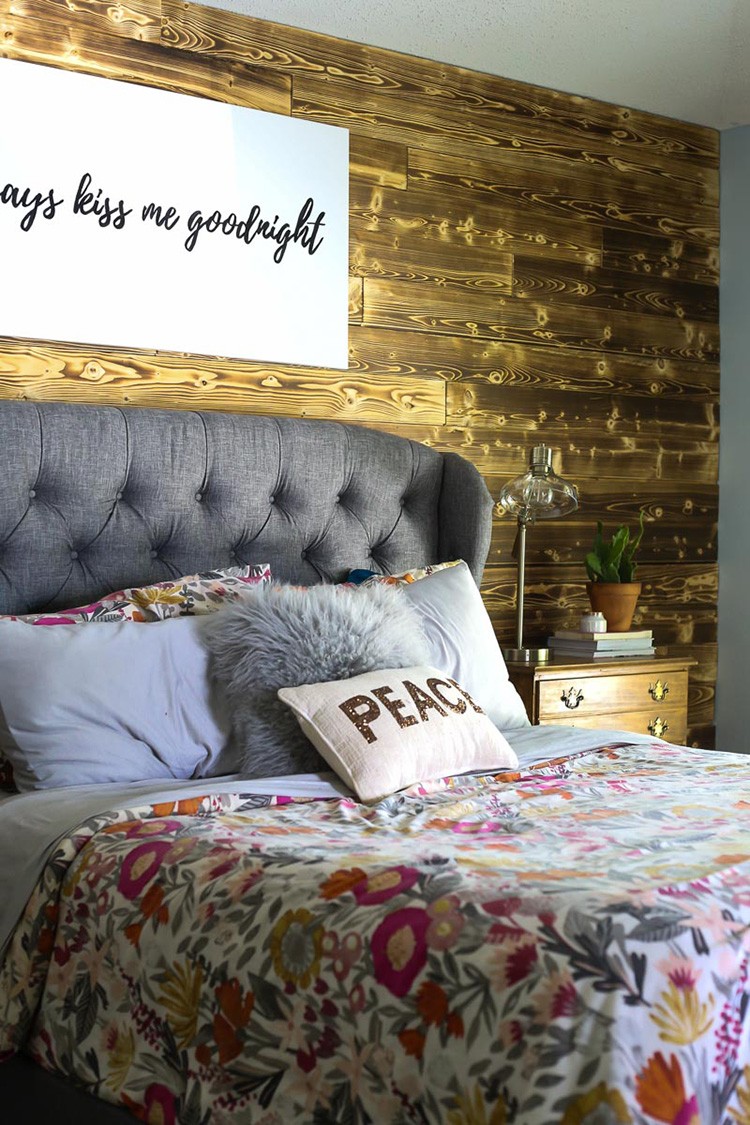
In the last few months, we’ve been making a more concerted effort to turn our bedroom into a space that we find relaxing and enjoyable to be in, and one way that we’re doing that is with a rustic, gorgeous wood accent wall, thanks to Home Depot’s Charred Wood Appearance Boards.
This wood accent wall was incredibly simple to install (I did it by myself in just a few hours), and the end result is absolutely incredible.
Materials
- Charred Wood Appearance Boards (measure your wall ahead of time to know how much to order)
- Stud Finder
- Marker Level
- 2-in. 18 gauge nails
Tools
- Nail gun
- Miter saw
- Jigsaw (if you have outlets on the wall you’re covering)
- Table saw or circular saw (possibly)
Step 1: Mark Your Studs

*Bonus points if you have a toddler who wants to “help” by putting bandages on the wall as you work.
The first thing you’ll want to do is mark the studs on your walls. Be sure that you are nailing into studs rather than drywall to ensure that your accent wall is sturdy. You can use a stud finder to figure out the location of each stud, then use a pen or marker to draw a line down the wall along each stud. This will make it easier for you to locate the studs as you’re working. Any marks you make on the wall will be covered up by the wood!
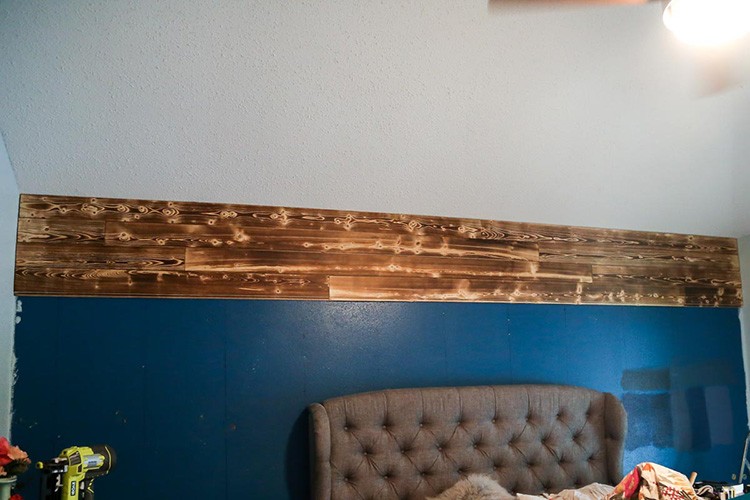
Step 2: Install Your First Board Along the Top

You’ll want to begin your accent wall along the ceiling line so that you can be sure to have a full board along the top. Note that you may have to rip the board down a bit to fit when you reach the bottom, but it won’t be as noticeable along the baseboards! Use a level as you’re laying the first row to be completely positive that your boards are straight.
Many ceilings have inconsistencies in them and are not totally level. If you follow the ceiling line, you could end up with a crooked accent wall! Once you’re sure the board is level, use your nail gun to attach it to the wall through the studs.
Step 3: Finish off the First Row
Continue working along the top row, making sure each board you lay is level. These boards are 8-feet long, and in my room that meant that I was able to lay one full board to start, then I had to cut the second board down to fit. Just measure the distance from the end of your first board to the wall, use your miter saw to cut the board down, and fit it into place.
Step 4: Continue Laying Boards, Staggering Your Rows

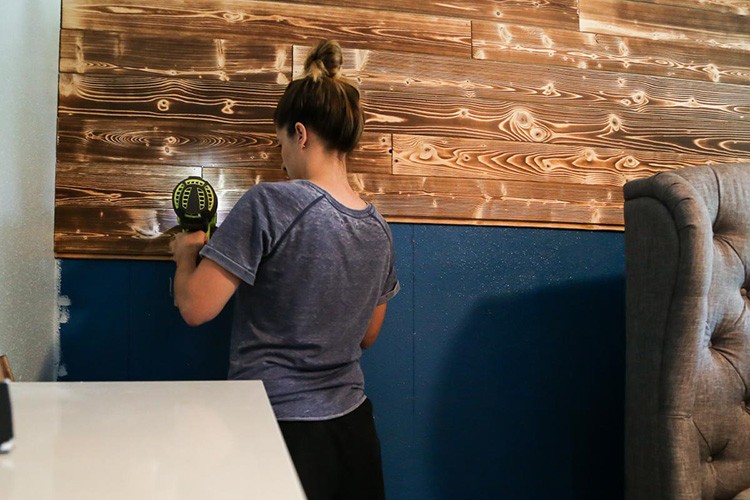
From here, the rest of the work is very simple. You’ll want to stagger the starting boards along the side of the wall to make the pattern look random. One easy way to do this is to use the scrap from the previous row to begin the next row (so, when you cut down the final board for the top row, use the piece you cut off to begin the second row).
If you use this strategy, though, pay attention to ensure you don’t end up with a stair-step pattern. I noticed this was happening with my wall, so I started to grab more random pieces to begin my rows so that there was no discernible pattern on the wall.
Step 5: Cut for Outlets, If Necessary
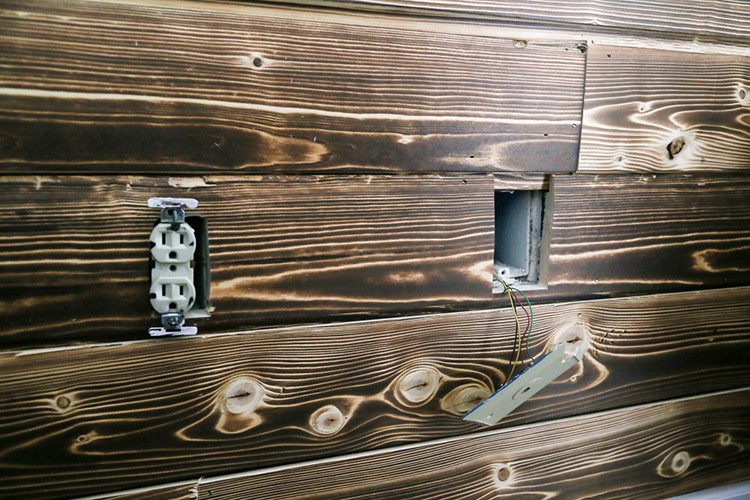
Note: In the photo above, the hole for the outlet on the left needs to be a bit larger. We went back and fixed it after this photo was taken!
If you have outlets on the wall, you’ll need to use a jigsaw to cut out a hole for them. There are several different ways you can mark the board to be cut -I simply measured how far from the end of the board the outlet would need to be and used the outlet cover as a template to make my cut.
If you have outlets or light switches on the wall, you’ll probably also need to install outlet extenders when you replace them so that they can reach to the outside of the “new” wall. Once you’re done, re-install the outlet covers.
Step 6: Finish the Wall
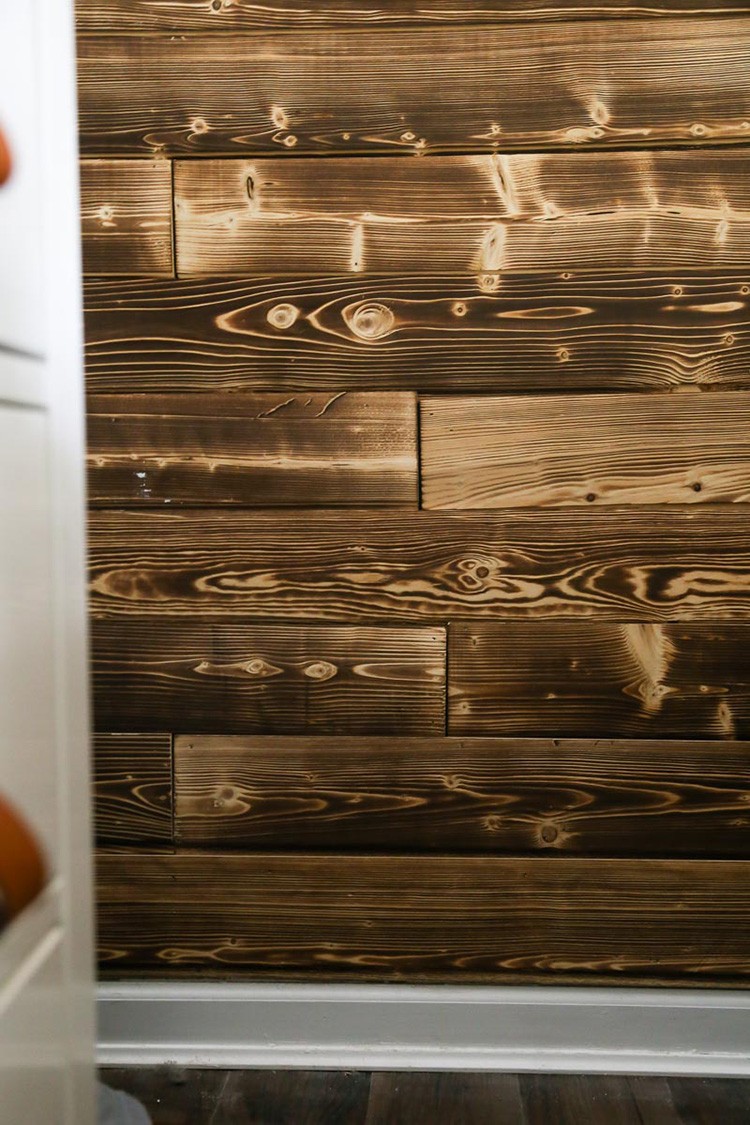
At the bottom of the wall, you have a few options for how to finish it off. You can rip up the baseboards before you get started, install the boards all the way to the floor, and then re-install
the baseboards on top of the appearance board.
For my wall, it worked out that the depth of the appearance board was about the same as my baseboards. I felt that it looked fine to just install the boards so that the last board sits right on top of the baseboards.
I was also lucky in that my wall was the exact right height for one full board to go on the bottom, and I didn’t need to rip any boards down. If the final board doesn’t fit perfectly, you may need to use a table saw or a circular saw to cut the board lengthwise to fit.
Charred Wood Accent Wall

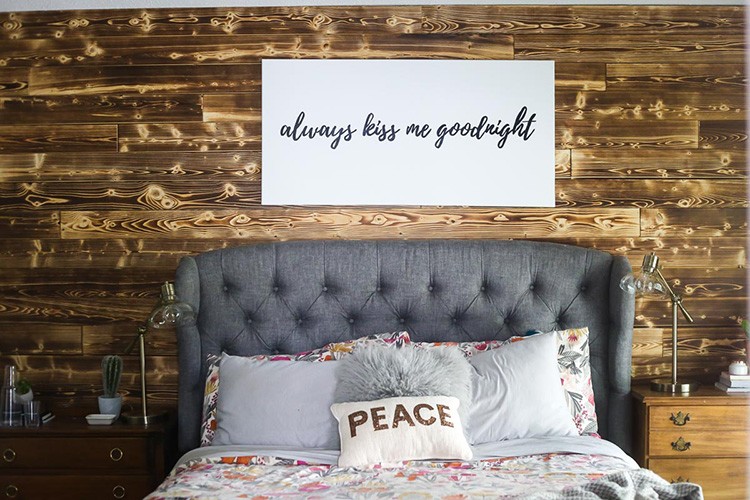
And, my friends, that’s all there is to it! The beauty of using these charred wood appearance boards is that the finish is done for you -there’s absolutely nothing else that you need to do once you’ve installed them, because they’re absolutely beautiful all on their own. Give yourself a pat on the back for a job well done. Then, bring your furniture back in and enjoy your new accent wall!
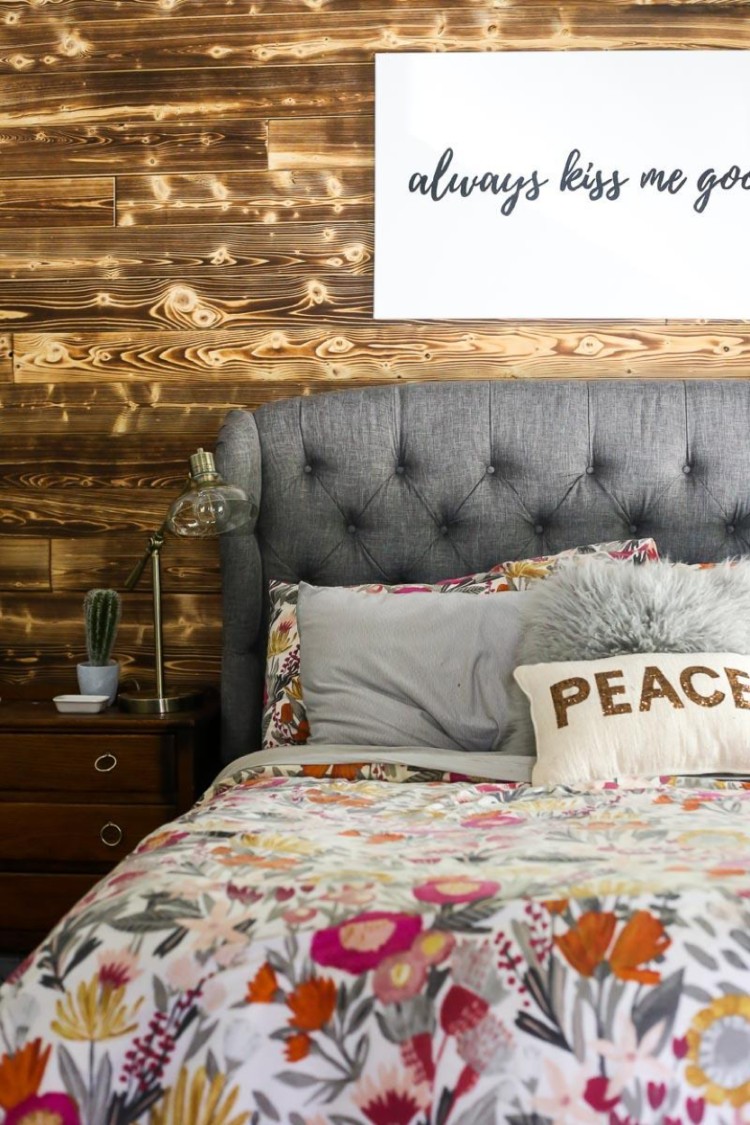
With this new wall, I can definitely say that our bedroom is feeling a LOT more like a retreat! This was such a simple project. It only took me an afternoon to complete, and the end result completely changed the feel of the entire room!
Find more Accent Wall Inspiration on The Home Depot Blog. Get inspired by our Bedroom Ideas & Inspiration board on Pinterest and create your own retreat. Shop charred wood and more appearance boards at The Home Depot.
The post DIY Charred Wood Accent Wall for Your Master Bedroom appeared first on The Home Depot Blog.

