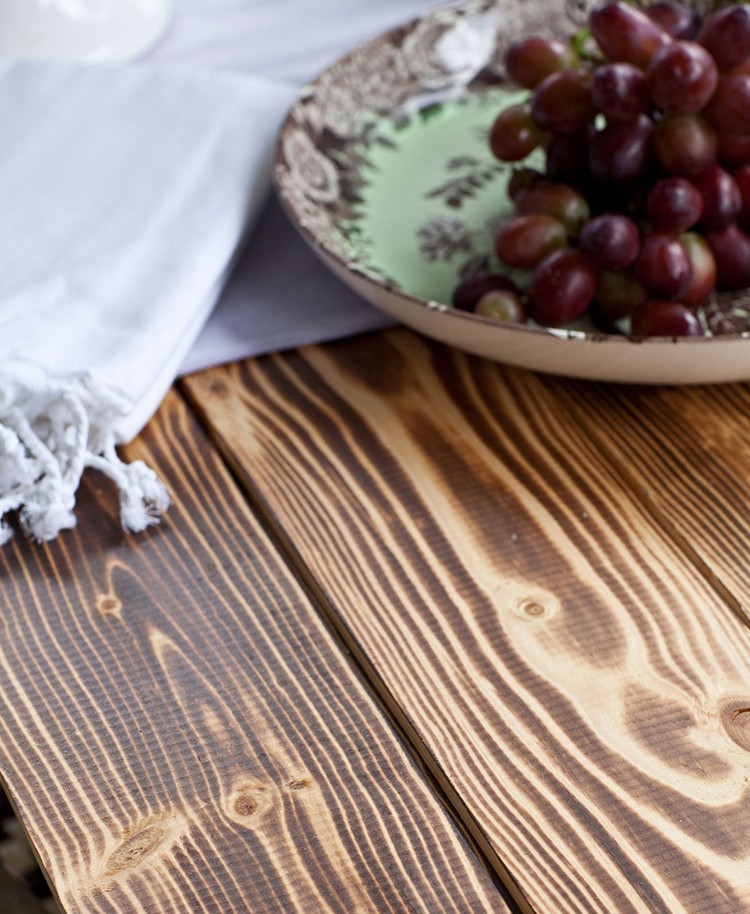
Build a bold and beautiful charred wood table top to create a dramatic look for any space. Read on for a step-by-step guide from blogger Anita Joyce of Cedar Hill Farmhouse.
DIY Charred Wood Table Top
If you’re looking for ways to rehab an old table, this charred wood table is a fairly simple project that requires just a few hours of work. I used the charred appearance boards to create a new tabletop for my porch table. The old table top needed to be painted or replaced, and I thought these boards would make for a gorgeous, fresh look for the table. The table base is actually an antique from Europe. I love rescuing old pieces so using the charred wood for a new table top is the perfect way to update it and make it usable again.
Materials
- (1) 48 x 24 in. plywood
- 1 can of polyurethane
- Charred appearance boards
- Adhesive
Step 1: Attach the Underside

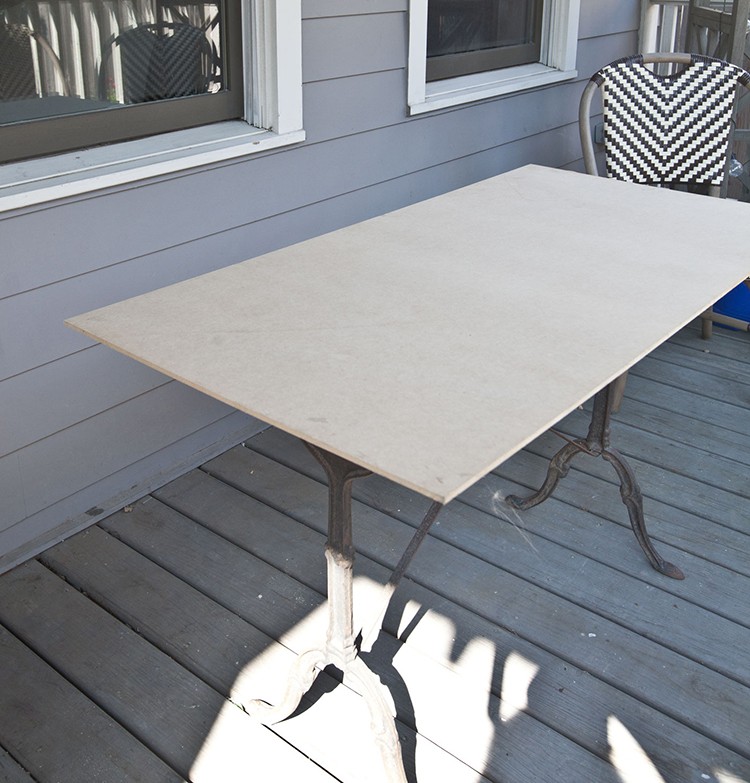
I started with a piece of plywood for the tabletop. It is slightly larger than the previous table top. For best results, I would attach the new table top to the table.

Step 2: Cut the Appearance Boards

I placed the plywood on the table. Each appearance board is 8 ft. long, but I needed them to be 4 ft. long for the table top. That is a simple fix. I measured 48 in. on each board, then marked the boards with pencil.

Using a miter saw, we cut the boards in 4-ft. lengths.
For my 24 x 48 in. table, I needed 5 boards 48-in. long. The box contained (4) 8-ft. long boards I used 2½ of the appearance boards for the project.
Step 3: Check the Design


I placed the appearance boards onto the plywood to see how they were going to look. I wanted to check the look before I used any adhesive on the project. The plywood piece underneath the appearance boards was still visible, so I decided to trim the plywood base ¼ in. on the length and width.
These are tongue and groove boards so they fit together by sliding one over the lip of the adjacent board. That means the last board to go on the table top had extra lip on the end that wasn’t needed. I trimmed the lip off that appearance board to give the table top a more finished look.
Step 4: Apply Adhesive and Clamp

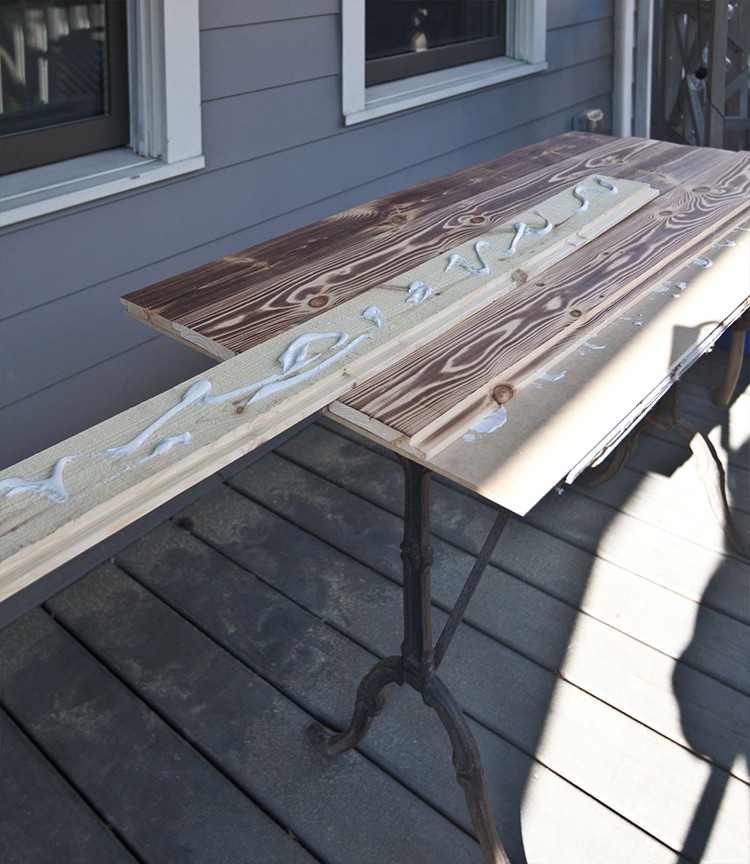
Next, I applied adhesive to the bottom of the boards and added them one at a time to the table top. I made sure they fit snuggly together. Then, I clamped everything in place while the adhesive dried. I also set some heavy bottles on top of the table while the adhesive dried.

Step 5: Remove Clamps

After the adhesive dried, I removed the clamps and the heavy bottles. I used an electric sander to smooth out the ends and sides of the table top. Then, I sanded all the way around the perimeter of the table top.
After sanding, I wiped down the table to remove any dust. Then I stirred the polyurethane and brushed it on the table top, including all four sides. After the polyurethane coating dried, the table was ready to be used. I used the poly coat because the table is being used on an outdoor porch. It is a covered porch, but sometimes there is a blowing rain. I also wanted a protective coating because the table is being used for food and drinks. I didn’t want to worry about anything being spilled on the table.
Charred Wood Table Final Reveal

In the end, it created a great looking table. Now I don’t need to worry about the paint chipping or peeling, and it’s protected from the elements. I can’t wait to enjoy a meal out here with my family.


Find more DIY projects on The Home Depot Blog. Shop more appearance boards at The Home Depot.
The post DIY Charred Wood Table Top appeared first on The Home Depot Blog.

