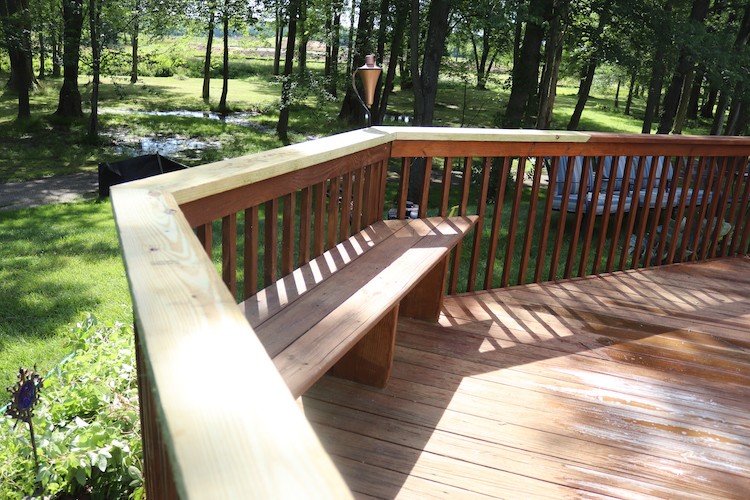
With more people home, we are enjoying more aspects of our home. We actually have time to sit outside and enjoy our space. My neighbor loves being outdoors and spending time on her deck. Unfortunately, her deck needed a little TLC. That’s why I’m so grateful to be able to partner with The Home Depot and Olympic Stains to assist my neighbor during these challenging times.
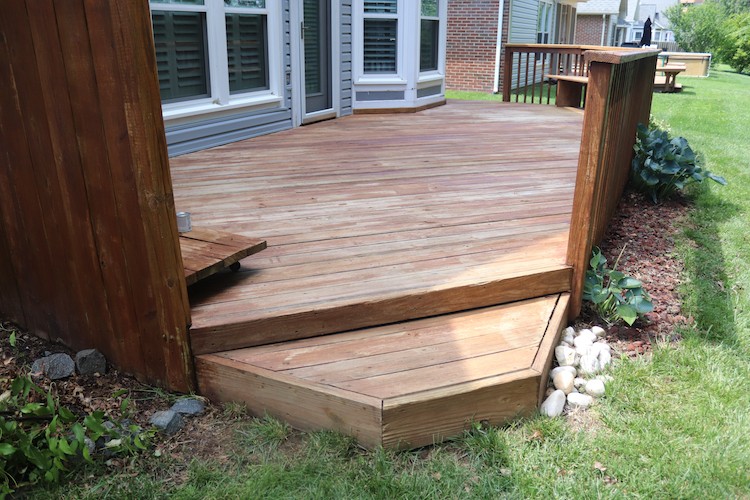
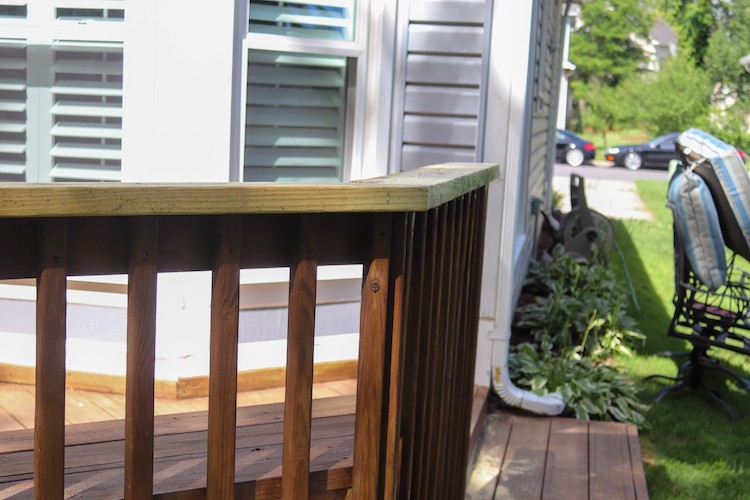
Some of the rails had water damage and the deck floor was discolored and faded. She and I were talking about it one day and she asked me if I could help her give new life to her deck. Well, of course I can! It’s kind of my thing, you know?
Originally, she thought she just wanted to go with a clear sheen that would seal the deck and extend its life for a few more summers. However, once we got into the project and had to replace old and rotten boards it became apparent that a solid stain would be more appealing.
Here’s how we stained my neighbor’s deck. Prior to starting a deck project like washing and staining a deck, you want to check the weather to ensure all of your efforts won’t get rained on.
1. Prep the Surface
Before you can do anything it is extremely important to prepare the deck surface before you do anything. This is probably the most important step because if you bypass this step all your effort will be in vain. Your stain may not adhere to the deck and could chip and peel. Start by securing any loose boards and screw in place any raised deck screws. I’m working with an older deck that was constructed with nails. So in this case I’m removing any raised nails and replacing them with deck screws.
Repair any damaged boards on the patio including the railings and steps. Replace boards that are badly damaged or warped. Patch minor holes and cracks using an exterior wood filler like Bondo to fill small holes and gaps.
Sand the surface of the deck using a belt sander or pole sander. The rails can be sanded using an orbital sander.
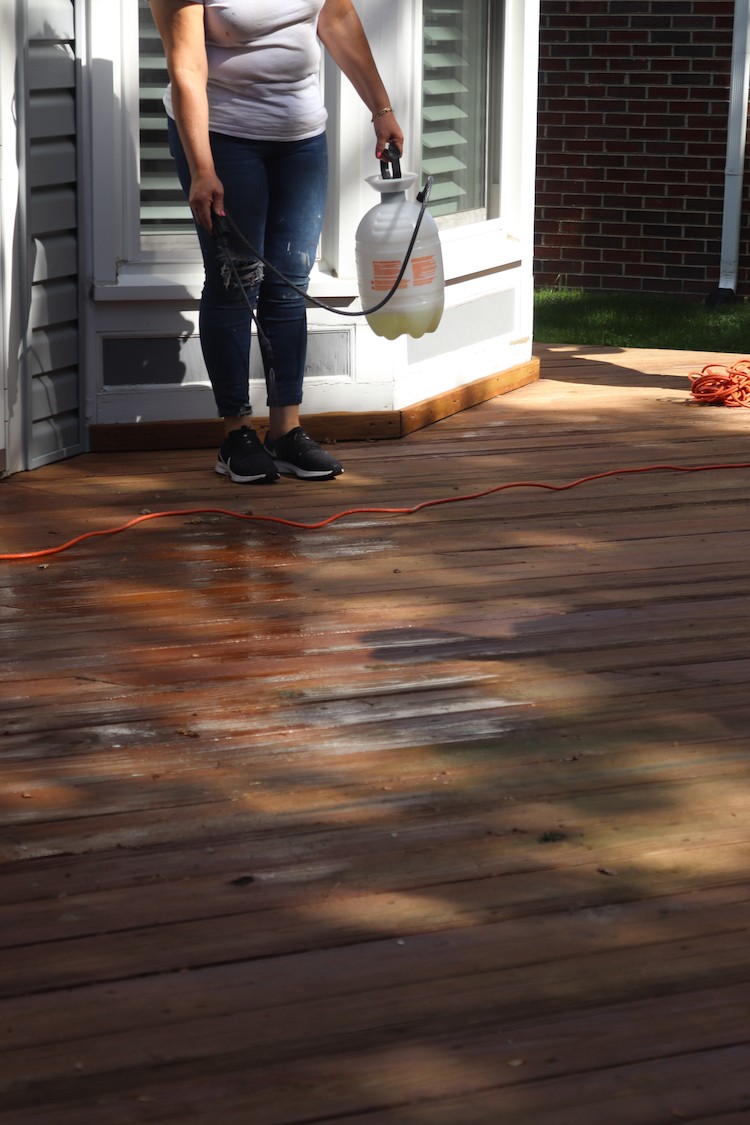
2. Clean the Deck

Now it’s time to remove all that gunk and mildew that’s set into the deck boards over the years. To clean the deck we will be using Olympic Premium Deck Cleaner. I love this cleaner because it literally does all the work for you. It comes pre mixed and you don’t have to scrub the surface. Using a pump sprayer and spray liberally on the deck floors. Apply from the bottom to the top on the railings. Allow the cleaner to sit for 5-10 minutes. Like magic you will start to see the dirt and mildew disappear. Seriously, it really is magic.
Thoroughly rinse away the deck cleaner using a hose or pressure washer. If using a pressure washer, ensure you are using the correct nozzle and the pressure setting matches the job. You don’t want to accidentally damage the deck boards.

Allow the deck to dry for 24 hours before applying stain.
4. Apply Stain to the Deck Railings

Now it’s finally time to actually stain your deck.
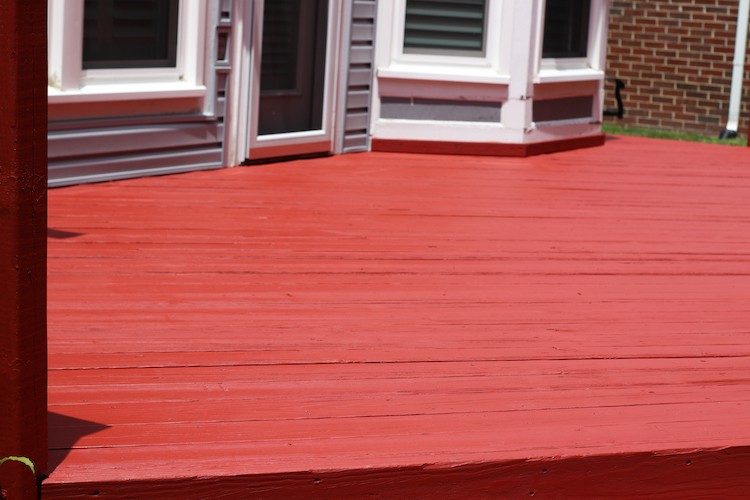
There is a big long story behind the Olympic Exterior Stain color my neighbor ultimately went with. She literally pondered over the vast color selection of Olympic’s solid stain collection for hours. Finally, I said to her, pick a color that defines how you live your life. And she selected the Olympic Elite Solid Stain in Navajo Red and I couldn’t have been more proud. My neighbor typically opts for the safe neutral tones. Instead, she selected a color that is bold and makes a statement like she does in her everyday life.
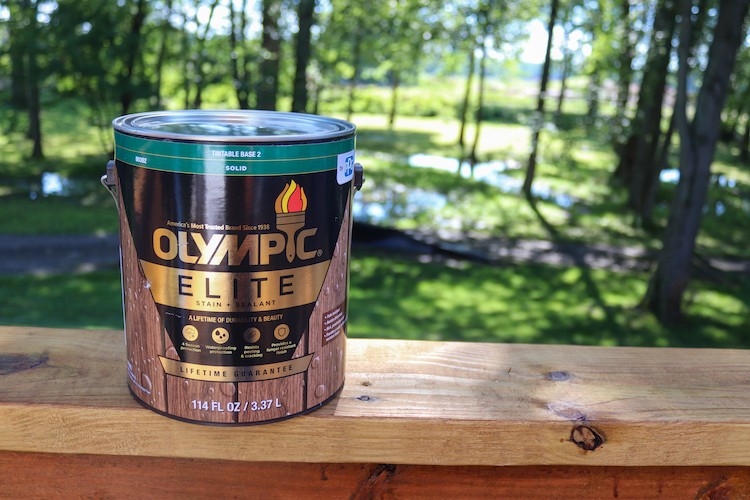
The Olympic Elite Solid Stain is an all-in-1 stain and sealant and will undoubtedly extend the life of her deck. Also with a solid stain she doesn’t have to worry about having an uneven finish like she had previously, trying to match new and aged boards.
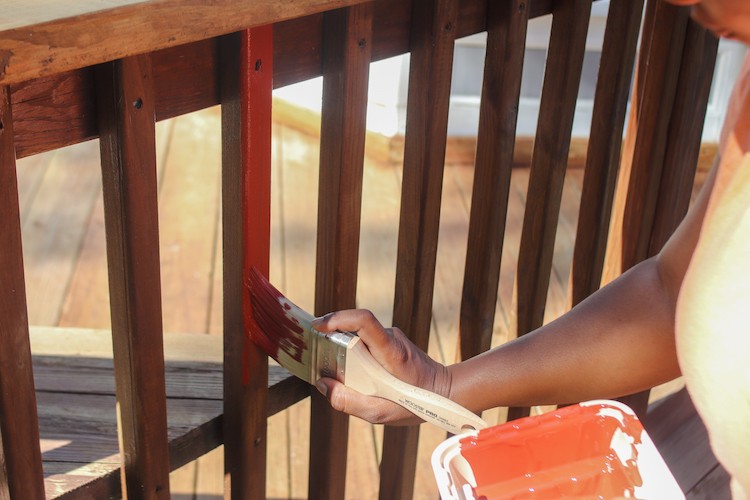
Apply the stain to the deck railing using a small brush and roller following the grain of the wood.


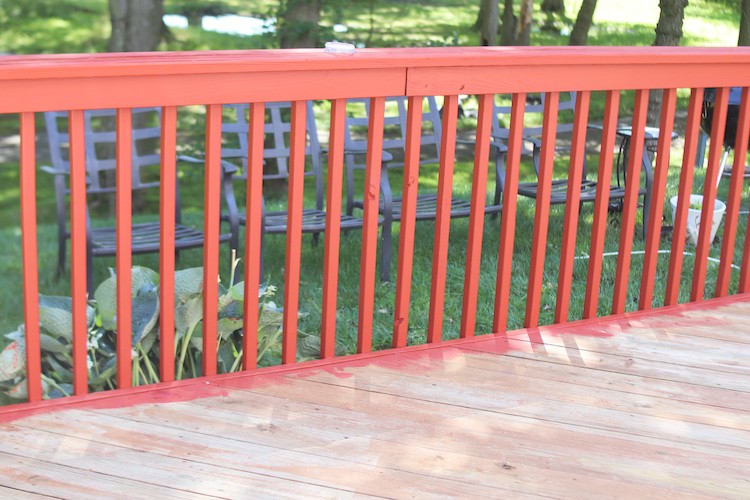
5. Stain the Deck Floor
The thing about staining a deck, you don’t need a lot of fancy tools. It can all be accomplished with a good brush and and paint rollers with a ¾ in. to 1 in. nap. The roller fabric should also be able to handle rough exterior surfaces.
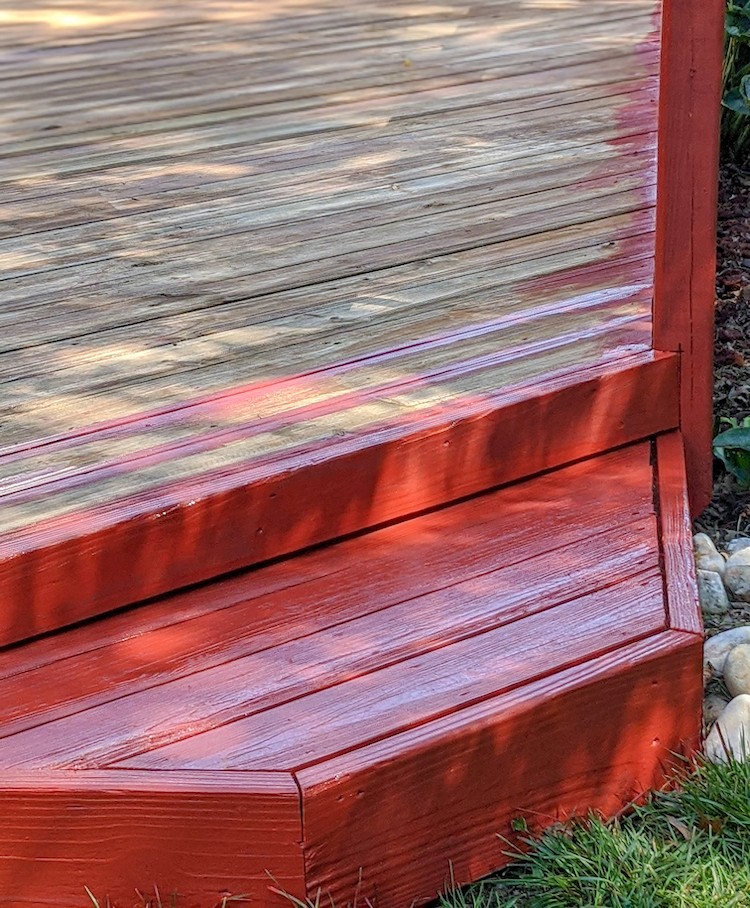
Start with painting the crevices between the decking. Take an angled brush and paint the space between each board first. This may sound tedious, but this step greatly speeds up the application time. Doing this will ensure full coverage of the stain.

Next take a thick roller designed for deck staining and roll the paint onto the surface of the deck. If you have two people, have one person paint between the boards and the other go behind with the roller.

6. Allow the Deck to Dry for 24-48 Hours
Allow the deck to dry for 24-48 hours before placing the furniture back on the deck.
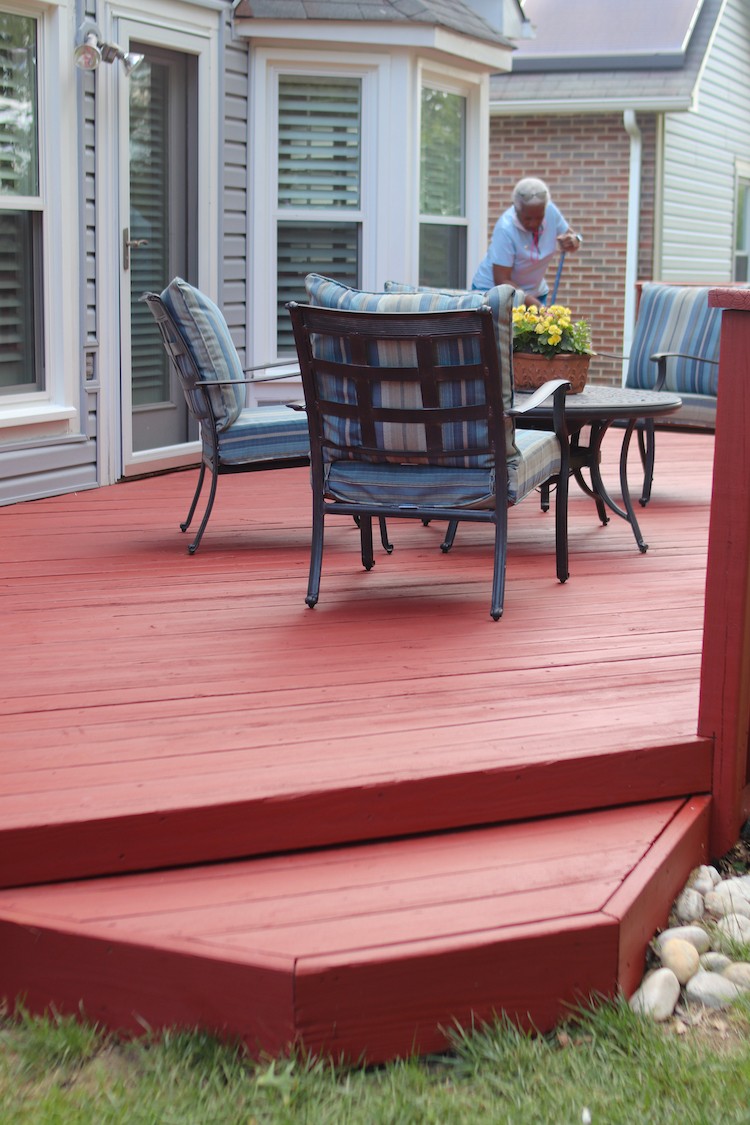
7. Enjoy
Once it’s dry, sit back and relax and enjoy the fruits of your labor.

The post Stain Your Deck the Right Way with Olympic Stain appeared first on The Home Depot Blog.


