
Cara Irwin of Goldalamode specializes in interior design, DIY and lifestyle blogging. Check out how Cara puts her design skills to the test in this step-by-step DIY closet doors tutorial.
DIY Closet Doors
If you have some doors in your home that you want to replace then you’re in the right place. I’m working with The Home Depot to take on a DIY closet door project! If you look around, you’ll probably realize you don’t like the doors around your home. Odds are they’re beat up OR you just want something a little more exciting. I think the doors should be an extension of your home’s style and overall vibe.
I have become a huge fan of the “Parisian apartment” look. Closet doors can be SUPER expensive though if you want them to have some personality. My new thing is creating the look I want, but for half the cost. I love doing this to closet doors especially because they can add to whatever style you have going on in that room.
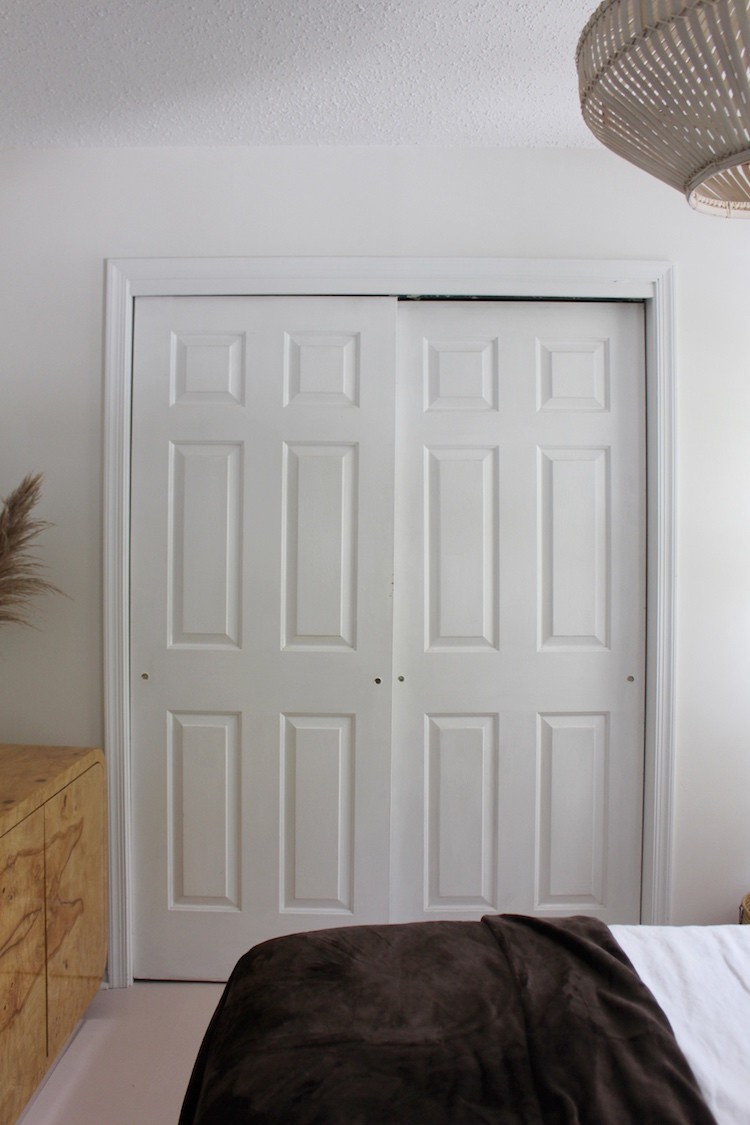
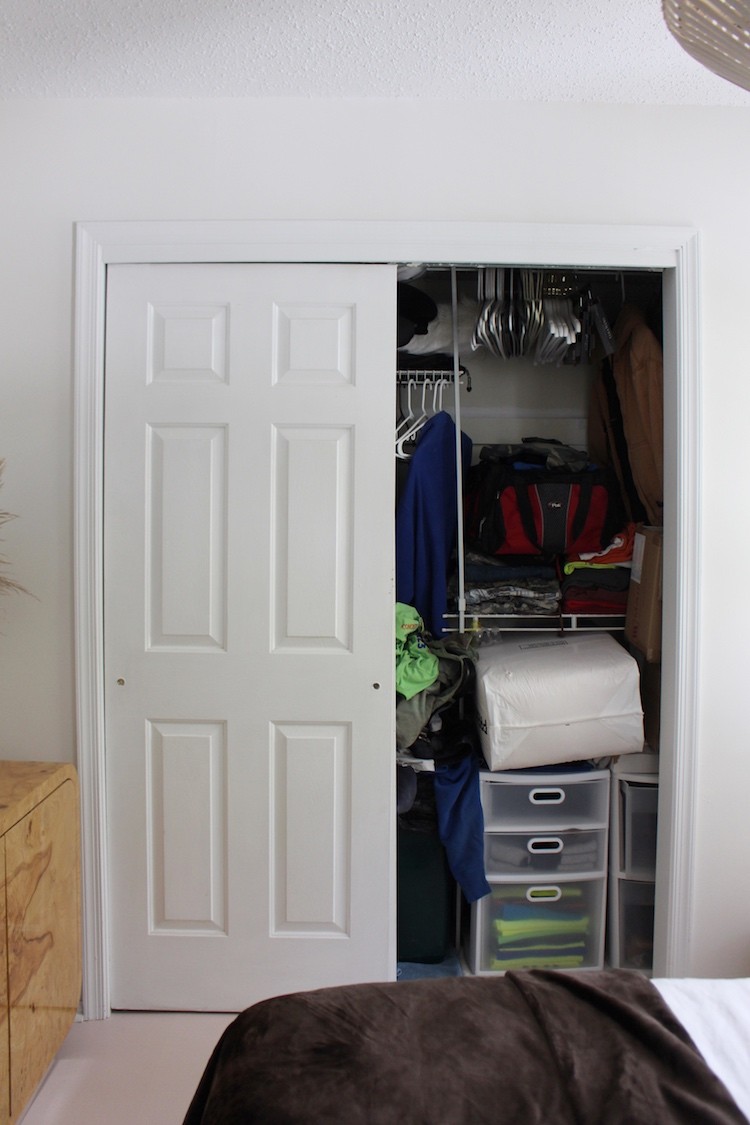
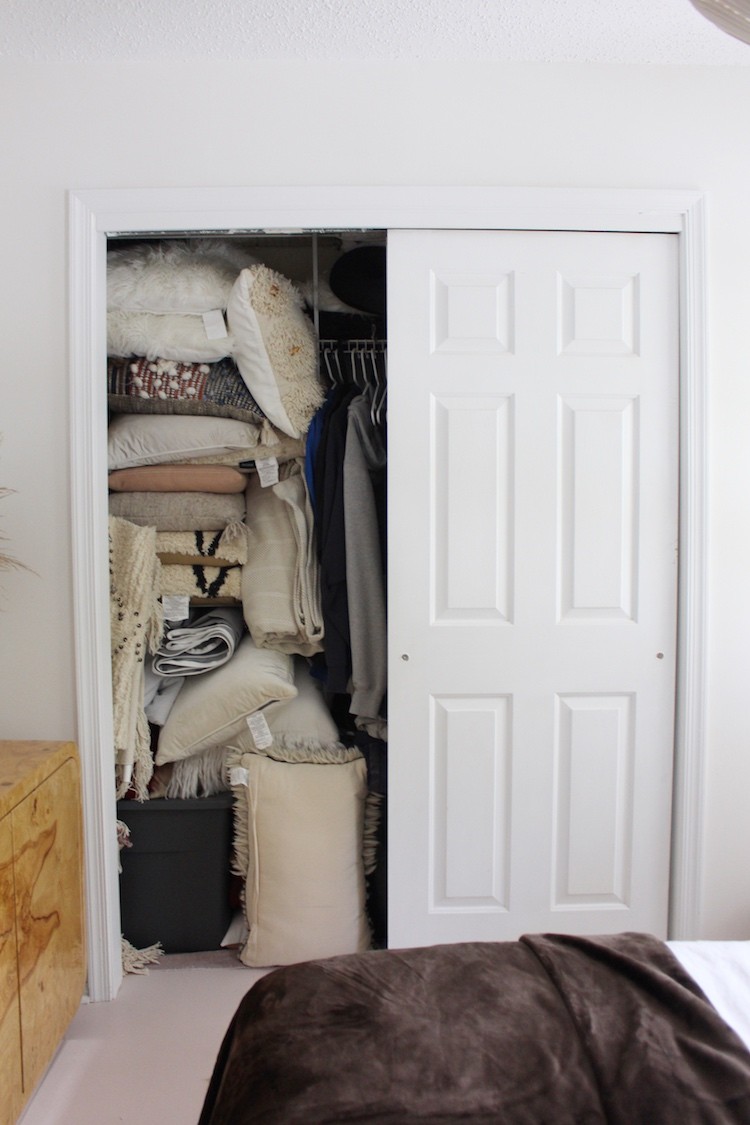
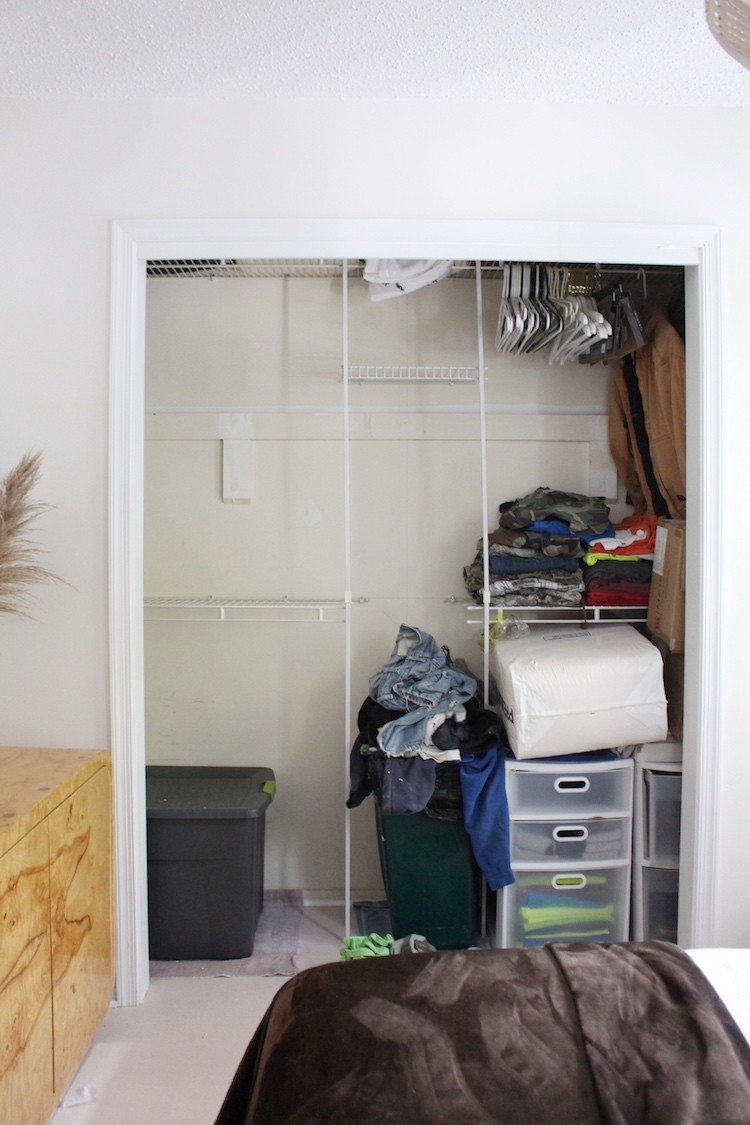
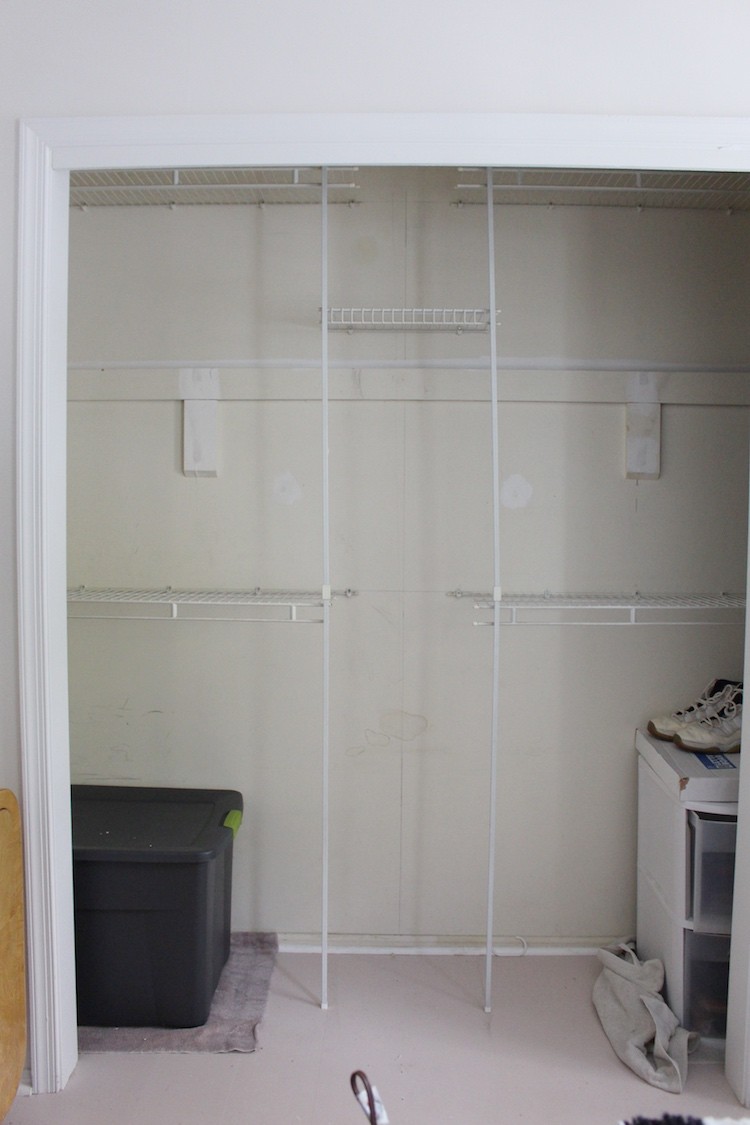
For our guest room we had a double sliding door. The doors themselves were really beat up with scratches and dings all over them. The track at the top was HIDEOUS (splattered in all different colored paints from previous owners). They didn’t slide easily and they were really wobbly. On top of the cosmetic problems, I just wasn’t a huge fan of the sliding doors. I like to open the doors wide open to find what I need to find. This may be #impatient, but that’s okay!
To give our guest room closet some personality and keep the cost down, we bought plain wood doors and customized them with molding and hardware. If you look on Pinterest you can find some really cool door designs. Let’s get started and I’ll show you how you can do this DIY closet doors project to your own doors!
What you’ll need:
(Tip: print this for a check list!)
Doors – We went with a plain wood door in order to customize it. Each door runs about $35.
Molding – There’s an entire aisle of molding to choose from at The Home Depot. You can choose any design you want. There’s also different size doors. You can also use this same practice on plain bi-fold doors. I chose this one.
Hinges – You can either do 2 or 3 hinges. We went with 3 black hinges.
Door knobs – You can go with a “dummy doorknob” for these sing you wont be locking them. You’ll use the ball catch at the top to keep the doors closed. We also went with black for this so that all of our hardware matches.
Paint – I usually use Behr, but for this specific project I used “Natural White” by Glidden. I think I might enjoy Behr just a little more only because the Glidden was a little thick and sticky. Behr always goes on really smooth and blends really well. I ended up LOVING the color though.
Primer – I suggest using primer first because the plain wood door is extremely porous. If you go straight for your paint you’re going to end up doing 7 coats of paint. I went with water-based Kilz2 Latex. Primer has a really strong smell to it so I suggest using it outside. If you have to do it inside, go for the odorless one.
Paint brushes + rollers – You’ll need two brushes, one for the paint and one for the primer. You’ll need these to get in the crevices of the molding. I suggest getting a cheaper brush for the primer only because it tends to get ruined a little faster. For the rollers I always go with the small foam rollers. The foam rollers make the paint go on really smooth and you wont see any brush strokes. Make sure you use the foam roller white the brush strokes are still wet so you can get rid of them. You could use a large roller for the back of the door.
Wood filler – We used Plastic Wood. This is to fill in the holes where you nail the molding it. It can always help fill the corners where the cut pieces of molding match up.
Wood glue – You can any wood glue to attach the molding but we used Titebond.
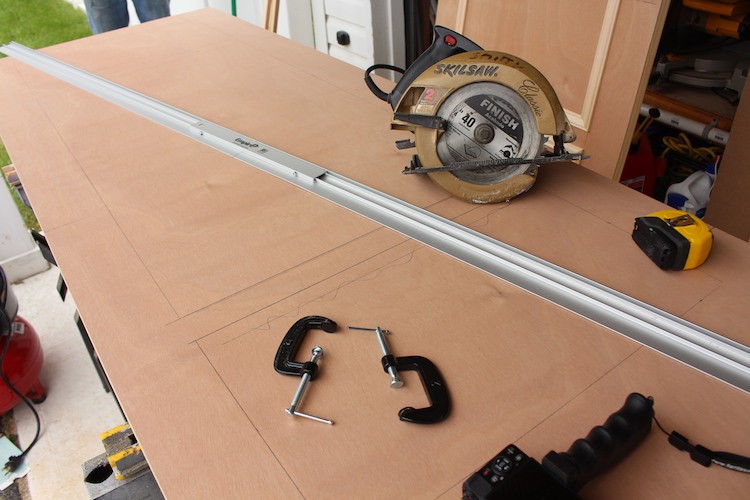
Skilsaw – A skilsaw is going to be crucial to size your doors to fit your openings. They’re not THAT expensive but it’s a great tool to have around.
Ryobi Door Hinge Template – This is another crucial tool for your project. The wood doors don’t come with hinge cut outs so you have to create them. You will use this along with your router.
Ryobi Router – This is the other tool you will use along with the Ryobi door hinge kit to form the cut outs for your hinges.
Nail gun – A nail gun is also a great tool to have in your home for DIY projects. We use this one ALL THE TIME. We attached the molding to the door with wood glue and followed it up with the nail gun for extra hold.
Ball catch – The ball catch is going to be places at the top of your doors. This is what keeps the doors closed. We got black to match the rest of our hardware.
Screw Gun
Measuring Tape
T-square
Miter Saw – So this tool is a little bit of an investment. I think it’s such an important thing to have in your home though. If you’re planning on doing any DIY projects at home you will proabably find yourself needing one of these. We used this to cut our molding pieces on a 45 degree angle.
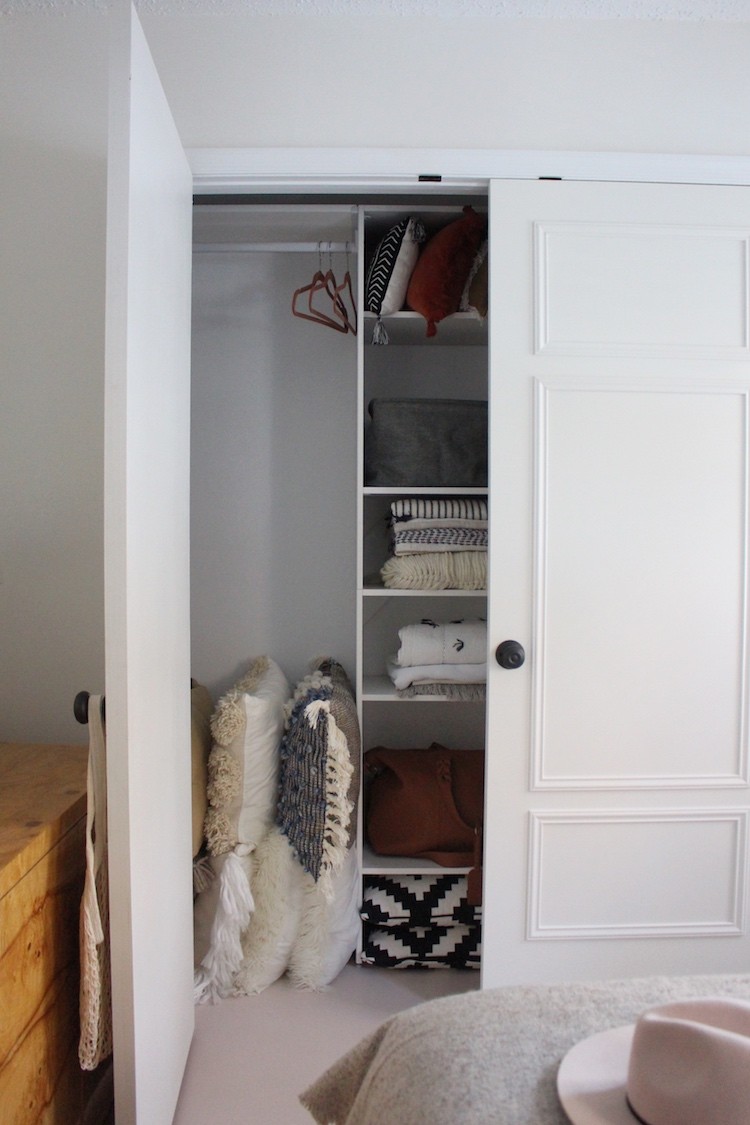
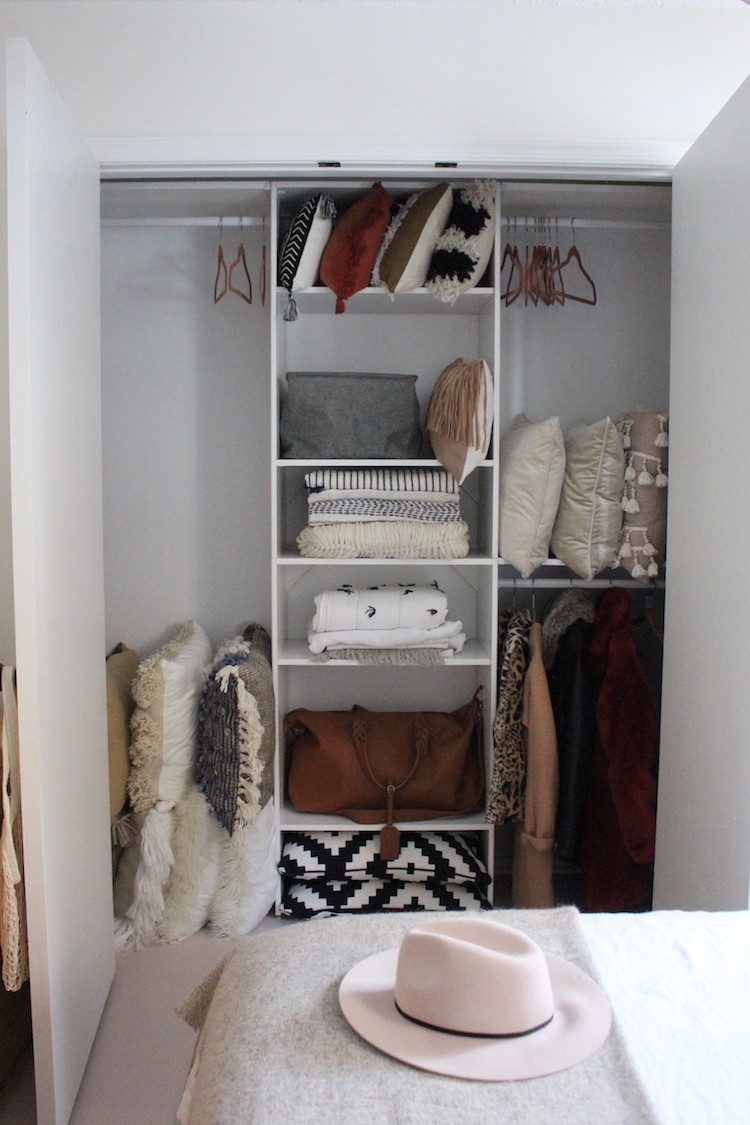
BEFORE:
STEPS:
- Take measurements of your existing opening.
- Head to your local Home Depot and grab your materials listed above
- Use your Skilsaw and track that keeps it still to trim off the excess amount of the door that is too big.
- Using your measuring tape and t-square find out how you want to place your molding.
- Cut the molding using your miter saw on a 45 degree angle. You can use 2 pieces as a guide instead of measuring every single piece.
- Use your wood glue and nail gun to attach the molding to the door.
- Create hinge cut outs with your Ryobi hinge kit template and Ryobi router. You can also hand carve the hinge cut outs but this might be a little easier.
- Figure out where you want to place the door knob. We placed our door knob 37″ off the ground. Of course this can change give or take.
- Now you need to drill a hole for the ball catch. This is to keep the doors closed. You can use a drill and wood bit to carve the hole.
- Do not attach any of the hardware yet because it’s time to prime. I used Kilz2 Latex water based primer. I don’t like to use the oil based when I’m painting because it can change the color of your paint after time. The primer does have a very strong smell to it so either paint outside or buy the odorless primer.
- I used Glidden “Natural White” for this project. Usually I use Behr from The Home Depot, though. I think the Behr goes on a little bit smoother but I love the color of the Natural White.
- You can measure where to put your hinges on the door frame now. Some people use 2 hinges but we used 3. You can look at the rest of the doors in your house to get reference on number of hinges and measurements.
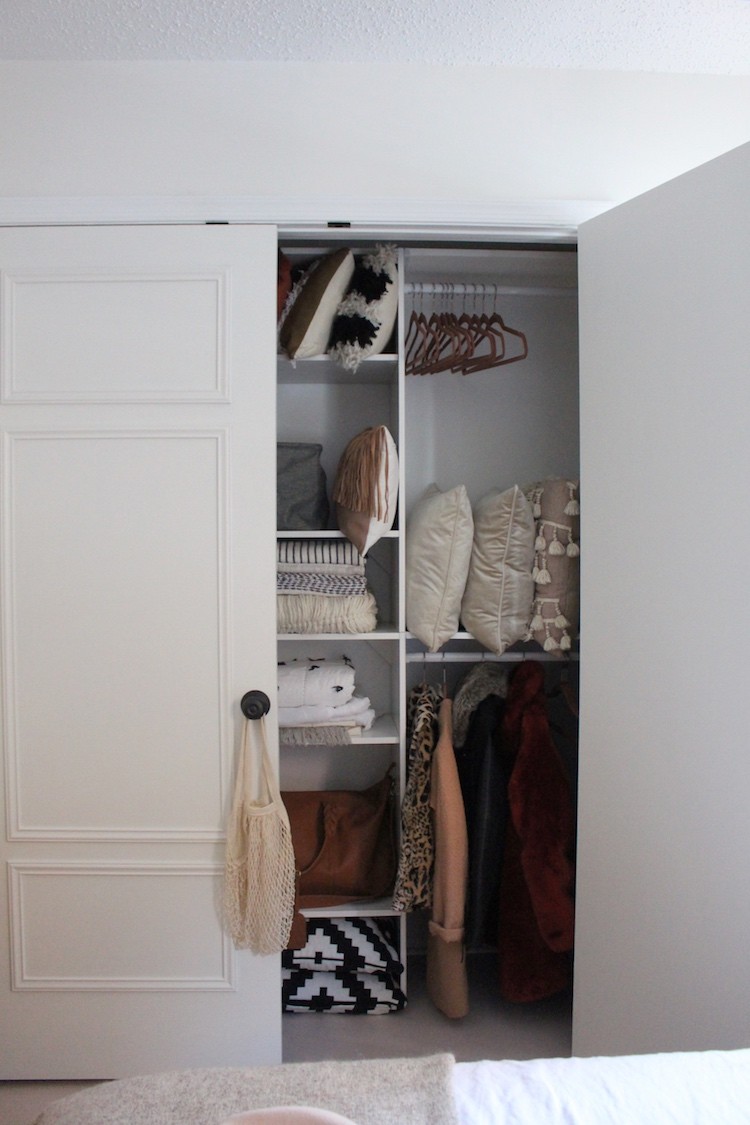
- Install your doors!
- Attach door knobs!
- Install ball catch.
- Install door stop. Shut your doors until they’re flush and then you’ll know where to put your door stop.
- DONE!
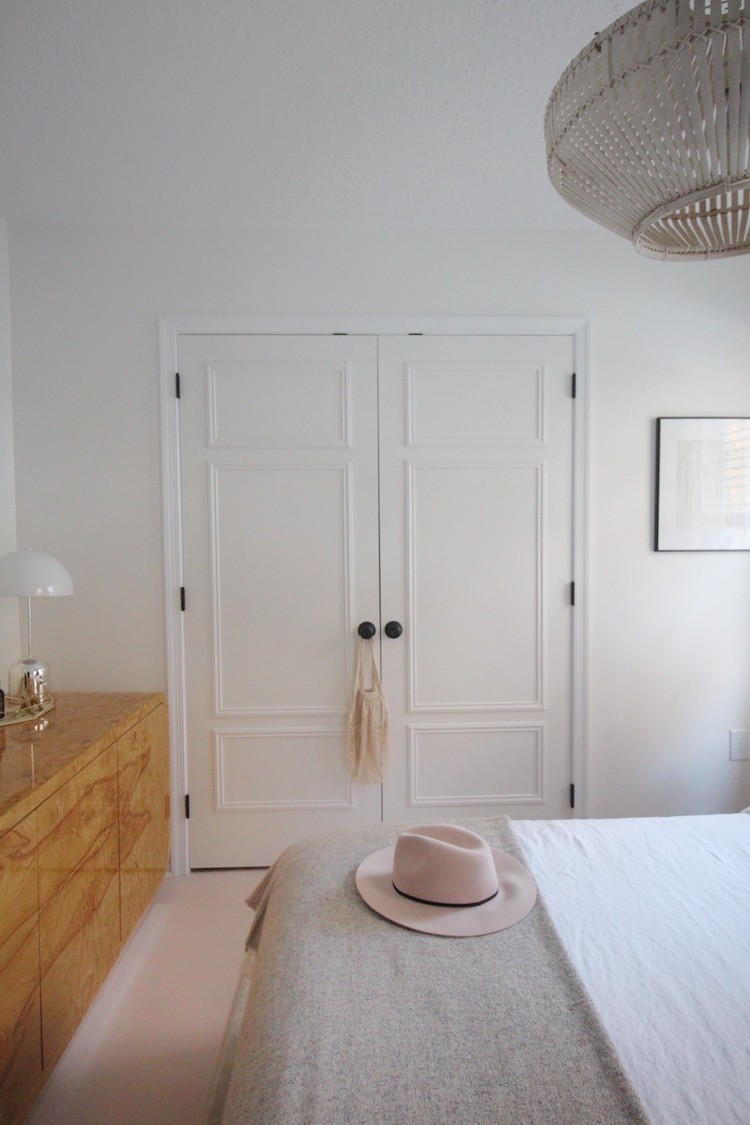
AFTER:
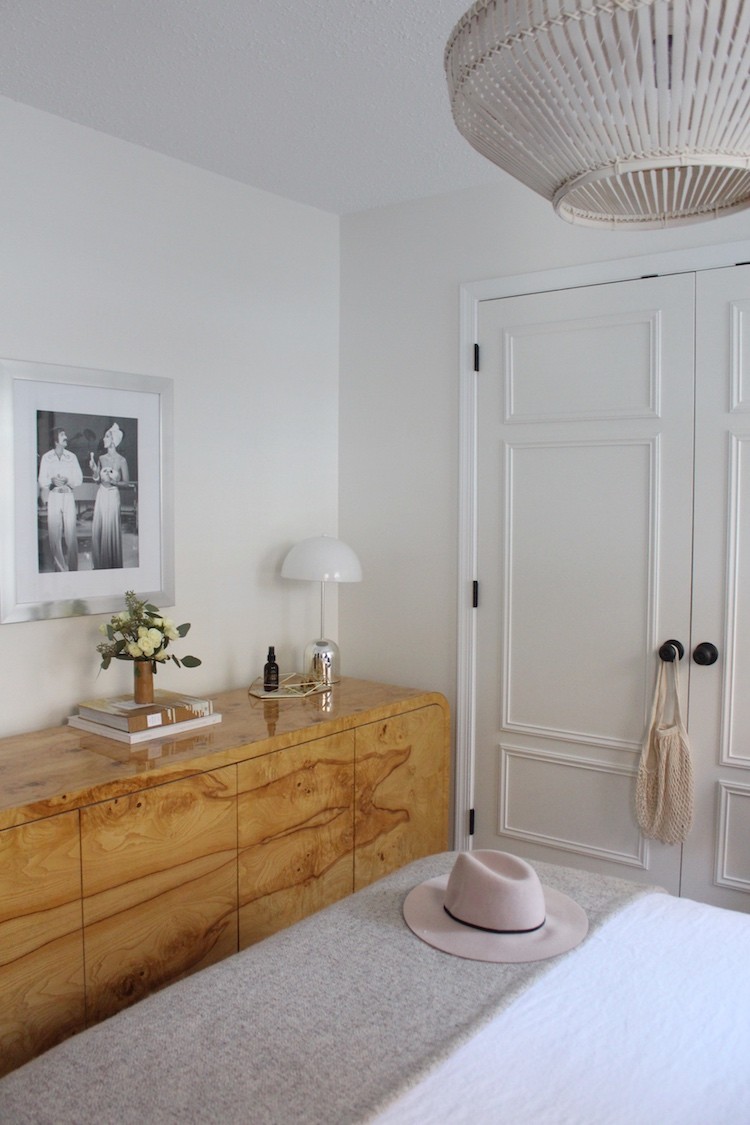
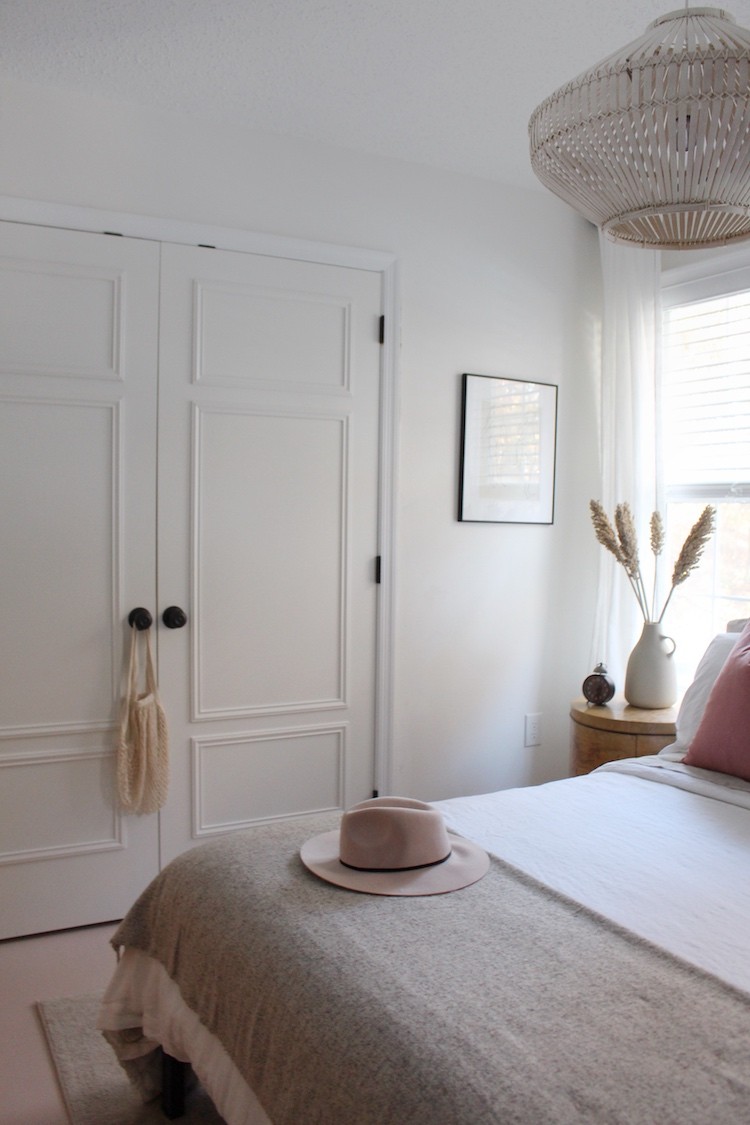
I hope you enjoyed this tutorial blog post! Hopefully you’re super inspired to go to your local Home Depot and get started on your own DIY closet doors! Have fun!
For more inspiration on how to revamp your closet, check out these ideas on The Home Depot blog. Find more unique doors for your closet at The Home Depot.
The post DIY Closet Doors appeared first on The Home Depot Blog.
