
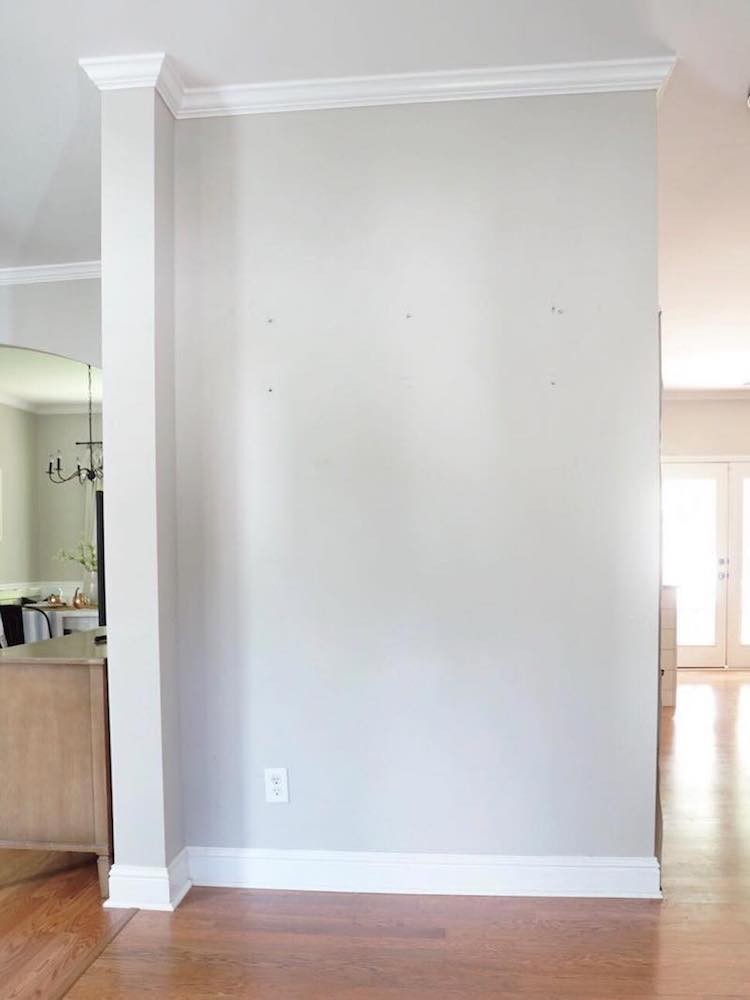
The Before
This is what our entryway looked like before the makeover. It was the first thing guests would see when they entered our home.
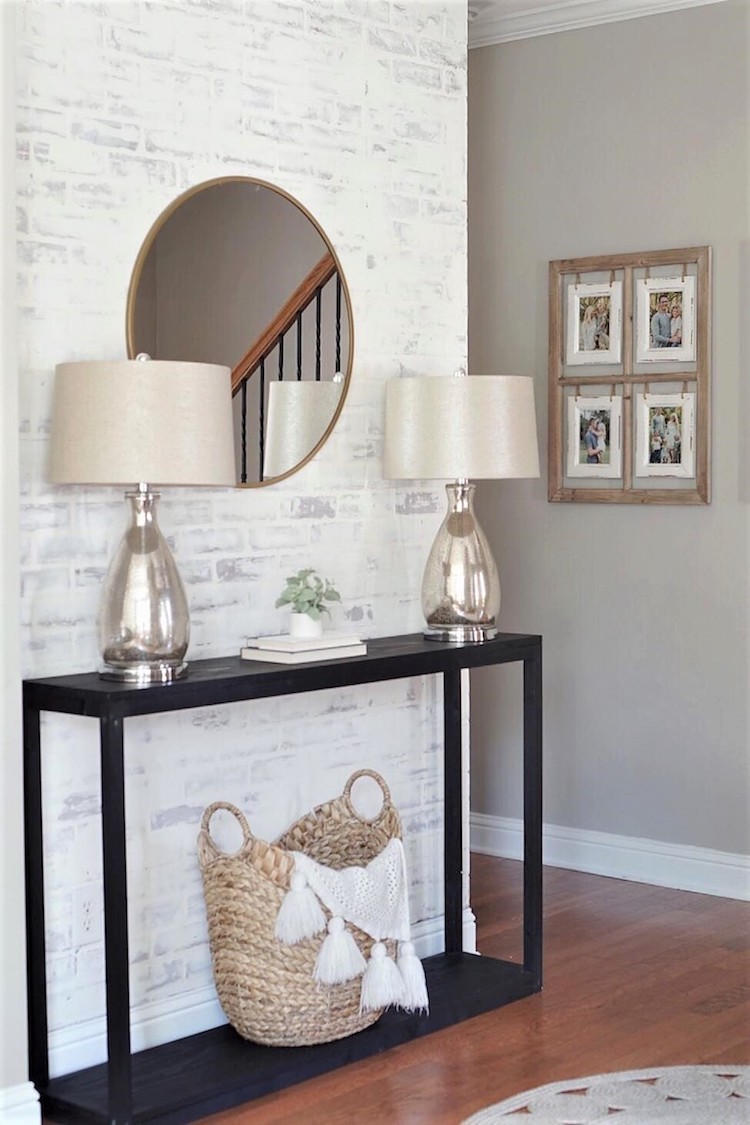
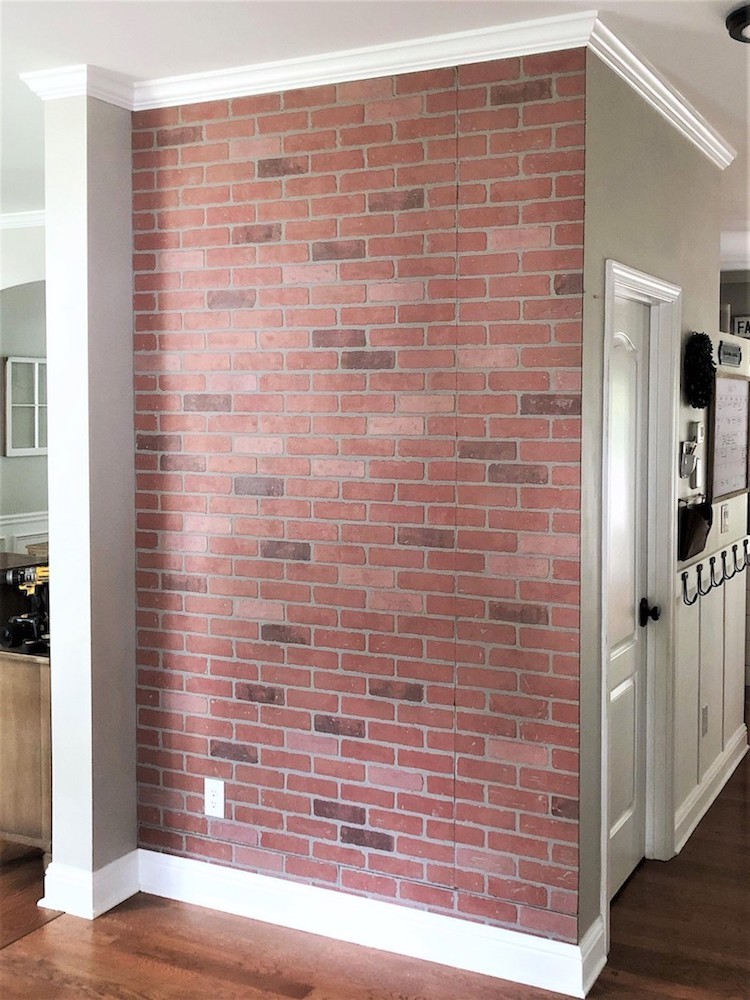
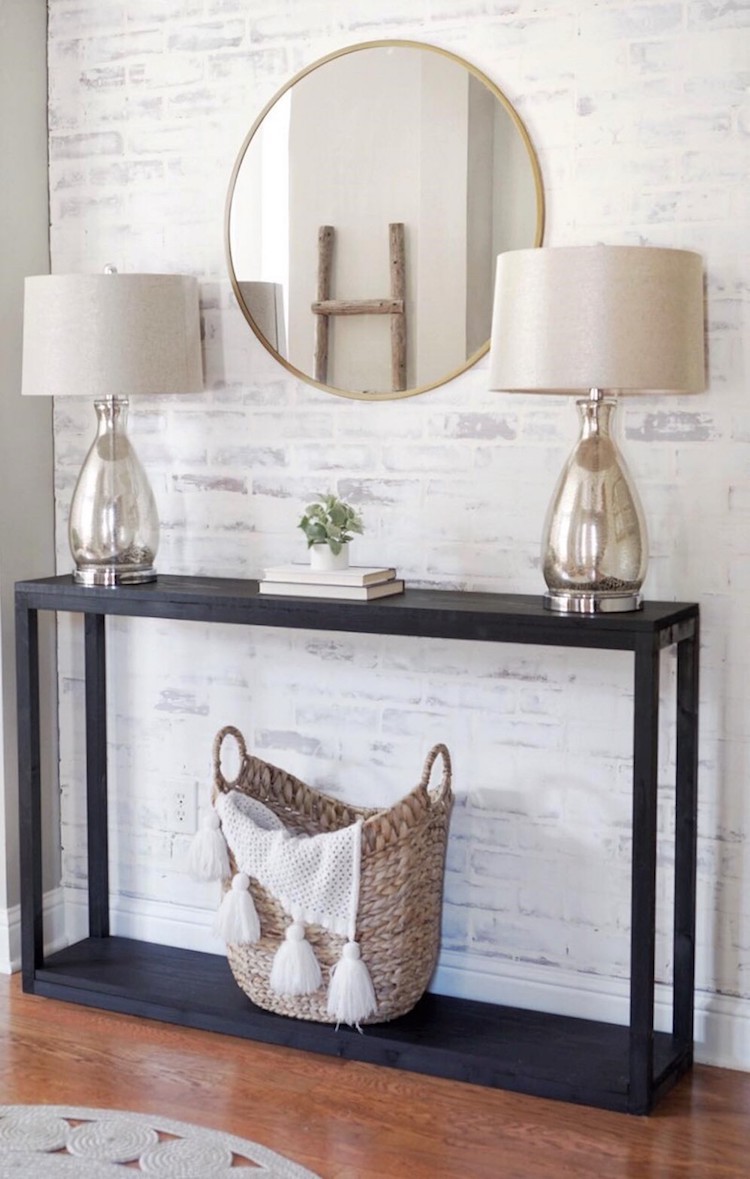
And now, with the updated faux brick, it sets a warm and welcoming tone for the rest of the home.
Step 1: Measure Your Wall
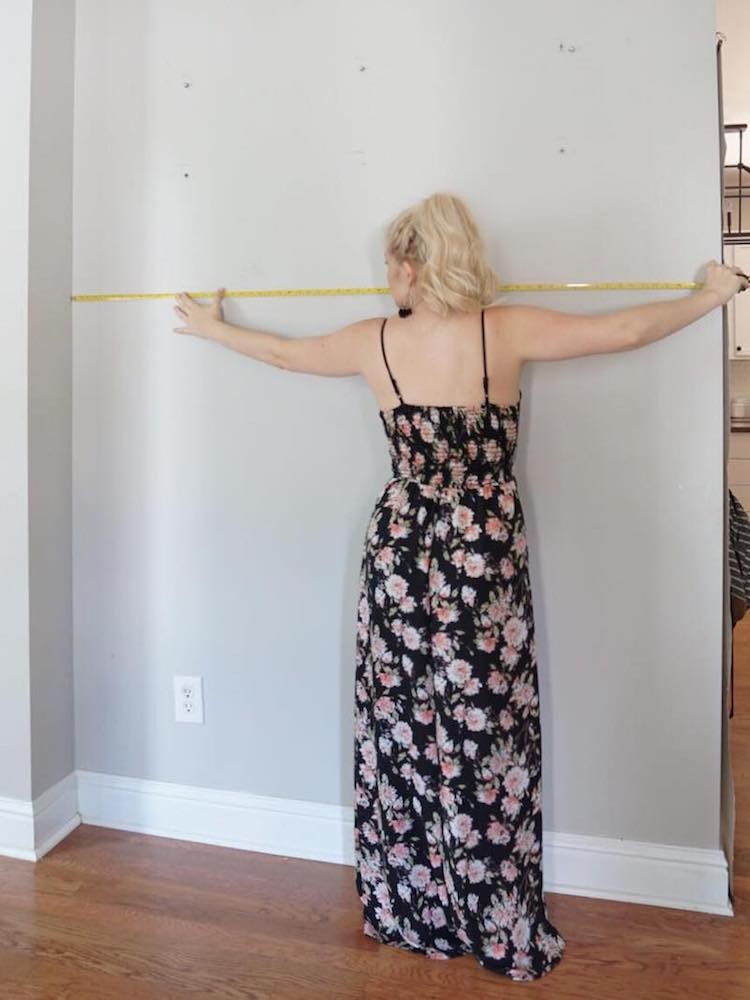
To get started, the first thing you want to do is measure the dimensions of your wall and determine the number of brick boards you will need. They come in 4 ft x 8 ft panels.
Step 2: Cut Down Your Panels
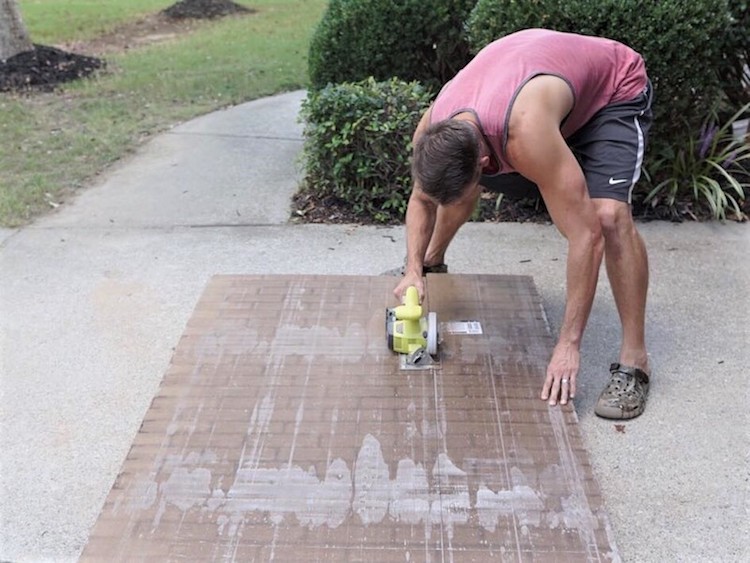
Once you know how many panels you’ll need, figure out where you will need to cut your boards to fit on your wall. You can use a table saw or a circular saw to cut down your boards. We used one full panel. Three other pieces were cut from a second panel to fit the entire area of our wall.
Don’t forget about your outlets, too. You’ll need a jigsaw or hand saw to cut out a small area in the brick panel to accommodate for your outlets.
Step 3: Nail Your Panels to the Wall
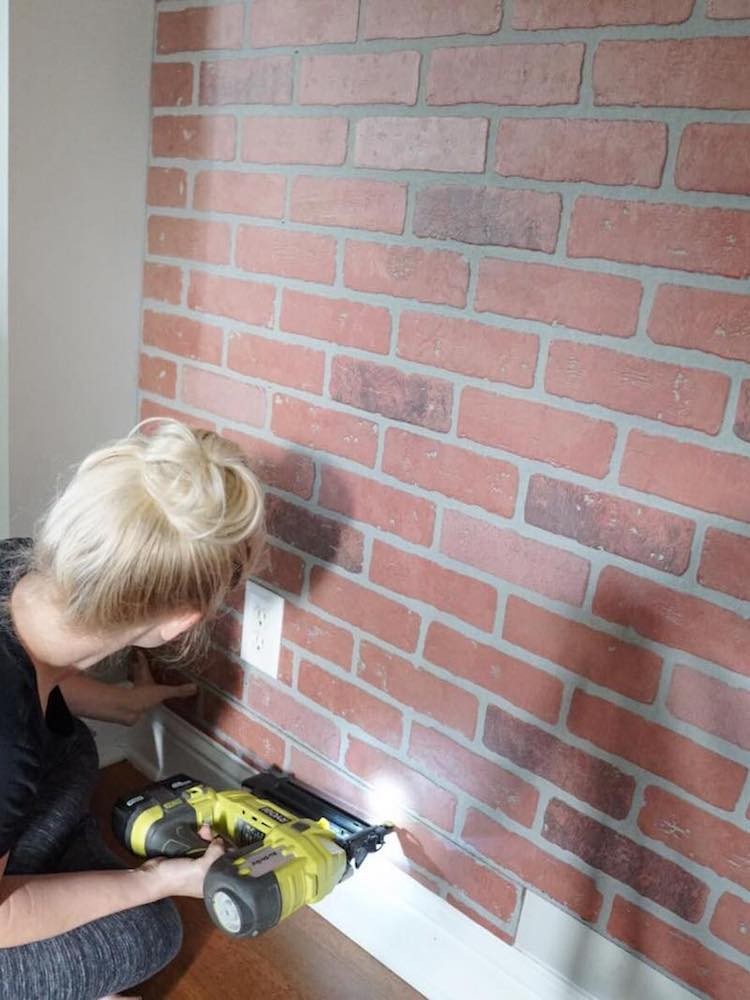
Locate the studs in your wall with a stud finder and using your brad nailer, attach the panels into the studs first. I recommend nailing into the recessed “mortar” lines so when it’s time to smear your joint compound on, the nail holes will be hidden.
Now, tape off any adjacent walls and make sure your boards are nice & secure to the wall, especially where two boards butt up next to each other. You want it to be as flush as possible to hide the seam.
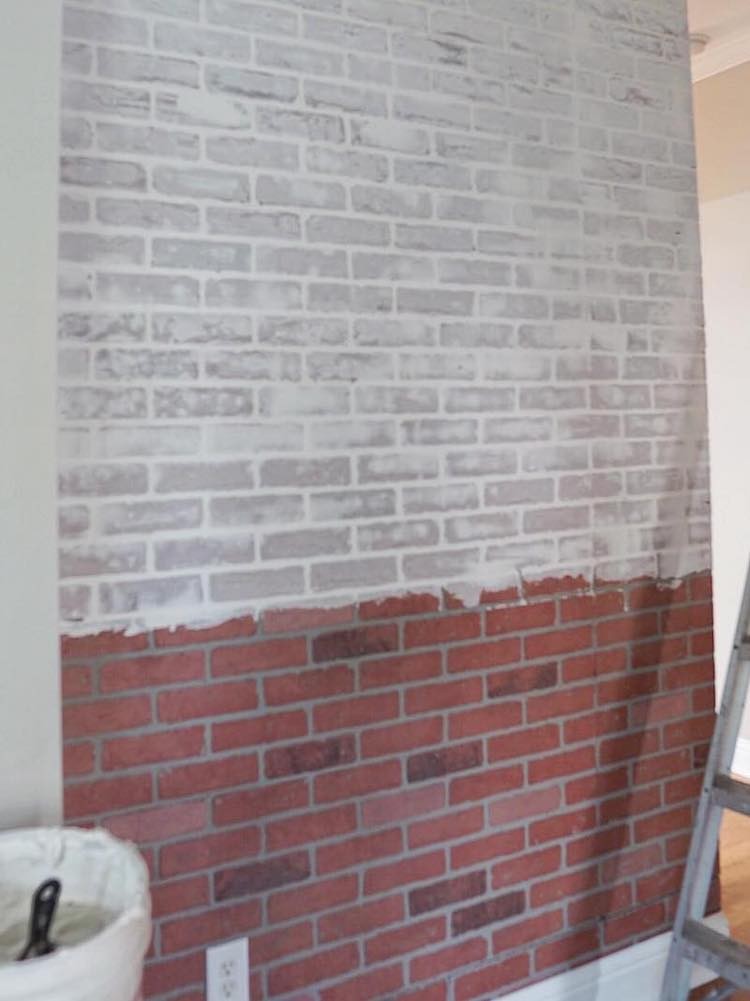
Step 4: Smear on the Joint Compound
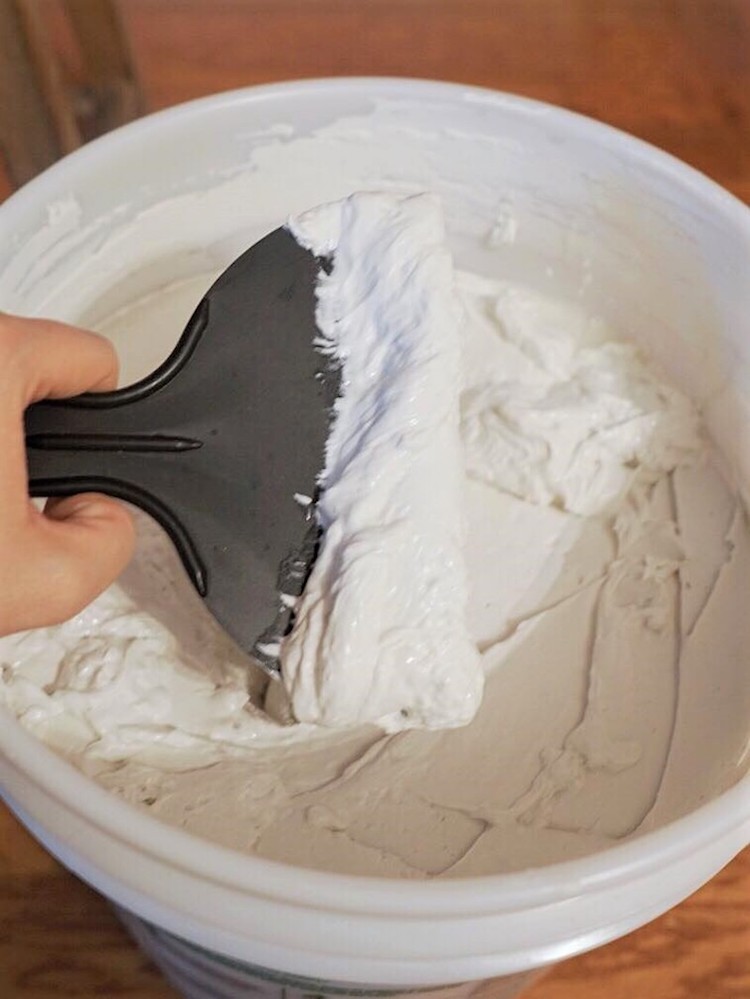
Using a large putty knife or a hand trowel, scoop out some joint compound onto your tool and begin smearing it on to the brick panel. Apply from left to right, up and down, working it into all of the nooks and crannies, one small section at a time. This is very similar to the German Schmear process, but instead of wet mortar, we are using the joint compound to achieve a similar look.

While it is still wet, take a step see how it looks every so often. If you want more brick to show through, just go back over with a clean putty knife. Apply pressure to gentle scrape away the excess joint compound. You can also use a damp cloth to expose more of the red brick area. This is the fun part – just playing around until you get the look you’re going for.
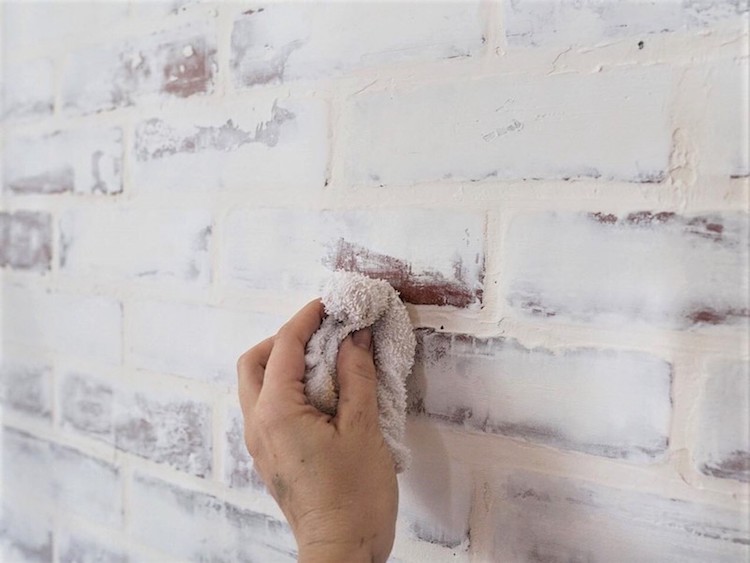
Step 5: Let the Joint Compound Dry
You may notice that the color will change slightly and the wall becomes more white and opaque as it dried. If the coverage is heavier than you want, you can still use a damp cloth to remove the joint compound. Even after it has dried.
Step 6: Seal Your New Wall
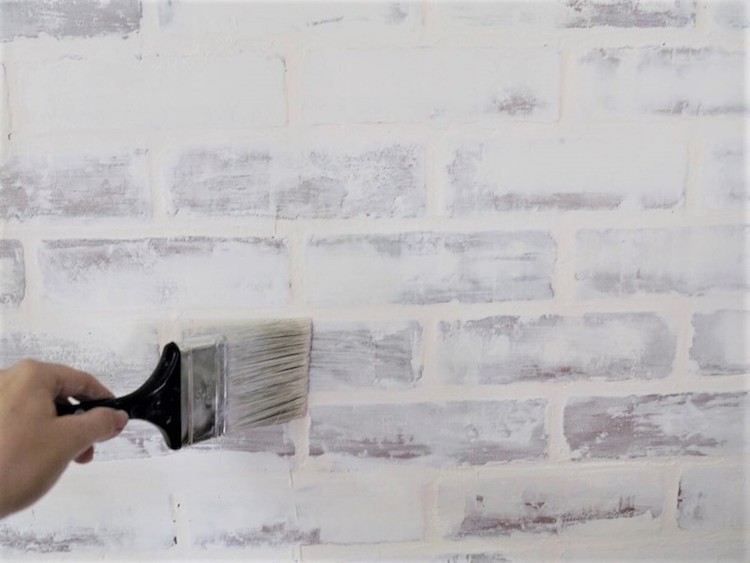
Seal your newly whitewashed faux brick wall. If you have it exactly the way you want it to look, you can seal it with a clear matte polycrylic. I purposely left a lot of red brick areas exposed because I knew I would be sealing with a whitewash mixture of water and paint. This would lighten it up a bit.
And that’s it! Step back and admire your new faux whitewashed brick wall that only took a few hours to do. But looks as if it’s been there for years!
The post DIY Faux Whitewashed Brick Accent Wall appeared first on The Home Depot Blog.


