
Adding simple pieces of décor to a bare wall can really add character to a space. Natalie Frank, of Relentless at Heart, dressed up her dining room with DIY sconces and it made all the difference.
Read on to see step-by-step instructions on creating Moroccan style sconces.
DIY Sconces to Add a Moroccan Flare to Your Home

These Moroccan style sconces are a perfect weekend DIY and an inexpensive way to dress up any room in your home! I came up with idea to fill a bare wall in my dining room. I’m in love with Home Depot’s new line of faux reclaimed wood. It is real wood but made to look like an old barn wood – how amazing is that! I also love the printed concrete tile trend, but since most of them are so large, I wanted to create the same look for this wall sconce piece! I love the combination of rustic elegance that this presents for your home!
Materials
- Tumbled Travertine Tile
- Weathered Barn Wood
- L-Brackets
- Screws
- Spray Paint
- Wood stain
- Hangers
- Moroccan Stencil
- Construction Adhesive
Tools
Step 1: Cut the Lumber
Let’s get started—first tip to save yourself some time, have the helpful Home Depot lumber department get your sconces started. Before you leave the store with your reclaimed wood board, have them cut it down into the main (3) 16 in. base back pieces you need. They can’t do the 4 in. pieces since it’s a safety hazard with the large scale equipment to cut pieces under 6 in., but those first three cuts are crossed off your list.
Once you get the rest of your materials home, you will need a circular, miter, or table saw to trim down the rest of the wood into 4 in. pieces for the shelf portion of the sconce.
Step 2: Stain the Wood
When all the wood is cut to size: (3)16 in. pieces and (3) 4 in. pieces, you are ready for stain. This stain job is quick and easy to do with a rag. You are basically trying to fill in the raw edges of the wood you cut so it matches the reclaimed coloring on the outside.
Step 3: Create the Tiles
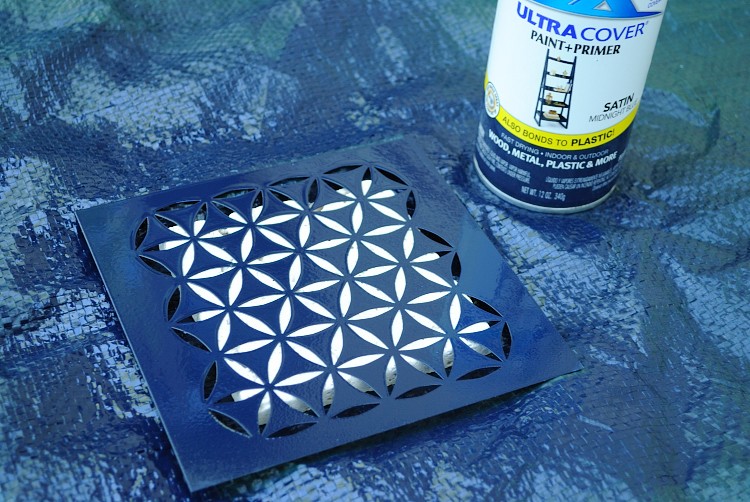
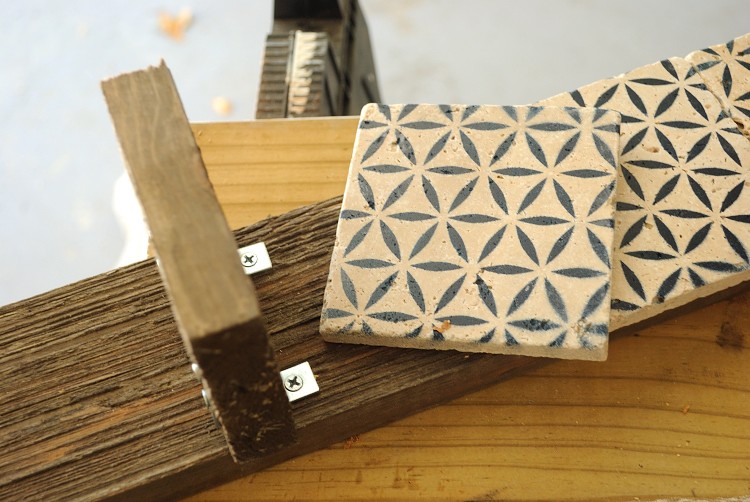
Now let’s create the Moroccan tiles! I decided on a navy matte spray paint to keep them fairly neutral and classic, but let this part be where you make it your own! Home Depot’s spray paint colors are endless and there are several Moroccan stencils to choose from online also.
As you see for the tile, I just used a basic tumbled travertine. I like the imperfect look they have in them being “tumbled” and rough in spots. The only prep needed for these tiles is brushing the dust off them before applying spray paint.
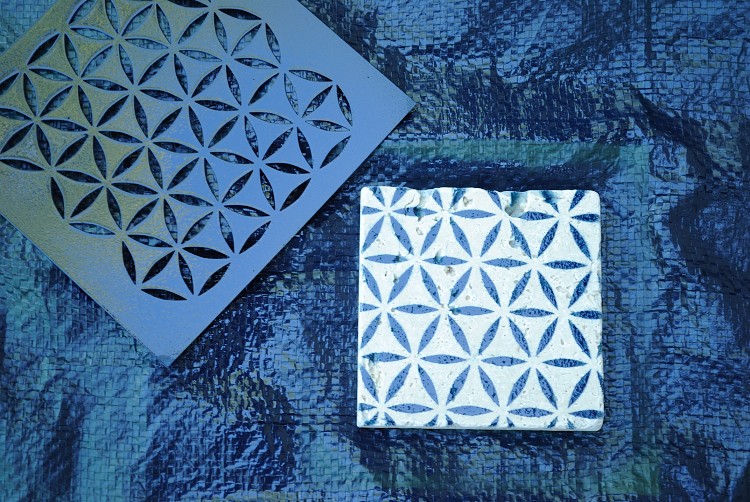
For painting time, lay out a big drop cloth or tarp in a well ventilated area – preferably outside – and center your stencil on the tile. About 1 foot away, spray your spray paint in a back and forth motion until the stencil looks fully filled in. Repeat for the remaining eight and let dry. Since these aren’t getting any wear or exposure to elements inside, no need for a sealer in my DIY opinion. Plus I wanted them to keep that matte finish look.
Step 4: Assemble the DIY Sconce
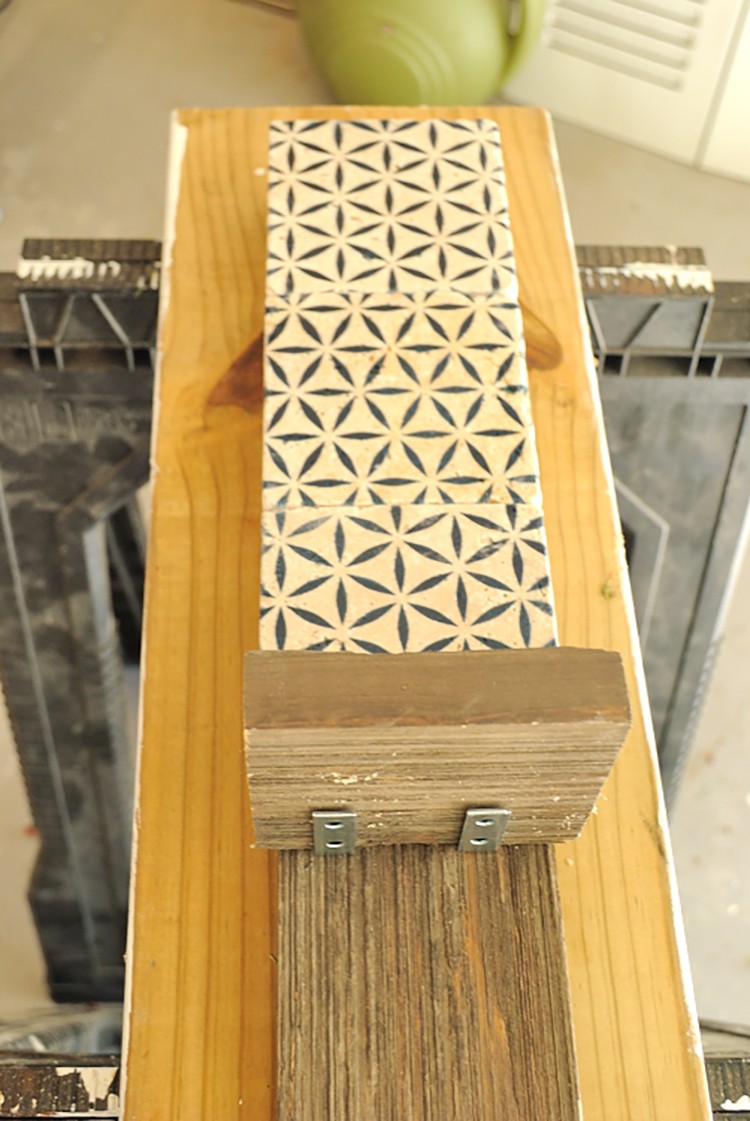
Once your wood stain and tiles are dry, it’s time to assemble the sconce! So that we know exactly where to place the shelf, lay out the tile on the board starting at the top with a ¼ in. of the tile hanging over the edge on the top and each side. Then follow the other two tiles behind that. The shelf will butt right up against the bottom tile so now you know where the shelf needs to go.


Slip the L-brackets underneath and remove the bottom tile for the time being.
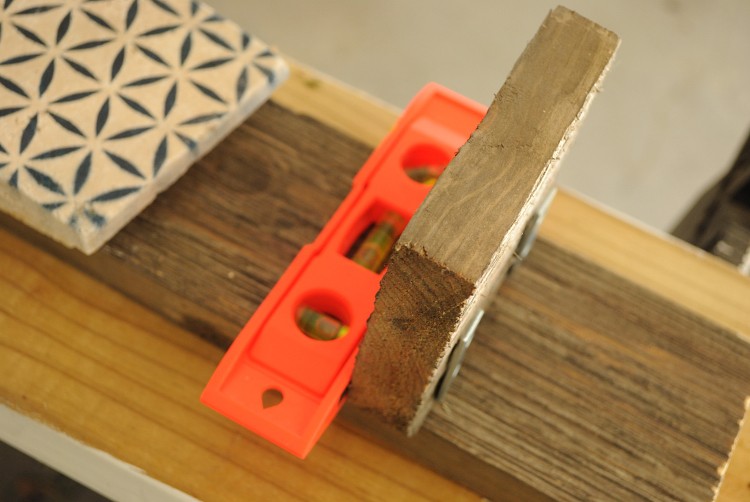
Make sure the shelf is sitting level and mark your marks for the 1 back screw and two bottom screws.
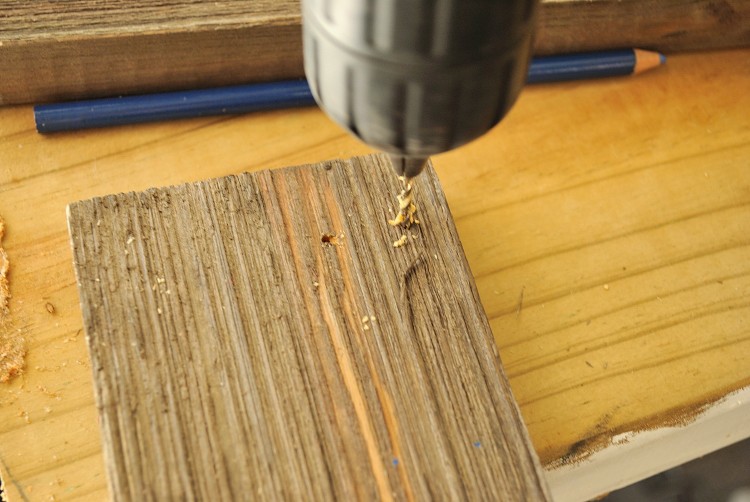
Pre-drill the holes to make it easier to work with and then hand screw in the brackets.
You might need to hold the sconces on the wall and do any final leveling before you screw the back screw all the way in so you can adjust as you finish.
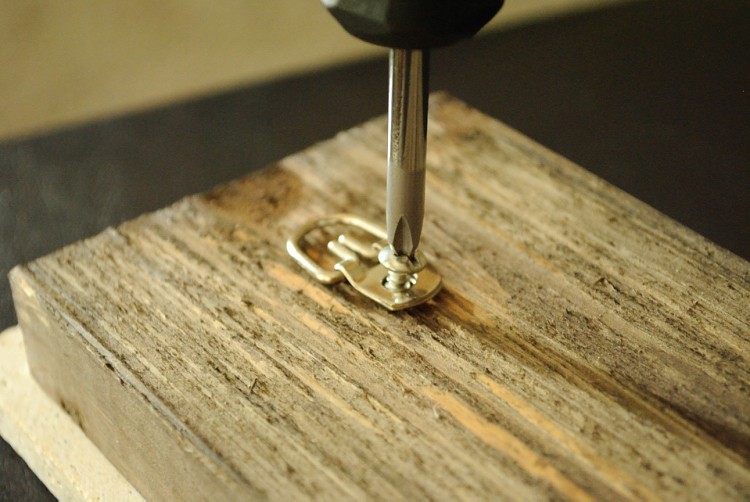
When the brackets and shelf are securely attached, flip them over and add on the hook for hanging about 2 in. down from the top centered in the middle. These are fairly heavy once all the tiles are attached so these hooks are great to hold the weight.
Step 5: Secure the Tiles

We are almost done! Now it is time to secure the tiles to the boards using handy dandy construction adhesive. I love this stuff for so many projects!

Stay towards the middle when applying so it doesn’t ooze out the sides. Secure them in place going from the bottom up since you already have the leveled shelf in place that way every tile is flush and level.
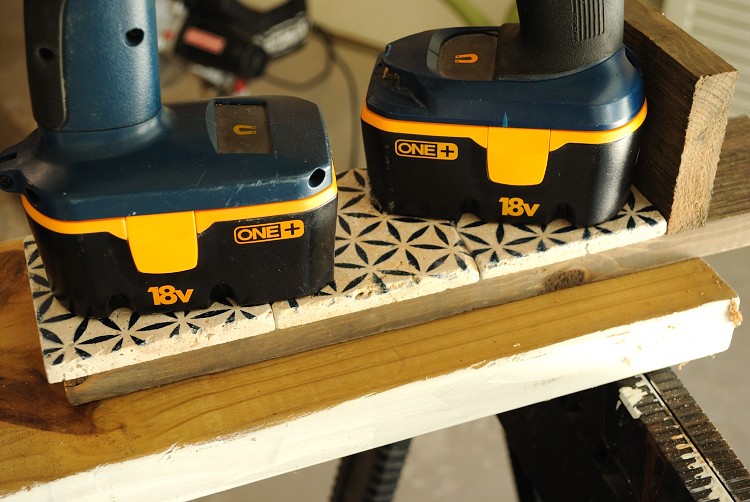
Then gently place some heavy weight on top of the tiles and give them a couple hours to set up.
Final Reveal

If you aren’t installing them into a stud, I recommend drywall screws to make sure they are safe and sound once they have been hung up and adorned with extra weight from candles, florals or other decorative pieces.
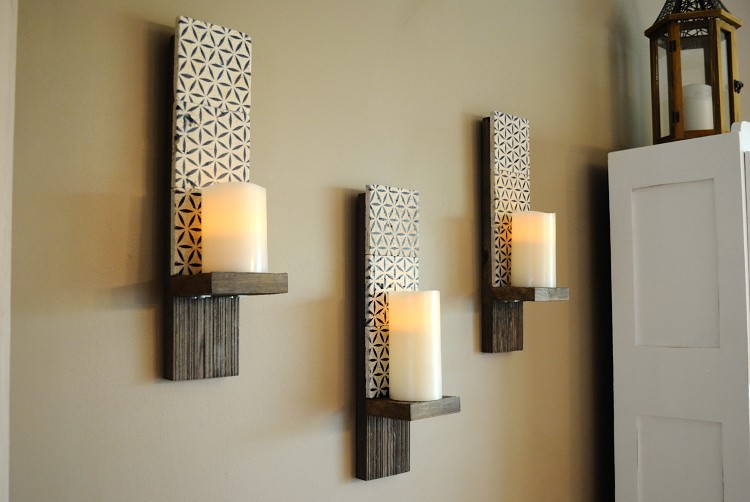
I decided to hang mine as you see with two high and one lower in between. A stair step look for these would be great too!
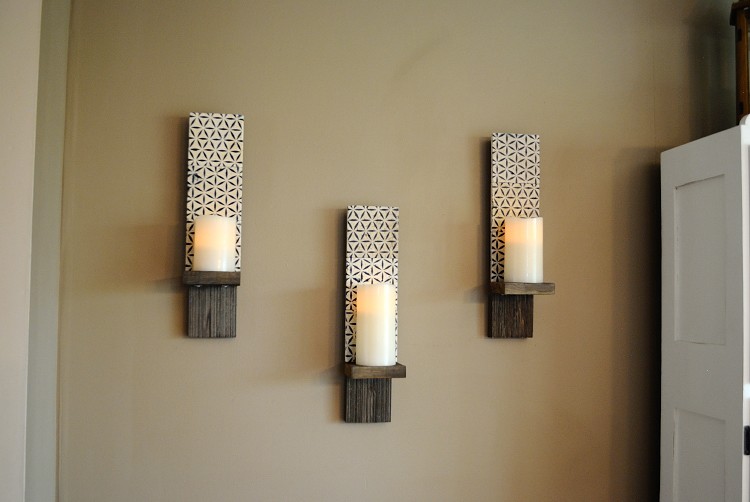
I love the look of fresh hypericum berry stems for fall and winter in simple bud vases. Another look I wanted to show is the warmth of gorgeous flameless candles on them! These are a great remote control pack from The Home Depot online. A great buy!
I hope you love the look of these stylish Moroccan style DIY sconces for a space in your home! Have fun with the project!
The post DIY Sconces to Add a Moroccan Flare to Your Home appeared first on The Home Depot Blog.

