
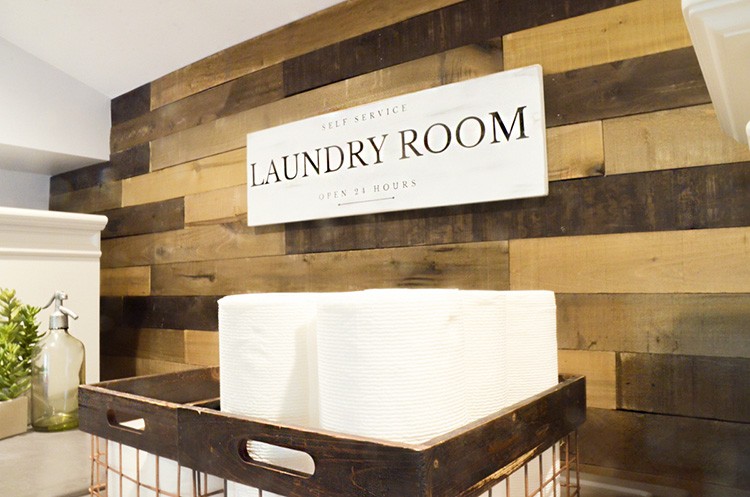
Sam Ramondi DIY Huntress created a dramatic weathered wood accent wall for her laundry room. Read more to find out how to get this look in your home.
DIY Weathered Wood Accent Wall
Weathered wood accent walls are the biggest trend in home design right now. Not only are they easy on the eyes, they are also really easy to install with the right tools. You can make a huge impact in your home in one weekend by following these steps!
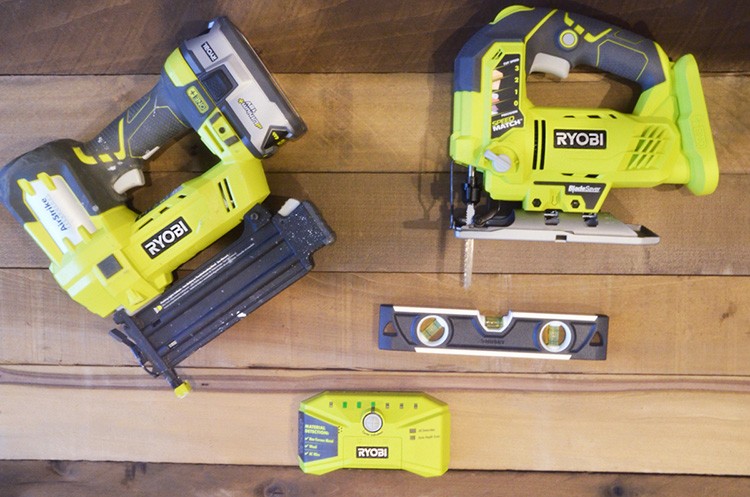
Tools
Materials
- 1/2 in. x 4 in. x 4 ft. Weathered Hardwood Board (8-Piece Box)*
- (1) Box 1 ½-in. Brad Nails
- (1) Pint Dark Paint
Step 1: Gather Materials
To find out how many boxes of weathered wood boards you will need, you have to calculate the square footage of the wall(s) you are working with. To find this number, measure the length and height of your wall and multiply the two numbers. For example, if your wall is 12 feet wide and the ceiling height is 8 ft., your wall is 96 sq. ft! Each box covers 10 sq. ft., so in this instance, I would order ten boxes.
Step 2: Clean the Walls
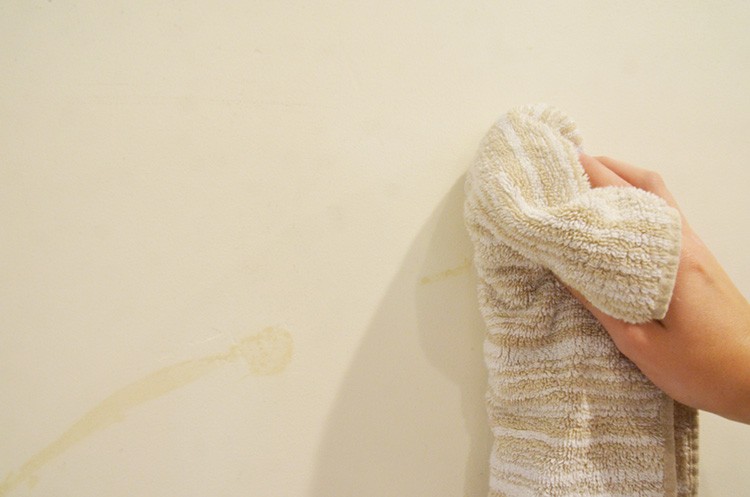
Once you’ve gathered your supplies, use a cloth to wipe any grime or debris you’re your walls.
Step 3: Find the Studs
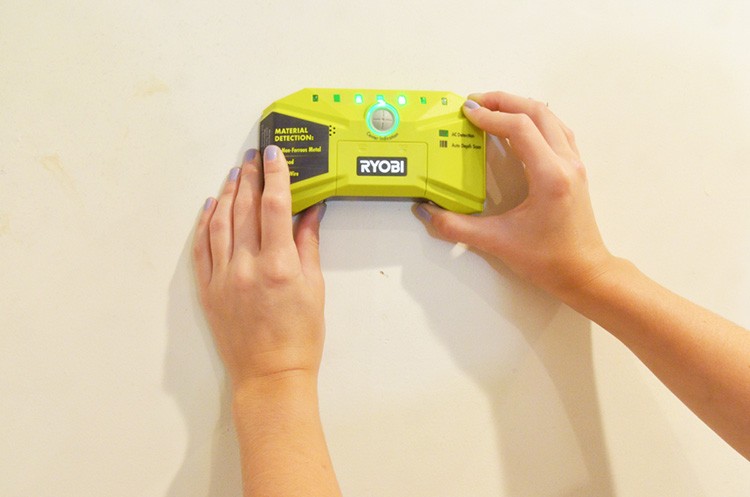
Next, use a stud finder to find your wall studs.
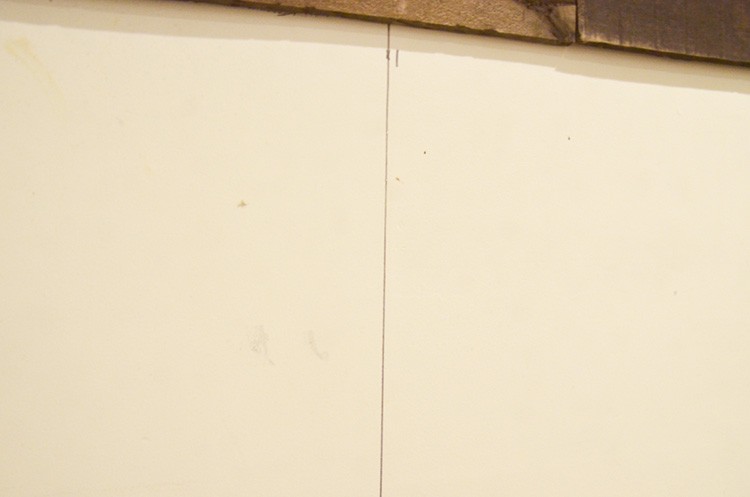
Step 4: Mark Studs

Mark your studs and use a level and straight edge to create lines down the entire height of the wall. This will help guide where you will shoot your nails.
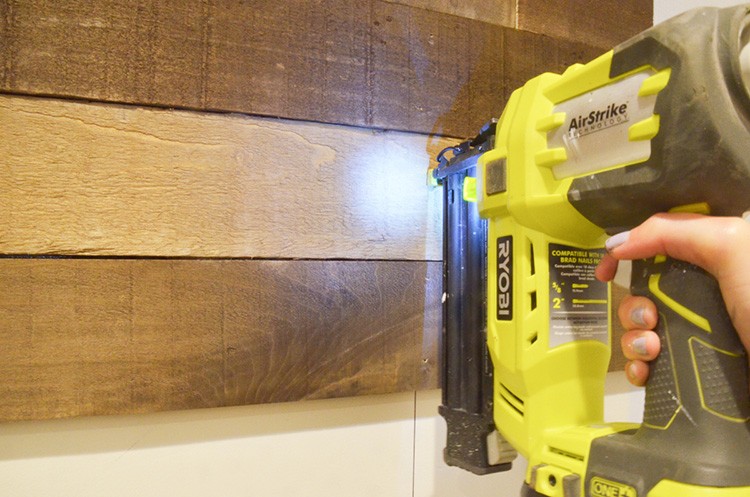
Step 5: Lay Out Boards
Begin laying out your boards. I started from the top of the wall since the bottom of the wall is going to be blocked by furniture anyway. If you’d like things to be perfectly even on the top and bottom, you can start in the center of the wall and work your way in both directions. Just make sure everything is level!
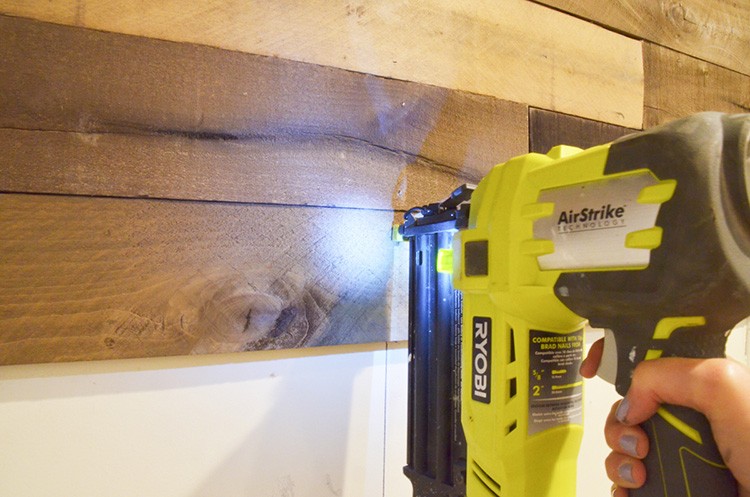
Attach the boards to the wall with 1 ½-in. brad nails. We chose not to add glue for a semi-permanent fit, but if you’d like for your wall to be a permanent fixture, make sure to add an adhesive to the back of every board.
Step 6: Trim Boards
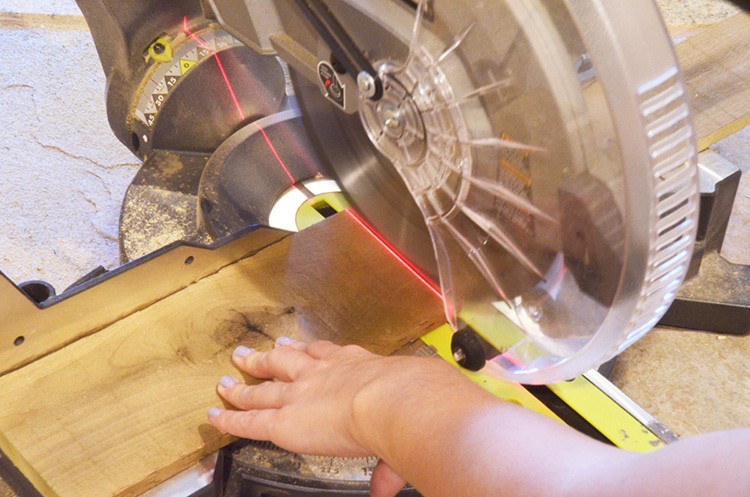
As you go, use a miter saw to trim boards that need to be shortened. Make sure to alternate the pattern on each row for an organic look.
Step 7: Straighten Boards
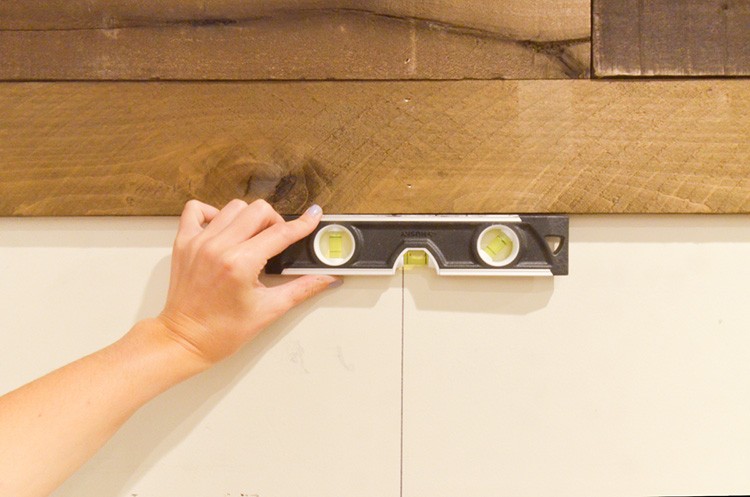
Keep checking to make sure those boards are straight!
Step 8: Touch-Ups
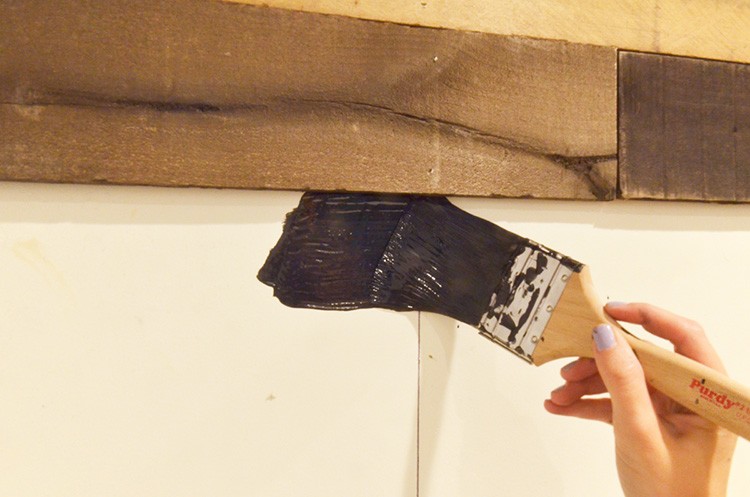
Keep dark touchup paint on hand for boards that don’t line up completely. Apply the paint to the drywall. This will help mask the gaps.
Step 9: Cut Outlets
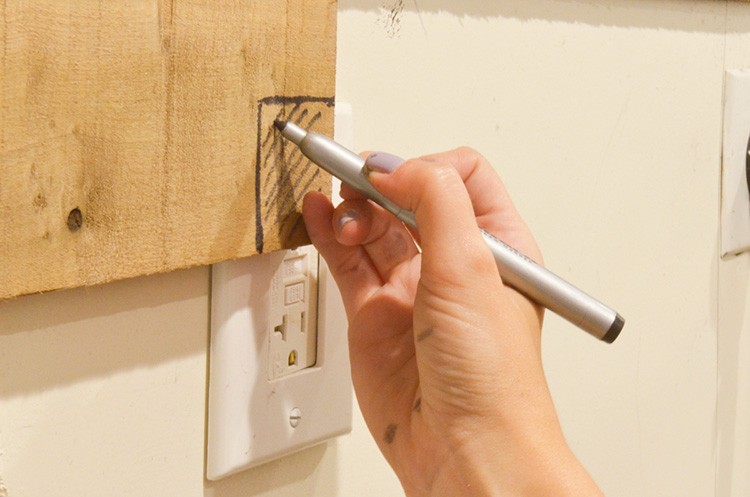
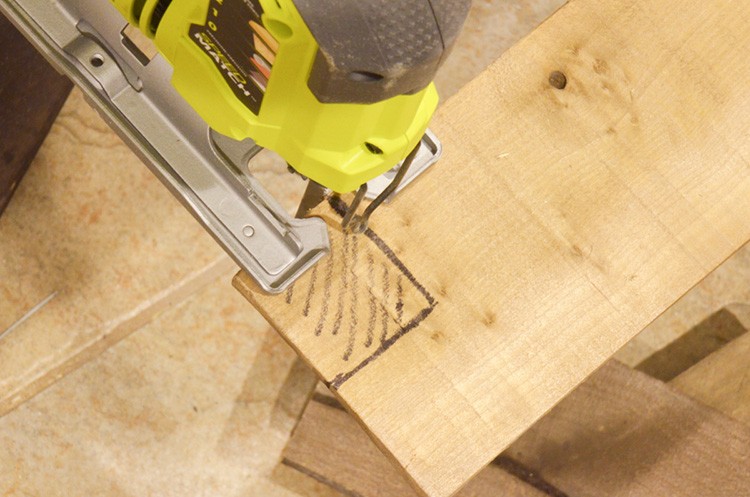
Mark and cut gaps for outlets and odd corners with a jig saw.
10. Keep on going!
Step 11: Finishing Touches

Add a decorative feature to the bottom of your wall by adding a board on top of the final row. This will make it look like your wall has wooden trim!
Final Weathered Wood Accent Wall

Now, sit back and admire your handy work!
Follow our Laundry Room Ideas board on Pinterest for more inspiring decor ideas. Find more inspiration to decorate your laundry room for your style in our Laundry Room Ideas on The Home Depot Blog.
To create your own weathered wood accent wall, shop weathered wood and other appearance boards at The Home Depot.
The post DIY Weathered Wood Accent Wall appeared first on The Home Depot Blog.

