
(BPT) – Father’s Day is coming up and you’d like to give something special as a gift. Why not make your own tool organizer? Not only does this make a great gift for any father figure in your life, it’s also a fun project to do together, so you can spend quality time with your favorite dad.
Get started by following these simple DIY instructions from the experts at Arrow Fastener:
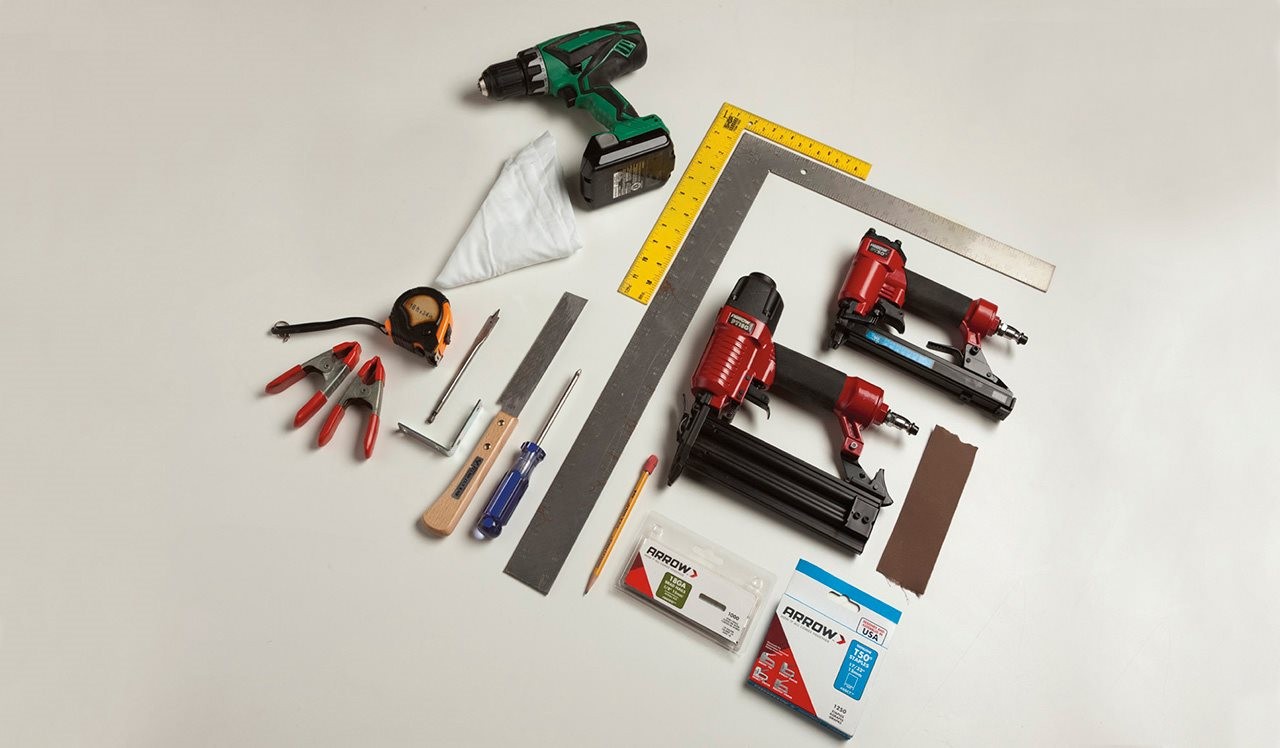
Some of the supplies you’ll need include:
PT18G Pneumatic Brad Nailer
Brad Nails BN1810CS (5/8″)
PT50 Pneumatic Staple Gun
T50 STAPLES 509 (9/16″)
Power drill 1/2” drill bit Flush cut saw
For a full list of tools and materials, check out the project on arrowfastener.com.
Step 1

Attach shelf supports to the sides of the organizer. Place the two sides on a flat surface beside each other. Use a square to keep in alignment. Measure down from the top, 3-3/8” and 10-3/4”; draw guidelines from side to side. Glue shelf supports below each guideline and 3/8” in from the back; secure in place with the Arrow PT50 Pneumatic Staple Gun. Wipe away any excess glue and set aside.
Step 2
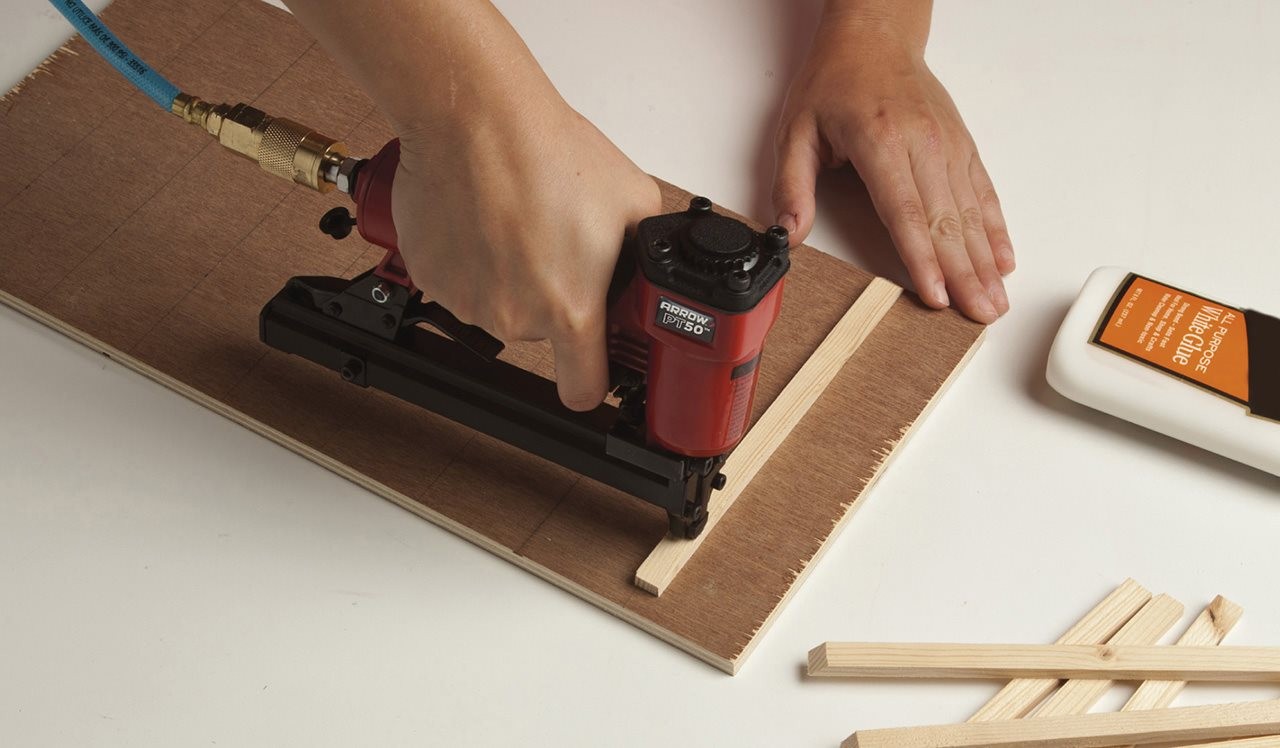
Attach shelf spacers to one shelf. Measure across shelf every 2”. Draw a guideline for accuracy. Glue spacers to the left of each guideline and 3/8” in from back; secure in place with the Arrow PT50. Wipe away any excess glue and set aside.
Step 3
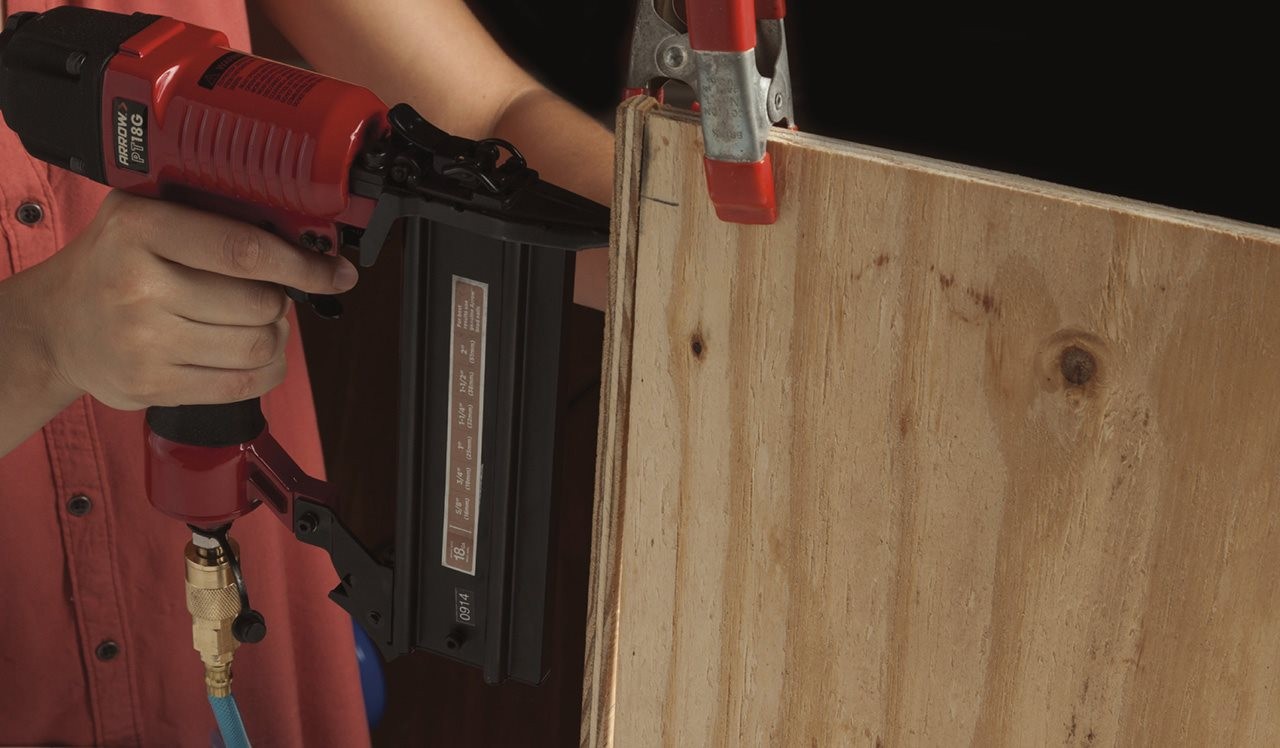
Attach the sides to the back. Lightly glue the long edge of the back. Stand the back and one side upright. Use the angle bracket and 2 clamps to hold in place. Secure with the Arrow PT18G Pneumatic Brad Nailer. Repeat on the opposite side.
Step 4

Attach shelf supports to the back. Use the side supports as your guide. Glue and secure with the Arrow PT50.
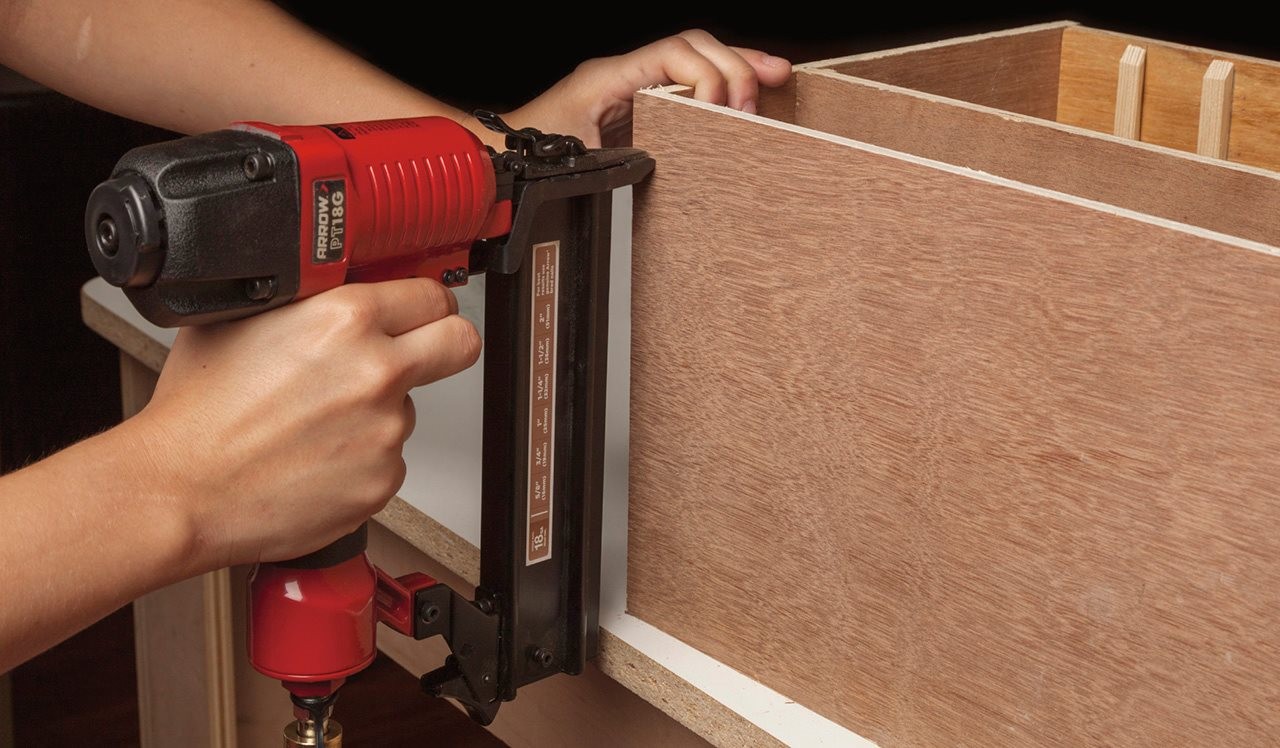
Step 5

Dry fit the shelves, adjusting if necessary. Lightly glue along the joints of the shelf supports on the back and the sides. Set shelf in place and secure with the Arrow PT18G. Repeat for the second shelf. (Use the square to draw a guide line down the side for accuracy.)
Step 6
Attach the organizer top. Glue and secure with the Arrow PT18G.
Step 7
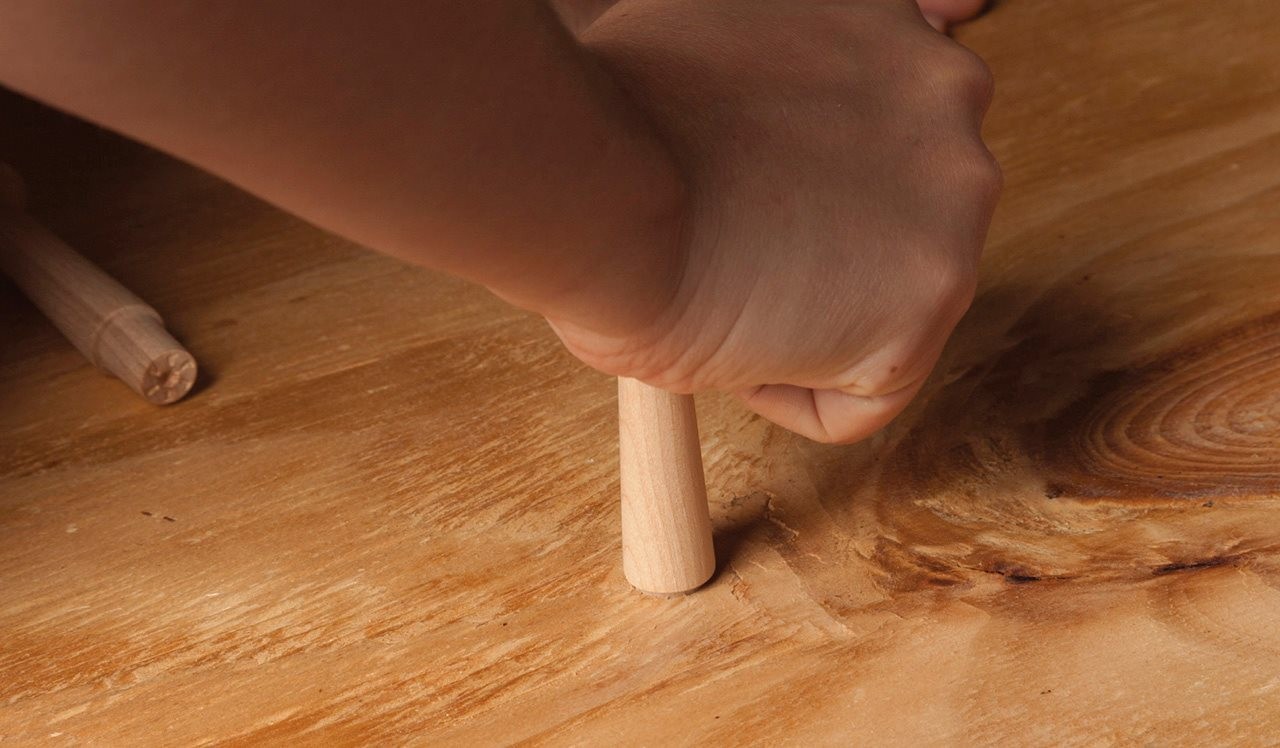
Place and attach the shaker pegs. For the left peg, measure in from left 4” and down 4”; drill a hole all the way through. For the right peg, measure in from the right 5-1/2” and down 2-1/2”; drill a hole all the way through. Dry fit the pegs until they stick out the back, making any necessary adjustments. Glue pegs and allow to dry for at least one hour.
Step 8
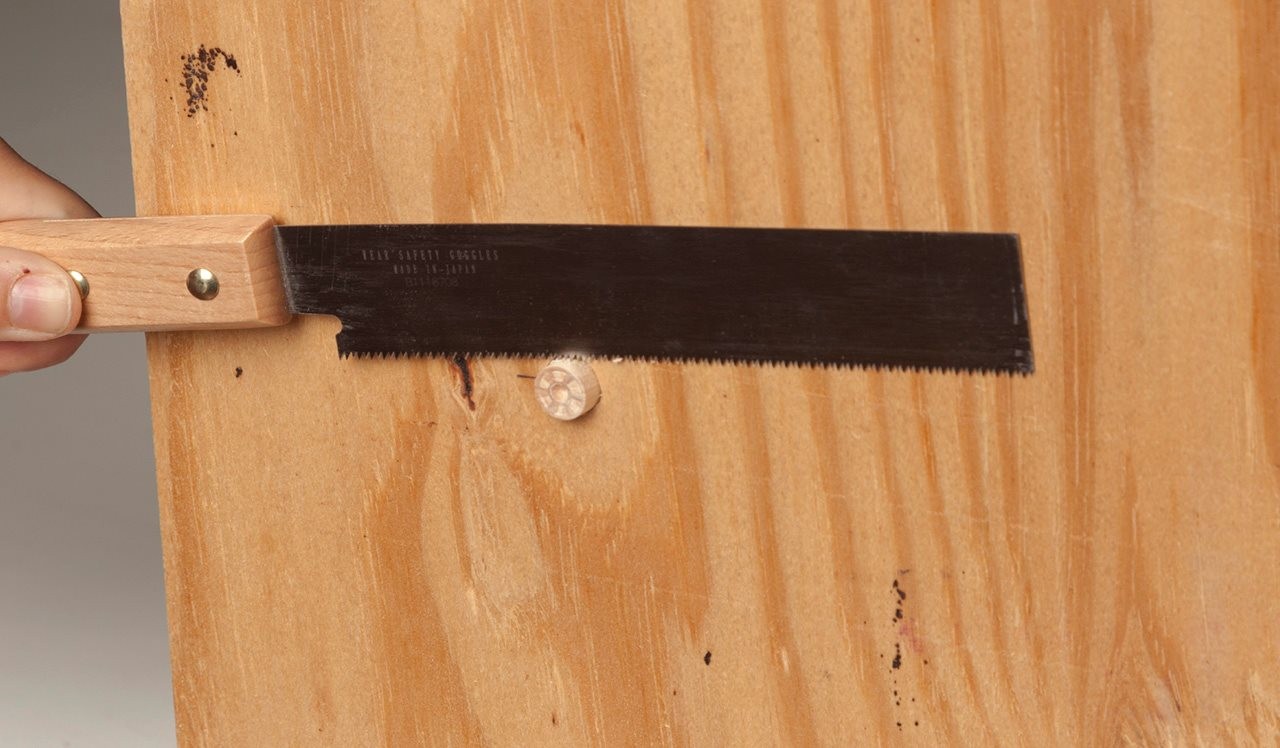
Remove any excess peg from the back using the flush cut saw.
Step 9
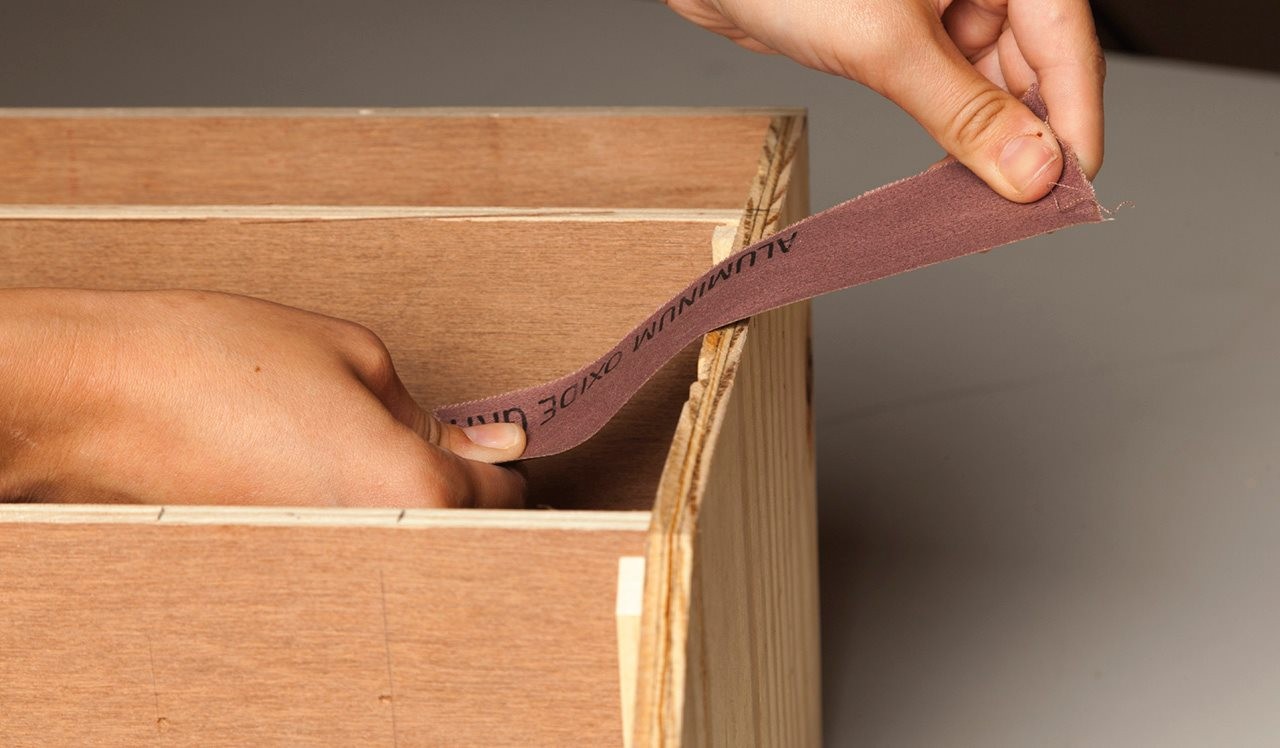
Use the sandpaper to sand any rough edges.
Step 10
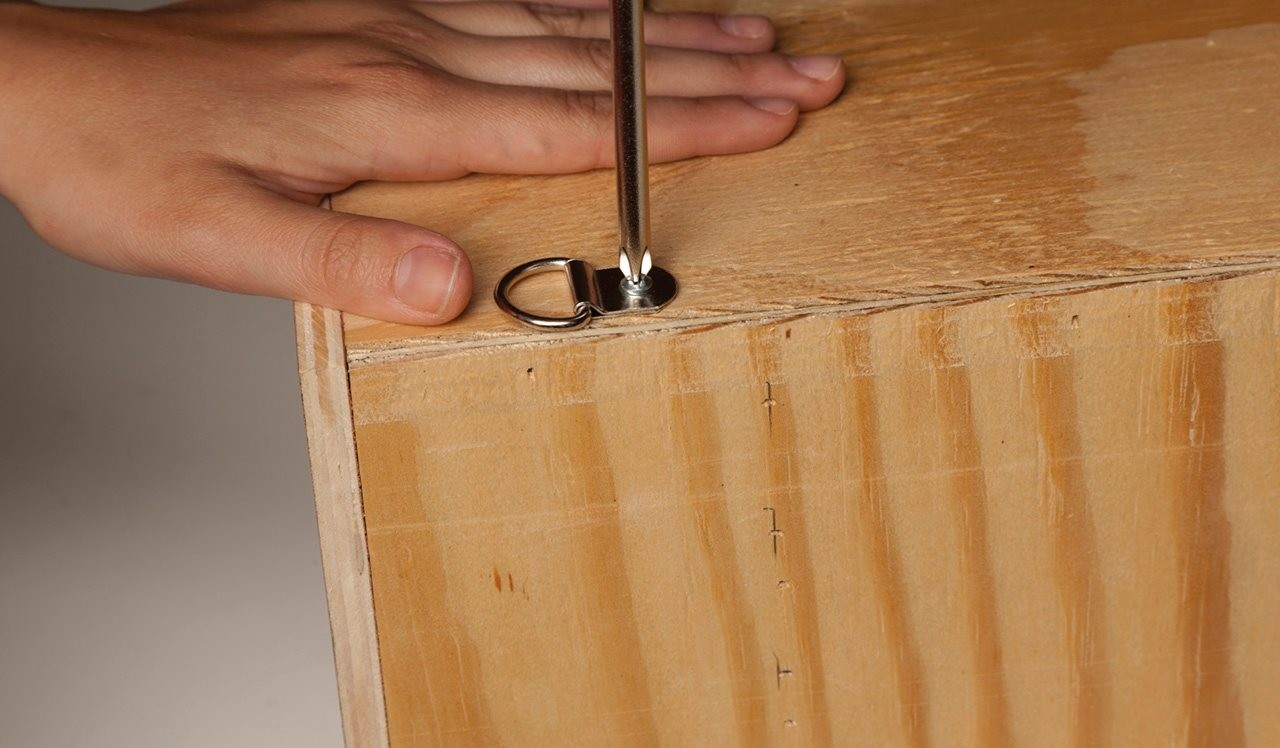
Attach the D-rings to back of organizer. Pre-drill holes and secure in place with screws. If you want to, you can now paint or stain the tool organizer.
Step 11
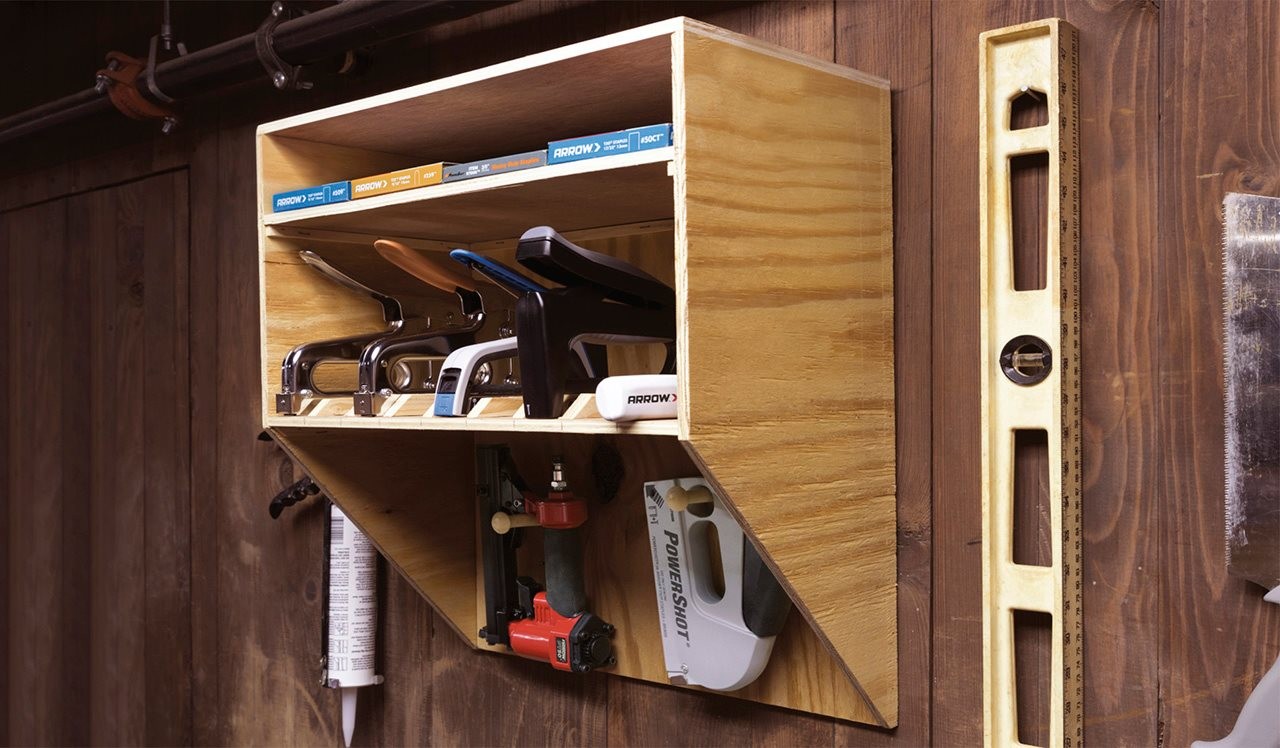
You are now ready to hang your staple gun tool organizer and fill it with all of your favorite Arrow staple guns or hand tools.
Win Arrow Tools for you and your dad
Arrow Fastener is celebrating its 90th year anniversary! As part of the celebration, Arrow is sponsoring a special Father’s Day themed giveaway that recognizes that great dads are not “one size fits all” and invites visitors to Arrowfastener.com to build and share a unique “Dad-jec-tive” for a chance to win a prize pack filled with Arrow tools and fasteners for themselves and their dad.
Arrow is offering up pictographs that resemble both male and female role models, knowing that today’s dads do not fit one traditional profile. Visitors can create a unique “Dad-jec-tive” by picking five adjectives to describe their dad and selecting a Dad-moji that most resembles their dad. Twenty-five winners will be picked at random and will be announced on Arrow’s social channels on Father’s Day, Sunday, June 16.
Learn more at www.arrowfastener.com and arrowfastener.com/fathers-day-giveaway.

