
Spend more time relaxing and entertaining in your backyard with the addition of a paver patio. Follow along as Miranda of Live Free Creative Co. completely transforms her neglected backyard by installing a DIY paver patio.
Extend your Outdoor Space with a DIY Paver Patio
Spring is creeping upon us, and there is no better time to install a DIY paver patio. In today’s post, I will walk you through the materials and steps you need to create your own beautiful paver patio, just in time to enjoy the warm weather and backyard season. I also created a full DIY video that you can check out to see the whole project come to life!
I spend as much time outside as in during the warmer seasons of the year, maybe even more! It is really important to me to create a yard that feels like an outdoor living area, where we can hang out as a family, entertain, grill, garden, and sit around the fire.
In our last house, we had a huge covered patio in the back, and it was like command central. The kids played in the yard while I sat to chat with friends, and we ate most of our meals al fresco.

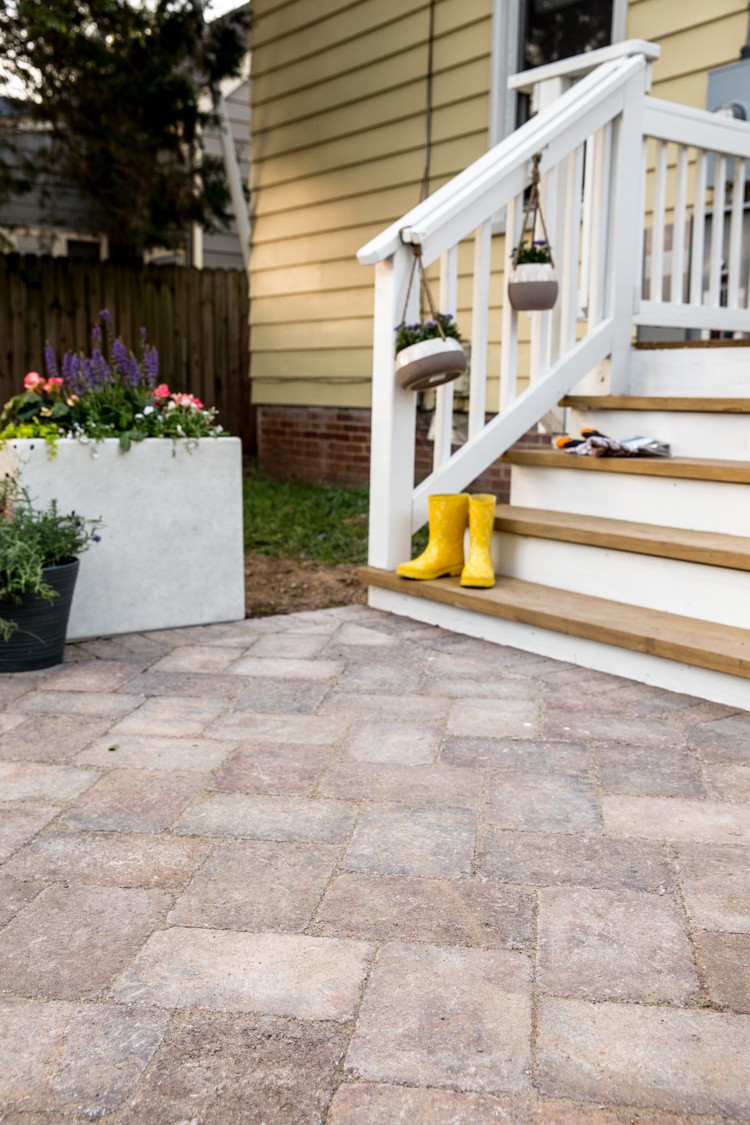
When we moved recently, one of my priorities was to spruce up the back deck and add a beautiful paver patio to the somewhat neglected backyard. I saw inspiration everywhere I looked! The local mall has a gorgeous herringbone paver sidewalk, the library looks out onto a paver patio near a pond, and several of my favorite yards on Pinterest also had paver hardscapes anchoring the design of the yard.
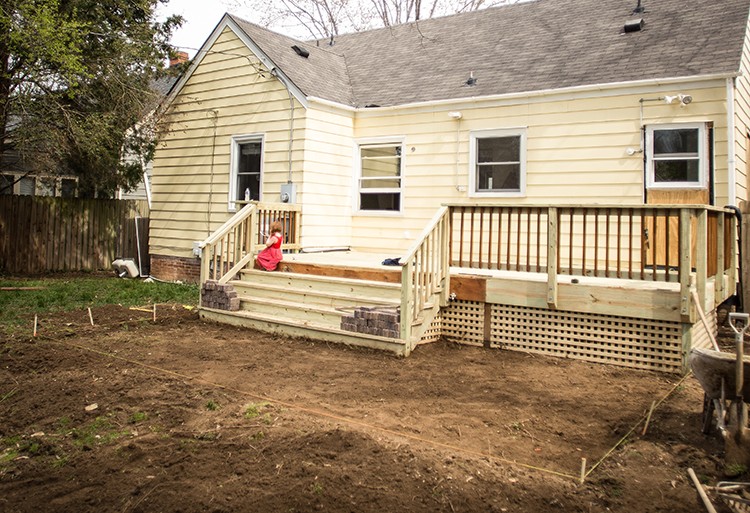
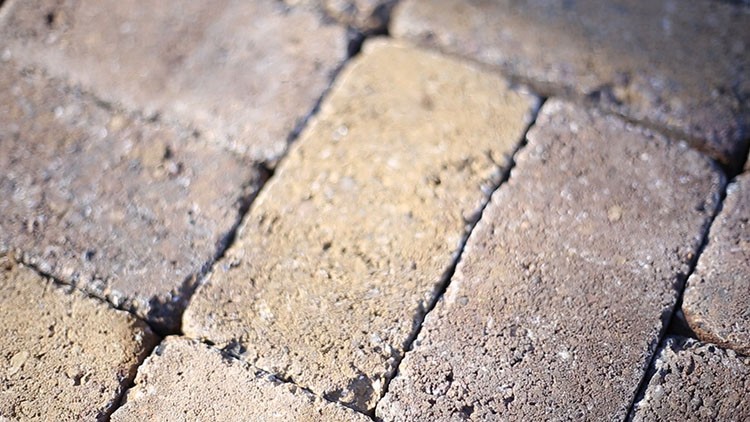
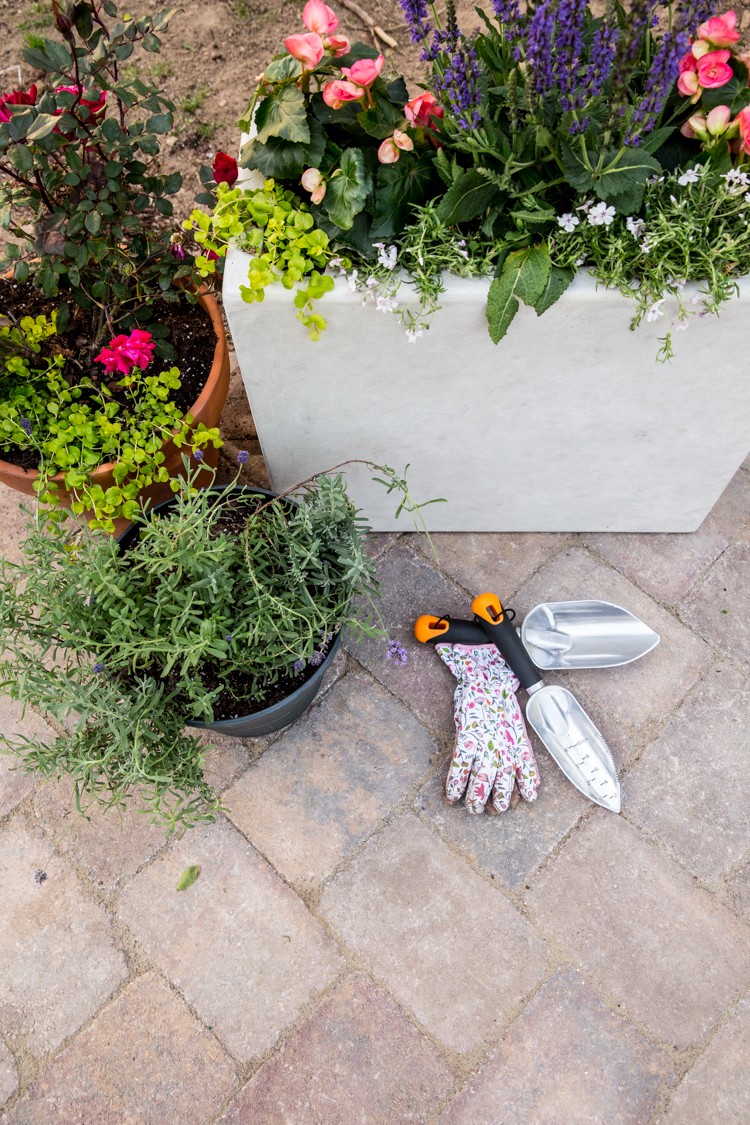
I designed a rectangle patio that would serve as a natural extension of our newly rebuilt deck. I love a herringbone pattern, and decided to use the large Pavestone Rumblestone Concrete Pavers in Sierra Blend for the center, and the smaller Pavestone Rumblestone Mini Concrete Pavers in Sierra Blend around the edge as a border.
I was able to order everything else I needed online at Home Depot, and schedule to have it delivered right to my house, which was really convenient because a lot of the materials are super heavy!
To create your own paver patio, you will need to choose a style and pattern for your pavers. Home Depot has a huge variety of stones, sizes, and colors to choose from. Once you design your style and shape of patio, you will be able to calculate our your square foot requirements.
Using those numbers, you will want to pick up the following materials, in the quantities you need:
- Dowels and twine to mark and level the area
- Paver Base to cover at a 2” depth
- Paver Sand to cover at a 1” depth
- Pavers to cover your area
- PermaSand to cover the pavers
- Paver Edging to surround the patio
- (2) 1” pvc pipes
- (1) very straight 8’ 2×4
- Tools you will need:
- Level or Laser Level
- Ruler or Tape Measure
- Garden Pick
- Transfer Shovel
- Metal Rake
- Compactor Machine or Tamper Tool
- Concrete Saw
Once you have your materials and tools gathered, you can get started!

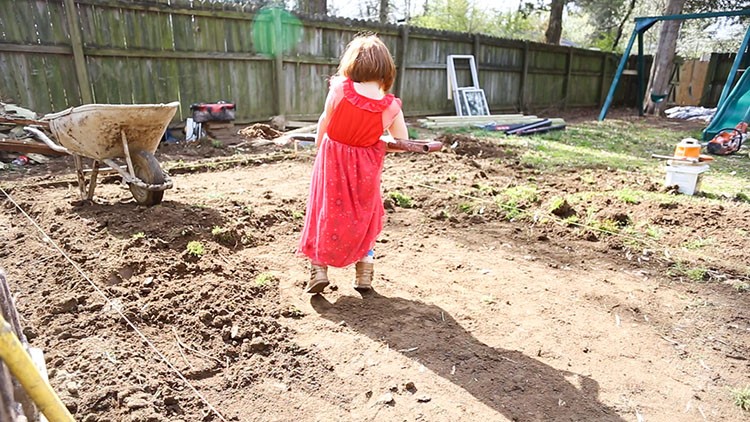
- Measure and mark out your paver area. Use dowels and twine to mark the design, and level the twine so you can use it to level the depth as you dig and lay.
- Use the garden pick to loosen smaller chunks of dirt, then scoop them with the shovel. The pick works very efficiently to dig deeply more quickly than just using the shovel, especially with harder or more rocky ground.
- Dig out the entire patio area to a depth of 3” plus the height of your chosen pavers. The rumblestone I chose was 2.5” deep, so we dug down to 5.5” from where we wanted the finished patio to lay.
- Clear the area of roots, rocks, and other debris, and dig about 3-4” beyond your marked patio line, so you will have room for the edging.
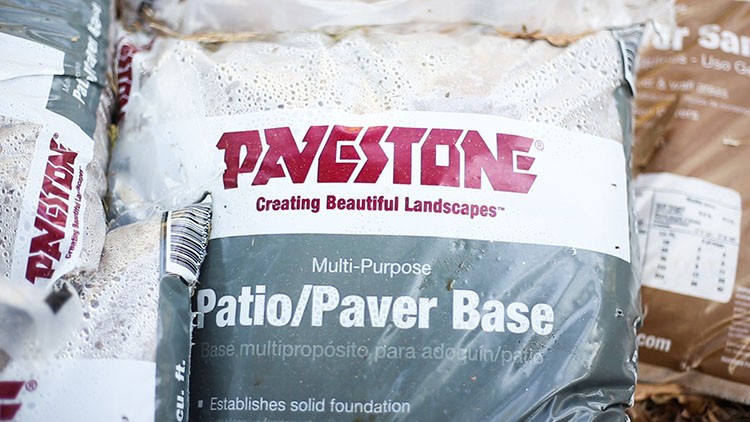

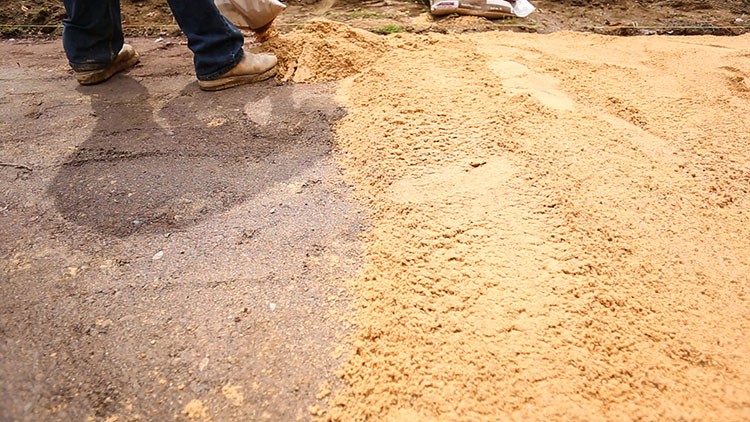
- Lay the paver base by pouring it from the bags, then spread it loosely with the rake. Measure the depth of the base against the level twine until you have reached a 2” depth all over the patio.

- Use the compactor machine to pack down the paver base.
- Lay each of the 2 1” pvc pipes across the packed-down paver base. This will serve as your 1” depth measure for the sand.
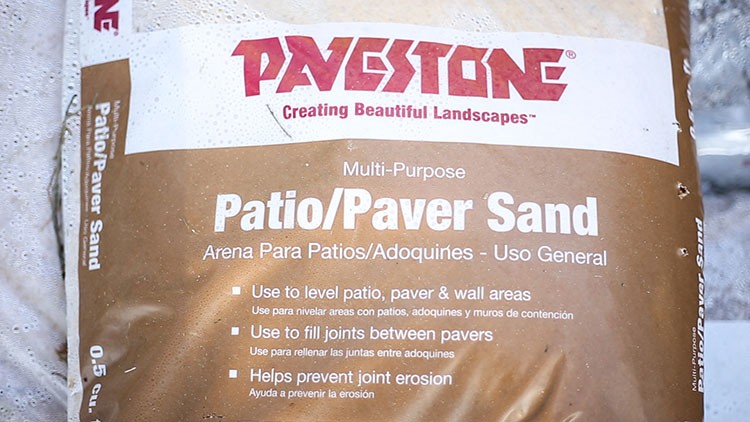
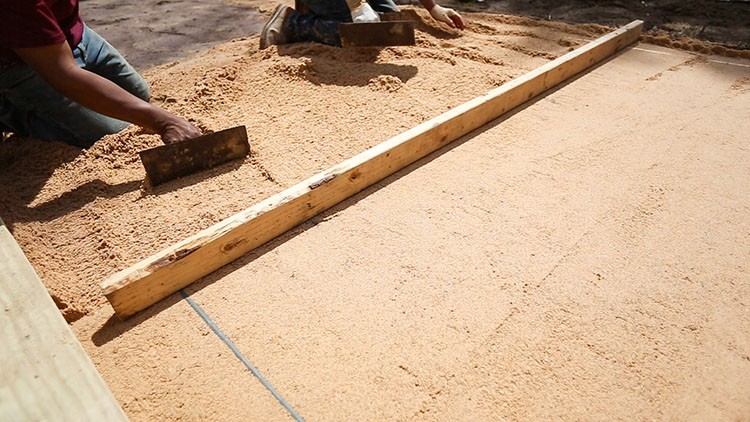
- Pour the paver sand over one edge of the patio, then use the 2×4 to pull across the pvc pipes, leveling it the way you would scrape flour from the top of a measuring cup.
- Continue laying and leveling the sand across the whole area, gently back-filling the area where the pipes were.
- Begin laying your pavers along the edges, in the desired pattern. If you are creating a border, begin by laying the entire edge, then fill in the center. If you are creating a seamless design, you can begin at one side and work your way across the pavers.

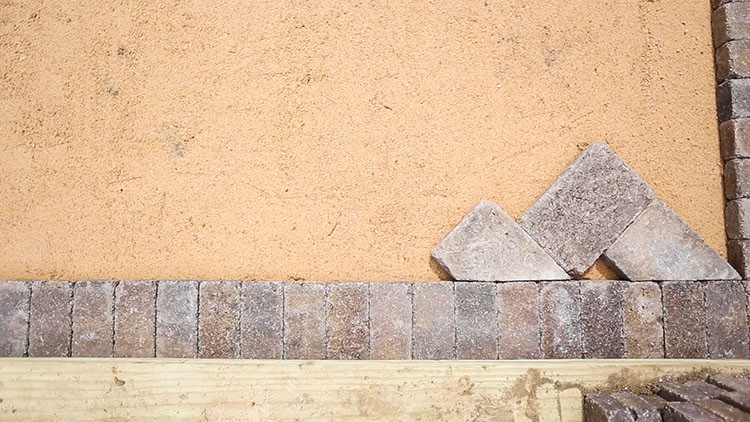
- For a herringbone pattern, choose one side to begin cutting the bricks at a 45 degree angle, then lay them against the border, alternating cut with solid bricks as shown.

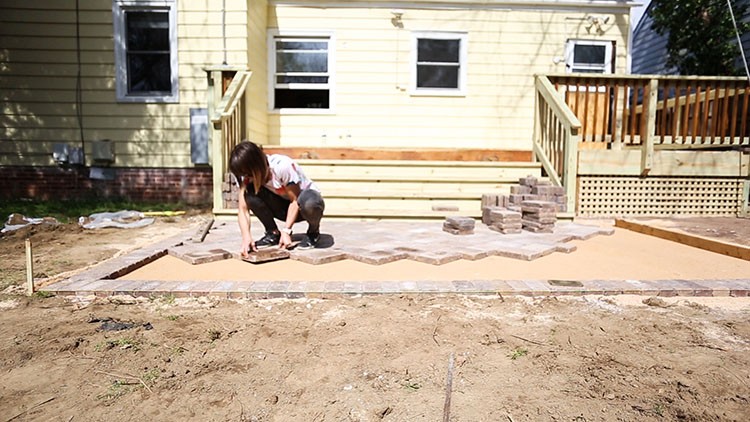
- Continue to lay the bricks on the sand, cutting to fit around the border, as needed.
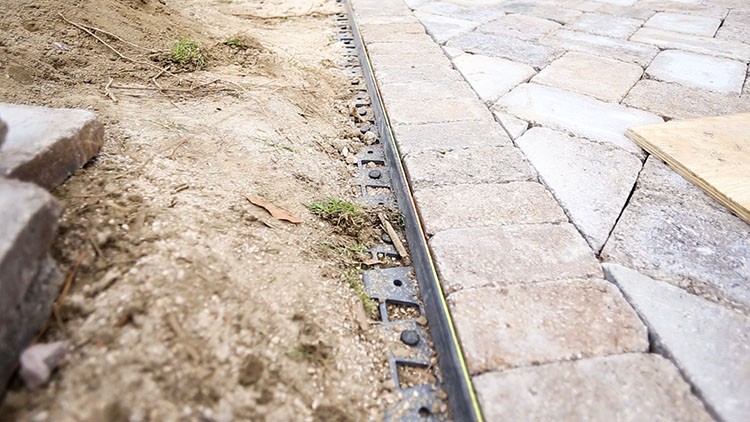
- Once all of the bricks are down, install the paver edging to hold them in place, using the long edging nails.
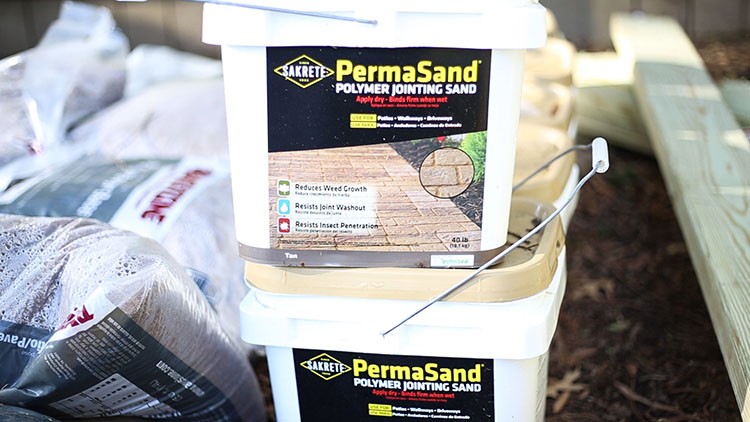
- Spread PermaSand across the top of the entire paver patio, working it into the cracks with a broom.

- Use the compactor machine or tamper tool to work the sand even further into the cracks, and to compact down the patio.
- Sweep all of the extra PermaSand from the patio before wetting it. That way it won’t stick to the top of the pavers like concrete.
- Once all of the extra PermaSand is all swept or blown away with a blower, you can gently spray the patio with water. Saturate the PermaSand so that it will begin to bind itself.
- Back-fill the sod or dirt around the edges of the paver border, and enjoy your gorgeous new hardscape!

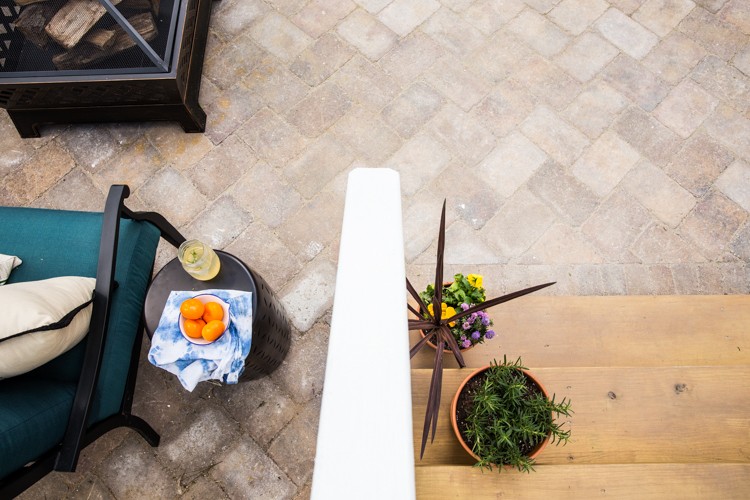
I am so thrilled with the way this project turned out. You can see more photos of the space on my Patio Style Challenge post, where I also shared the patio furniture, planters and accessories.
I am already planning to add a second paver patio in front of the small shed in the yard. It may take some muscle and time to install a DIY Paver Patio, but it is so worth it!
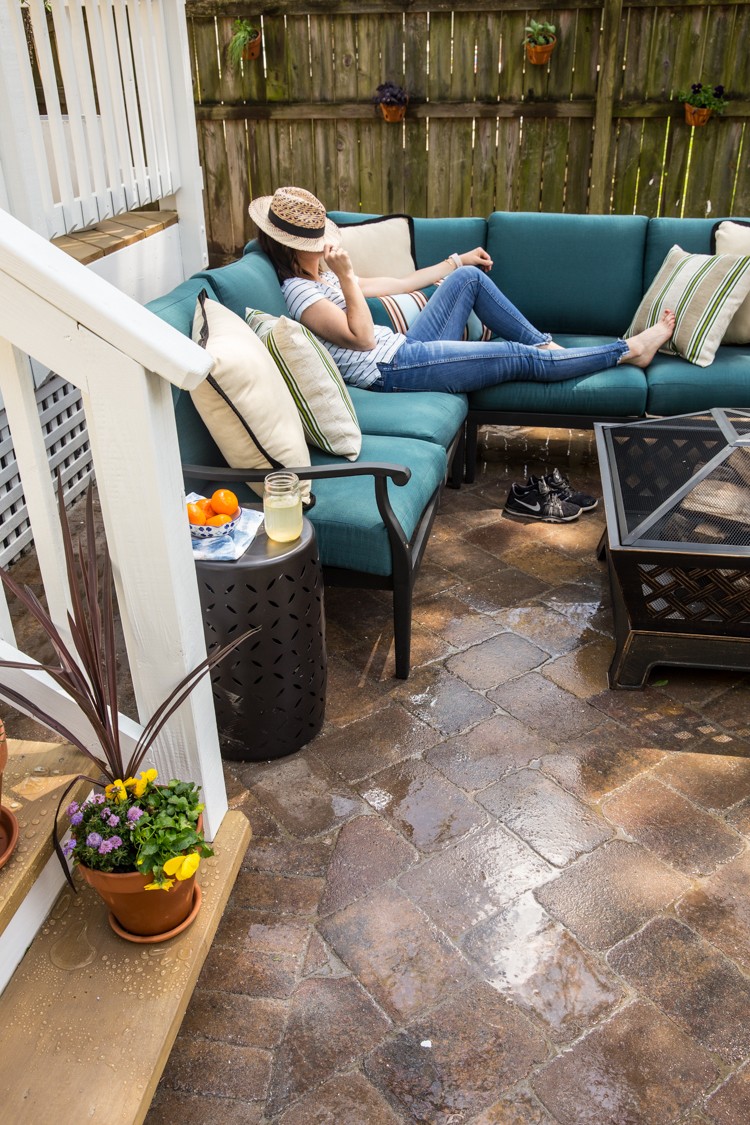
This has become my new favorite place to hang out and relax. I loved finishing off the patio with some really fun and comfortable furniture, potted plants, and a family fire pit. We have everything we need out here so now we never need to go back inside again!
Feel free to follow along with me at @livefreemiranda on Instagram and YouTube as I continue to share renovation and home decor projects. You can also find all of my weekly posts over at Live Free Creative Co.
Good luck with your patio!
Create a DIY paver patio of your own with the help of Home Depot. Find concrete pavers and all the materials you need to install a hardscape at the Home Depot.
The post Extend your Outdoor Space with a DIY Paver Patio appeared first on The Home Depot Blog.
