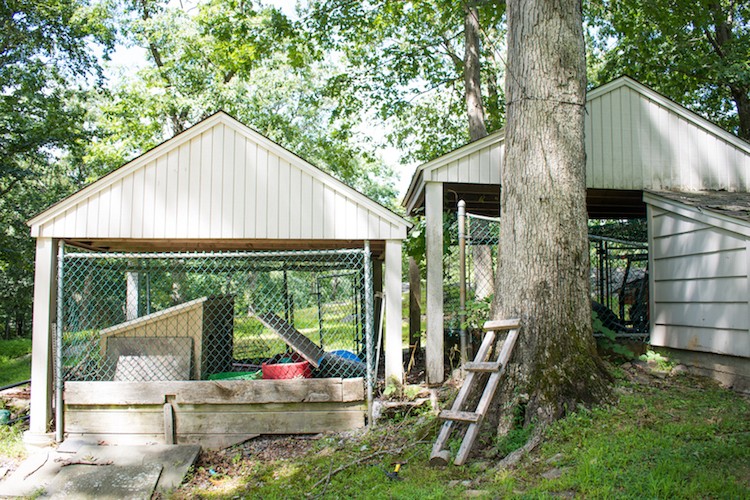
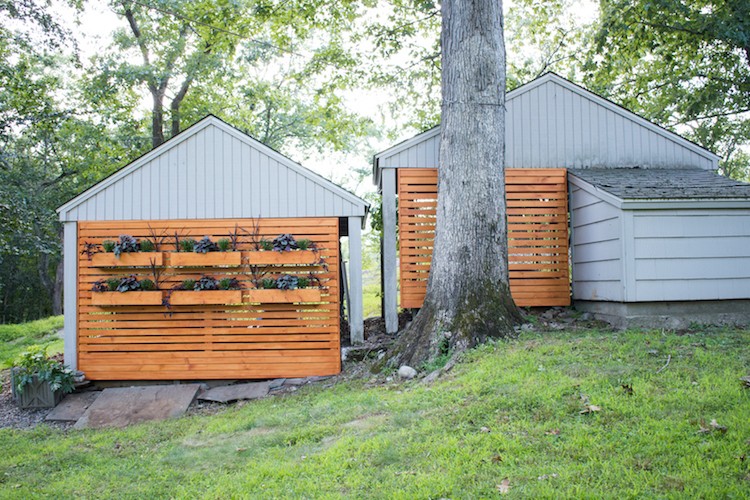
There are two fenced in pens at our rental property that look… scary. The cages are the first thing you see when you come up the driveway and they’re quite the eye sore. Obviously we can’t remove them as renters, but I was able to build two temporary walls to hide them!
Step 1. Build the frame
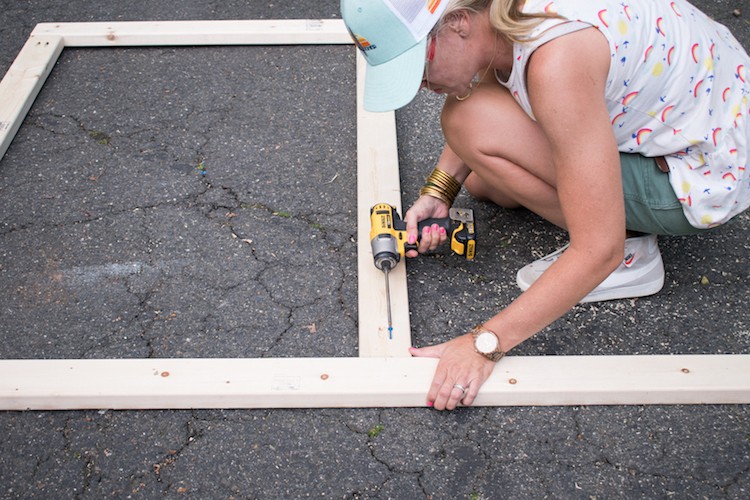
With the 2x4s, build the initial frame using a kreg jig and exterior kreg screws to hold it together. Notice the 2x4s are sitting on their 4-in. sides so that the wall will be 2 1/4-in. thick once you attach the 1×3 planks. Ideally, the vertical boards should line up with the metal posts of the chain link fence so measure accordingly.

Step 2. Add horizontal planks
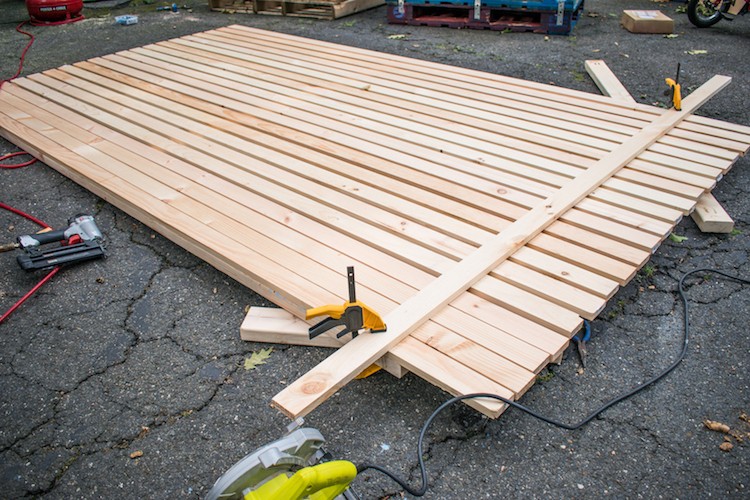
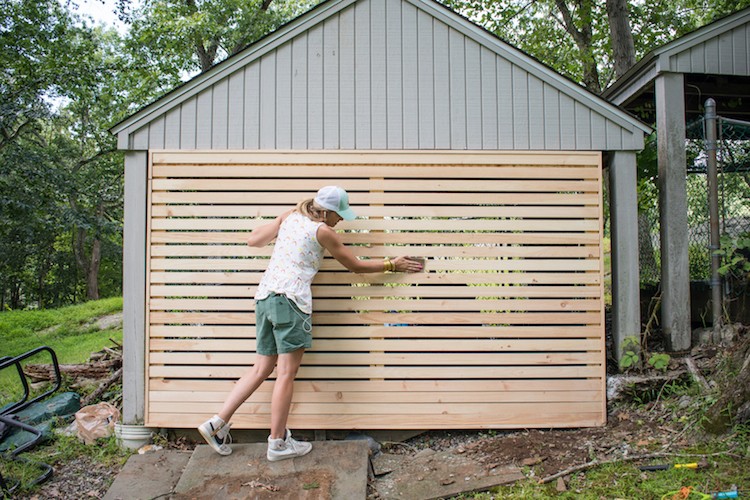
Lay out the 1x3s and determine the spacing. To ensure even spacing, cut a piece of scrap wood to act as a guide. Line up one end of the board with the top edge of the frame and one side of the frame. Secure with wood glue and then go over with the nail gun.


Step 3. Trim excess
I found it was easier to trim the ends of the 1x3s all at once with a straight guide and my circular saw. I clamped a straight edge in place and was able to run the saw along the board…. much faster than cutting each individually before nailing them in place.

Step 4. Add a Frame
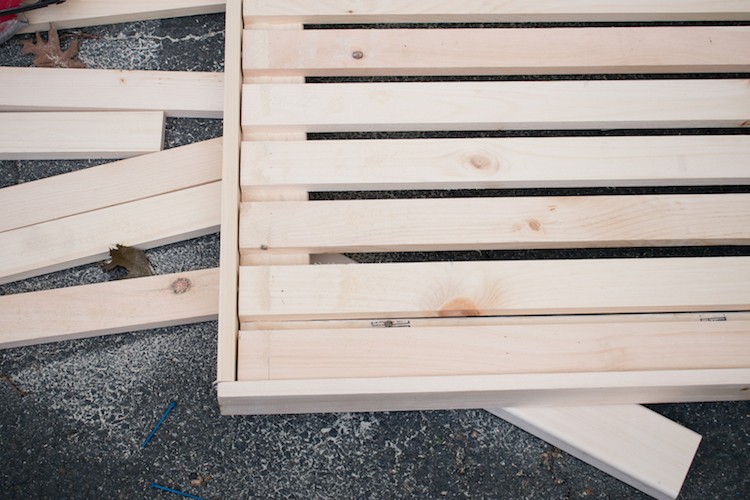
To create a cleaner line, I added a frame around the slats. With the same 1×3, I glued and nailed it around the outside edge of the wall. I left the corners flat with the top horizontal board overlapping the side vertical boards.
Step 5. Weather Proof
I opted for common pine on this project because it’s so much more cost effective, but pine doesn’t hold up to the elements nearly as well as other types of wood. To help preserve it a bit, I painted it with this waterproofing stain in the color Cedar. Follow the directions on the can before painting. I lightly sanded my wall before giving it two coats of stain.
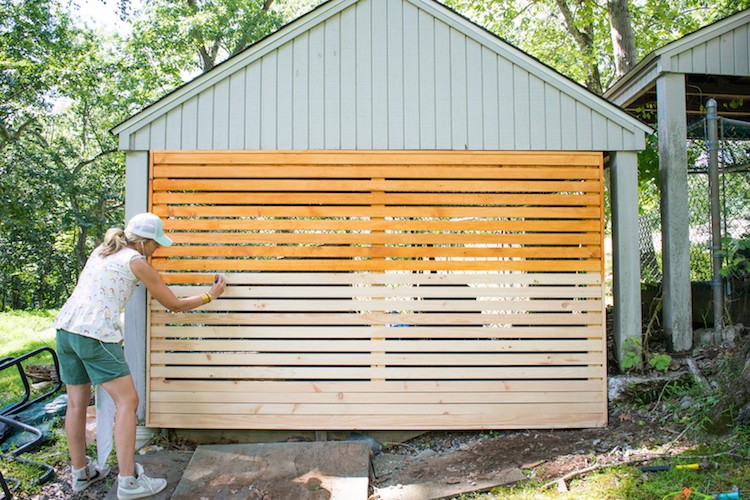
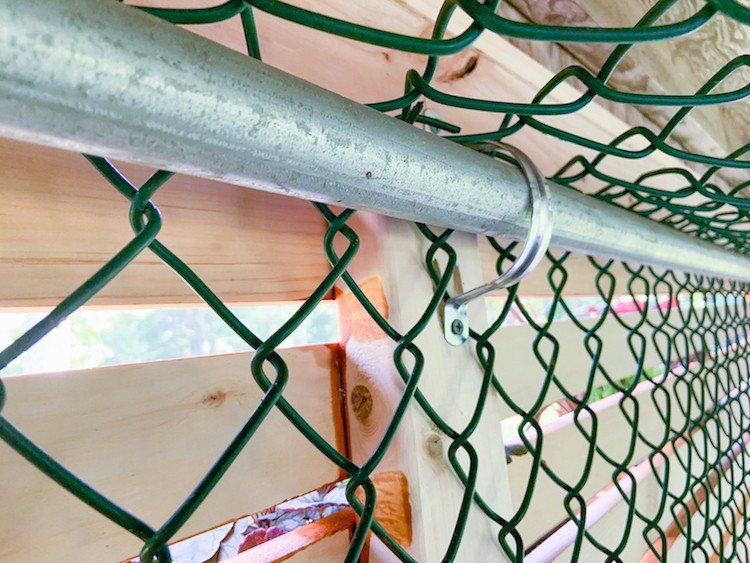
Step 6. Attach Wall to Chain link fence

Step 7. Build Flower Boxes
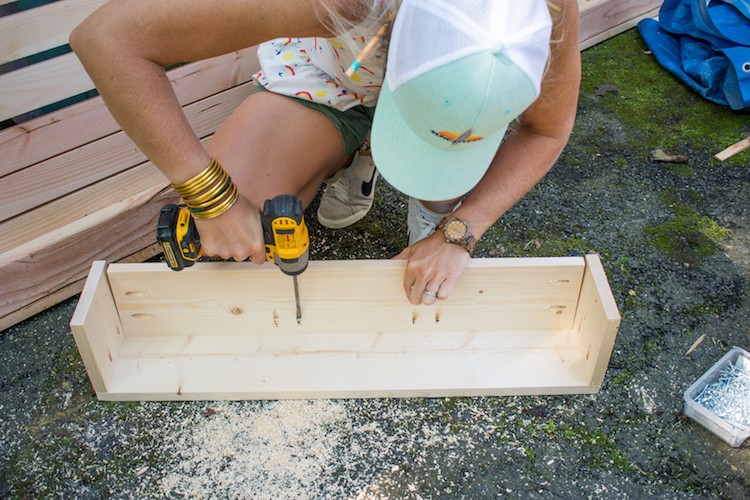
I wanted my chain link fence covers to be functional as well as attractive so I decided to add some window boxes. Using 1×6 common pine, I built six window boxes as follows. I cut two end pieces, a front piece and then one piece to inset as the bottom of the window box. Using pocket holes I screwed the two end pieces into the front of the window box. Then, I used pocket holes to screw the bottom piece into the rest of the box.
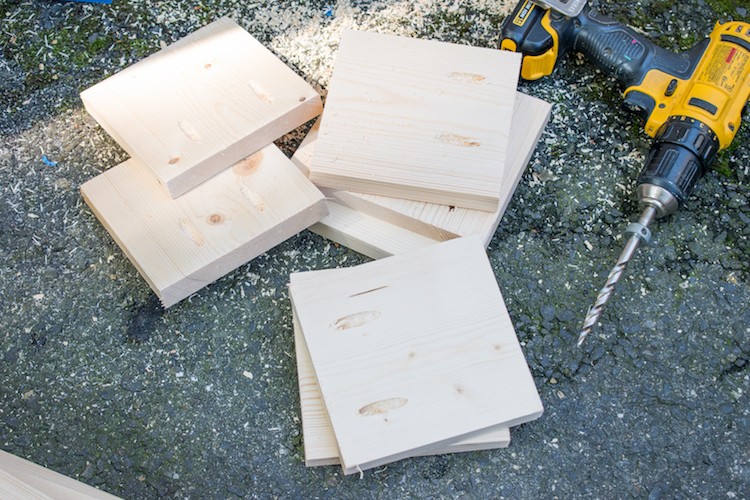

Step 8. Attach the Window Boxes
I attached the window boxes with L brackets. I used two underneath the window box and then another two on either side. Make sure you screw the “L” in place behind the window box so you don’t see any brackets sticking out from behind.

Step 9. Add plants
I opted to keep my plants right in the plastic pots from the nursery. Not only is it easier to swap them out for the season, but it also means I don’t need to worry as much about protecting the wood of the window boxes from rotting. I drilled small drainage holes in the bottom of each window box to prevent any standing water. (Not shown.)
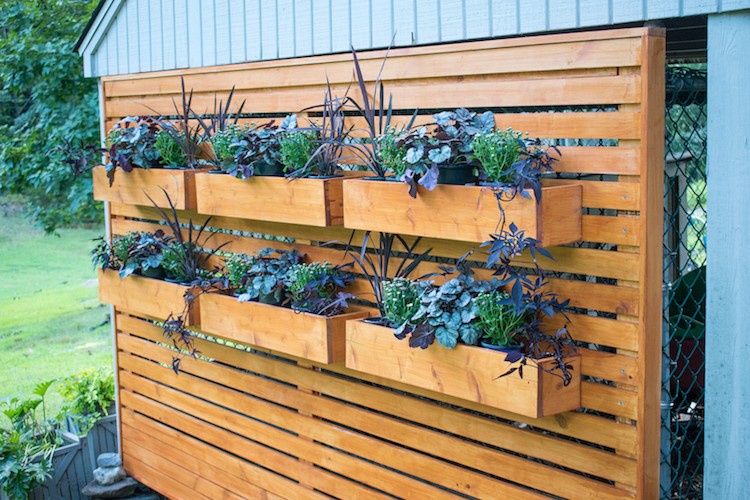
I can’t get over what an amazing difference it makes just to have that chain link fence covered! Before the metal fence was not only an eyesore, but you could also look right in to all the junk we have stored in the outdoor pens. I love the view from our driveway now and fingers crossed I can keep those plants alive. Best part about this project was that it’s a relatively simple build using basic materials, but the visual impact is so big!
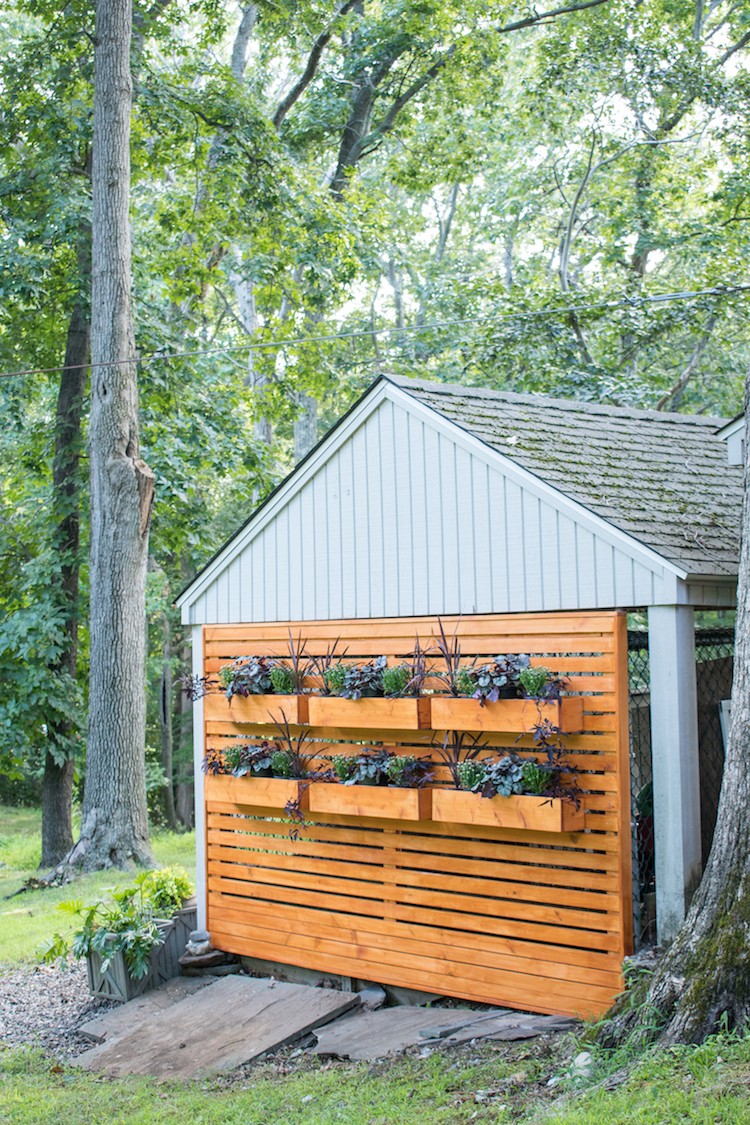
The Final Look That Also Added Curb Appeal
The post How to Hide a Chain Link Fence to Add Curb Appeal appeared first on The Home Depot Blog.


