Adding tile to your kitchen can make your entire home feel brand new. Sarah Macklem, of The Yellow Cape Cod, found this to be true when she updated her kitchen backsplash with Smart Tiles.
Check out how easy it was for Sarah to install peel & stick tiles!
How to Install Peel & Stick Tiles
I’ve been wanting to install a backsplash in our kitchen for a while. I’ve been holding out because I’m planning to make some changes in our foyer that include a new tile floor. I won’t be doing that for a while and I’ve been hesitant to commit to a new kitchen backsplash until I’m ready to tackle the foyer. They are close in proximity and I’d like the new tiles to coordinate. In the meantime, I’ve really been missing a backsplash.
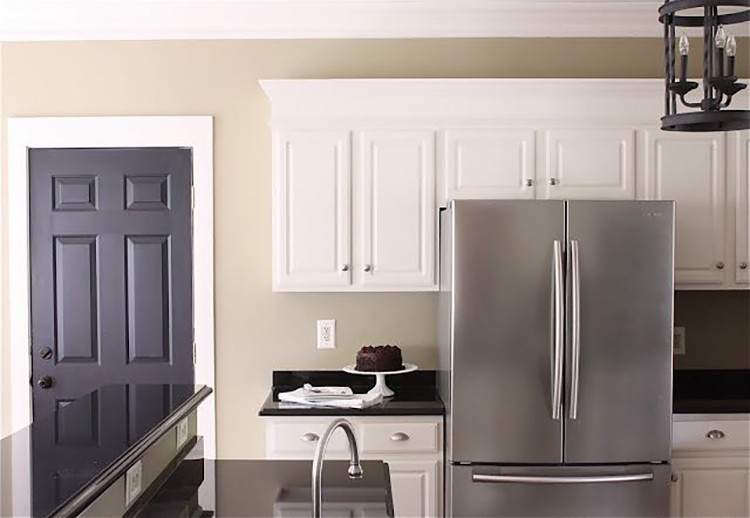
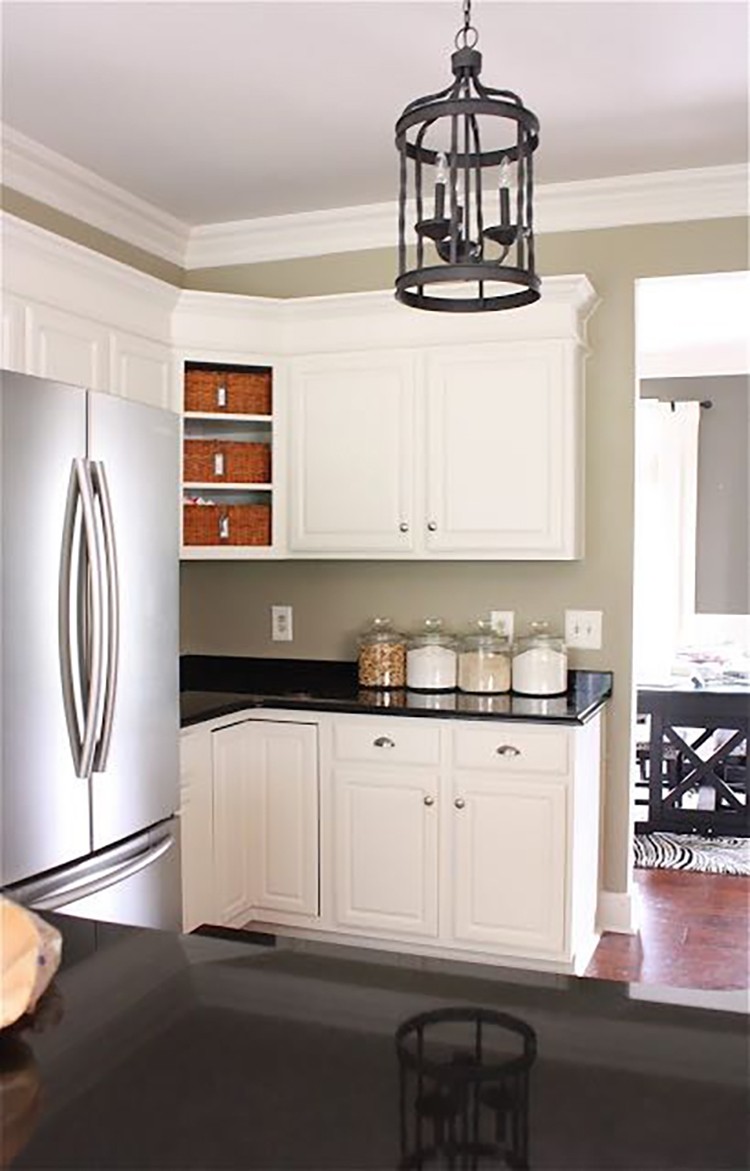
Before the Update

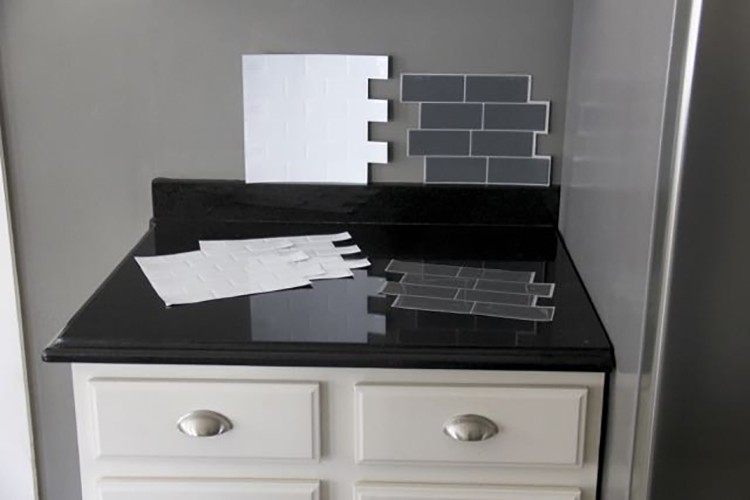
Peel and Stick Tiles
Recently, I was approached by The Home Depot to try out a new product called The Smart Tiles, a peel and stick tiles product that you stick directly to the wall with no glue, grout or special tools needed. I read up on the product and the installation process sounded incredibly simple. The tiles are completely removable, so I decided to install peel & stick tiles and give The Smart Tiles a try. I figured it would be a great way to try out a backsplash without committing to a permanent option.
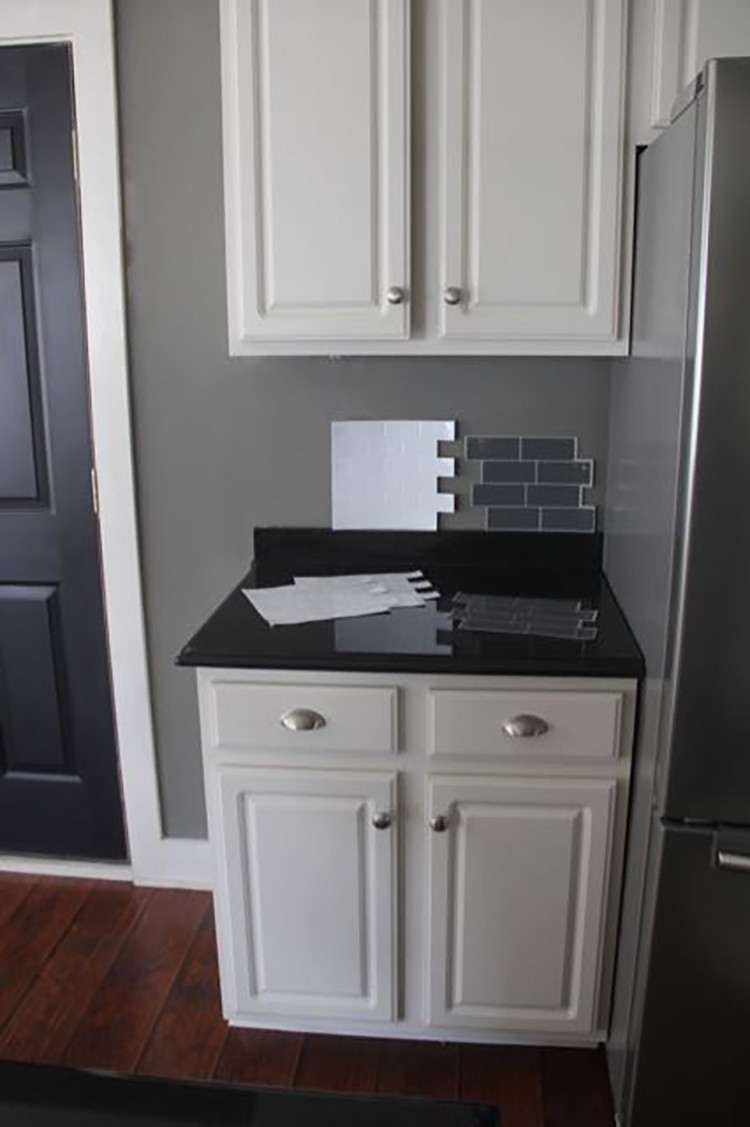
There was a really nice selection of tiles in different patterns, styles and colors. Two styles in particular appealed to me. They looked almost identical to some tile I was considering as a permanent option. One was a white subway tile style called Metro Blanco and the other was a shiny gray subway tile called Metro Grigio. I taped samples of both styles to the wall to help me decide which one I liked best. The gray subway tile was the winner.
The Smart Tiles website was a great resource for information. There was a short video for every step in the process showing how simple the installation is. I watched all of the videos before collecting my supplies and diving in to the project. From beginning to end, it took me less than two hours to install peel & stick tiles as a backsplash in my kitchen.
Materials
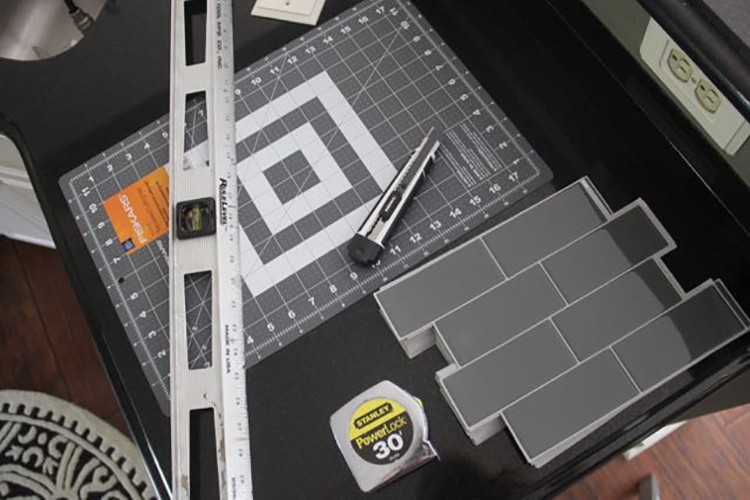
- Cutting mat
- Cutting knife
- Ruler
- Tape measure
- Pen
- Straight edge
- Level
Preparation
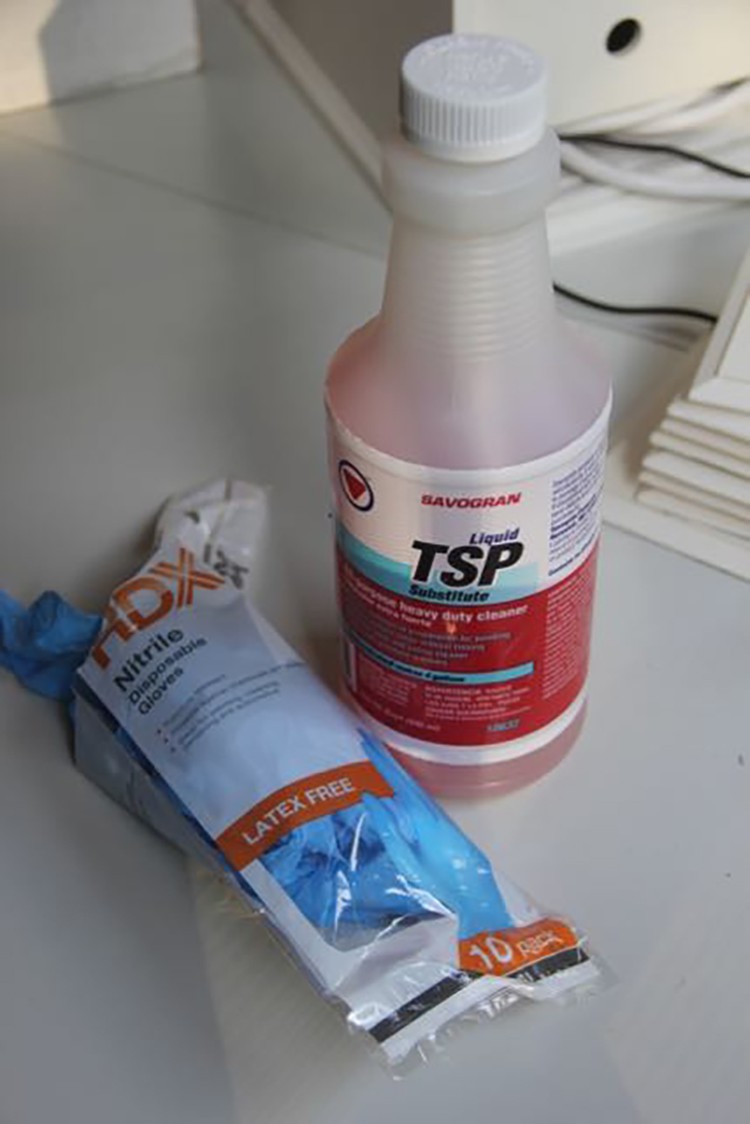
To prepare my kitchen, I removed the electrical plates and wiped the walls down with TSP. As the walls were drying, I collected my supplies.
Installation
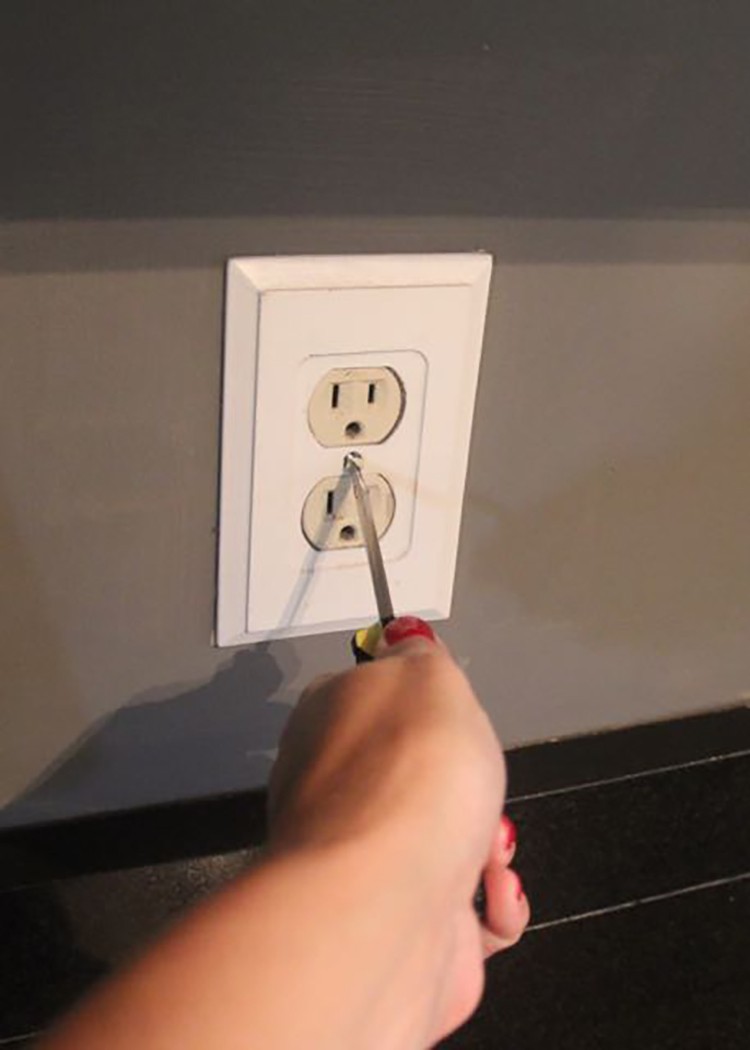
The installation process was so simple. The trickiest part was making the cuts around the electrical outlets. I made a couple mistakes when I made my cuts for the first outlet, but after that, I had the hang of it and the rest of them were a breeze. I used a ruler to measure the height and width of each box and transferred that measurement to the piece of tile so I could make the appropriate cuts.
To finish off the edges of the tile, Smart Tiles sells a finishing edge that sticks to the wall just like the tiles. However, I decided to customize the look. I used a wood trim instead. I simply cut the wood to size, mitered the corners on a 45 degree angle and applied them to the wall with a nail gun. Caulk and a coat of paint finished it off perfectly.
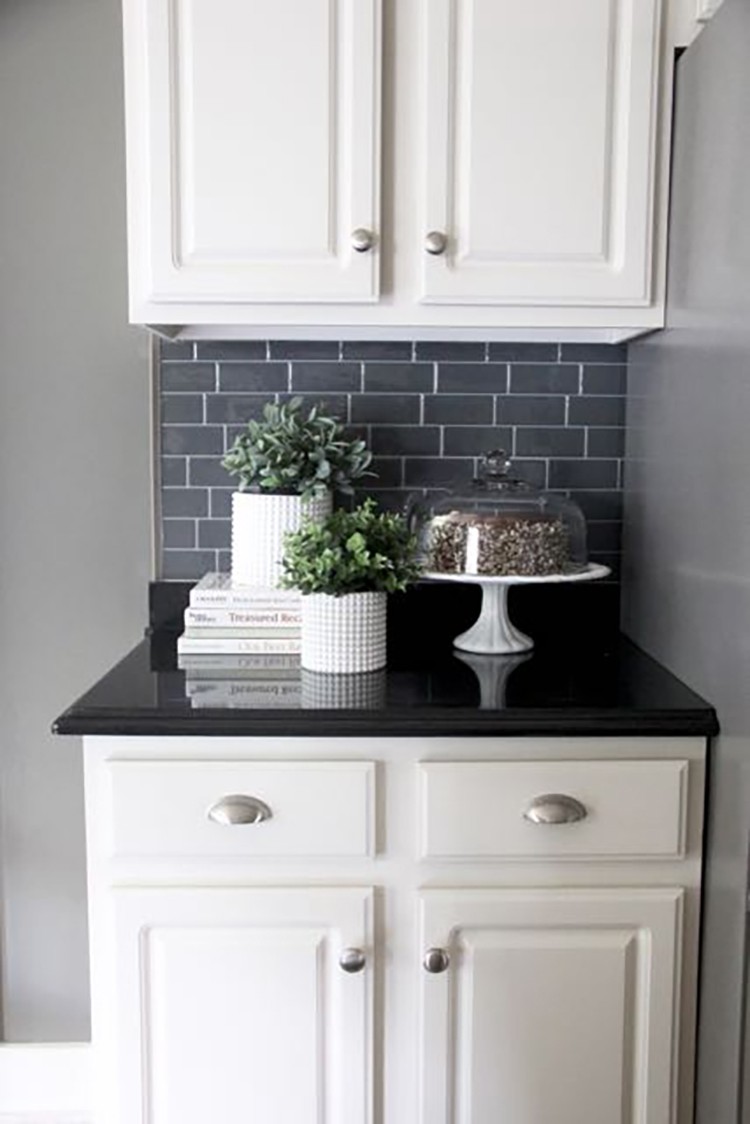
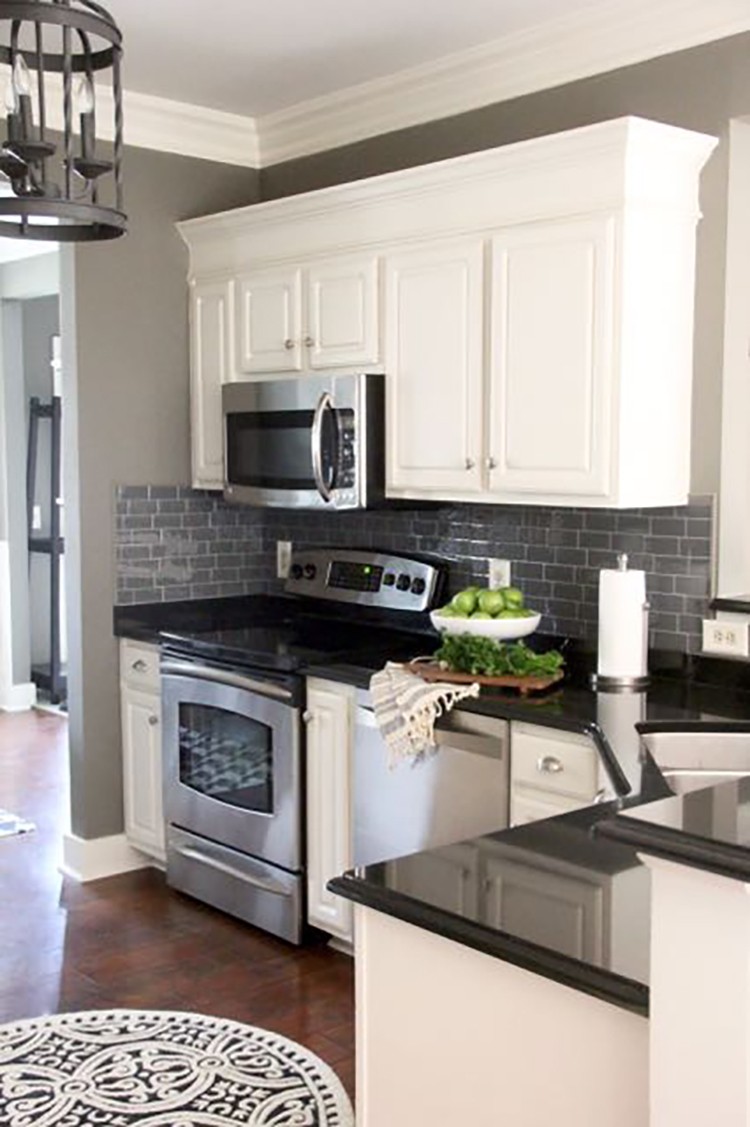
The Finished Look
Now that you’ve seen how easy it was to install peel & stick tiles, are you ready to see how the entire kitchen turned out? Take a look.
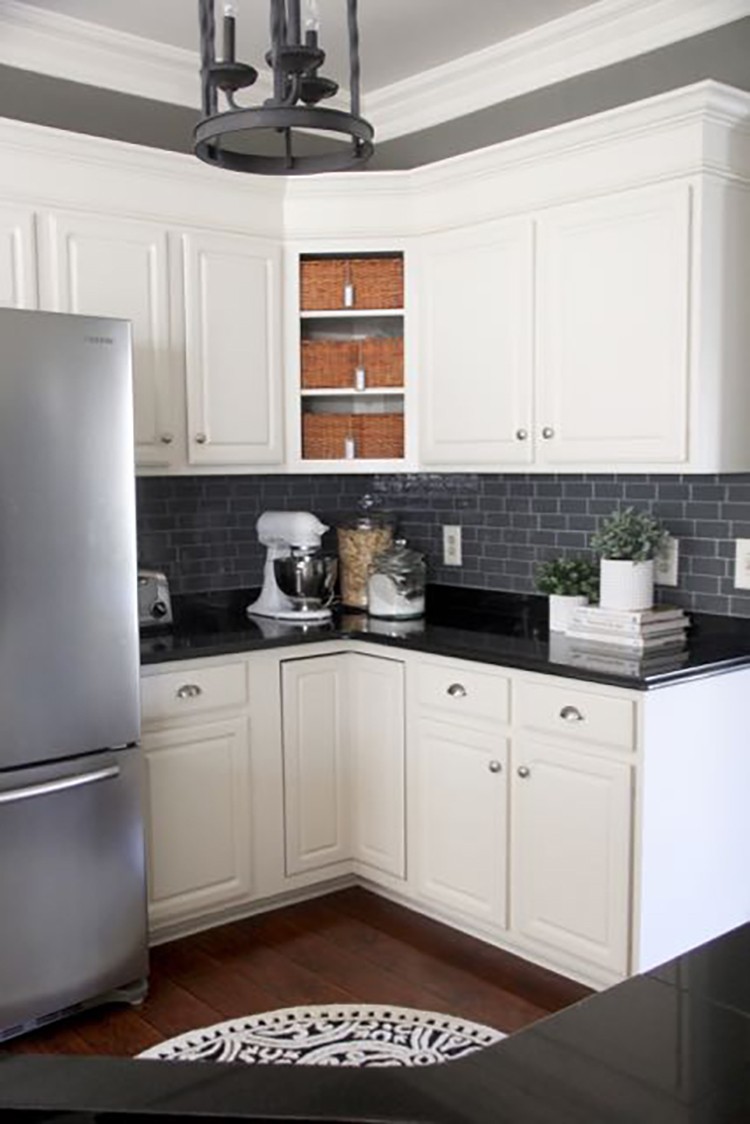


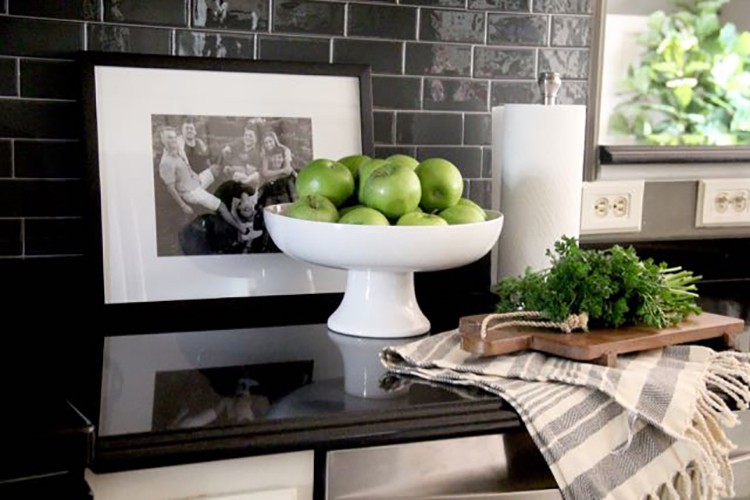
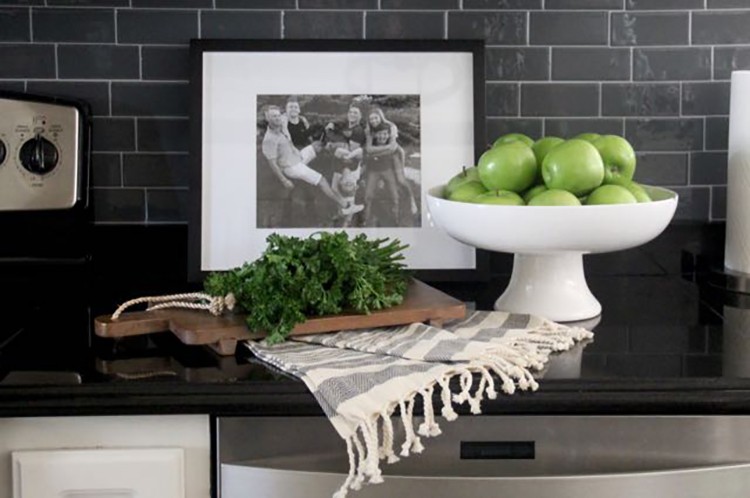
As you can see the new backsplash inspired me to bring in some new accessories. I styled the space with some simple, but pretty pieces. I chose things that were light in color to contrast with the new gray tiles and black counter tops. Bringing in the light elements keeps the space feeling light and bright, even though there are some dark design elements.

I found a gorgeous new rug at HomeDepot.com, The Cambridge Black and Ivory Round Area Rug.
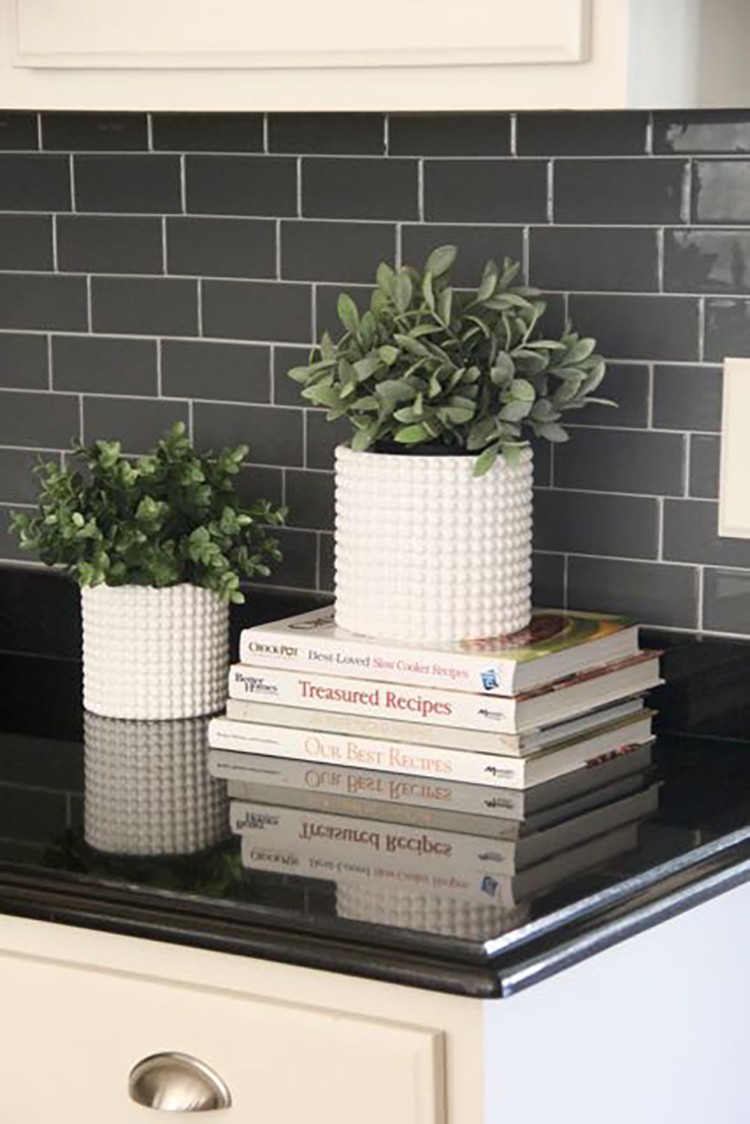
My cookbooks are come in handy, and also look pretty, sitting on the counter tops with some faux herbs.
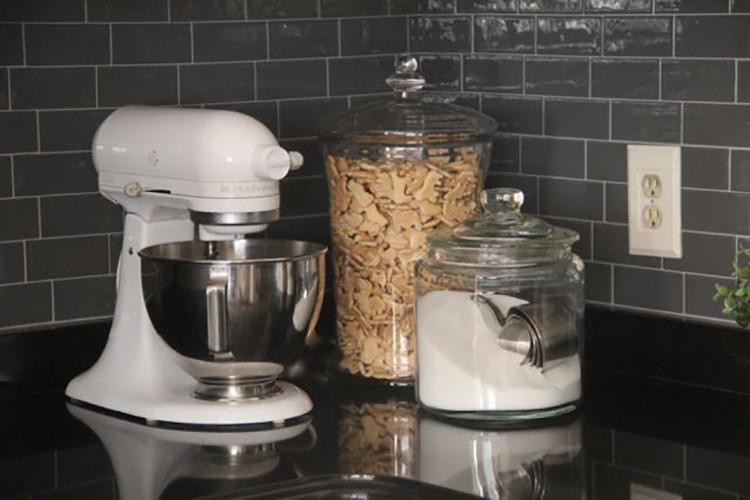
My little baking corner has a new whole new look with the shiny gray tile background. Even my white mixer and sugar jar look pretty against the tiles.
Final Thoughts on Smart Tiles
When I first signed up for this project, I have to admit I was a little skeptical. I felt like the installation process seemed way too simple for this to look as nice and I would like in the end. However, once I started the installation, I immediately fell in love!
I feel like the new backsplash has really made a difference in the overall look of my kitchen. It feels much more finished. Although the color of the tile is dark, it makes the space feel brighter. The shiny surface reflects so much light! The best part of having this new backsplash is when my potatoes boil over, I can simply wipe the backsplash clean as opposed to touching up paint constantly.
My opinion, is that The Smart Tiles backsplash looks quite real. Everyone who has visited since the installation has been surprised when I tell them it is a peel and stick tile and not a real glass tile backsplash. It was fun to see my husbands face when he came home from work the day I installed it. He thought somehow I tackled a real, glass, subway tile backsplash, all by myself in just a few hours!

For a few moments, Murphie and I were the only ones who knew the truth.
Thanks for stopping by and letting me share my latest DIY adventure with you. Be sure to check out all of The Smart Tiles style options over at The Home Depot. For ideas and inspiration, check out The Home Depot Smart Tiles Board on Pinterest! Thanks to The Home Depot for providing me with the Smart Tiles product and compensation in order to facilitate this sponsored post.
Back to the Design Studio!
Follow our Bathroom Design Ideas board on Pinterest for more bathroom update inspiration. Find more bathroom backsplash ideason The Home Depot Blog.
Find more easy-to-install, peel-and-stick Smart Tiles at The Home Depot.
The post How to Install Peel & Stick Tiles appeared first on The Home Depot Blog.


