
Even a simple update can make a big difference in your home. Follow along as Rachel Metz of Living to DIY walks you through replacing her old shower head with a new Moen Magnetix model.
How To Replace Your Shower Head
Low flow is something a household should never suffer from…and my household has been suffering for about five years now! Full transparency, I have always been a little intimidated diving into the plumbing world of home improvement (or anything that could potentially shoot water out and I have no clue how to stop it) but I couldn’t take one more low flow Seinfeld episode reenactment by my boyfriend. With a quick and easy DIY install, the Moen Magnetix Attract 6-Spray Hand Shower solved more problems than originally intended. Let me walk you through it!
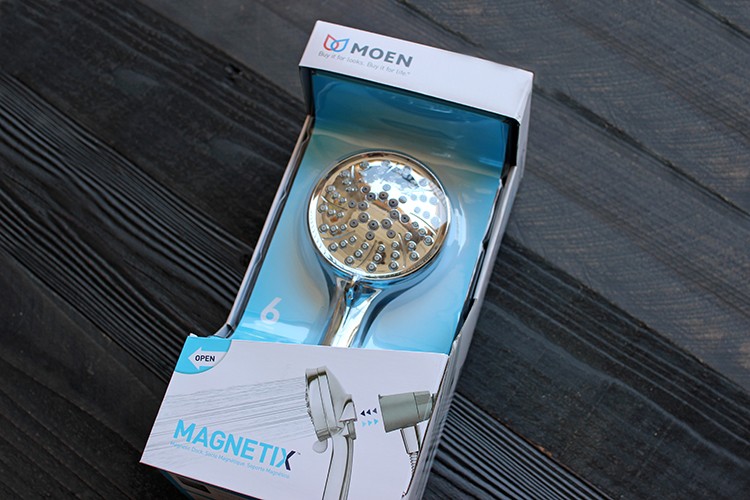
The Moen Magnetix Attract 6-Spray Hand Shower is available in three finishes; Spot Resist Brushed Nickel, Mediterranean Bronze and Chrome. I decided to go with the Chrome finish to match the other fixtures in my bathroom I do urge you to get the Spot Resist Brushed Nickel if you can because the Spot Resist finish elps resist fingerprints and water spots; making your life easier when cleaning it.

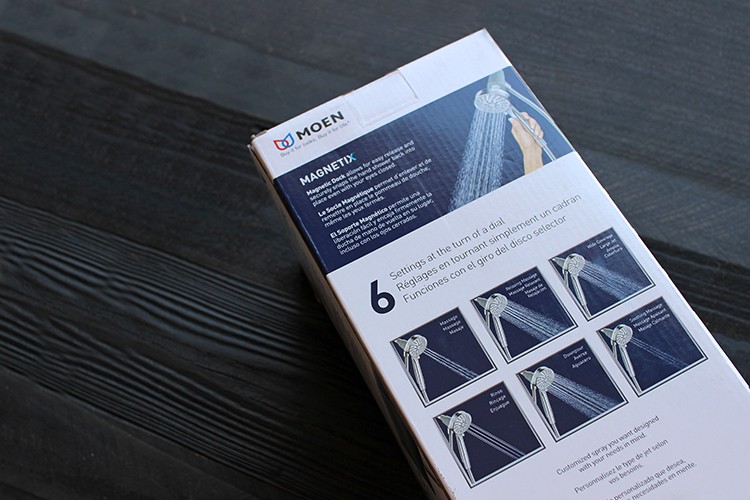
My anxiety about installing disappeared even prior to opening up the package. It shows you right on the box what different water settings you’re going have available plus letting you know it’s a simple three step DIY install.

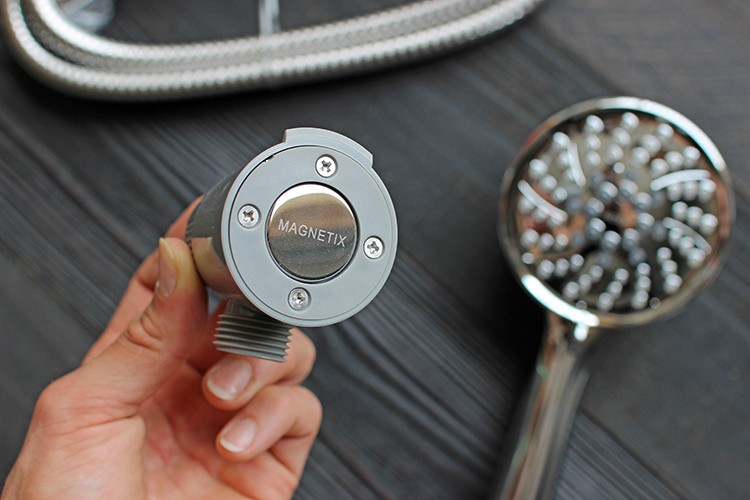
Upon unboxing, you are met with one 60 inch kink-free metal shower hose, the Moen 6-setting hand shower, the Magnetix Dock and three washers. The Magnetix Dock allows you to put away the shower head with ease even if you have soap in your eyes and can’t see it. Let’s install!
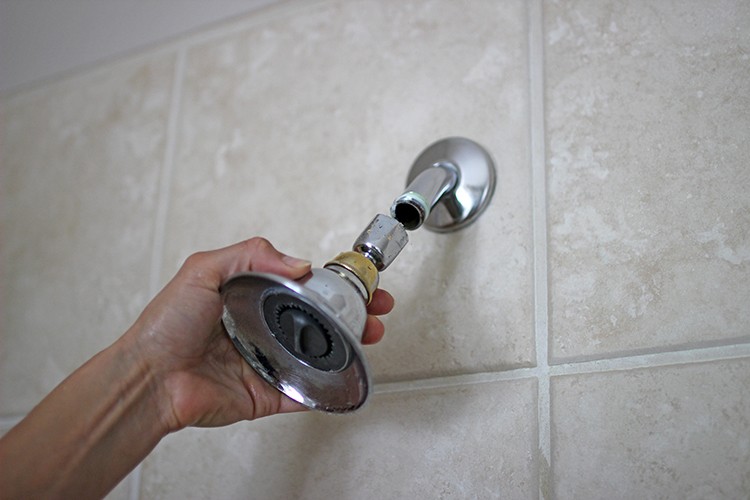
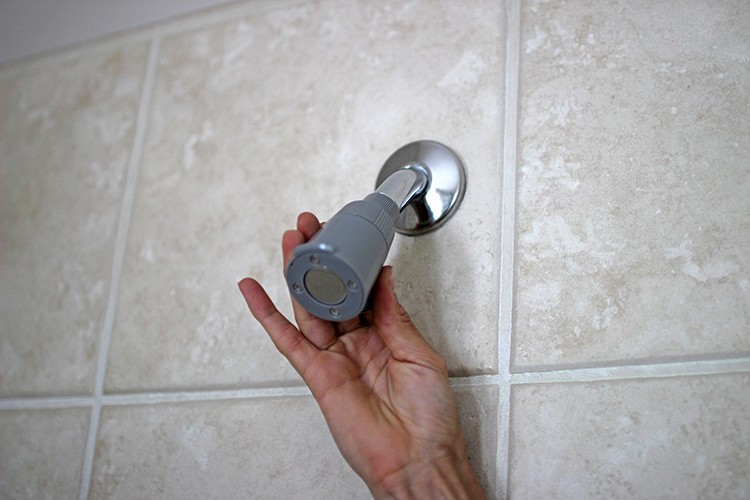
Step 1: Remove Old Shower Head
I wouldn’t have needed to use any tools if my old shower head wasn’t so crusted on the pipe. I grabbed my wrench and screwed it off!

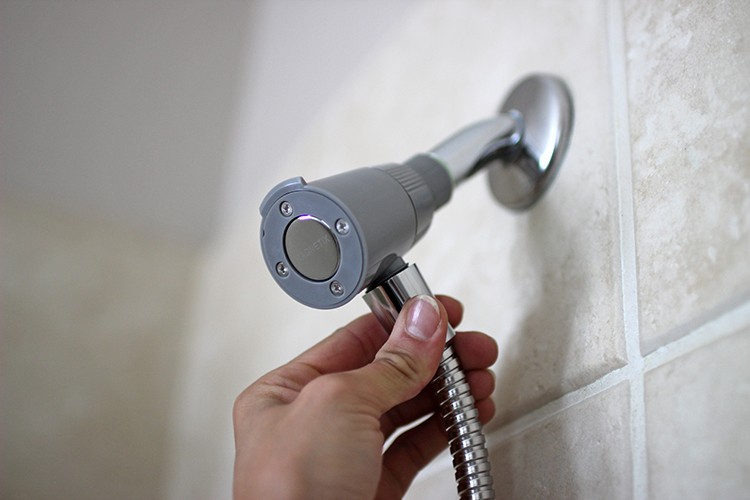
Step 2: Install Magnetix Dock
Screw the Magnetix Dock to where your shower head was.
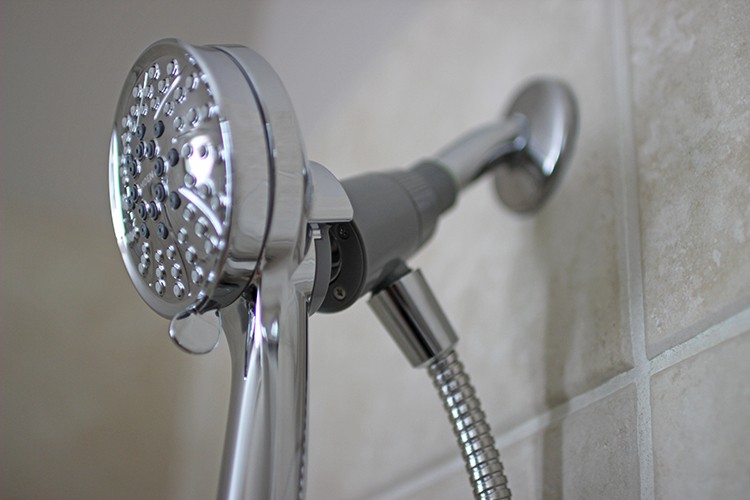
Step 3: Attach Magnetix Shower Head + Hose
Add one rubber stopper to each side of the hose before attaching to shower head, hose and dock. Ensure you are twisting this on as tight as it can go!

Once that is all secure, snap the shower head onto the dock and you are ready to enjoy!

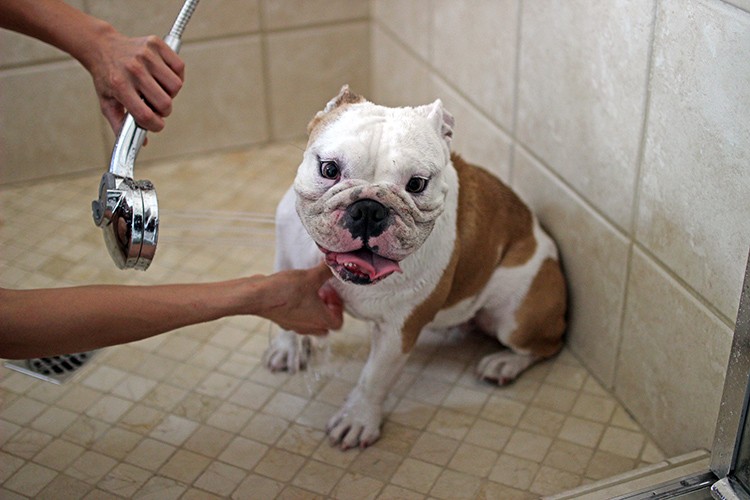
Remember how I said this shower head solved more problems than I knew it would? Well with an easy click over with my finger to the rinse setting…
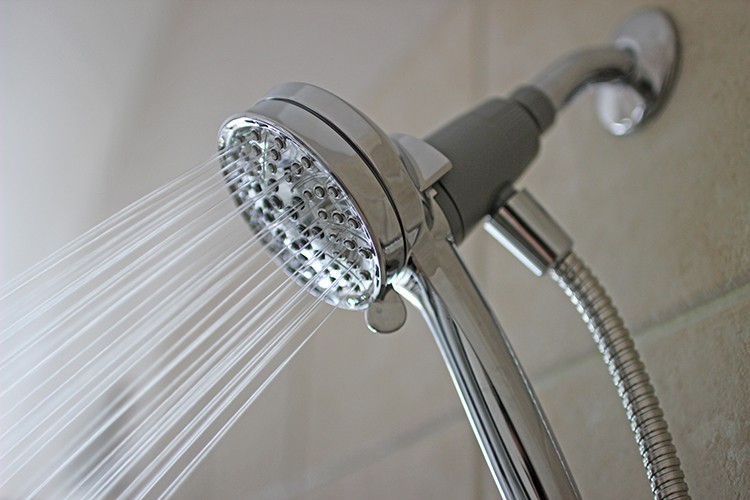

…and with the hose being 60 inches long, I am now able to shower my English Bulldog versus bathe her which is a much more efficient and a cleaner way to go about things!
In less than twenty minutes, I was able to upgrade both shower heads and tackle a new area of DIY home upgrades that I was previously iffy about. How easy was that!? Head on over and check out the full line of Moen Magnetix Shower Heads – you are sure to find one that’s perfect for your home!


Update pain points around your home with the help of Home Depot. Find more products from the Moen Magnetix line here.
The post How To Replace Your Shower Head appeared first on The Home Depot Blog.
