
Why we wanted to stain or seal our fence
We had our fence replaced this spring—one of the best things we’ve done at this house! It was previously a dented, mossy, slatted chain link with mismatched cedar gate area. And it wasn’t tall enough or fully sight-obscuring once we had all the ivy and extra vegetation around it removed. We replaced it with a standard cedar fence. It’s common in this area but definitely shows age after lots of Pacific Northwest rain. We definitely wanted to stain or seal it somehow. After research, we learned it’s best to do this 6-8 weeks after installing the fence so the boards can dry out and cure.
Products and Applications
Research on products and application methods followed. The Home Depot carries #1 rated Olympic stains with both weather-ready application and long-lasting durability. We wanted a clear product to protect the fence from aging rather than add color, so we chose the Olympic Maximum Clear Exterior Waterproofing Sealant.
It protects against water damage, UV wear, scuffs, and mildew stains. It also provides 4 years of protection on fences & siding (3 years on decks). Our fence was a big investment so of course we want to take care of it and protect it from weather and aging. It gives me peace of mind that we are set for 4 years! Olympic also offers the #1 rated solid stain, Olympic Elite Solid, if you want to add some color to your fence or deck.
We’re just barely into full-on summer here in Oregon which means we have random rain here and there. The Olympic Maximum Clear Exterior Waterproofing Sealant allows for weather-ready application. So, you can clean and stain the same day even after rain. You only need 8 hours of dry weather after application. You can even apply in weather as cold as 35 degrees!
We also decided to use a professional scale paint sprayer. I’ll share with you the all of the prep materials and safety equipment we used below!
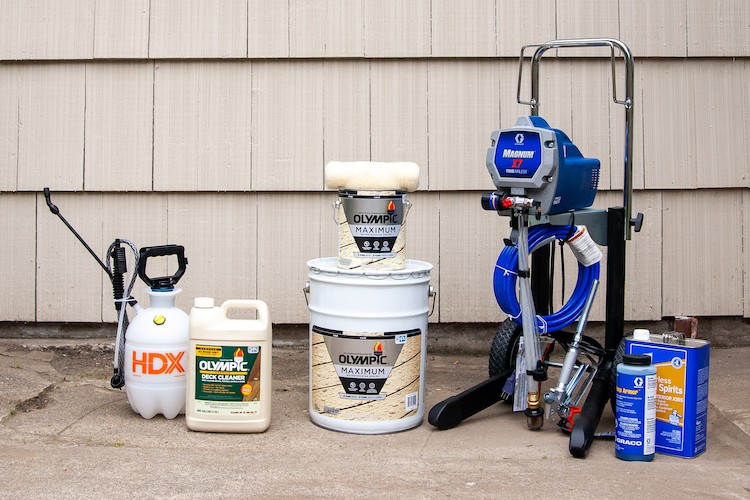
Supplies you’ll need
We had 190 linear feet of fence to stain. Our calculations suggested that we’d need about 6 gallons of sealant. We bought a 1-gallon container of Olympic Maximum Clear Waterproofing Sealant plus a 5-gallon container.
For prep materials, we used the Olympic Premium Deck Cleaner and a 1-gallon pump sprayer.
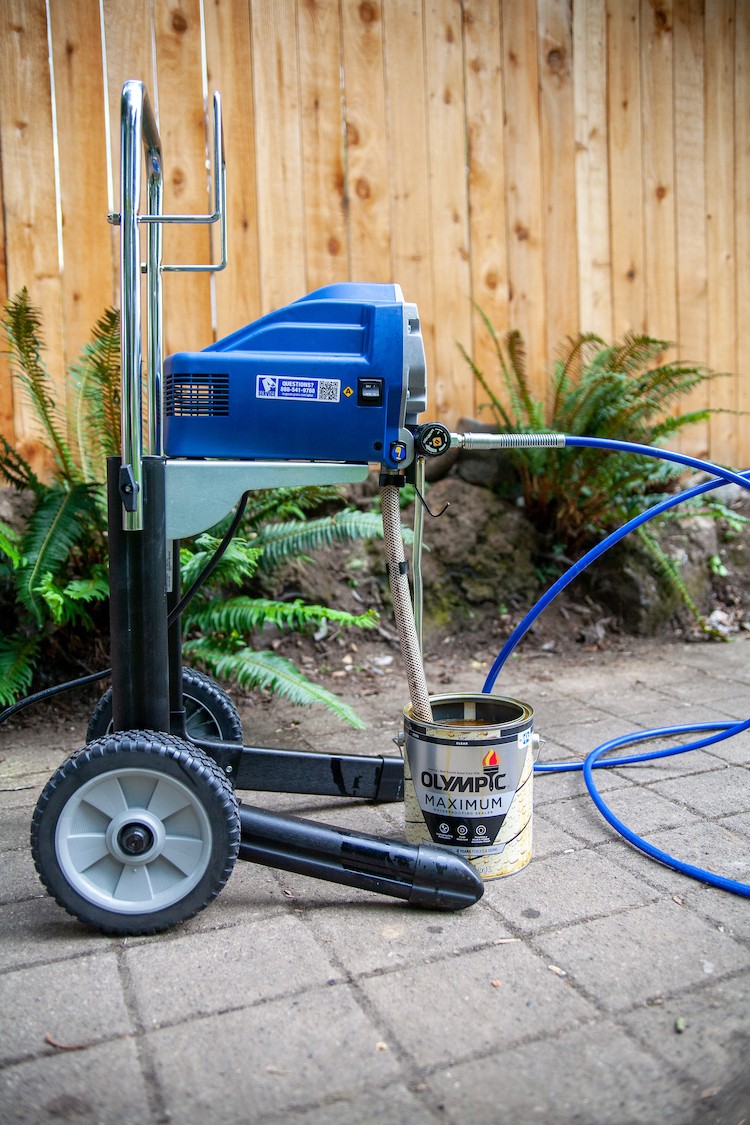
Because this was a large area to spray, we went for a large, versatile airless paint sprayer. This one is a great price for how much it can do! It comes with some essentials for cleaning the pieces and storing it. Just in case that wasn’t enough storage, we also bought extra Pump Armor for storing. Plus, we purchased mineral spirits for cleaning the oil-based sealant from the pump and the sprayer pieces.
We also bought some paint rollers to back-roll the stain after spraying. This is an essential step when painting walls or smooth surfaces with a paint sprayer. However, our fence absorbed the sealant really well and we actually didn’t end up using these at all. You might use the paint rollers if you’re sealing a smoother surface, or if your fence doesn’t absorb as much of the stain as ours did.
For safety around clouds of oil-based sealant, we bought a paint suit and used a respirator we already had that’s similar to this one.
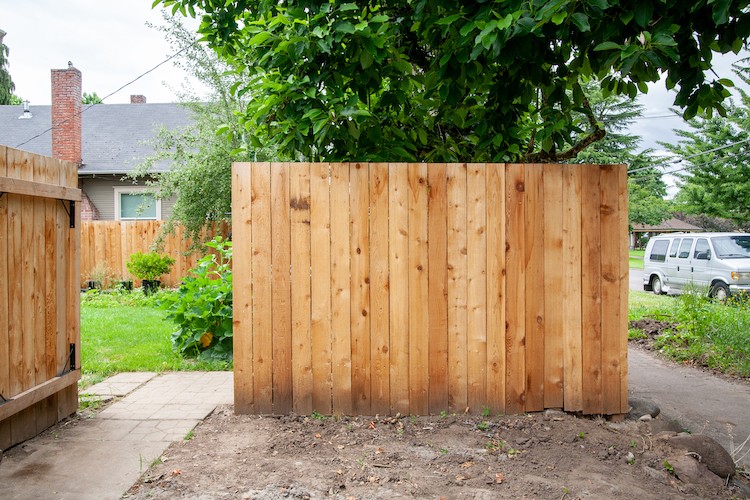
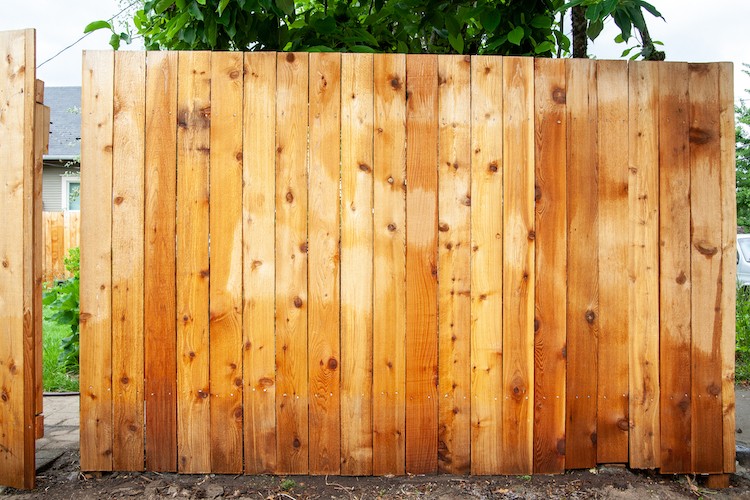
Fence before protection
Even after only 2-3 months of being exposed to the elements, you can see our fence was starting to look a little tired. There was some discoloration at the top and near the nails, and we had dirt splashes at the bottom which are harder to clean off bare wood.
Step 1: Clean the Fence
The first step is cleaning the fence. The pump sprayer is super easy to use, and the Olympic Premium Deck Cleaner product works really well.


You can see the fence after cleaning below. We did wait a day to apply the stain, but you don’t have to with this product if you don’t have time or are stuck between rain showers.
Step 2: Prepare Your Paint Sprayer
The main advantage to using a sprayer is that it’s way faster than other methods. It allows you to easily get the stain into nooks and crannies that would take additional time to do with a roller or brush. However, you do need to do extra prep work to learn how to set up and use the sprayer properly. You also need to wear more safety equipment because of the overspray. For the same reason, you also need to be cautious about covering any cars, plants, or outdoor furniture that you have close to the job so that they don’t get sprayed. This type of paint sprayer is also convenient to use and low-waste since you don’t pour paint into part of the sprayer.
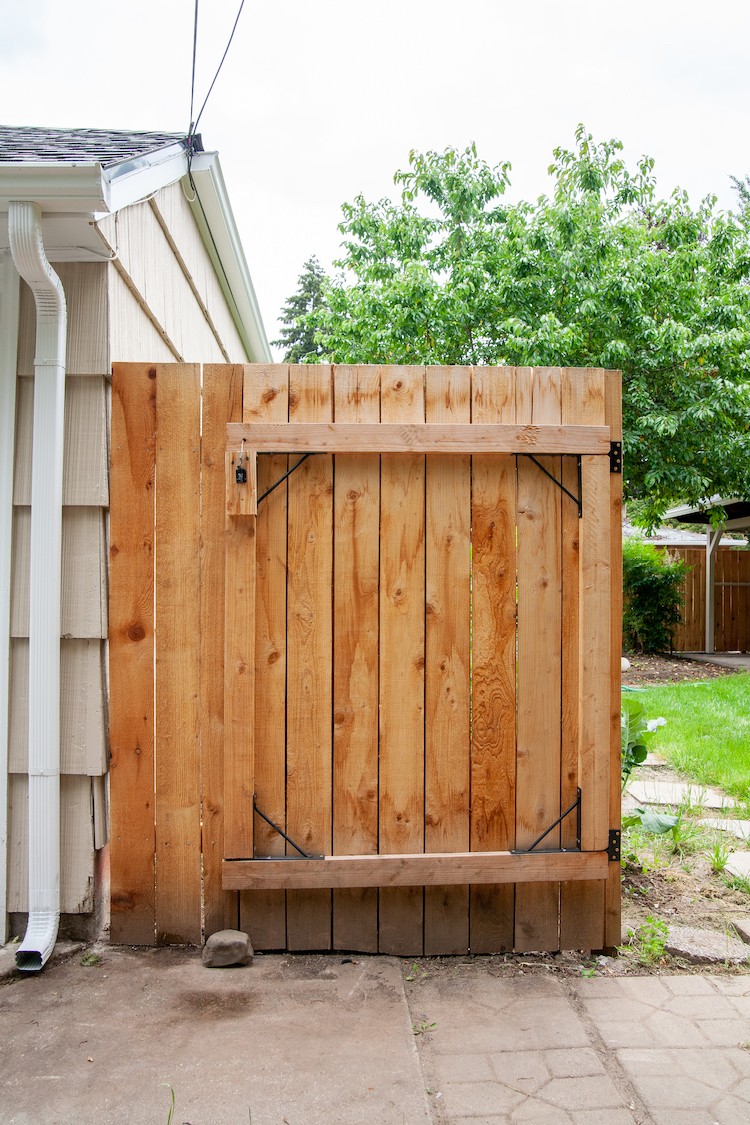
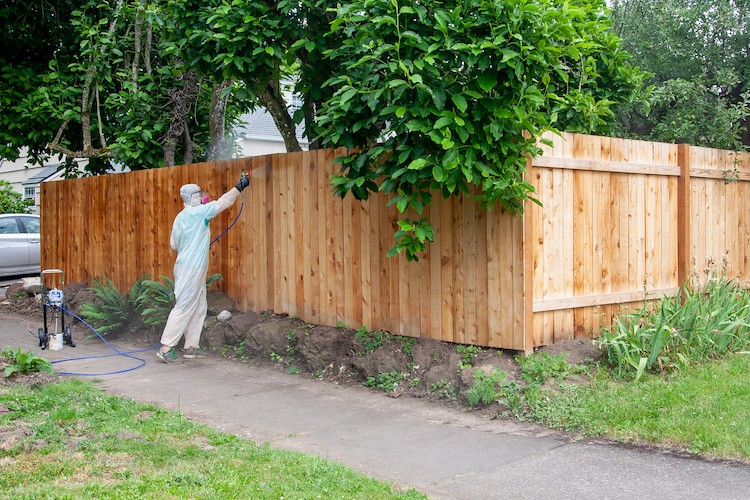
Step 3: Apply the Sealant
After carefully reading the instructions to make sure we understood how to set up and prime the pump so the airless sprayer would work properly, we were ready to spray! We hooked up the sprayer with the sealant gallons and applied in a foot-wide section, side to side moving down. Some key tips for proper technique include: Always spray from the same 12-18” distance from the fence surface, holding the sprayer tip directly perpendicular to the fence (not angled) so that the stain goes on evenly. Work carefully and methodically in small vertical or horizontal sections (depending on which direction you have the spray tip set to). With the proper technique, a single person can put a smooth, even coat on a large fence in just a few hours.
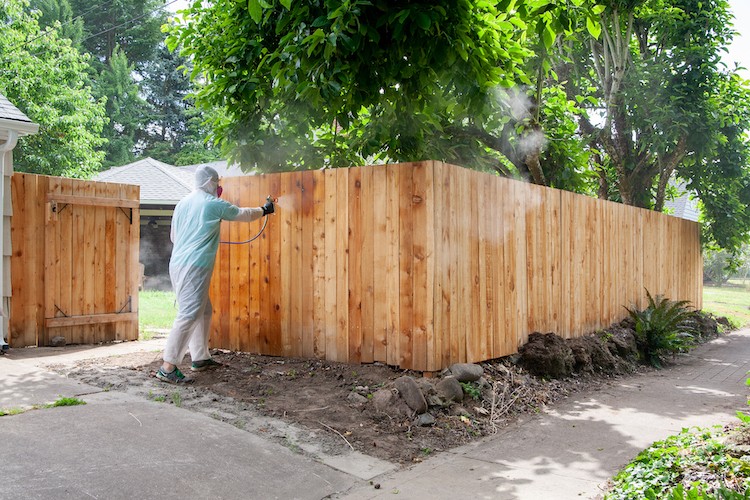
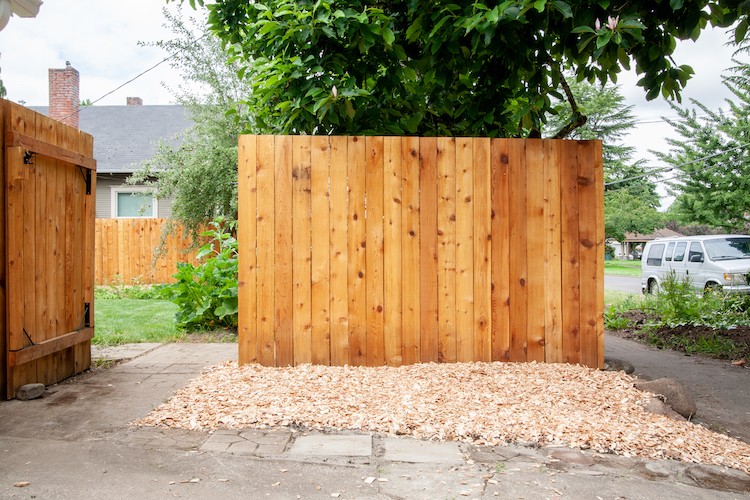
Here you can see the difference; even though there’s no color, it adds a rich finished look to the previously really bare-looking cedar. It dries a little lighter.

You can see the clouds in the air as we sprayed—it is strong stuff and gets everywhere, so the paint suit is really necessary.
That’s it—it’s really a 3-step project! There is time associated with prep and cleanup of the paint sprayer in particular, but this went really fast for us. We were able to get it all sealed in one afternoon.
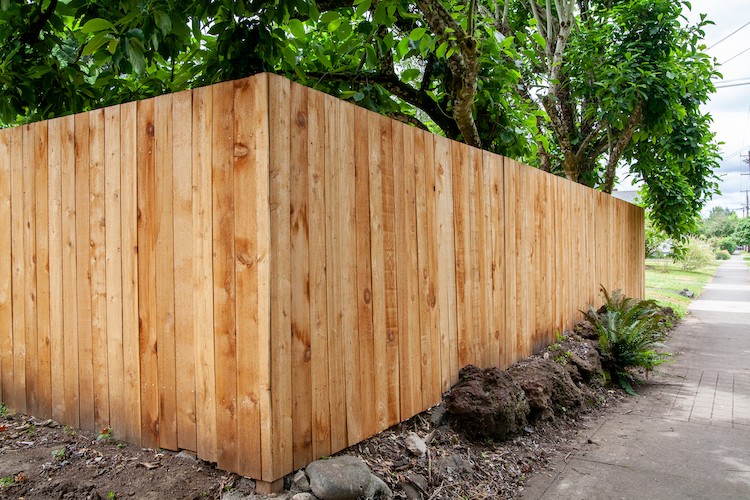
After sealing
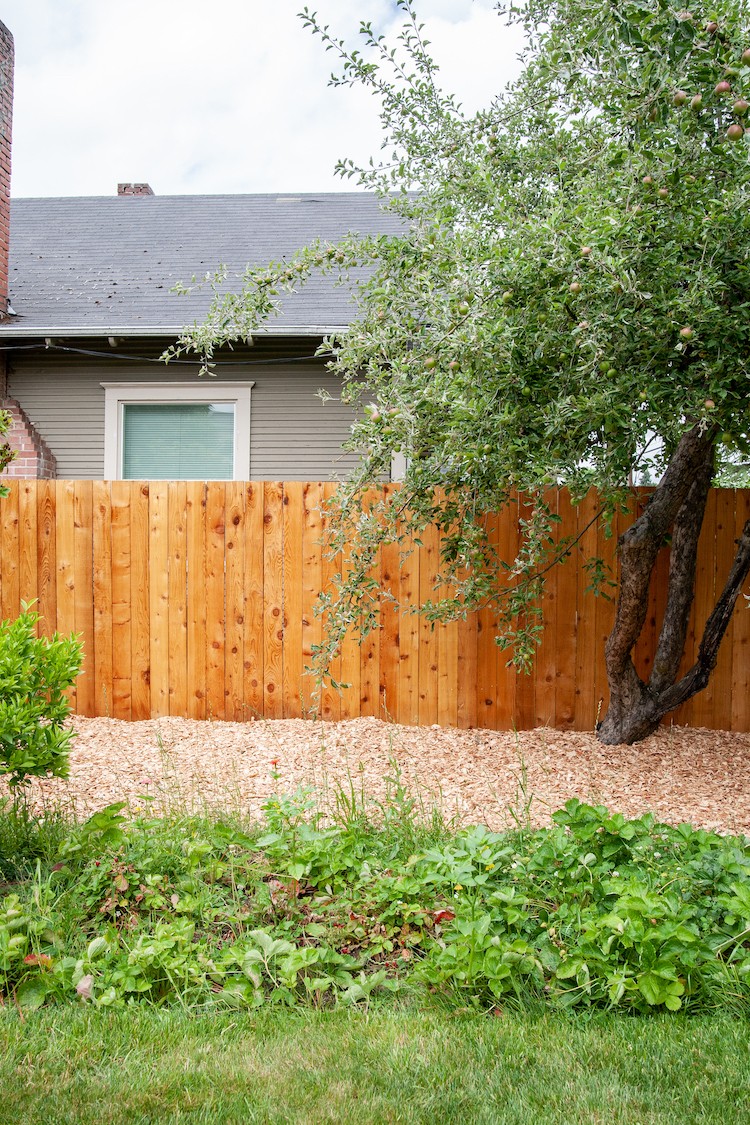
You can see a difference for sure. The sealed fence has a really nice, rich, natural look rather than the sort of pale, raw wood that feels unprotected. We are so happy with it!

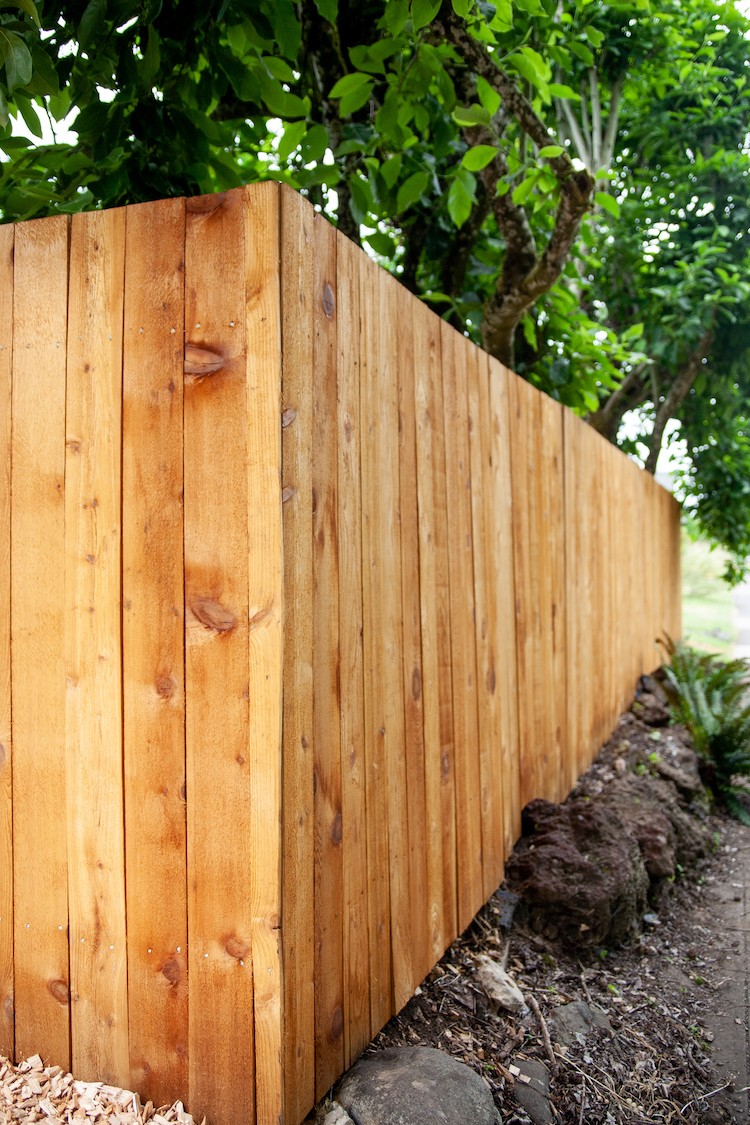
We’ve added the fence, wood chips, garden, and grass all this year and are so happy with our backyard now. It’s great to have the fence protected so it’ll stay nice for years.

This is a fantastic project to do to protect your fence, deck, or siding. It’s absolutely DIY-able! We would definitely recommend the Olympic Maximum Clear Waterproofing Sealant .

The post Protecting Our Fence with Olympic Clear Waterproof Sealant appeared first on The Home Depot Blog.


