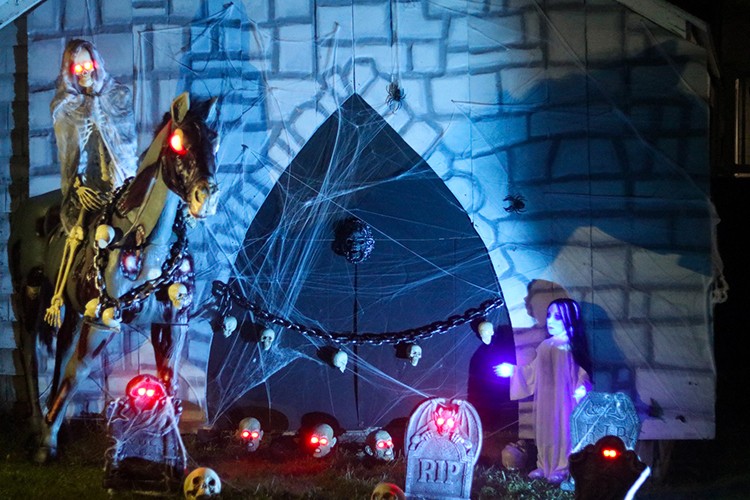
An avid crafter and DIYer, Nickell of Simply Handmade Studios was excited to try something new and get festive for Halloween. Check out her spooky Halloween backyard complete with a few DIY tips below.
Spooky Halloween Backyard
When Home Depot reached out to me to be a part of this year’s Halloween Style Challenge, I was so excited, yet nervous since I’ve never decorated for Halloween before. If you know me in real life, Halloween isn’t necessarily up my alley but I’m also pretty competitive and love a challenge, so of course I agreed! I consulted one of my BFFs who absolutely loves Halloween and we came up with a few ideas based on what I could receive for my mystery item. When a HUGE box came to my doorstep I immediately knew it was the zombie horse!

Shopping for Halloween was so much fun! My husband and I were like kids in a candy store coming up with even more ideas to decorate the backyard. Seriously, Home Depot has SO much to choose from and a lot of the decor is genuinely spooky! The in store shopping experience was so positive and fun for the both of us.
The Plan
I always love coming up with a sort of theme to my DIYs, so I decided to go with a graveyard theme complete with a stone mausoleum structure with graves, the horse with a rider and little things such as spider webs, spiders, and fog.
Making the Mausoleum
Materials Needed:
- (3) x 1-inch pink foam insulation sheathing (makes a 12×8 stone wall)
- Marker
- Heat gun or Embossing tool
- Rust-Oleum Stone Textured Spray Paint (optional)
- Flat Finish Paints (1 light gray, 1 medium gray, 1 dark gray, 1 light tan)
- DecoArt Matte chalk paint in Black and Primitive
- Paint Brush
- Sponge

The pink foam comes in really large sheets, so my husband and I had to cut them down in the parking lot to fit in our truck. When we got home, I laid them on the deck and drew out the stone structure as well as the door opening with a marker.
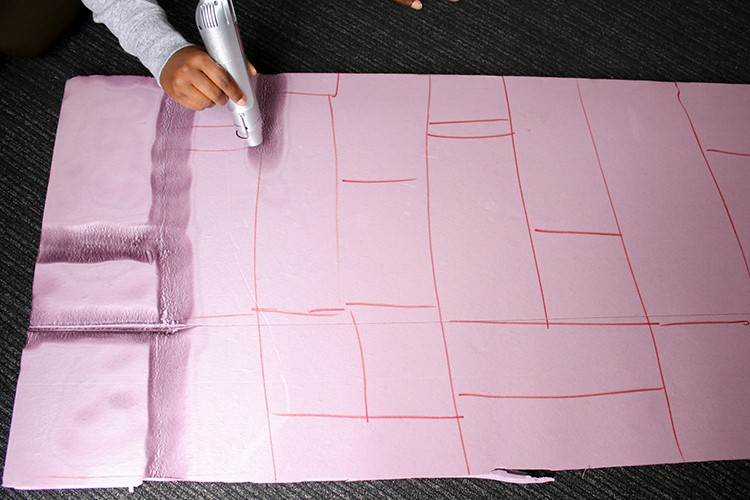
Once I was happy with the overall design, I took the heat tool and slowly moved it across the foam – you’ll start to see the foam melting and caving in on itself. Melting the foam does release a strong smell so I suggest this be done outdoors.

When I was done with the stonework, I sprayed a stone textured spray paint on the foam. It felt really cool, but visually you couldn’t really tell the stone texture was there unless it was really piled on.
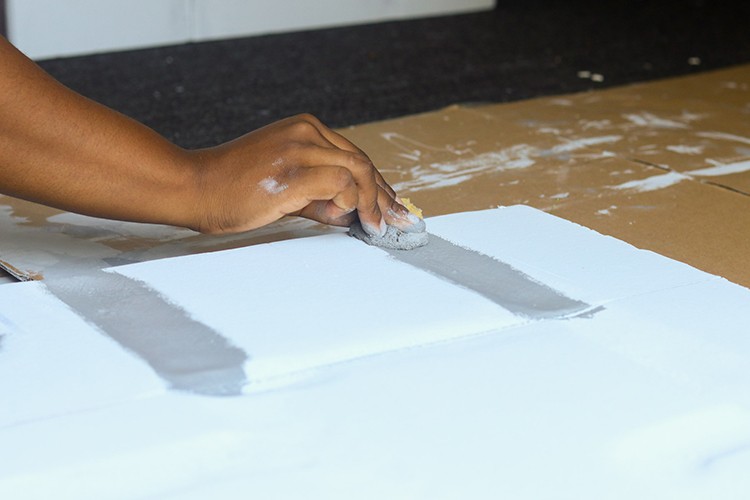
After the stone spray paint had time to completely dry, I coated the foam with the light gray paint, let that dry, then added the dark gray color with a sponge to the grooves that was melted earlier.

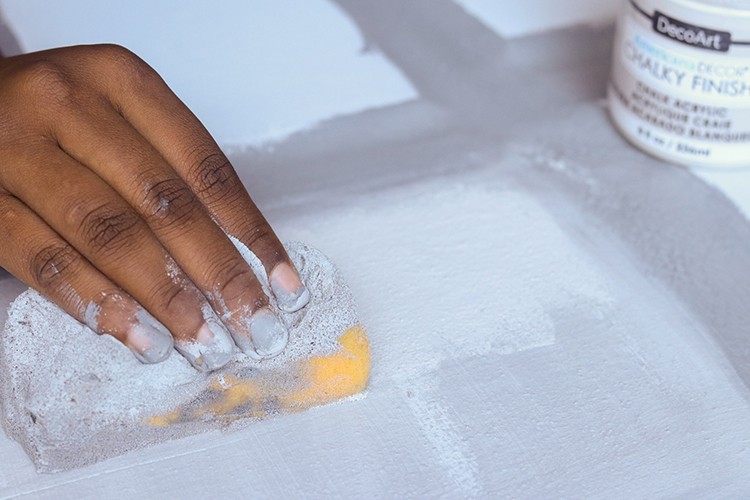
After painting the dark gray in the grooves, I immediately took a medium gray color and blurred the harsh gray lines with another sponge – this began to form the stone work. After I finished blurring the lines, I stippled on the plymouth chalk paint to the top of the stone for more dimension.

Here’s a comparison of how the stone looks when first primed with the light gray vs. how it looks completed.
Attaching the Mausoleum
We decided to attach the stone walls to the back of the garage with 4-6-inch nails. I decided to let the nails stick out just a bit to accommodate for the spider webs that would be added later on. I had some leftover cardboard from the huge box that was sent with the horse, so I painted Decoart Black Chalk paint on the large sides to make the door.

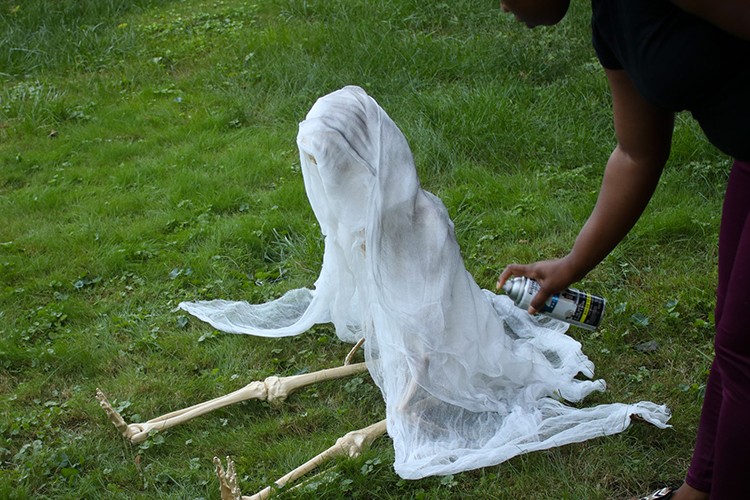
I draped some cheesecloth over the skeleton and “dirtied” up the white with some black spray paint. It gives such a cool, eerie vibe!
The Final Reveal


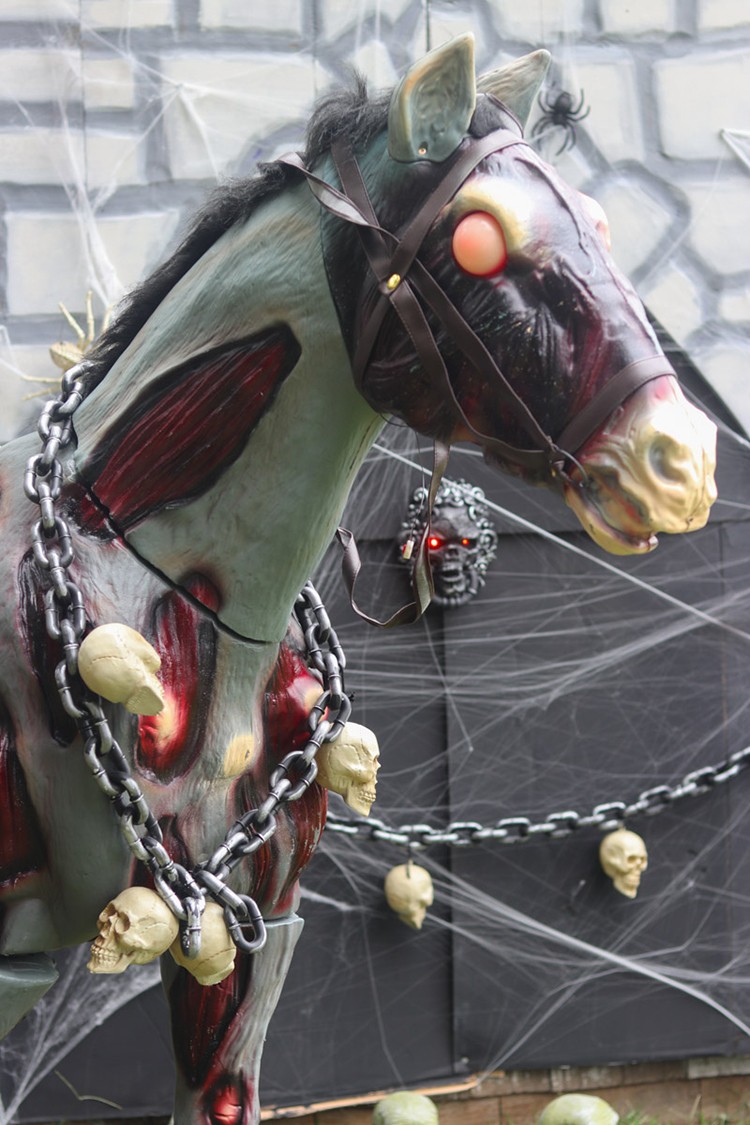


If you’re loving the daytime shots, check out these amazing night photos!

I used Philips 90-Watt blue light bulb to shine on the mausoleum. I think it gives a perfect spooky effect!


The yard was covered in skulls, tombstones, and zombie heads. I also used a fog machine and fog juice to cast a creepy vibe to the “grave site”! The door had a really cool skull doorbell that was motion sensored and very animated. I also “locked” the door with the skull chain.

My nieces love all things halloween and creepy but this girl was so scary, they didn’t want to go near her (me included)! The sounds and movement she made really brought this together! It was amazing.

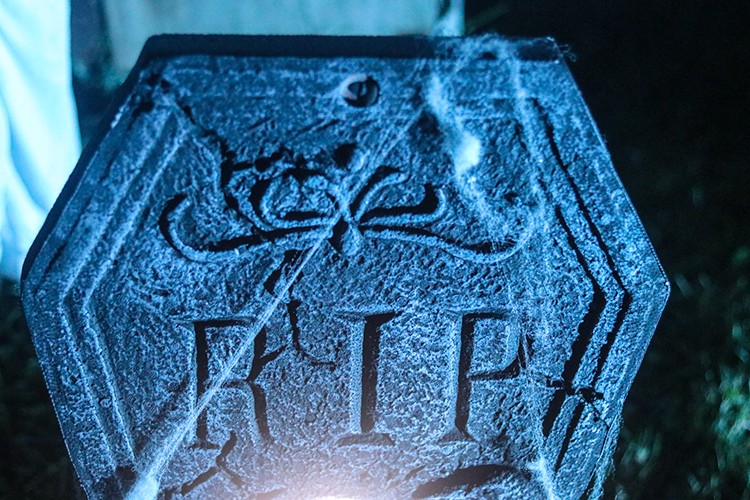
This was such a fun challenge and I love how everything came out!
Find more Halloween and Harvest decor at the Home Depot. Searching for more inspiration? Check out our other Halloween and Harvest Style Challenge posts here!
The post Spooky Halloween Backyard appeared first on The Home Depot Blog.

