
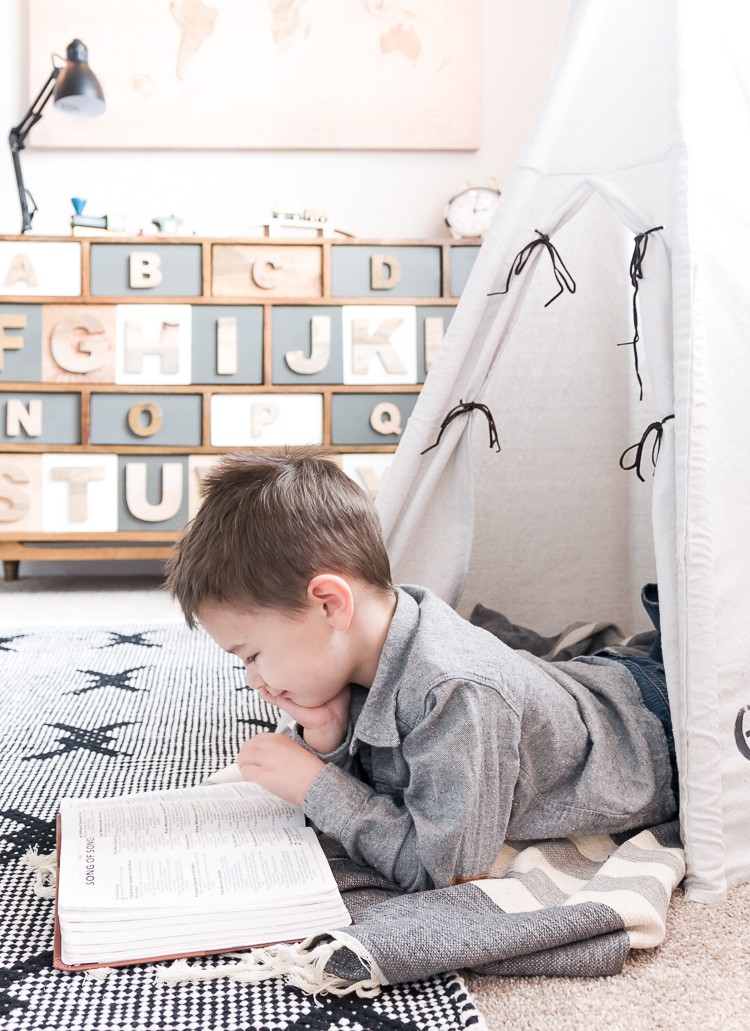
Ashley Thurman, of Cherished Bliss, wanted to complete her son’s room by adding a fun element, and this DIY teepee was the perfect addition.
Follow Ashley’s step-by-step tutorial to build your own!
The Ultimate DIY Teepee for Kids
This year is about finishing our house! We bought this house late fall of 2016 and it was just about as builder grade as you can get. Over the last year we’ve slowly been trying to bring our style into each space of our home. Today I’m here to show you a fun element we’ve added to my youngest boy’s new bedroom – A DIY Teepee.
I went back and forth trying to decide if I wanted to do a no-sew version of this tee pee, or if I wanted to actually sew it. I haven’t sewed in years so it was pretty difficult to sway me, but we are in fact going to be sewing today! If you’ve never sewn before, don’t worry this project isn’t all about precision. The only thing you need to know how to do is follow a straight line!
Let’s get started!
Materials
- 6 ft. x 9 ft. Drop Cloth
- Scissors
- Straight Edge (I used a 1 x 2 I had on hand)
- Tape Measure
- Sewing Machine and necessary accessories
- Thread
- (3) ¾ in. x 10 ft. PVC Pipe cut to 5 ft. sections
- Hack Saw
- Iron
I suggest waiting until you have sewn together your teepee before cutting the pipe just in case you should have any slight discrepancies in the length of the pockets for your PVC pipe. This tee pee was designed to be slightly smaller than a typical tee pee so it can be enjoyed in smaller bedrooms. You can always adjust the size if needed.
Use a ½-in. seam allowance unless otherwise stated.
Before you Start
Prewash the drop cloth to give it a softer feel. I washed mine on the longest, hottest setting with an extra rinse cycle using 1 cup of bleach. Then tumble dry on the highest heat setting.
Step 1: Cut Fabric
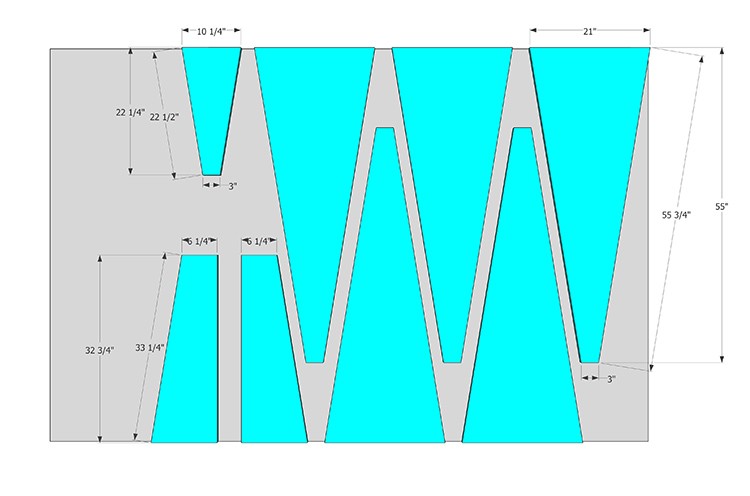
Let’s begin by cutting the fabric. You will need six “triangle panels,” five of the panels will be identical, and the last one will be used as the entrance to the teepee. You can cut one triangle panel out of the drop cloth with the bottom edge lined up on the hemmed side, and then use it as a pattern for the other four. See the diagram below on how to cut all panels.
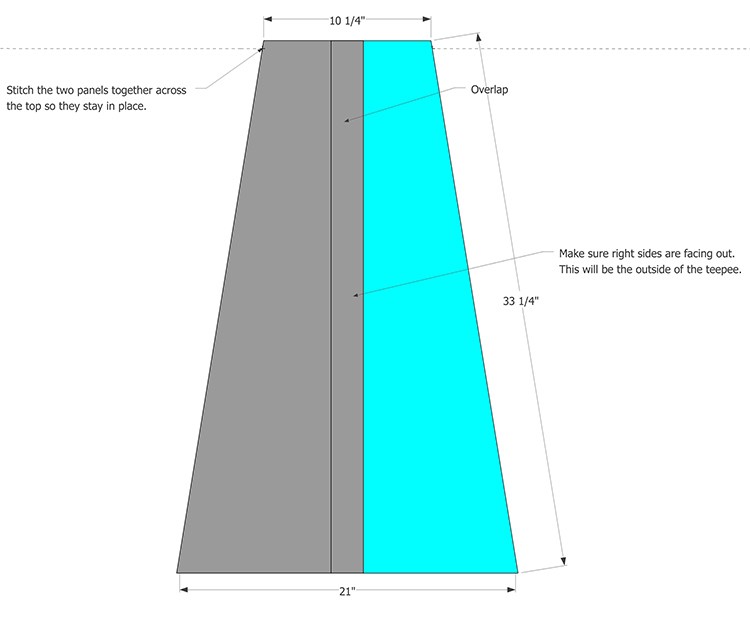
Step 2: Sew the “Door” Panel

Assemble the door panel following the diagram above. The two flaps will overlap.

Press the interior raw edge of the two panels (the straight edge) so you have a finished edge on the opening. Then lay the two flaps side by side and overlapping following the diagram below, and stitch a straight line across the top. Make sure the top of the two flaps now equals the bottom of the top section.
Place the bottom portion (the two you just sewed together) and the top portion with right sides together and stitch across the top following the diagram below.
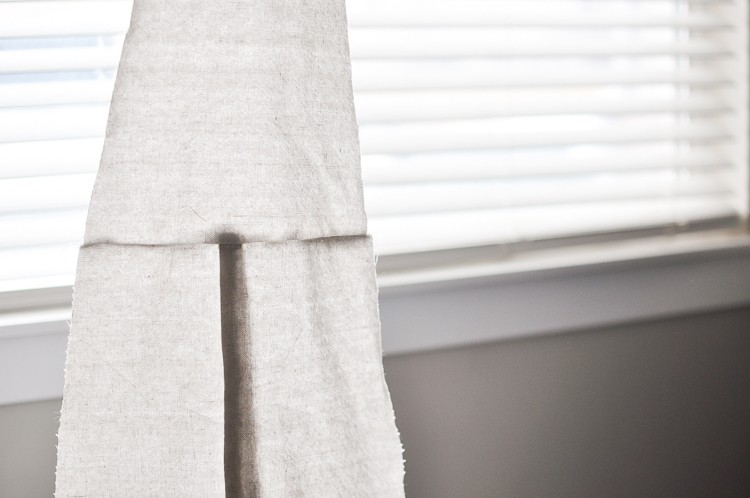
Once done it should look like this.
This should leave you with a panel the same size as the other five, but with an open seam in the middle (the entrance to the teepee).
Step 3: Assemble Panels
Begin sewing the panels, right sides together, by lining up the edges and sewing a straight line to join them (be sure to backstitch the ends for added strength). I highly suggest starting at the bottom and sewing towards the top. We will eventually be trimming the top, so it’s more important the bottom lines up. Continue until you have all five of the full-sized panels assembled.
Once that is done, attach the door panel on both sides. Make sure you are still sewing right sides together. This should give you a cone shaped tube. Now can turn everything right side out.
Step 4: Create Pockets for PVC Pipe
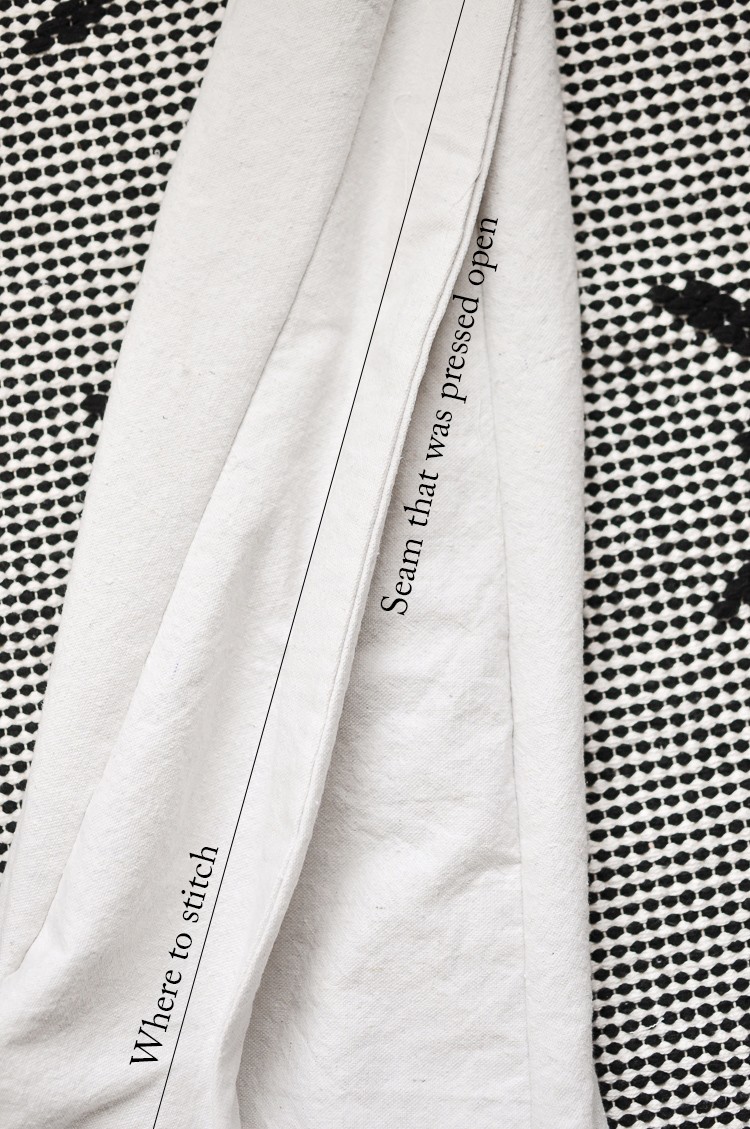
Next, we are going to create the pockets for the PVC Pipe by sewing a tube. Your tee pee needs to be turned right side out for this step. Once that is done, take each seam and press it with the wrongs sides together with the seam on the edge. Measure out 1 in. and stitch a straight line all the way up the tent. Again, make sure you start at the bottom and work your way up. This is essentially creating a pocket for the pole to go in, with your raw edges inside the pocket.
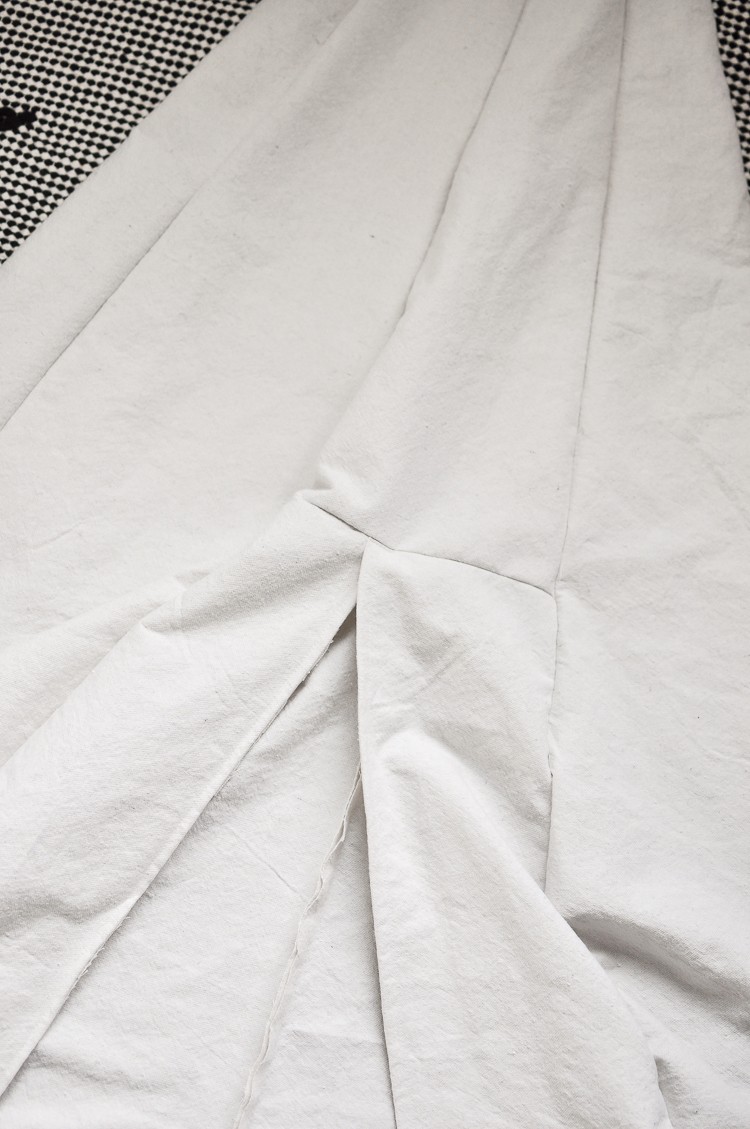
Once you get towards the top of the tent you will notice that the “pockets” we are making will start to cross each other, that’s ok! You haven’t messed up, I promise! Just keep going until you do this for all six seams.
Step 5: Trim Excess Fabric
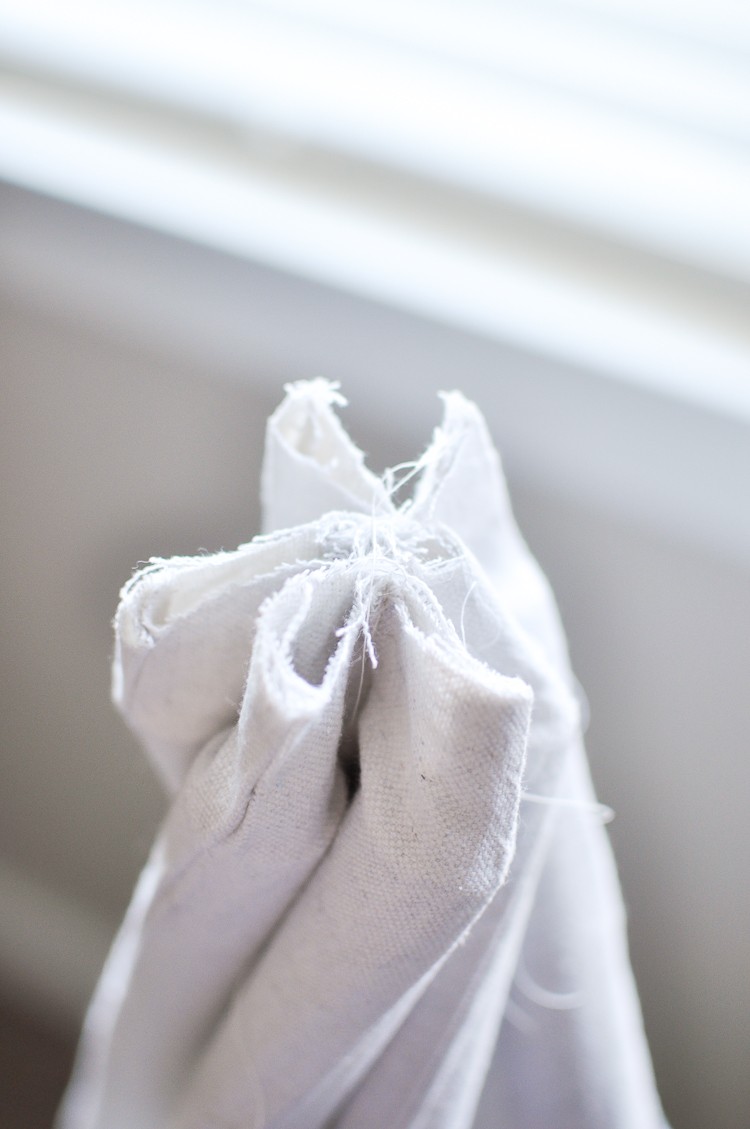
Once you are done sewing the pockets you will be left with extra fabric at the top of your tee pee. To figure out how much to remove, I inserted my PVC pipe into the pockets as far as possible while making sure they were all even at the top. Then I cut the excess off.
Step 6: Cut and Insert PVC Pipes
Measure the length of the tube where the PVC Pipe will be inserted and cut your pipe to that length. Once all pieces are cut, insert each pipe into the pockets, making sure all pipes are cut to the same length even if the fabric varies slightly.
Mine ended up being around 48 in.
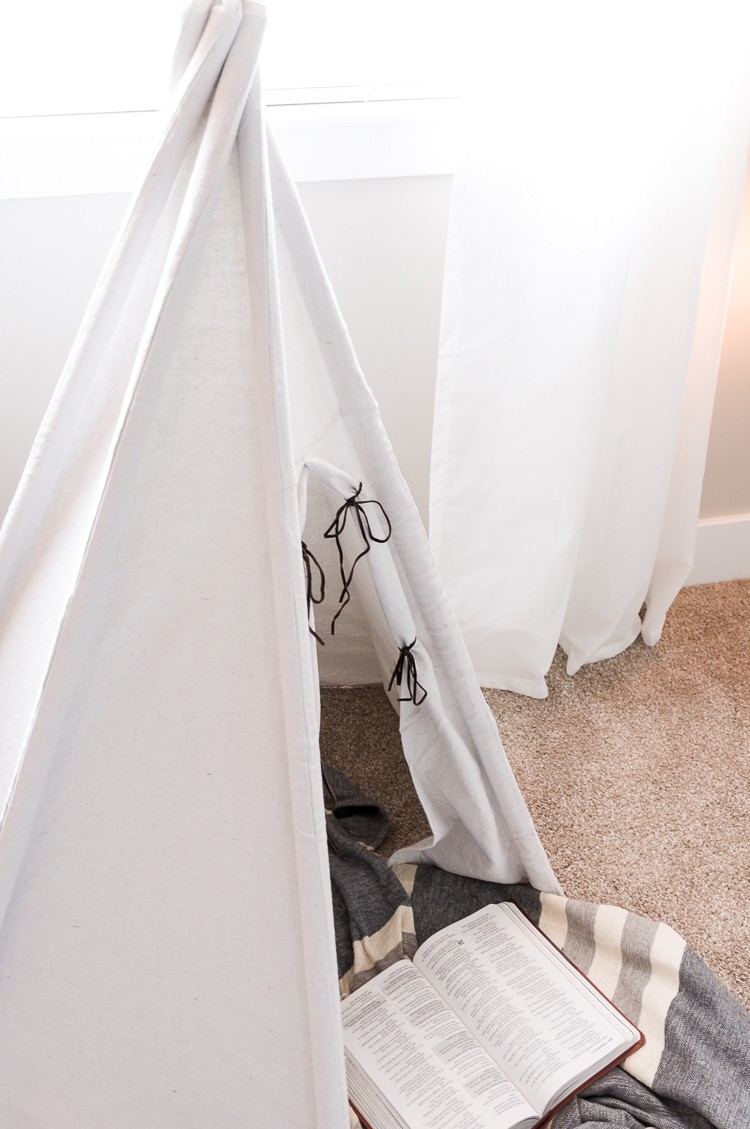
Step 7: Spread the poles out and allow the top ends to fan out

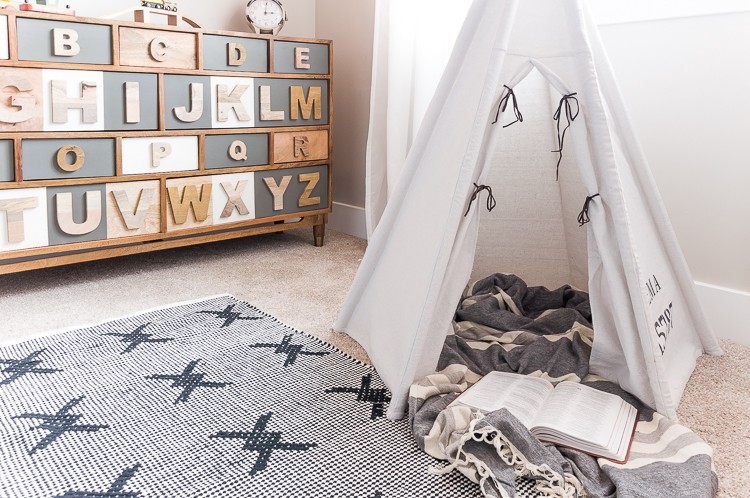
After all your pipes have been inserted, it’s time to set it up. Just start spreading out the poles until your teepee is fully stretched out.
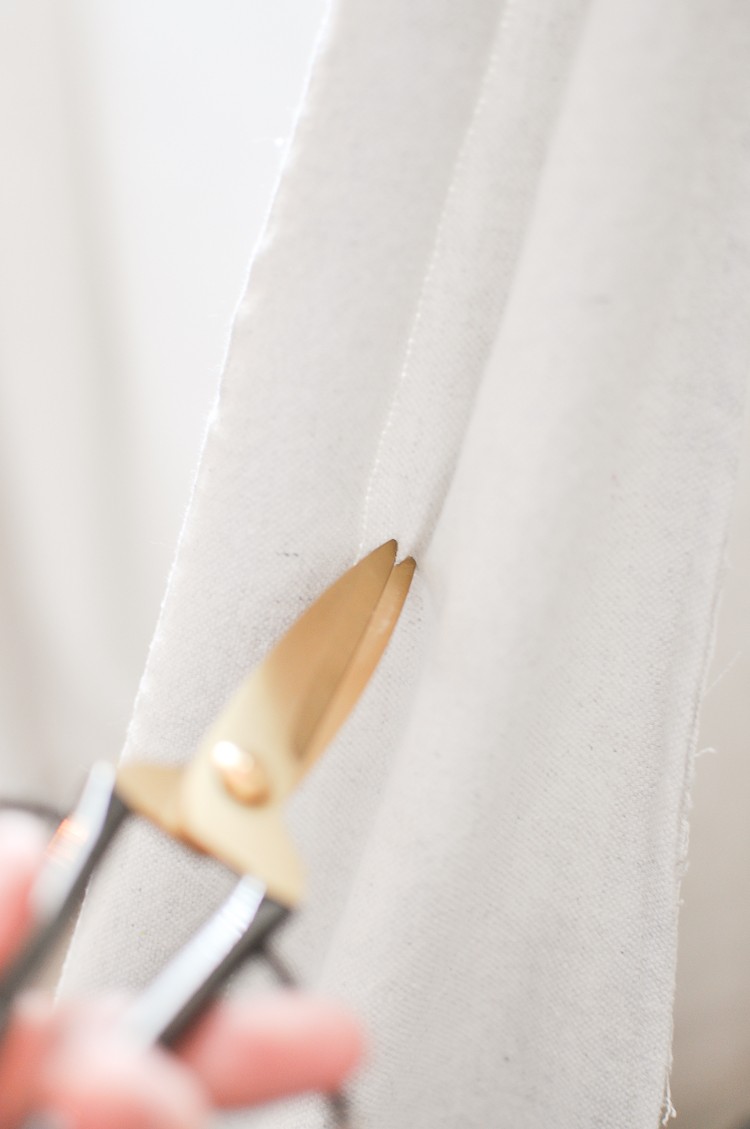
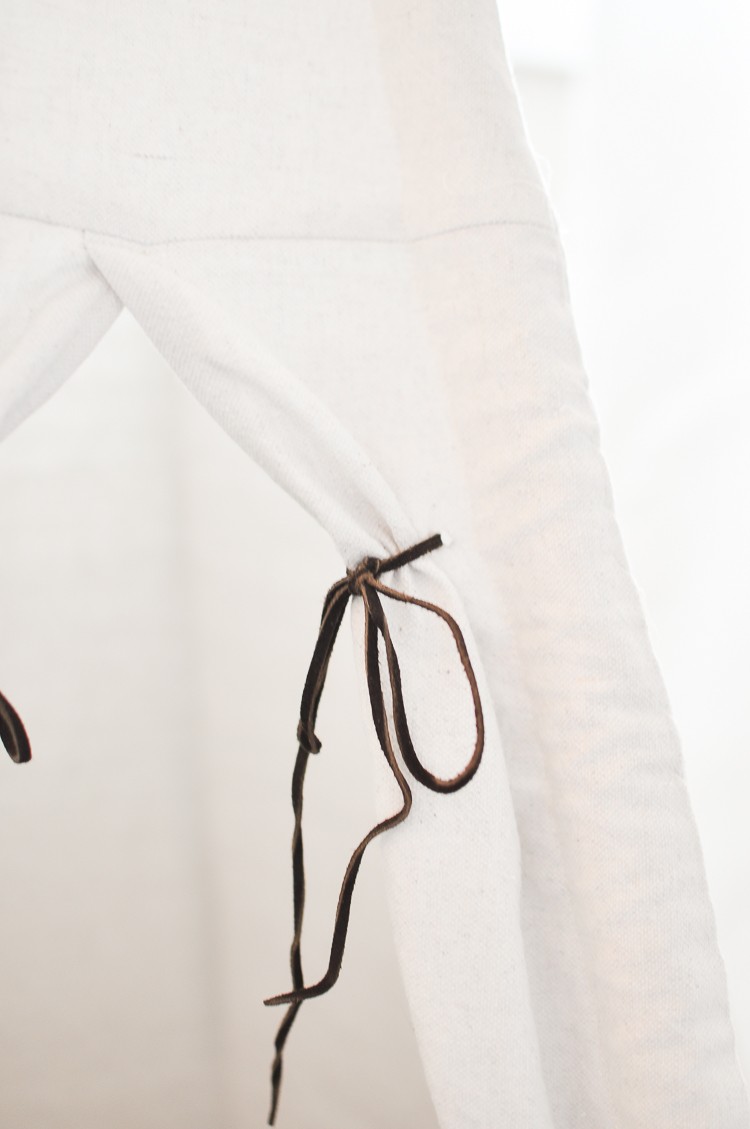
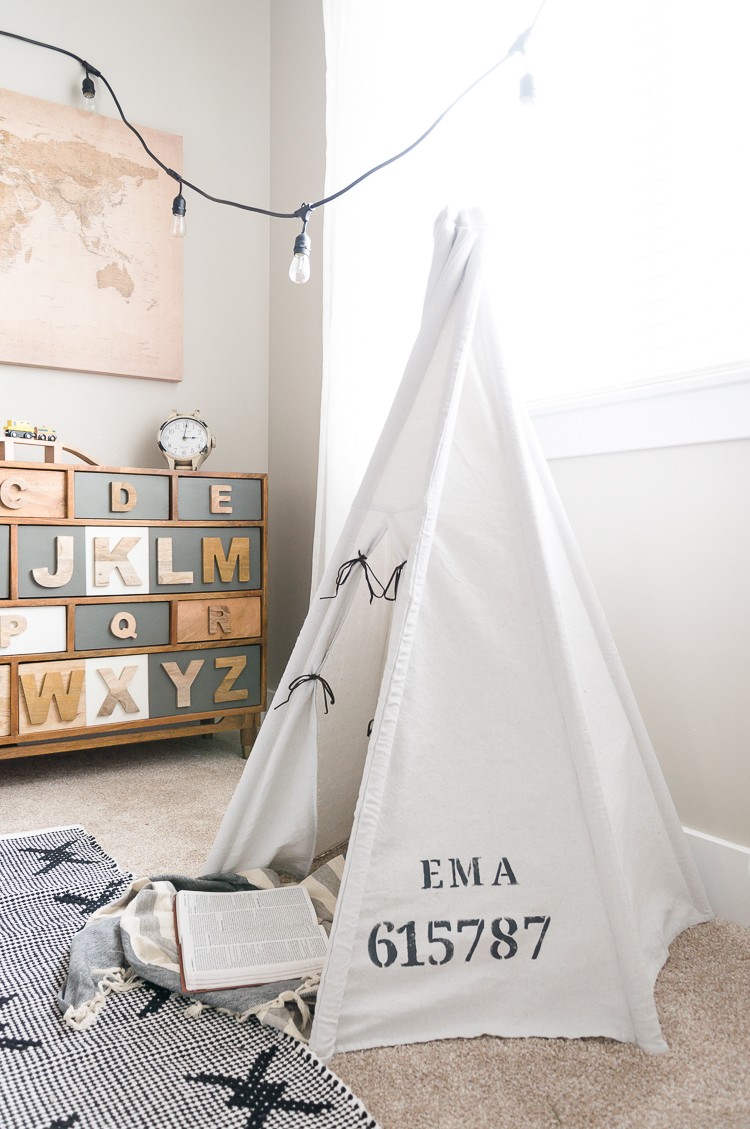
Optional: If you would like to be able to tie the door flaps back, cut a simple slit in the drop cloth and use leather string to tie the fabric open.
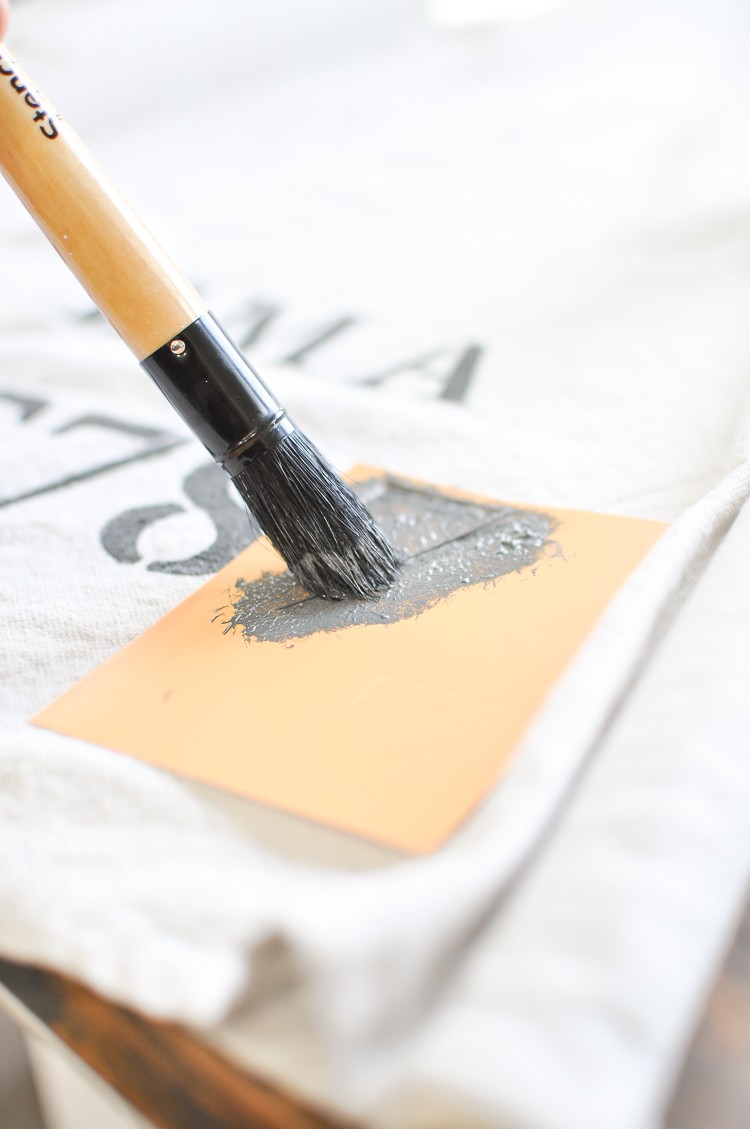
I also decided to stencil a few letters numbers on our teepee for a slightly aged/industrial look. This is totally optional, and obviously can be customized to whatever you like.
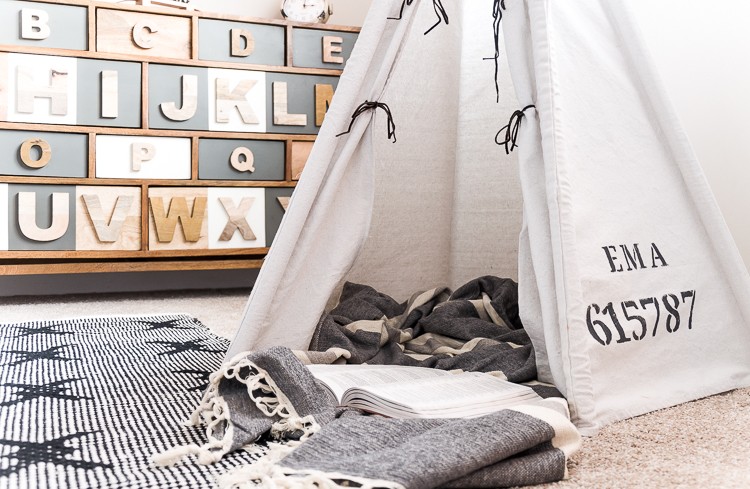
And that is how to build this fun little DIY teepee! All that’s left is to let your little ones enjoy it!
The post The Ultimate DIY Teepee for Kids appeared first on The Home Depot Blog.
