
This traditional Christmas front door look was styled by Leslie Davis of Deeply Southern Home for this year’s Holiday Style Challenge. We sent Leslie a beautiful 17-ft. garland decorated with mixed pines and burgundy poinsettias and let her do the rest.
Read on to see how Leslie created two DIY planters for her Christmas trees!
Traditional Christmas Front Door
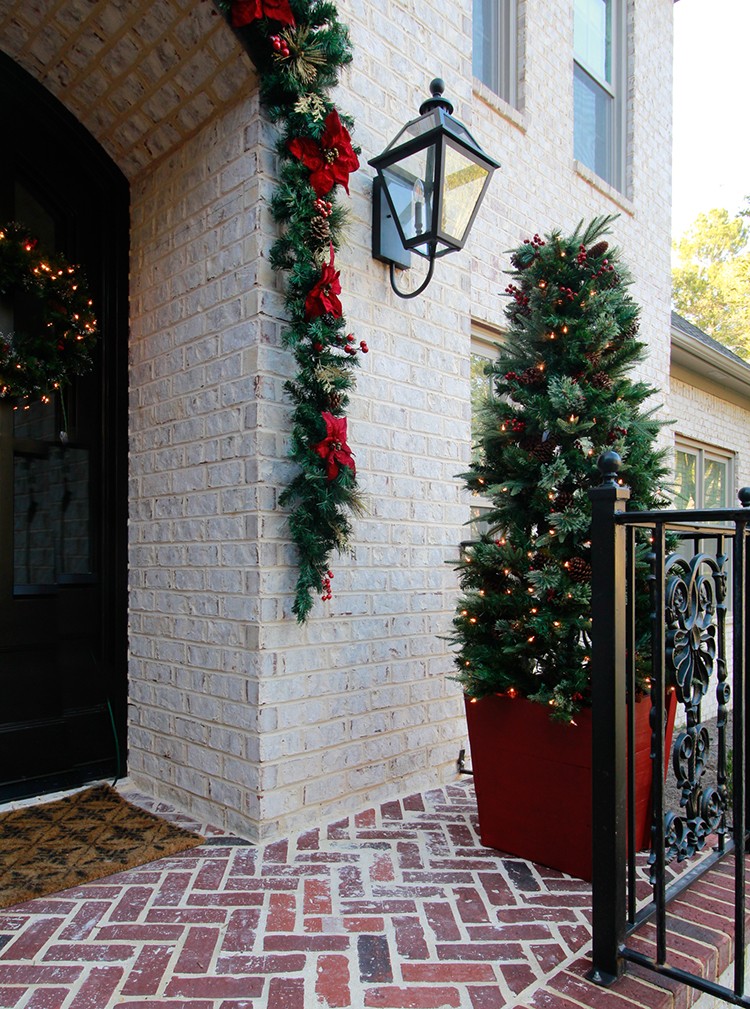
This is my favorite time of year to bring a festive look to the entry!
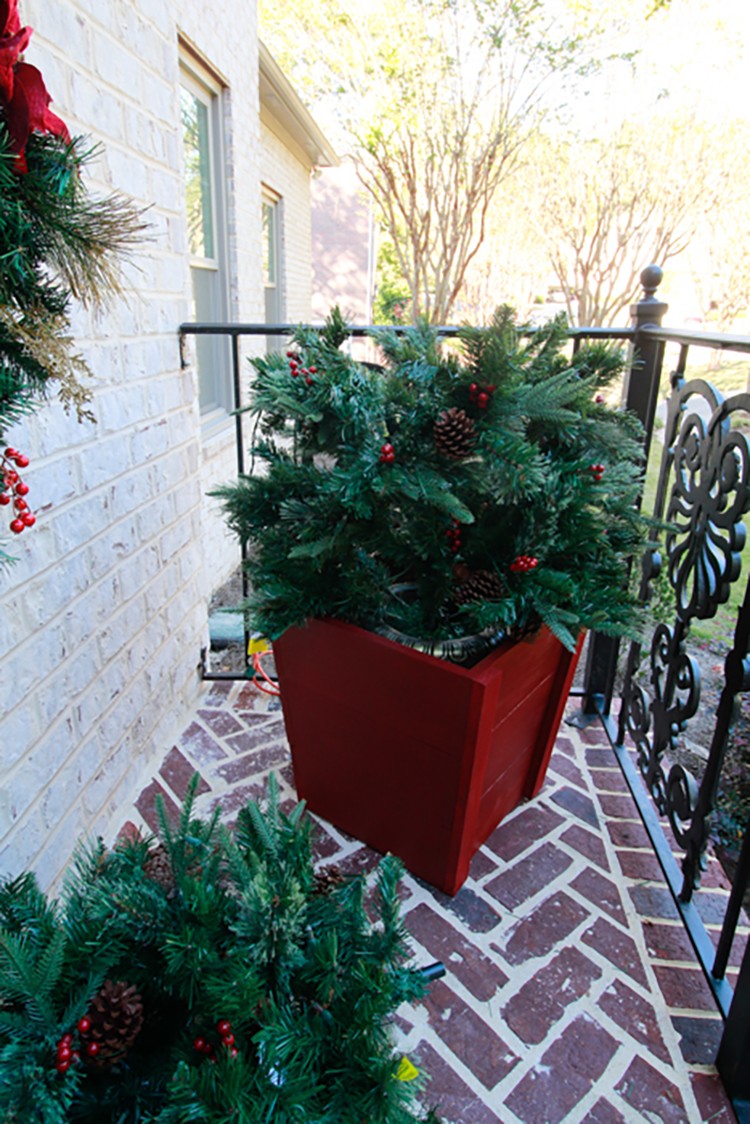
This year, I decided to flank each side of our Christmas front door with large outdoor trees. These trees come in traditional urns. I wanted to give them a bit more of a festive presence with these clean-lined DIY planters. They also add an extra bit of protection from wind.
DIY Festive Planter Tutorial

I painted the planters a deep red, Glidden California Claret, that coordinated with the oversized garland adorning the arch. The paint color can be customized to your own exterior style and colors.
The DIY planters are super simple builds, except for the addition of a few angle cuts. The good news is I’ve done my best to simplify the build. Even a math adverse person like myself can easily complete this project.
Materials
- 1 2 x 4 Pressure Treated Lumber
- 4 4 x 6 x 6 Premium Treated Picket Fence
- Box of Spax #10 3 in. Screws
- Fence Brackets to be used as feet ( FB24Z optional)
- Potted Christmas Tree
Tools
- Drill/Driver
- Miter Saw
- Table Saw (Optional)
- Brad Nail Gun
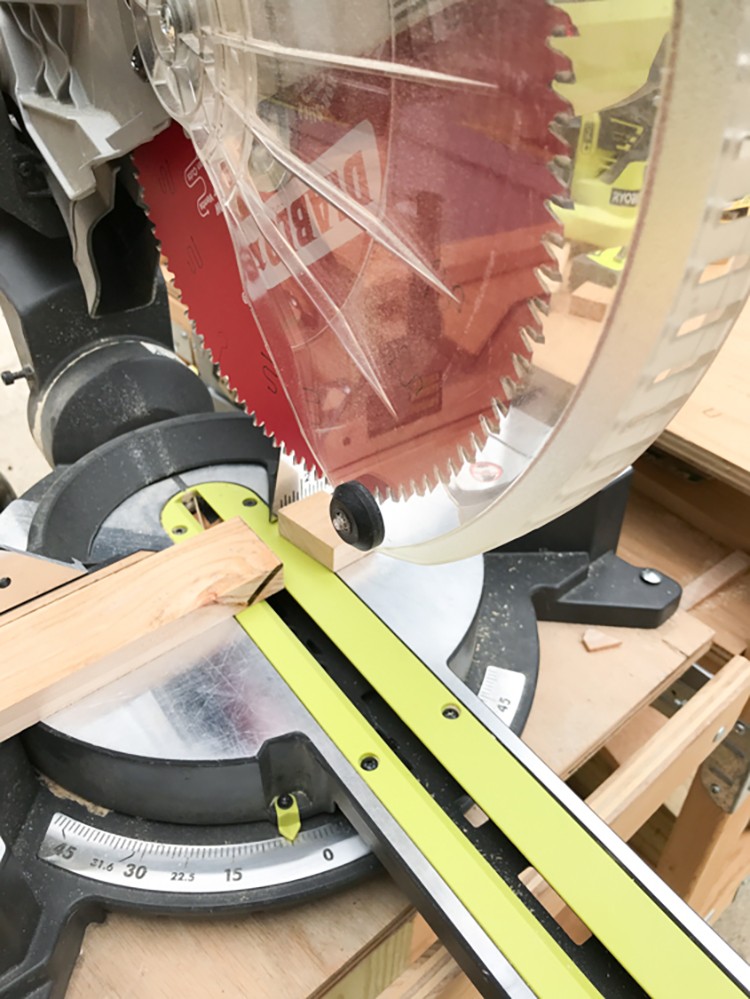
Step 1: Cut the Boards

Cut the fence boards to fit around the base of the tree planter. Above is a sketch of the finished sizes. Double check to make sure your tree base will fit inside these measurements.
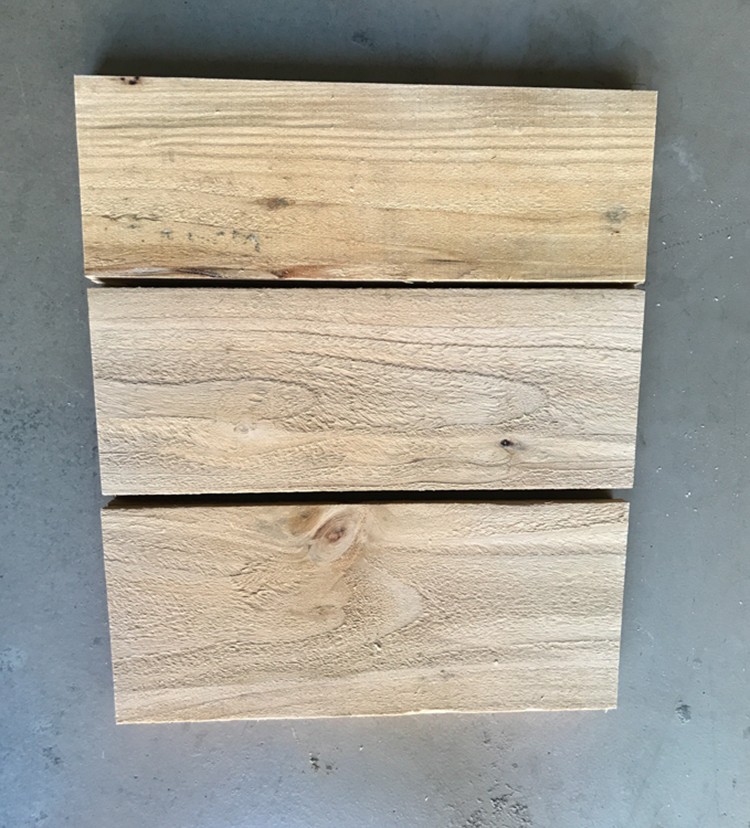
Don’t worry, it’s much easier than it seems. The shapes are basic trapezoids.
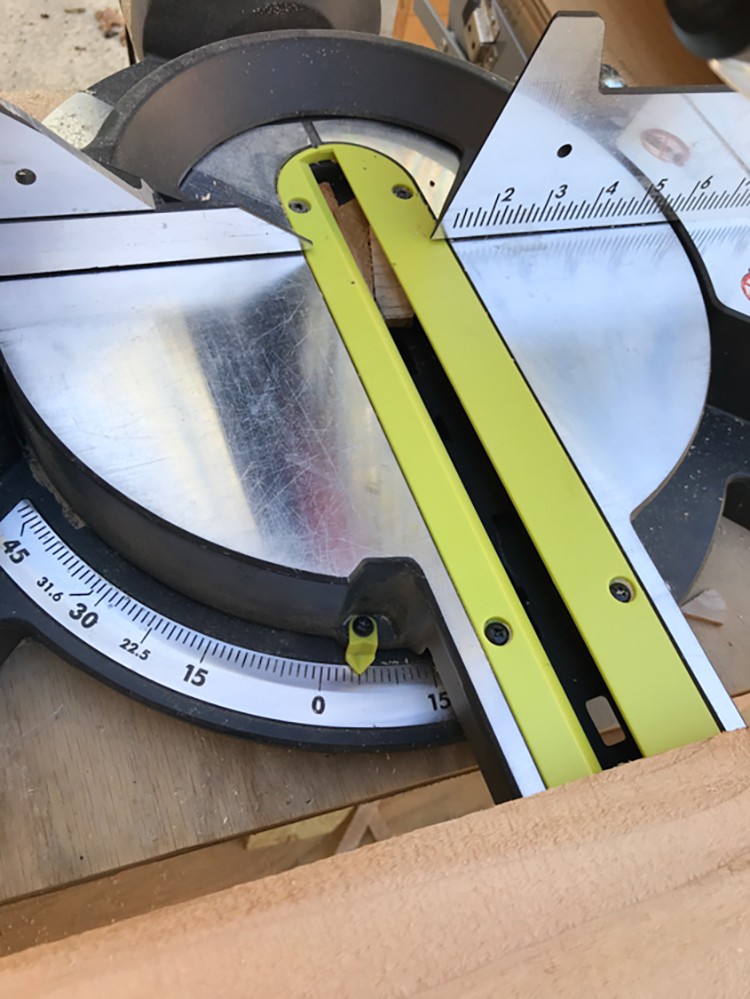
Each piece is cut at a 5° angle on a miter saw.

If you have to modify the size of the planter, cut the top of the top board and the bottom of the bottom board so that the difference when subtracted is 3¼ in.
For ease and accuracy, I also kind of cheated for the measurement of the middle.
Once the top and bottom pieces were cut, I set a board in between them with one side cut at the 5° and then used a yardstick to find the other measurement. Easy peasy!
Repeat this for both the back and the two side pieces which are smaller.
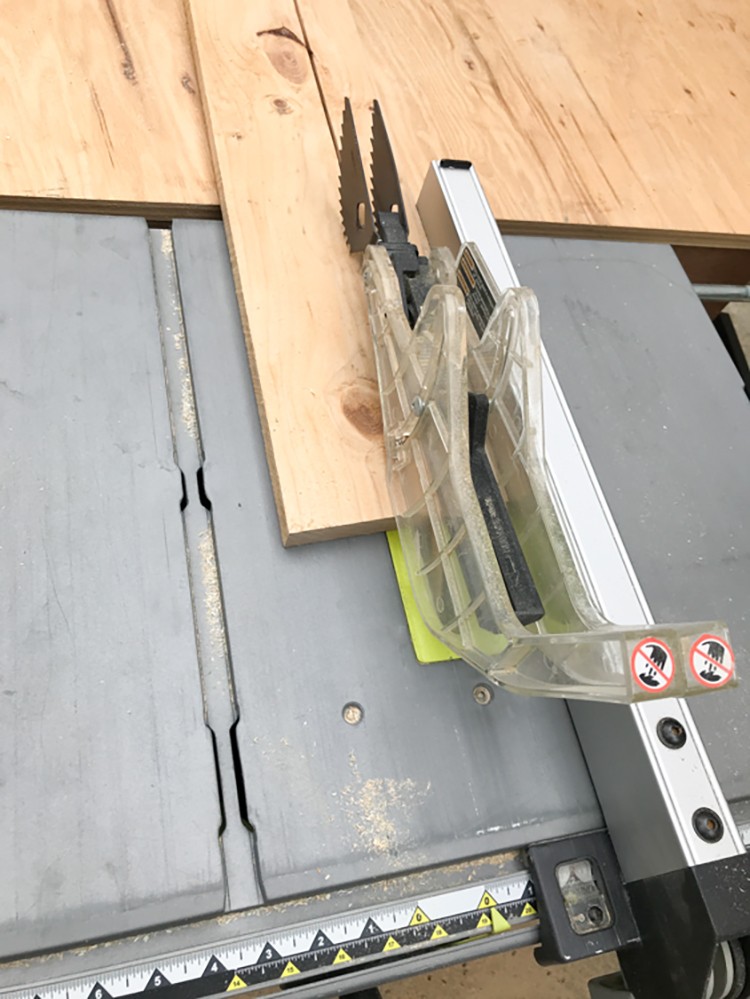
Cutting the Boards to Size, Continued

To be sure all of my corresponding pieces are exactly the same size, I cut all of them at the same time. Here’s how I do it.
The board on the top is my first one, another board is lined up perfectly on the far edge. I pull the blade down (not powered) and line the top board with the blade. Once the lower board is secure against the fence and lined, I pull back the top board and cut. Then you end up with boards that are exactly the same.
Cut 2 x 4’s to 16 in. with 5-degree ends. I added the optional fence caps to these 2 x 4’s for extra weatherproofing. The caps elevate the fence boards off the ground so that they can dry faster and not sit on cold damp concrete.
Now that you have six front/backs and six sides and the support 2 x 4’s you are ready to assemble.
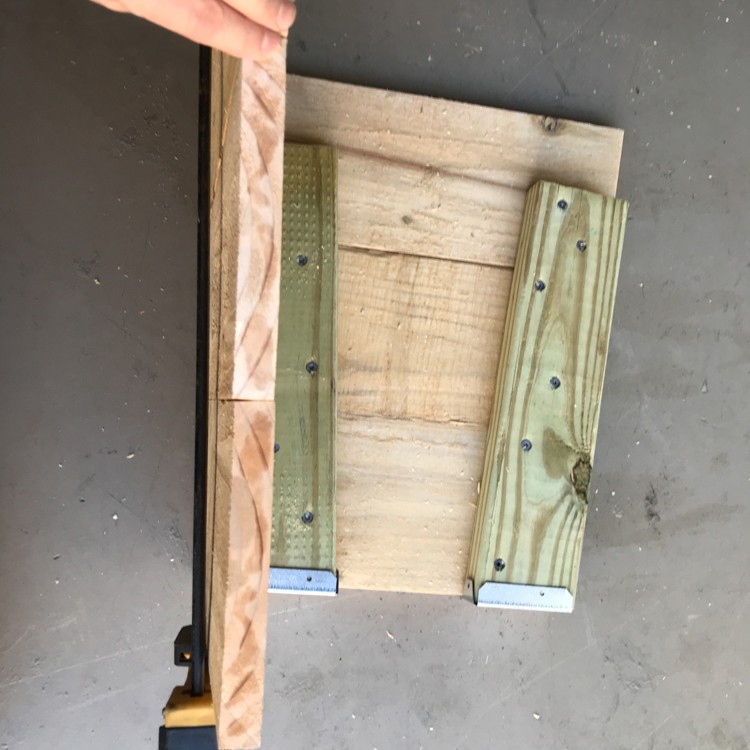
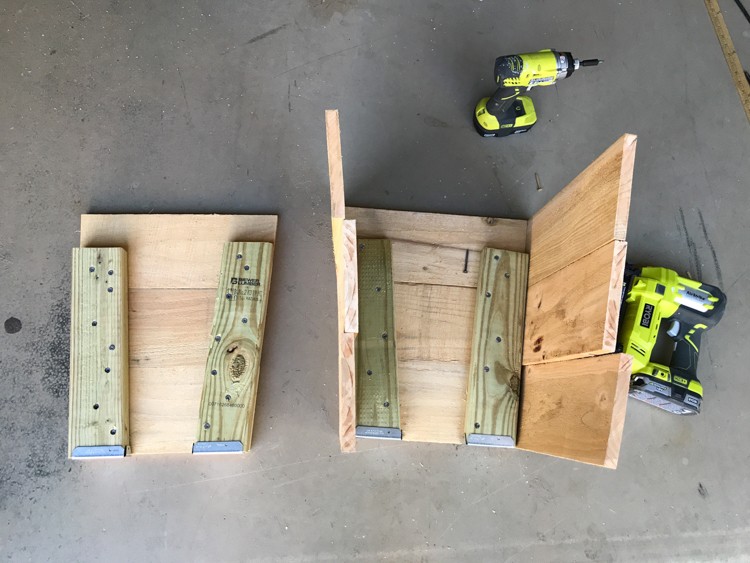
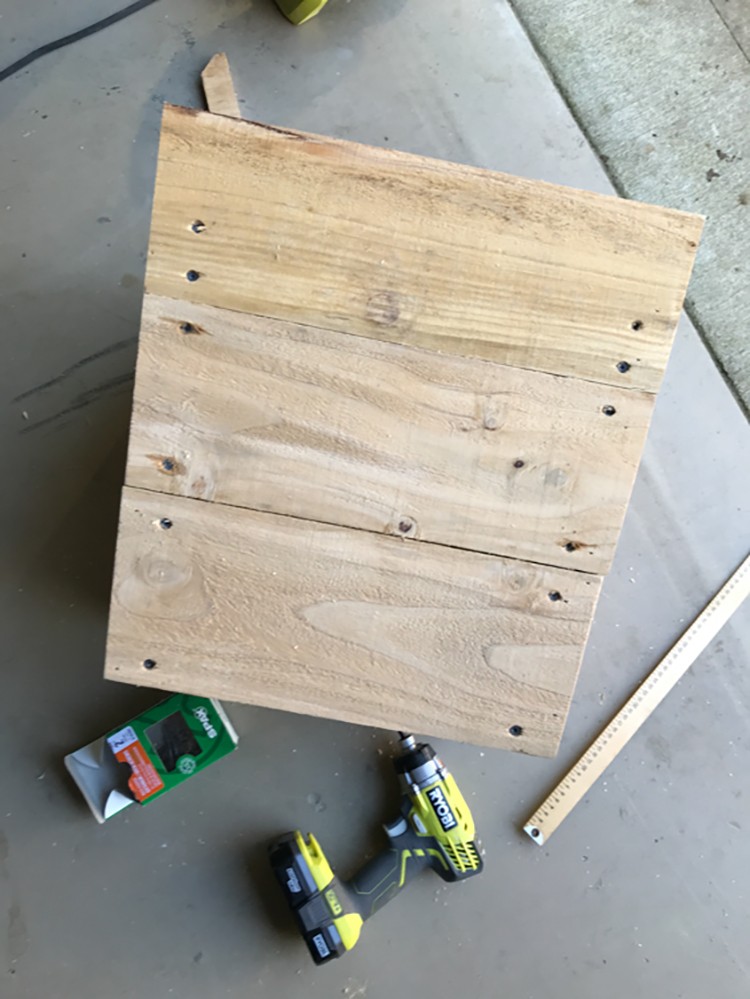
Step 2: Side Assembly

Clamp the three smaller side panel fence boards together. Using 3 in. screws, attach the 2 x 4 to panel.
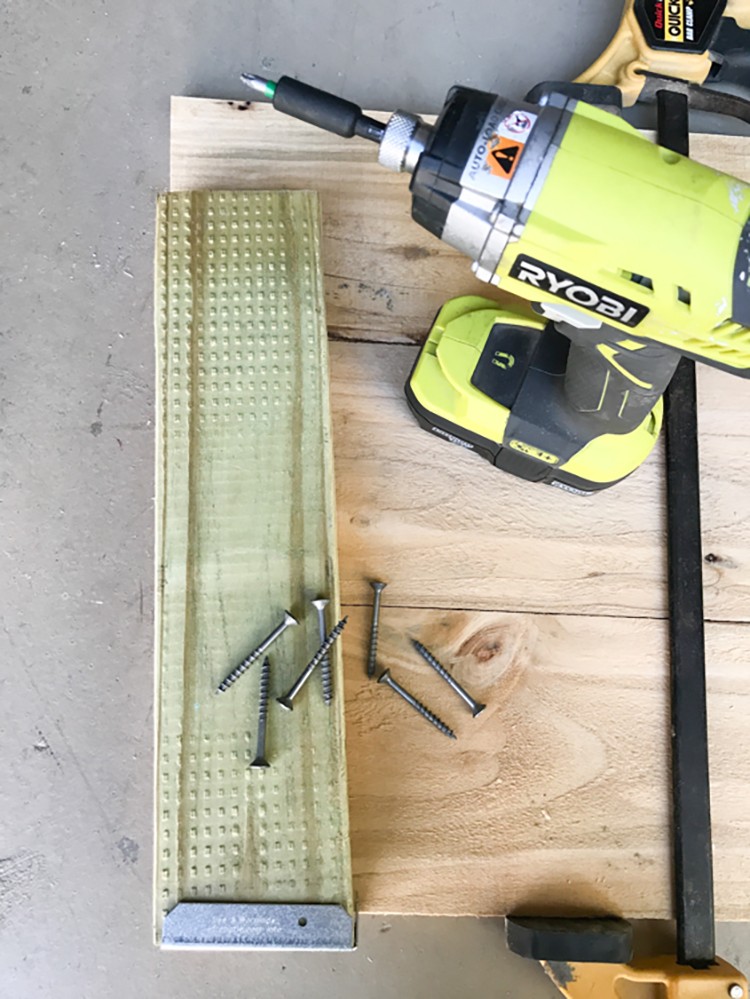
Repeat on the opposite side so that you have two “legs.” It is handy to use an extra 2 x 4 to make sure everything is aligned properly.
Again, repeat these steps for the second side panel. Set aside.
Step 3: Build the Planter
Clamp the larger, front panels together.
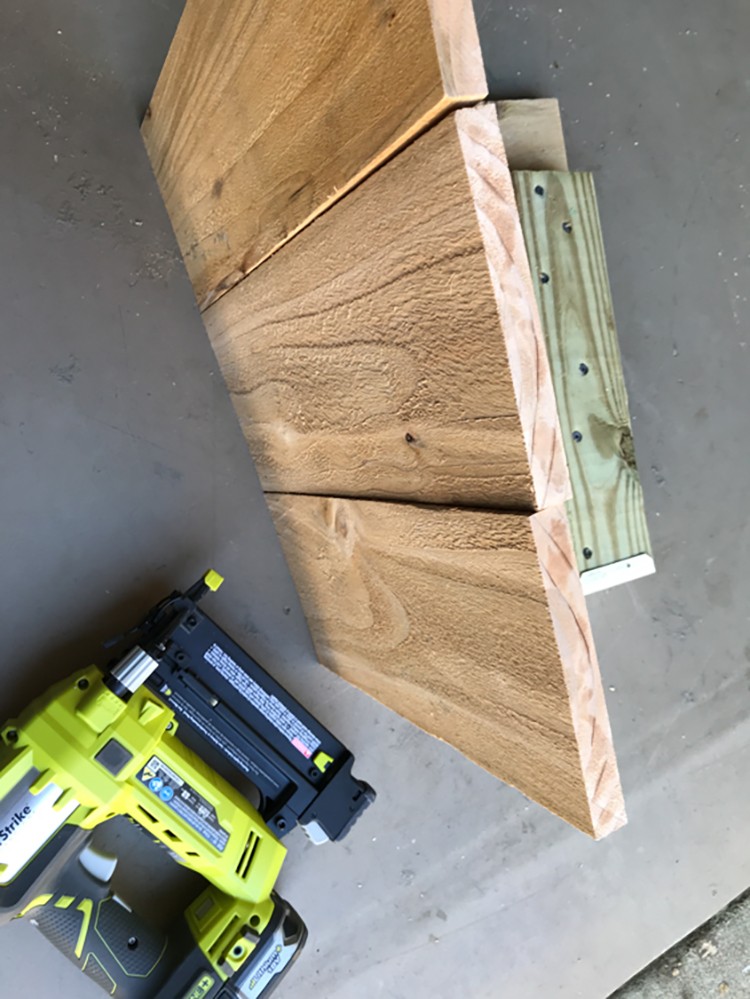
Stand the panels up against the side that is on the ground and against the 2 x 4.
For ease of construction, it is helpful to use a brad nailer to hold the panels in place.
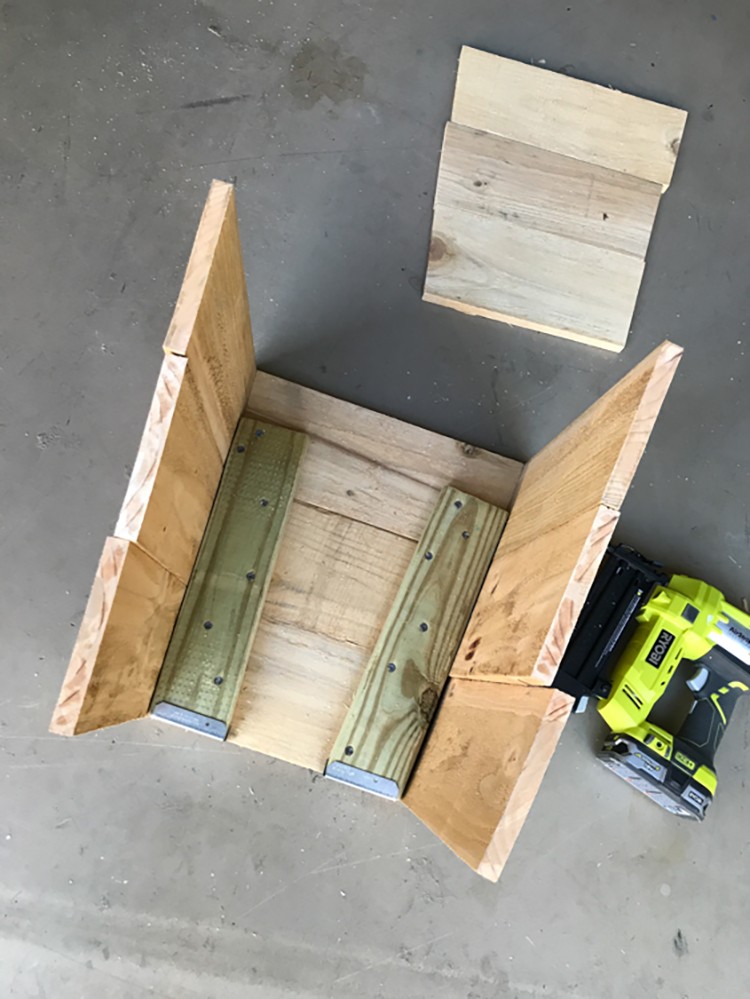
Repeat this for what will become the back.
Now you are ready to add the last side.
Nail it in place. With everything initially held in place with the nails, rotate the planter and reinforce with screws.
Add screws to both the front and back. It is helpful to use a ruler to check your spacing from the edge.
Step 4: Sand and finish
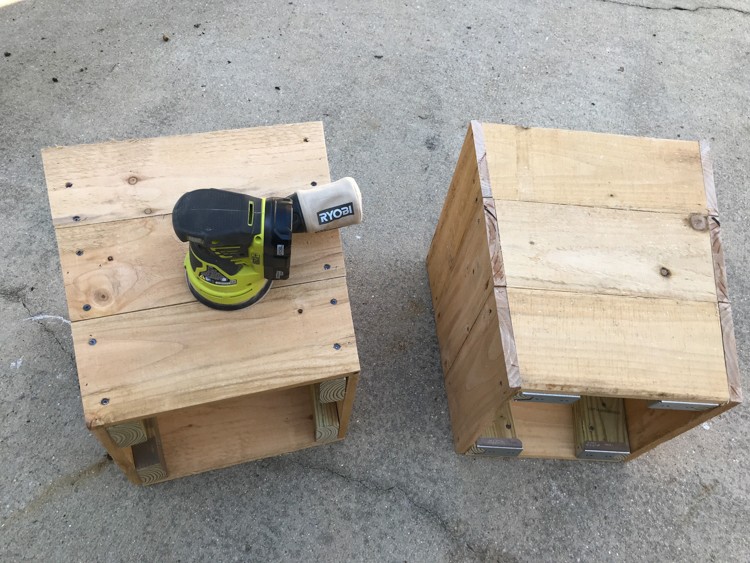
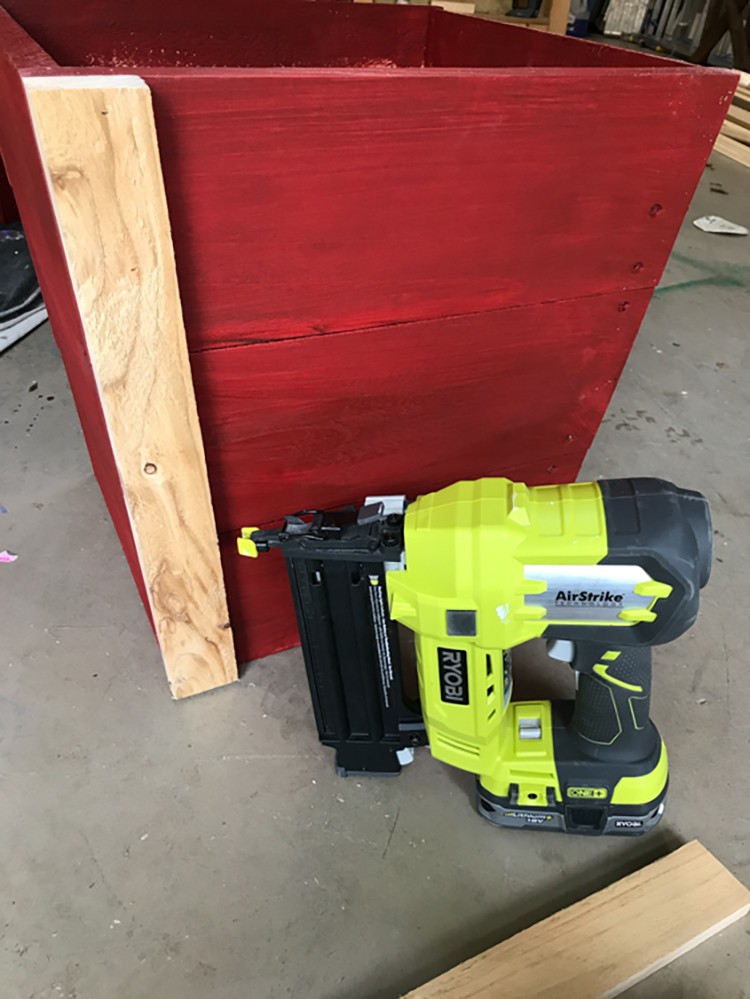
Sand each planter for a smoother surface. After painting, I decided to add trim to cover the screws. I had initially thought I might like the more “industrial look.” If that is the style that works for your decor, feel free to skip the trim.
Just like the “legs,” the trim will need to be cut at the 5° angle.
I used scrap fence boards for the trim by cutting them down on a table saw. If you don’t have a table saw you can purchase 1 x 2 material to use for the trim.
Step 5: Add the Tree


Now you are ready to add your tree!
Finish the Look for Your Christmas Front Door
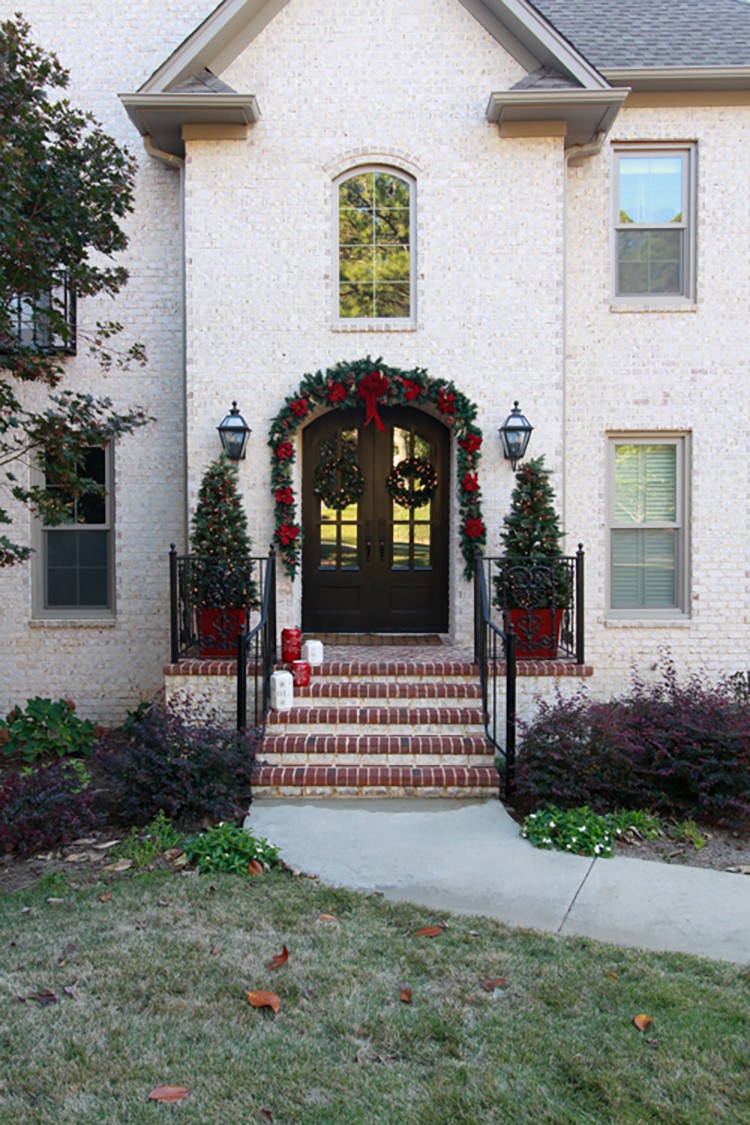

The trees are the perfect accompaniment to the 17-ft. of garland that follows the brick arch of the entry.

The pair of lit wreaths continue the symmetry for a perfectly balanced, welcoming traditional Christmas front door.
For more DIY holiday ideas, see other articles in our Holiday Style Challenge series. Follow our Holiday Style Challenge board on Pinterest.
Visit The Home Depot’s online Holiday Decor Department for more beautiful Christmas front door decorations.
The post Traditional Christmas Front Door appeared first on The Home Depot Blog.


