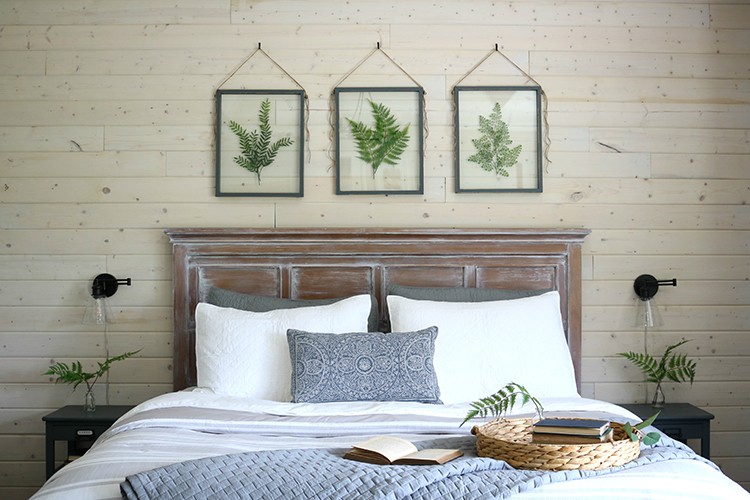
Corey Decker of Sawdust 2 Stitches needed something to spruce up her blah bedroom. She typically used it as storage space for extra furniture, but decided that it needed an accent wall. Find out how she used beachwood appearance boards to create a coastal retreat.
Transform Your Bedroom with Beachwood Appearance Boards
Hey all! My master bedroom has always been the storage space for all my leftover furniture. It was the place all the cast offs gathered. Granted, it wasn’t awful, it just wasn’t great. It was blah… It needed something. It needed an accent wall, but not just any accent wall, it needed to be light and airy, while still having some character. That’s when I found these amazing shiplap style (tongue and groove boards) that had tons of texture, without being too distracting. It was a match made in heaven and I decided to design my whole room around these yummy boards! So if you need some inspiration in any room, follow along to see how easy it can be to take your room from “blah” to magazine drool worthy!
Materials
- Silva Star Prefinished Boards (20 sq. ft. per package)
- 2″ Finish Nails
- Moulding (Optional)
- Corner Trim (Optional)
- Caulk (if adding moulding or trim)
Tools
- 3′ Level
- Pencil
- Square
- Tape Measure
- Drill
- 1/2″ Drill Bit
- Jigsaw
- Nail Gun
- Table Saw
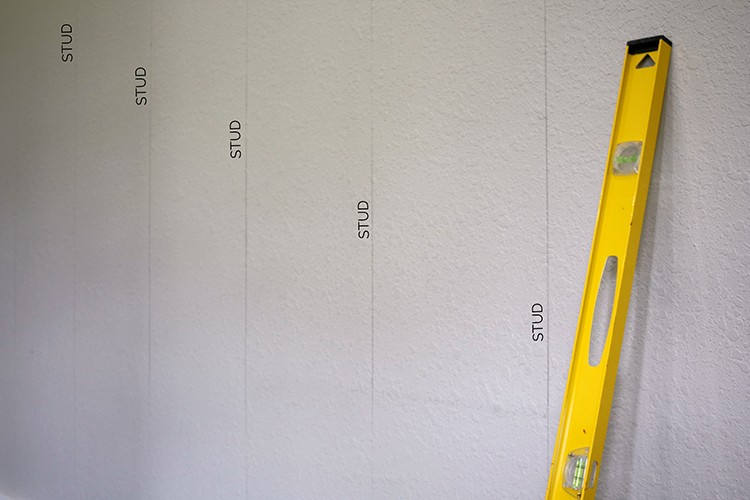
Step 1: Pre-Mark Studs

Ok, let’s dive in! The best way to effectively attach the boards to the wall, is by making sure you are hitting a stud with your nails. The easiest way I have found to do this is to pre-mark your studs. Find your studs and then draw a line using the level so that you will always have a point of reference. (This little step will save you a lot of time and nails!)
Step 2: Measure Square Footage
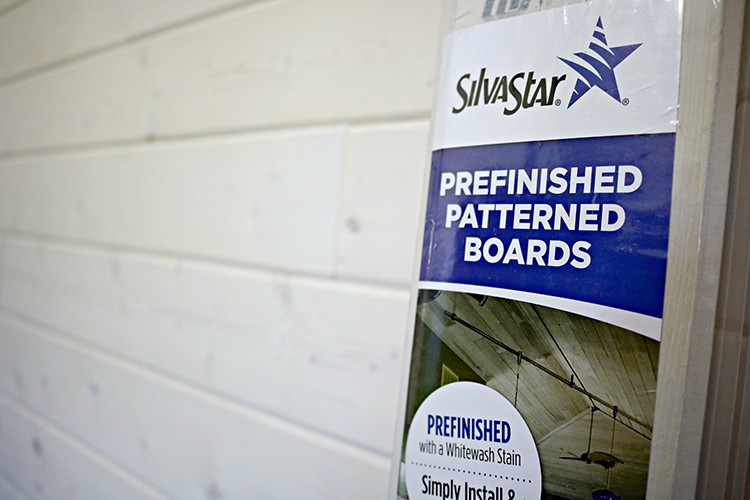
Once the studs are marked we are ready to begin! You will need to measure your square footage, for instance the wall I am applying the appearance boards to is 10 x 15 ft. So, I needed approximately 150 sq. ft. (It’s smart to factor in about 10% for waste.) When picking my shiplap boards I opted for the SilvaStar Prefinished Patterned Boards. They have a really awesome whitewash finish that still allows you to see the board’s natural beauty! I love that it gives it a light and airy feel without being to polished.
Step 3: Attache the First Beachwood Board
To get started I attached the first board at the base of the front of the board. (I will only do this on the starter board.)
Then using a nail gun positioned at a 45 degree angle I nailed at the base of the tongue of the board into the wall. (Making sure to hit one of your established stud lines.)
Step 4: Install the Boards
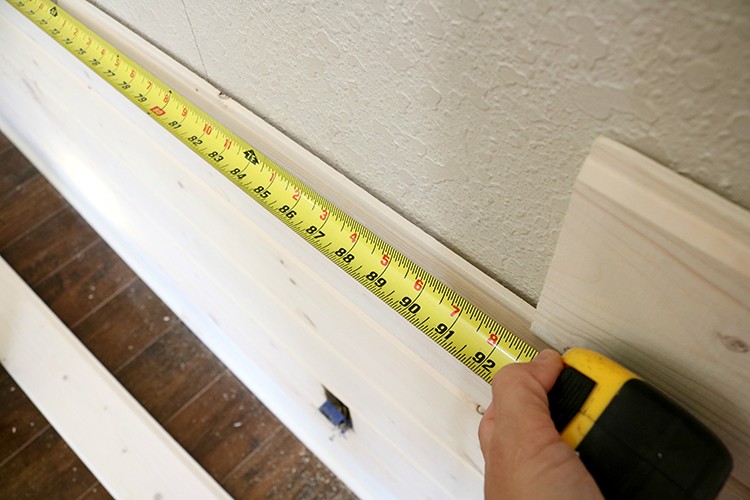
That’s it! That is all it takes to install these boards! You are now ready for your next board. Using a tape measure, measure the length of your next board.
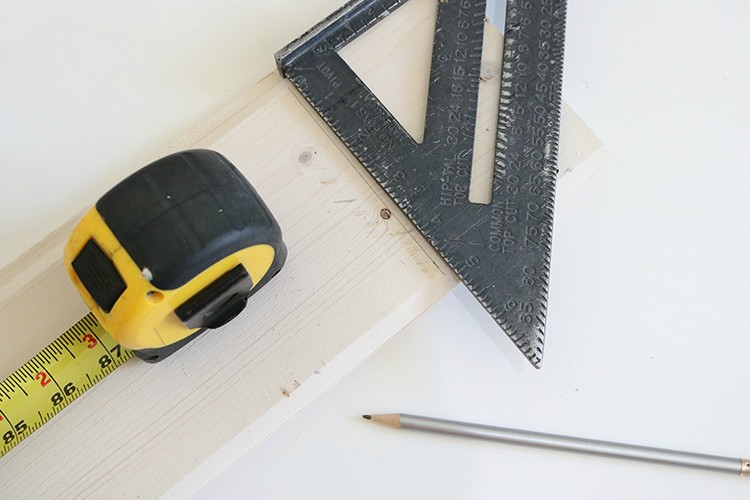
Step 5: Mark the Length of Your Next Board
Mark the length of your next board. Once you have determined the length use a square and circular saw (or a mitersaw) to cut the board. Then install as previously shown.
Tip: Make sure you stagger the length of your starter board in each row. By doing so you will avoid having all your board joints from lining up. I would highly suggest having these joints staggered, not only for stability, but also for aesthetics.
Step 6: Slide the Boards into Place
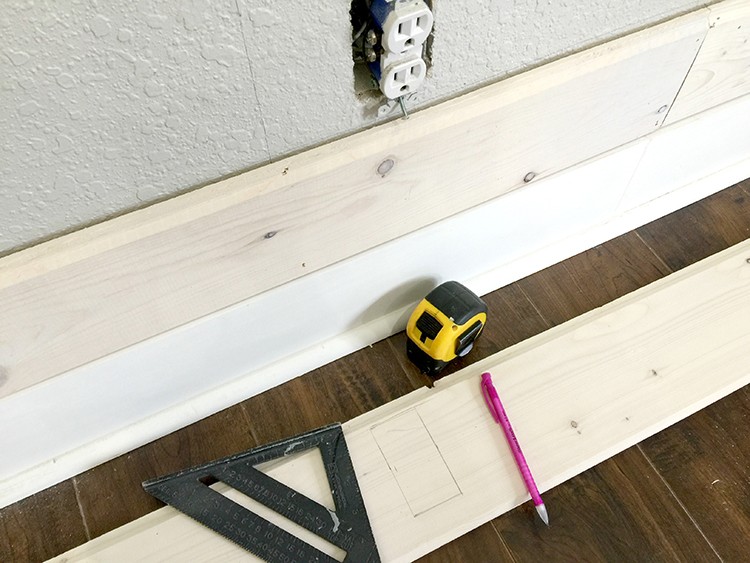
As you can see the application is really simple and straight forward. The boards slide into place, and the tongue sits in the groove, making it easy to install with just one person. I have found that the trickiest part is when you need to incorporate an outlet, or switch. In all honesty, it really isn’t that bad. Just take careful measurements and you will be fine! Start by measuring the placement of the outlet, and transfer those measurements to your next board.
Step 7: Cut Out the Beachwood Boards for Outlets
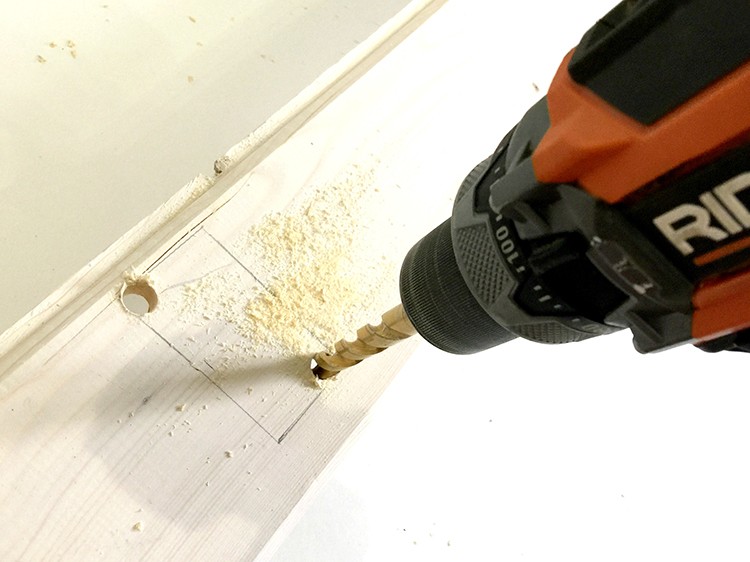
Now, if you have never completed a cut out on your own, no worries. You can do this! I have found that the simplest way to create a cut out is by first using a drill, and a drill bit to make holes in two of the corners of your cutout.
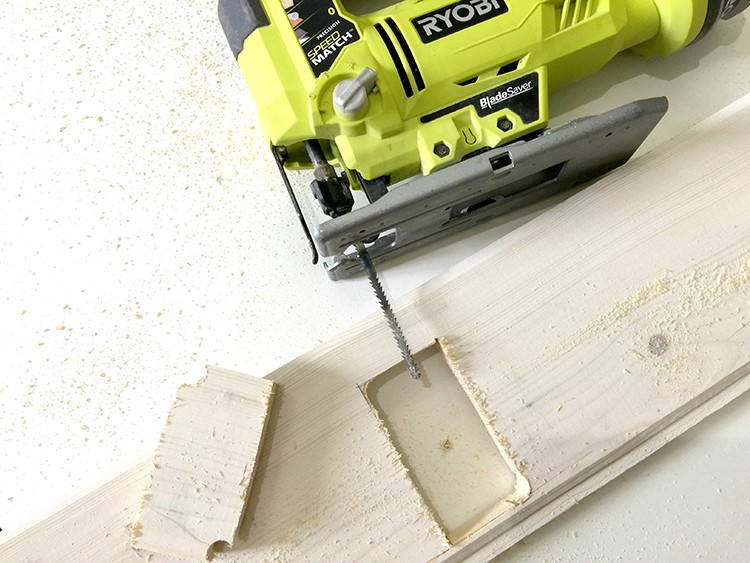
Then using a jigsaw, place the blade in one of the holes, and simply connect the dots!
Step 8: Install Outlets
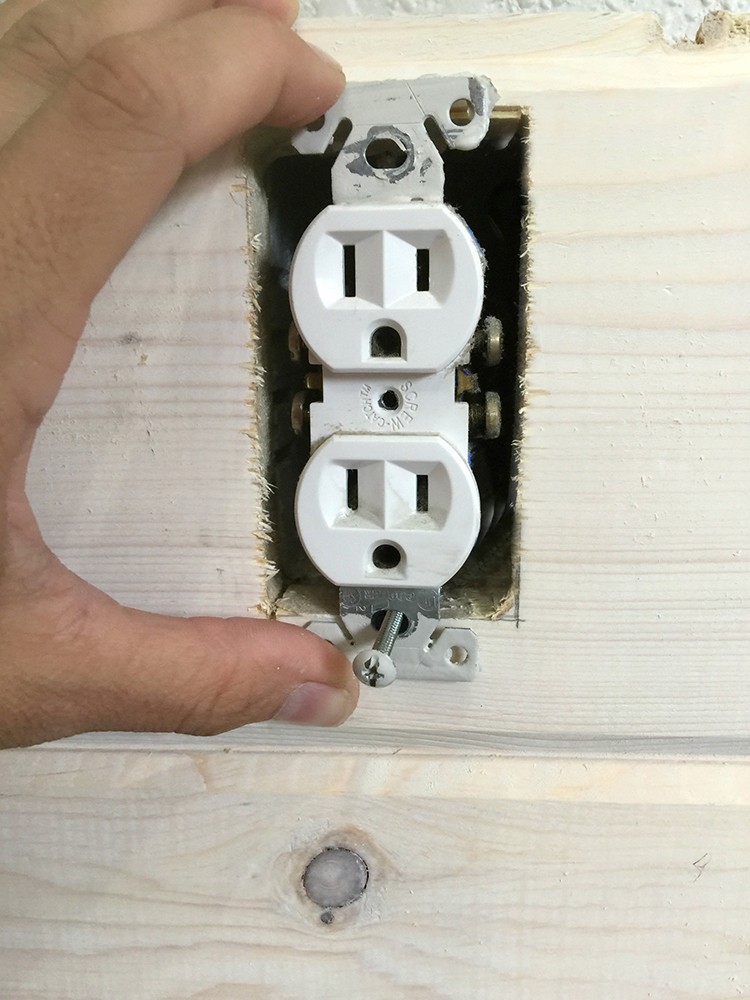
(Make sure you kill the power to the room you are working on!) Then slide the board in place , and string the outlet through the hole. Odds are you will need longer screws to secure the outlet to it’s housing, but those are available at The Home Depot.
Once you have the outlet screwed back in place, you will be able to replace the cover.
Step 8: Rip Beachwood Boards to Size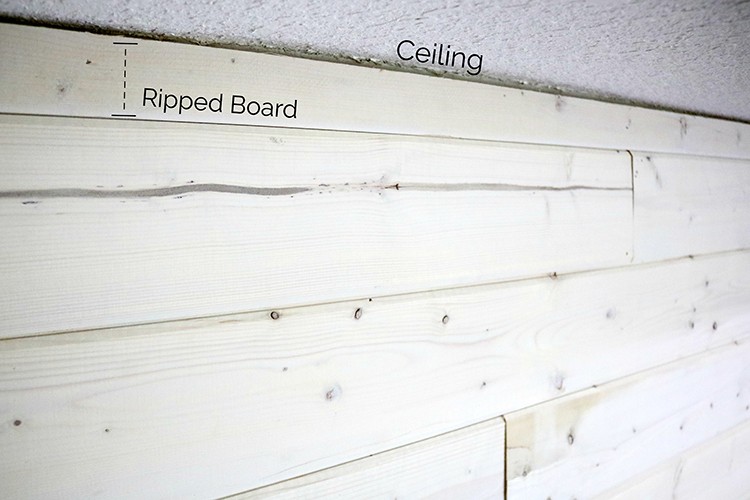
Seriously, that was the trickiest part! Just keep installing boards as shown above. Once you get past outlets it should become pretty methodical. Just keep going until you get to the ceiling. Depending on the height of your ceiling you may need to rip (cut lengthwise) your last row of boards. I used a table saw to make this last cut. As you can see my last board does not touch the ceiling, here is why… First of all, you need a little room for play in order to be able to squeeze that last board in…
Second, I knew I was going to be putting up moulding that would cover the discrepancies. Now you may ask, why even put up the last piece of shiplap? Well, that is your call, because of the type of boards I was using for my moulding, I wanted to be able to have a nice secure board (shiplap board) to fasten my trim to.
Step 9: Caulk the Seams
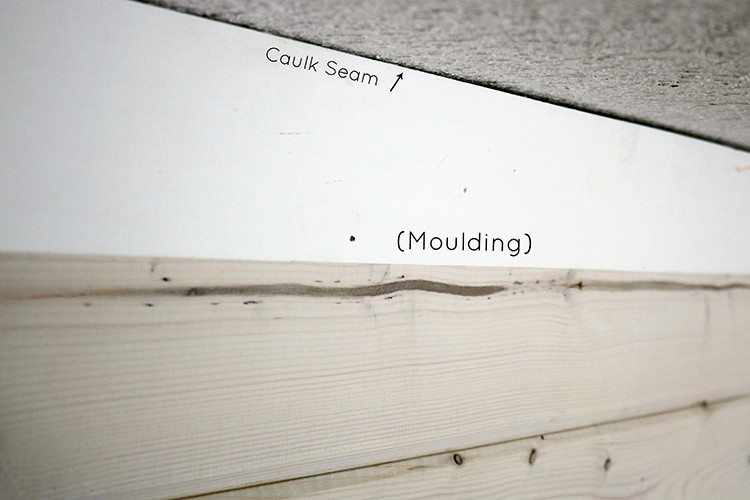
Once I finished installing my moulding I did caulk my seam where the moulding and ceiling meet. Caulk fixes everything!
Finishing Touches
 Because I was using this as an accent wall, I wanted create a very finished look in the corners. I used a small piece of quarter round to hide any gaps where the shiplap and adjacent walls met.
Then I put the room back together and basked in the gorgeous ambiance these boards create! I am absolutely in love with the beautiful texture of the boards. They are still very bright and light without looking sterile. This may in fact be my new favorite room in the house!
Final Reveal
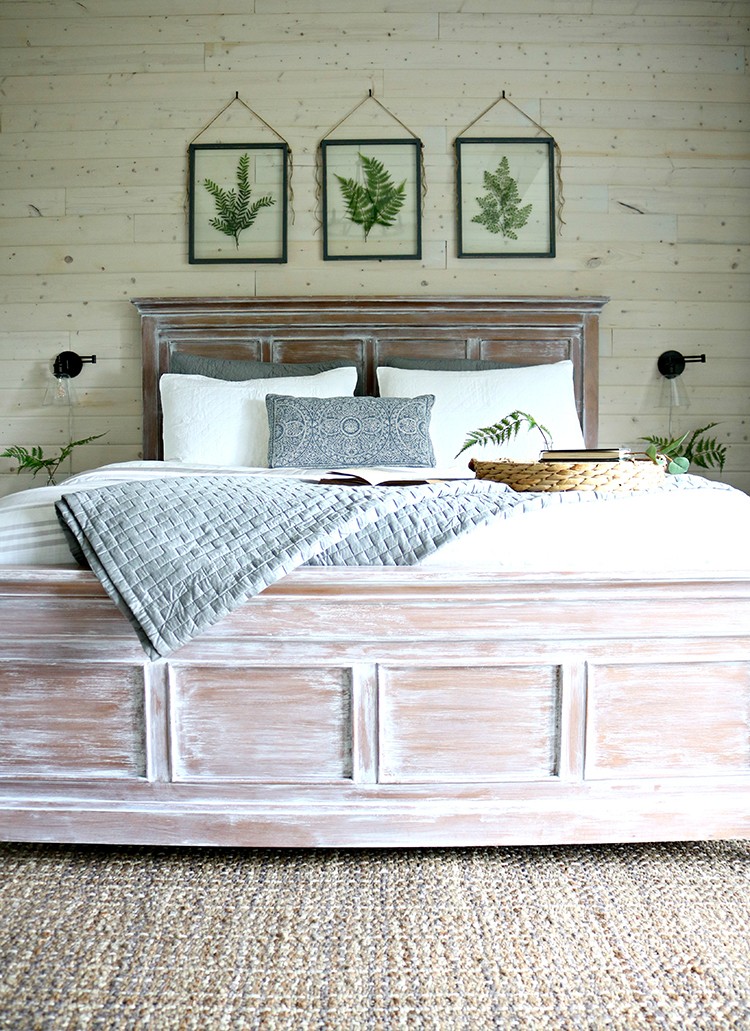
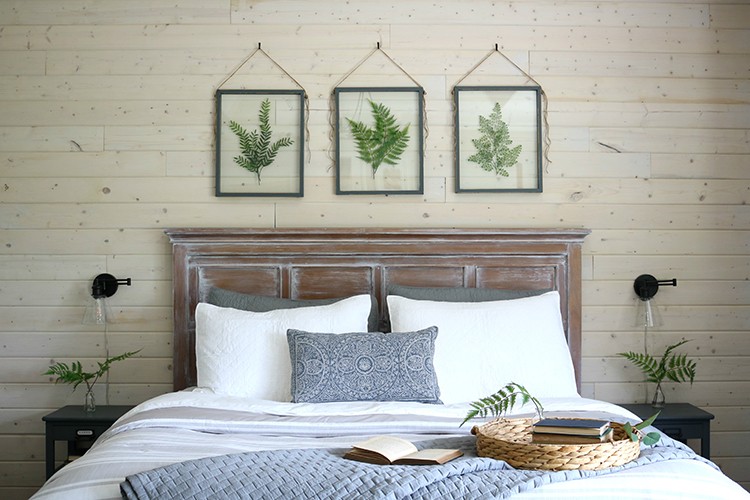
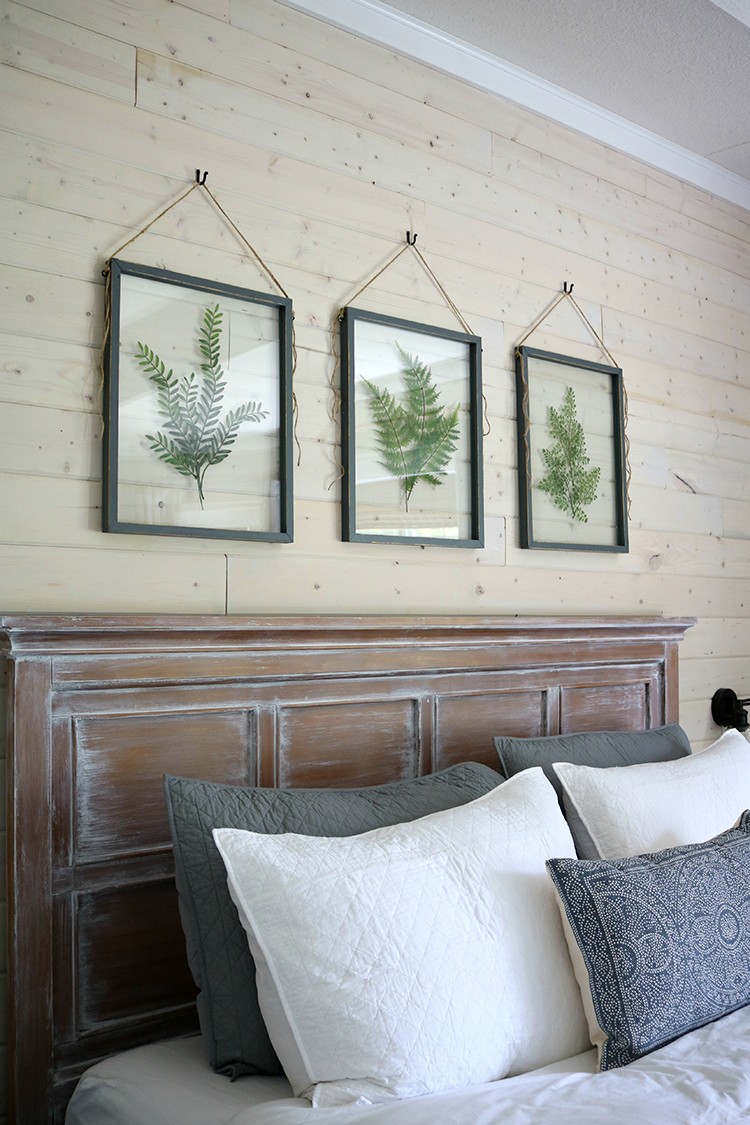
Thanks for following along! Take Luck, Corey.
Follow our Bedroom Ideas board on Pinterest for more inspiring decor ideas. Find more inspiration to decorate your living room for your style in our Bedroom Ideas on The Home Depot Blog.
To create your own beachwood bedroom accent wall, shop beachwood and other appearance boards at The Home Depot.
The post Transform Your Bedroom with Beachwood Appearance Boards appeared first on The Home Depot Blog.
