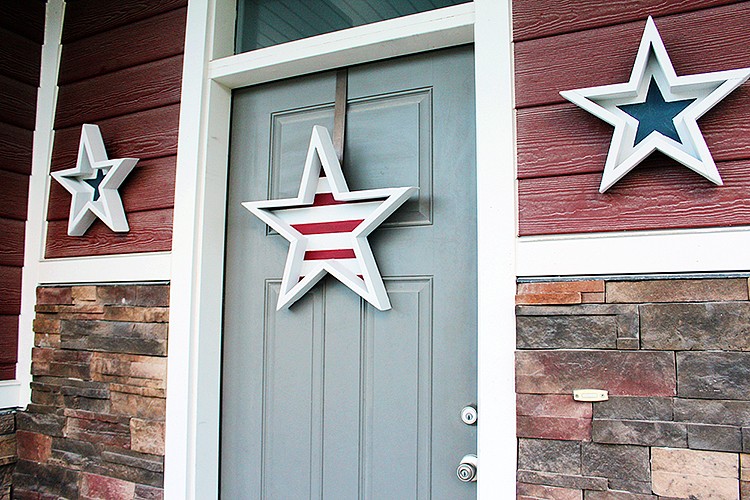
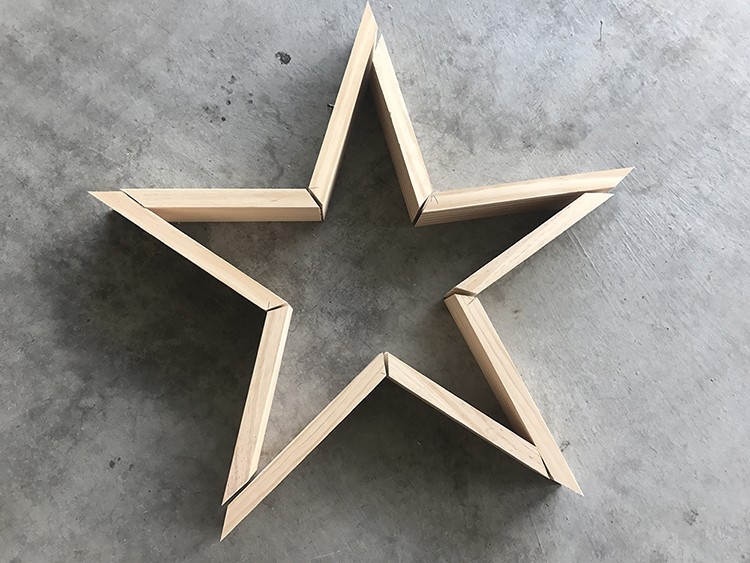
These Fourth of July wooden star decorations are a great way to dress up your front door, backyard deck or fireplace mantel.
Alexi Politis of Seeking Alexi, takes you through the project, step by step, and offers a few tips to make the wooden star project go smoothly.
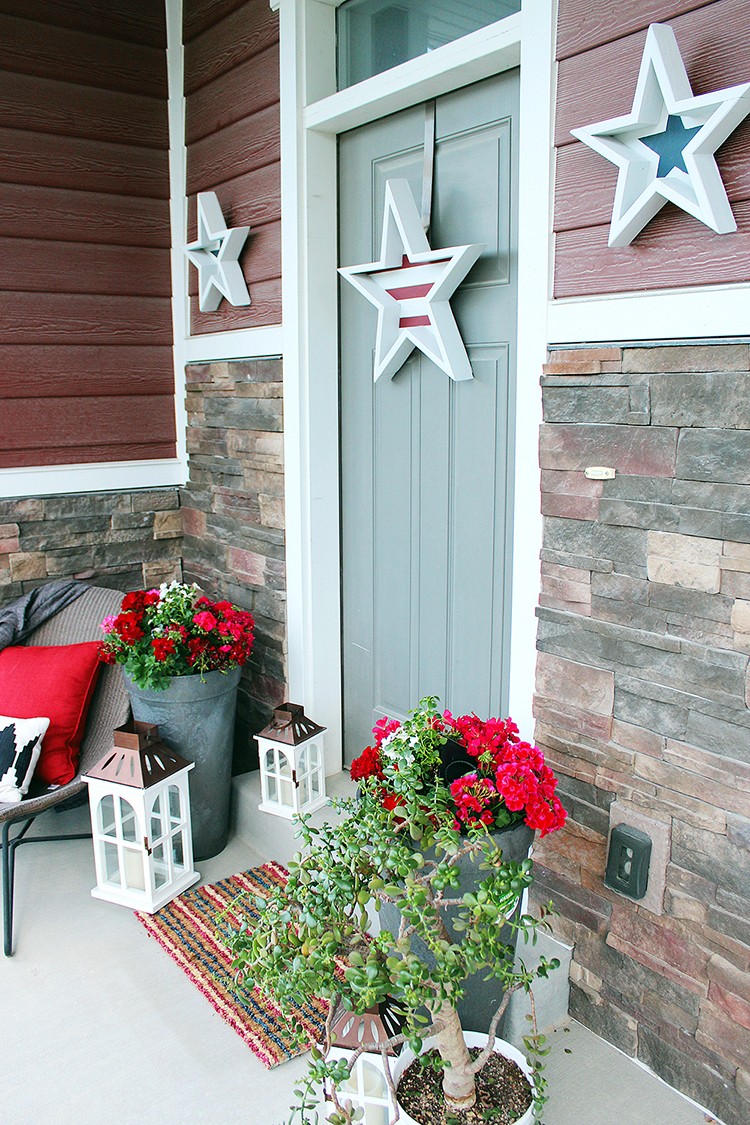
I made three wooden star decorations for my porch– one for my door, and two for either side of my door. They look great with the flag, flowers, pillows and doormat that are all red, white or blue. (Those items can be found at The Home Depot, by the way.)

Fourth of July Wooden Star Decorations
Tools
- Sliding miter saw
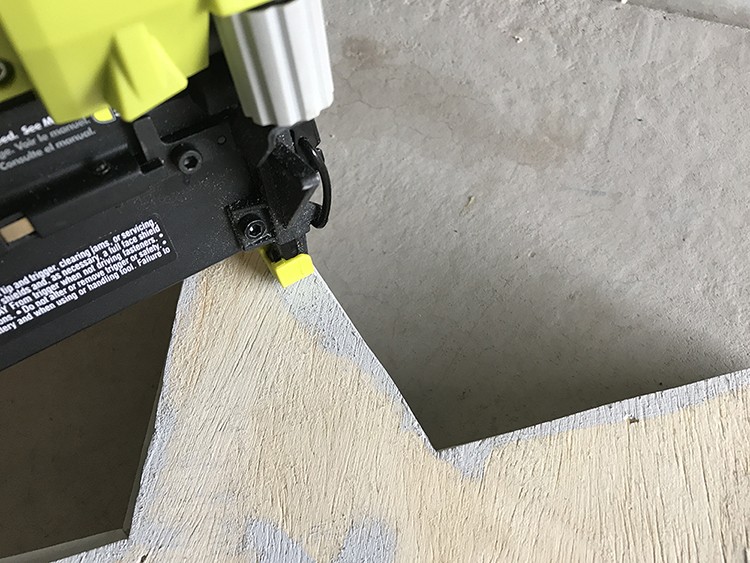
- Nail gun with included nails
- Stapler with included staples
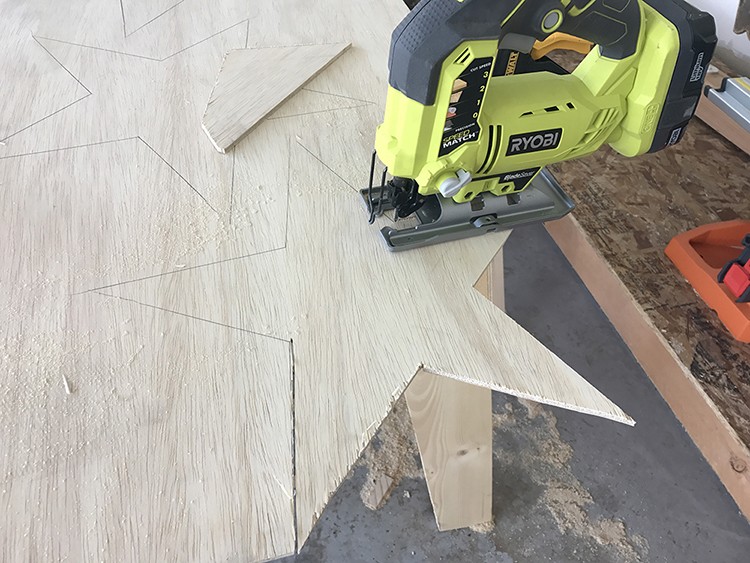
- Jig saw with clean wood blade
- Orbital sander
- Ruler
- (2) Rigger clamps
Materials
- (1) 1 x 3 x 8 select pine board (this length will make one 15¾-inch star, this is also the length you need for a 22-inch star)
- Scrap wood, one at roughly 1 x 12 x 2, one at roughly 1 x 2 x 6 and one at 1 x 3 x 4
- Wood glue
- Wood filler
- Paint or stain
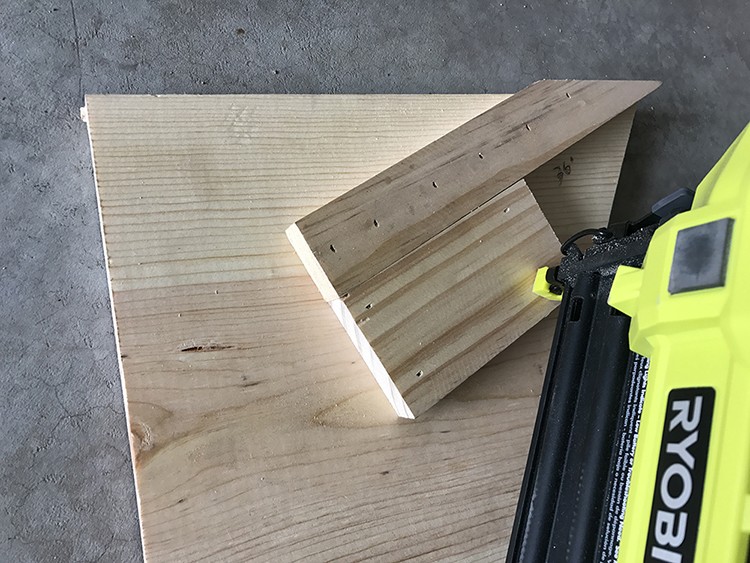
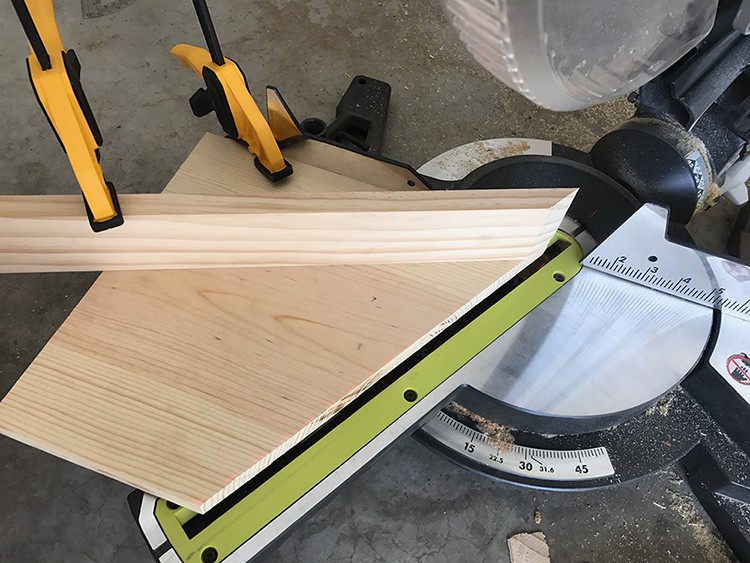
Making the Jig
First thing’s first, you need to make a “jig” to get your miter saw to 54 degrees. To do so, take a clean scrap board around 1 x 12 in.– mine was about 2-feet wide– and cut it in half at a 30-degree angle.
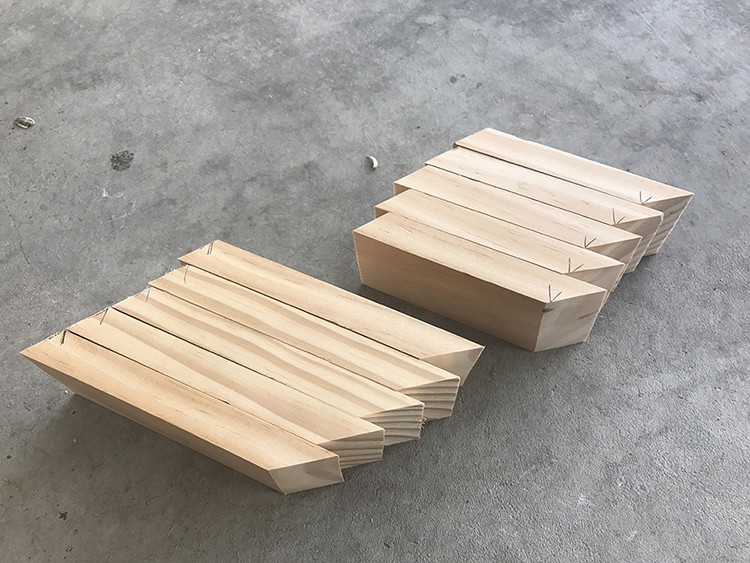
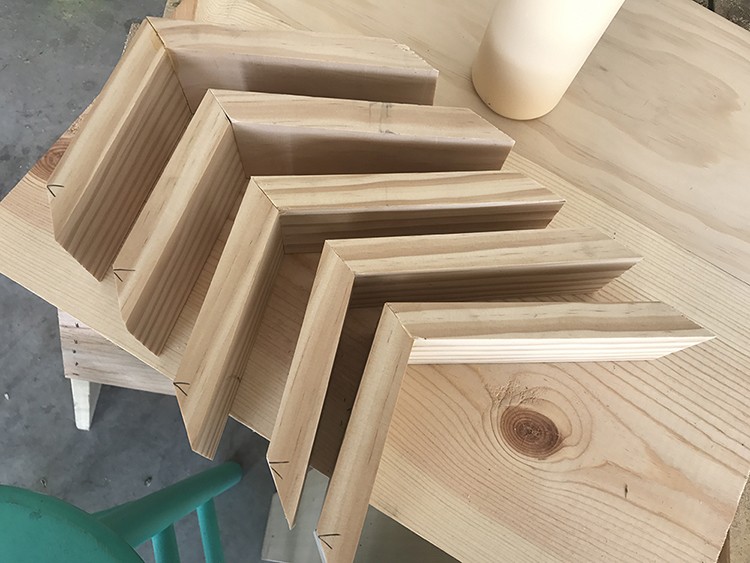
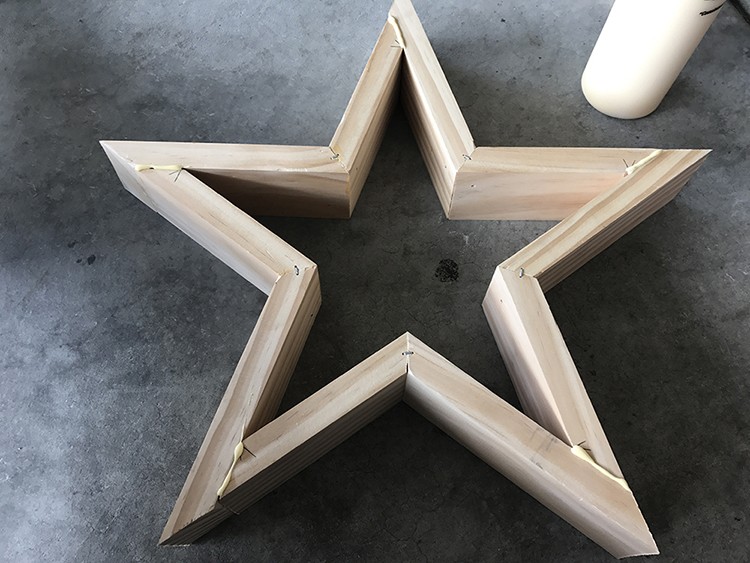
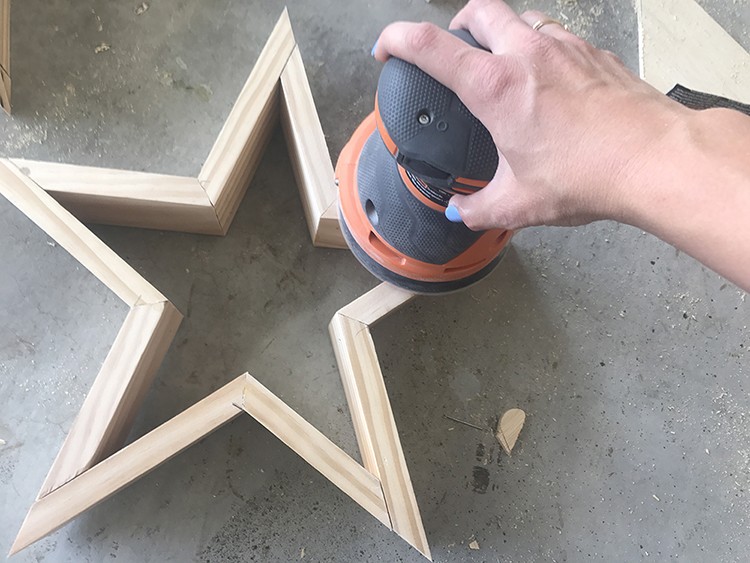
Making the Wooden Star
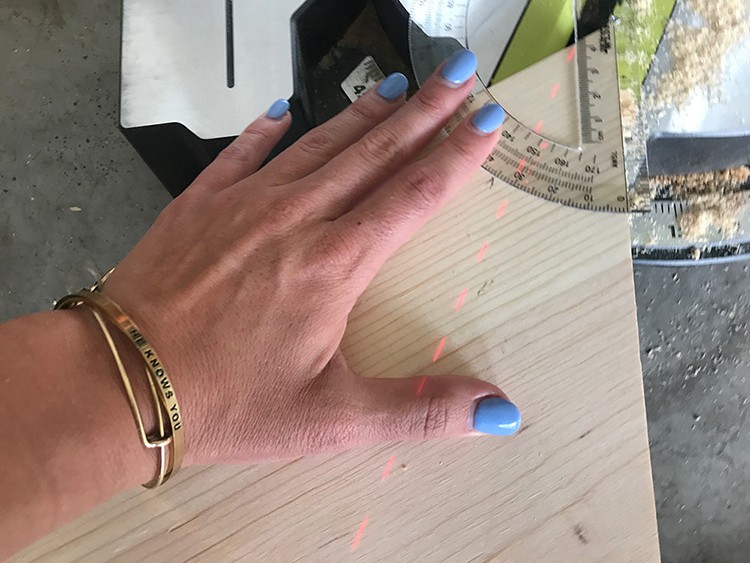
Tip: These instructions don’t require you to ever flip your wood. That means the steepness of the actual angle will change, but the angles will always originate from the upper right corner and down to the bottom left.
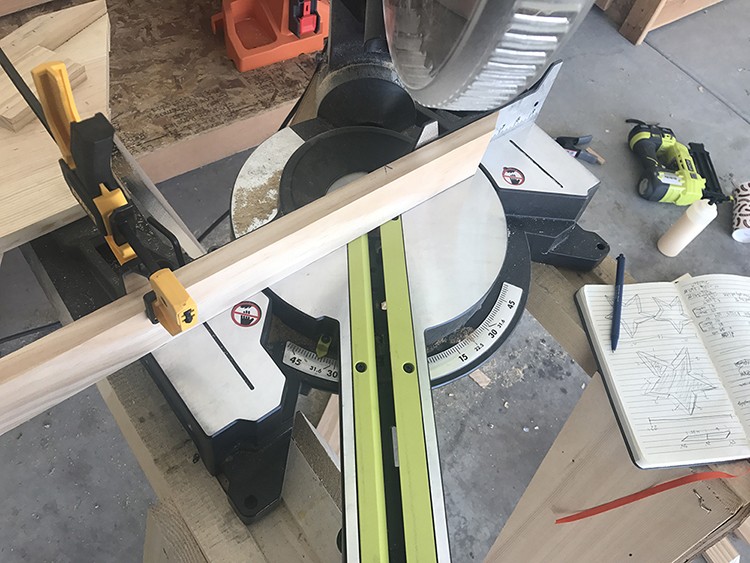
Tip: Only mark one short strip of wood at a time. You cannot mark all of your lengths then cut all at once, because you must account for the width of the blade.

Tip: Don’t cut away any of your jig. Pull your blade down without turning the saw on a few times to be sure it will clear the jig when you actually cut.

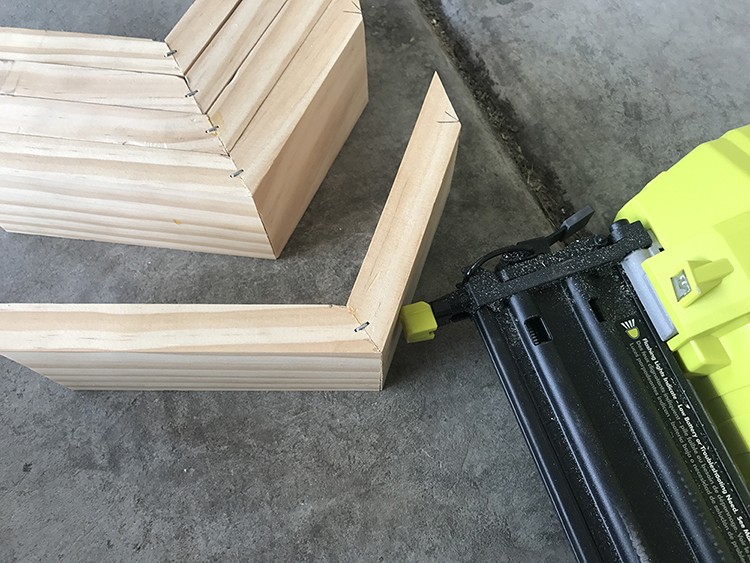
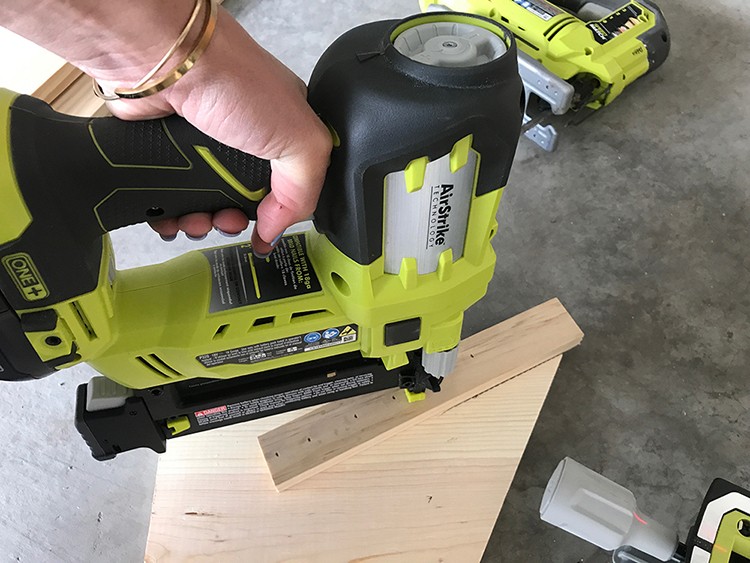
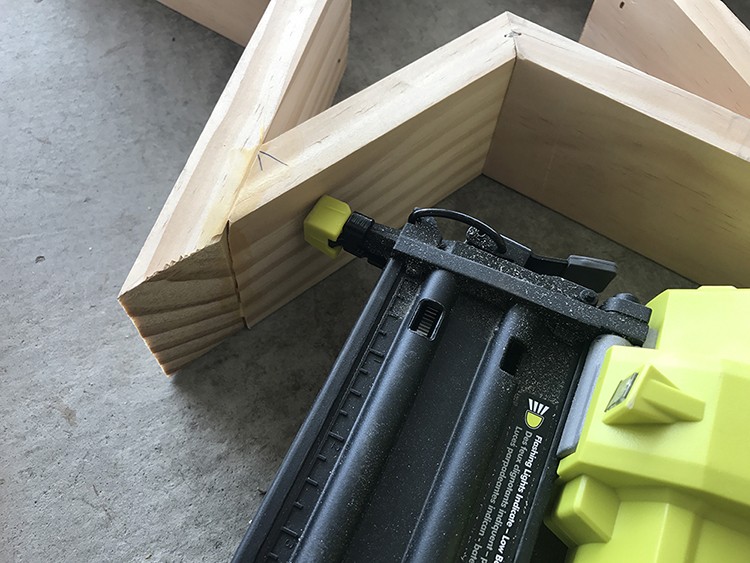
Tip: Be careful using your nail gun, sometimes the nails will shoot out of your wood unexpectedly and can puncture your fingers. (This may or may not have happened to me from experience on a different project. Luckily it was extremely minor, but I learned my lesson the hard way. Ouch!)


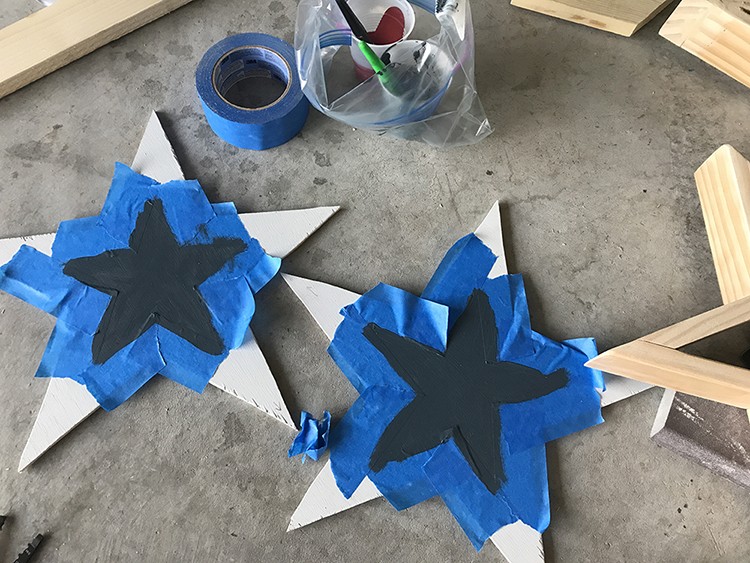
Paint your project as desired!
Tip: You could also stain, instead. Just be sure you’ve sanded away all the glue, since glue doesn’t stain.

Shop The Home Depot’s lumber section for the materials you’ll need for this wooden star project. l
Follow our Easy DIY Projects board on Pinterest for more DIY projects. Also, check out more DIY projects here on The Home Depot Blog.
The post Wooden Star Decoration for the Fourth of July appeared first on The Home Depot Blog.
