How To Hang Large Artwork

Materials
- OOK Professional Picture Hangers
- Ladder (optional)
- Painter’s Tape (optional)
Tools
- Hammer
- Measuring Tape
- Pencil
- Level (optional)
Step 1: Mark Artwork Placement
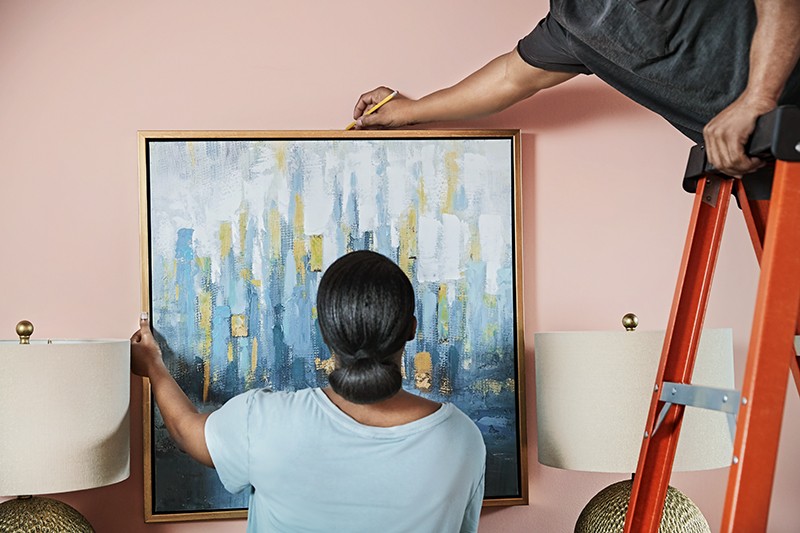
Once you determine placement, make a very light pencil line at the top edge of the frame. This can also be done with painter’s tape. Also note the center of the artwork. Use a ladder to mark the spot if needed.
NOTE: Avoid hanging art or photography too high. Eye-level is usually best.
Step 2: Measure for Hardware
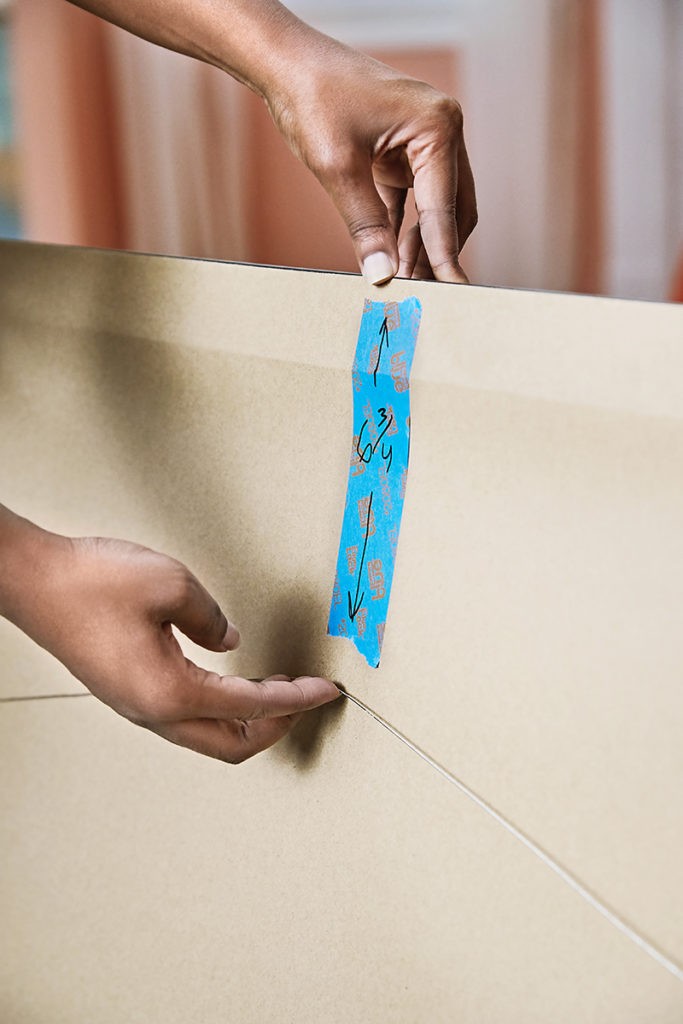
On the back side of the artwork, measure the distance between the top edge of the frame and the hanging hardware. If you’re dealing with a hanging wire, pull it tight to get this measurement.
Step 3: Install Hanger
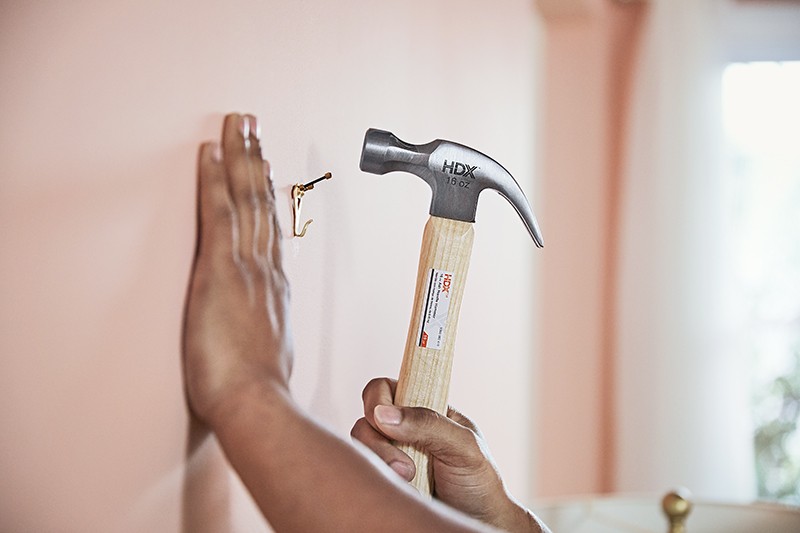
From the pencil line on the wall, drop down and make another mark—this is where the hanger will go. With a hammer, tap in your hardware. These hangers come in different sizes with a variety of weight ratings, up to 100 lbs. Always check that you have the right type of hanger for your particular wall type and opt for a higher weight rating than you think you need for an extra level of safety.
Step 4: Add Artwork
Once the hanger is installed, place your artwork carefully being sure it is appropriately centered on the hanger. You may also want to use a level to check whether it is hanging straight. If not, you may need to adjust the piece to the left or right to bring it into balance.
The post How To Hang Large Artwork appeared first on The Home Depot Blog.
