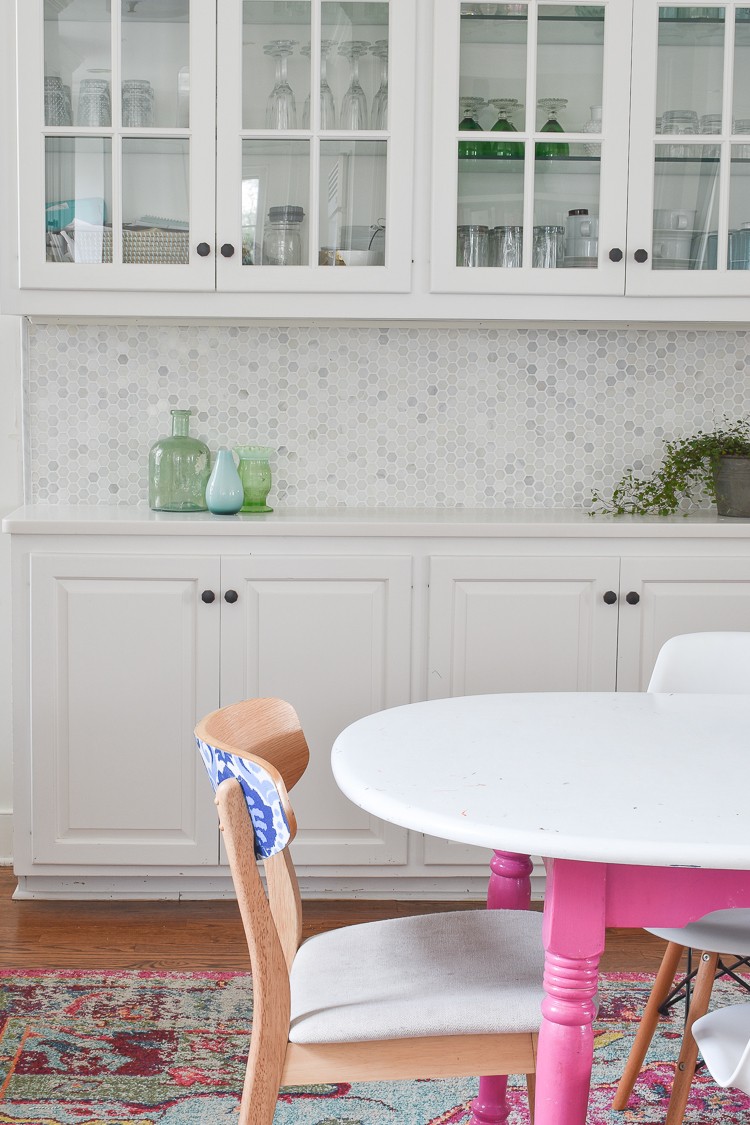
Charlotte Smith, of At Charlotte’s House, is no stranger to DIY projects. For years, Charlotte wanted to update her kitchen backsplash. Charlotte finally gave her kitchen the refresh it needed with gorgeous marble hexagon tile.
Read on for detailed step-by-step instructions on how to update your kitchen backsplash!
7 Easy Steps to a Beautiful Kitchen Backsplash with Marble Hexagon Tile
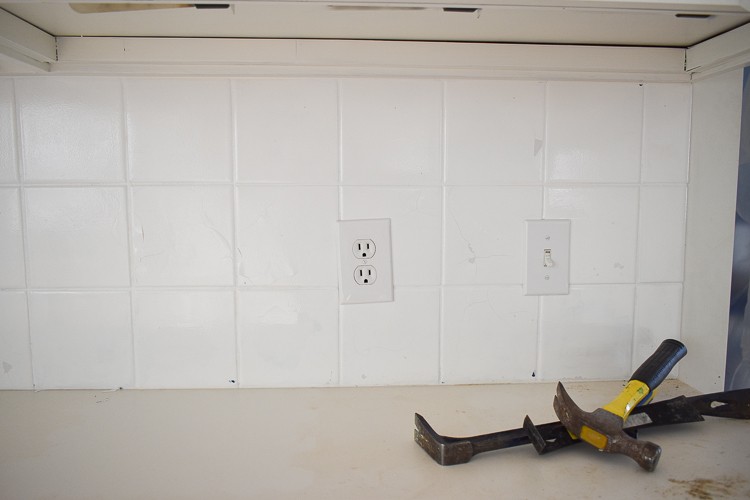
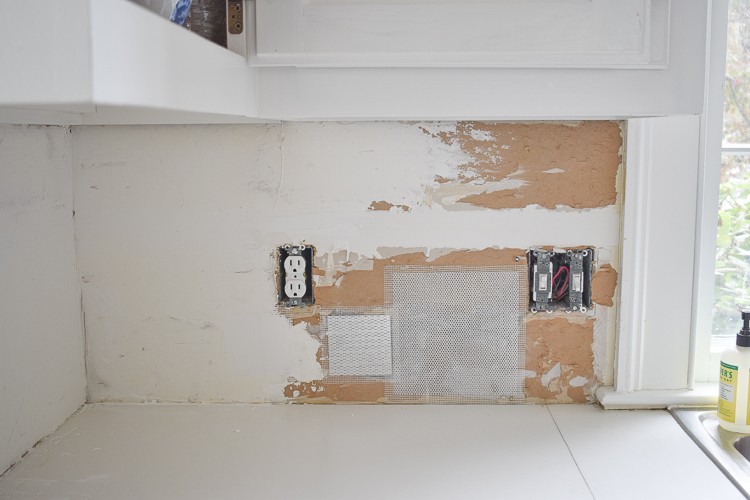
The backsplash in our kitchen had fruits and vegetables. That should give you a sense of the era in which it was installed. When we first moved in, I painted the tile to buy us some time. But, it was clear to us this summer that the backsplash had to be replaced. I opted for this small marble hexagon tile.
Step 1: Demo

I heard from lots of folks on social media that they had completely cut out the drywall and the tile that was stuck to it. Then, they replaced the drywall. But, drywall can get a little fussy. I opted to give demo a whirl to see whether the tile would come off cleanly. We had the most luck tapping a chisel scraper underneath the tile edge and gently hammering to work the straight edge behind the tile to remove it.
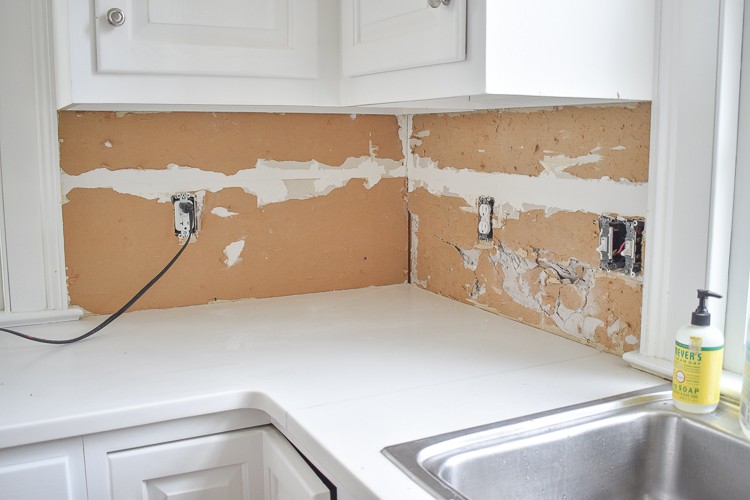
There were definitely places where the drywall needed some patching. Otherwise, demo was easy and the tile came away pretty cleanly.
Step 2: Patch and Prep
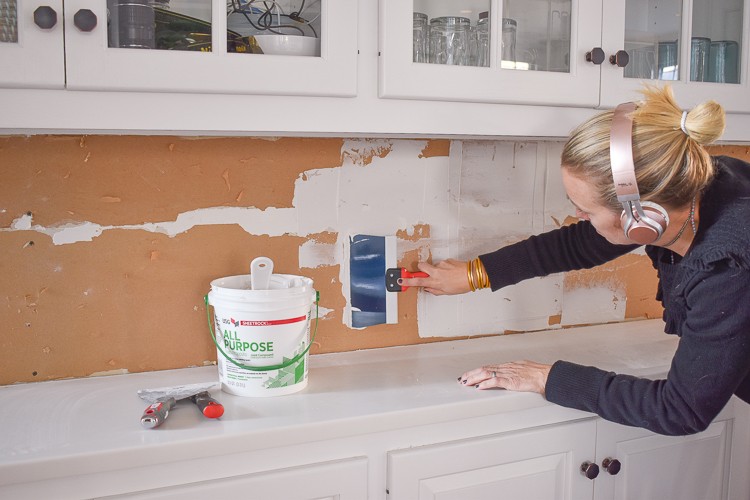
Before I could put up the new marble hexagon tile, I had to prep the surface. For most of the wall this meant a light coat of joint compound.
For the places where the drywall had been damaged just a little bit, I was able to apply a metal mesh drywall patch and spackle right over to repair the wall.

There was one area that needed a new section of drywall installed (you can buy a 2 x 2 sheet of drywall to avoid lugging the entire 4 x 8 sheet). I used a Dremel to cut away the rough edges and to remove the drywall back to the closest studs. Once removed, I was able to cut a new piece of drywall, screw it into the studs, tape and mud.

The last step of preparation was to grab a drywall mask, tape off the area, and to sand the joint compound smooth.
Step 3: Dry Fit
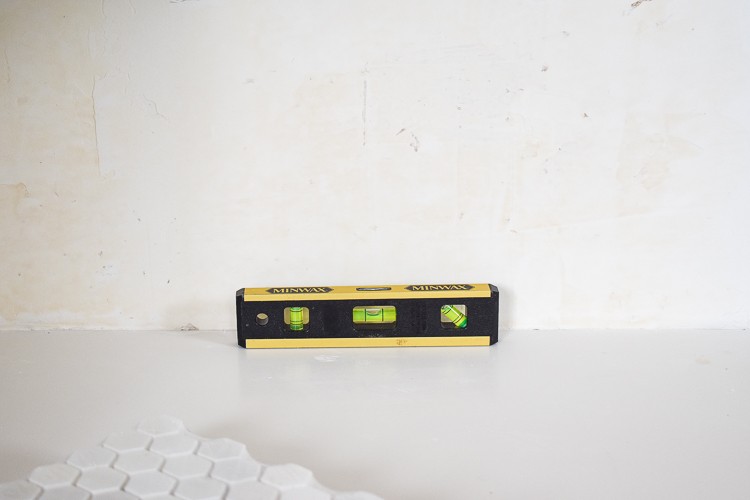
Check to make sure your counters are level. If they are, you can use them as your guideline making sure to allow an 1/8 in. gap between the counters and the first row of tile.
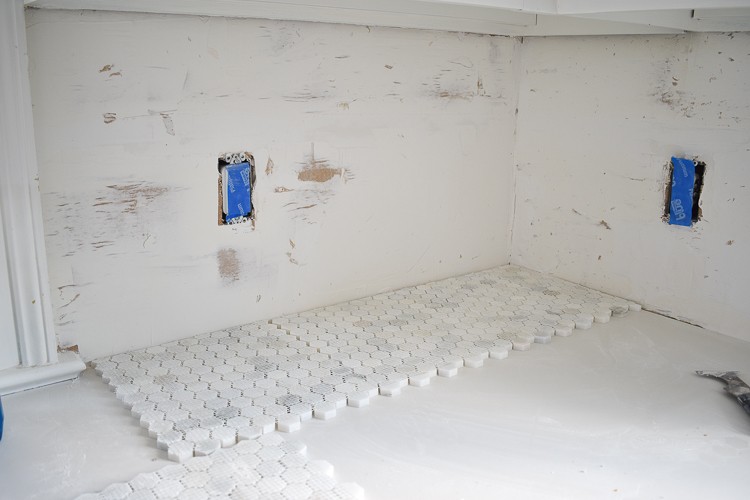
With the small tiles I was using, it was a little tricky to dryfit, but you’ll want to layout your tiles first just to get a sense of where you’ll need to make cuts and how you want the pattern to lie.
Step 4: Thinset
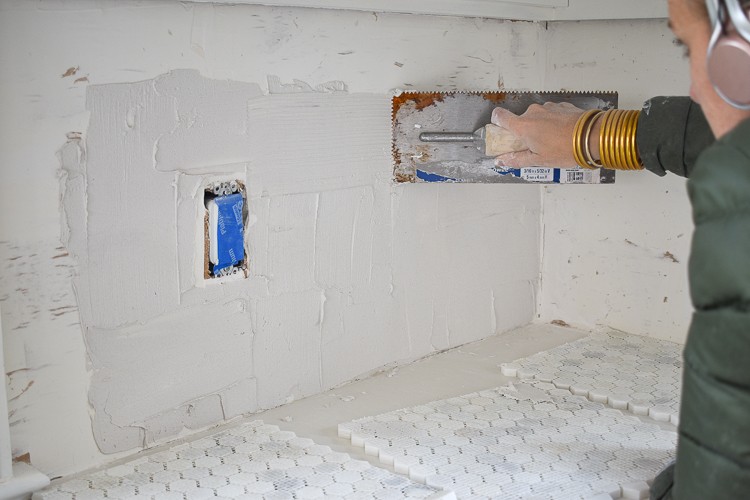
I used a premixed thinset and applied it first with a wide putty knife and then went back over with a notched trowel. Choose a trowel with grooves that correspond to the size tile you are installing.
Step 5: Apply Marble Hexagon Tile
I tried two different techniques for this backsplash and I’m still not convinced of which one I prefer.
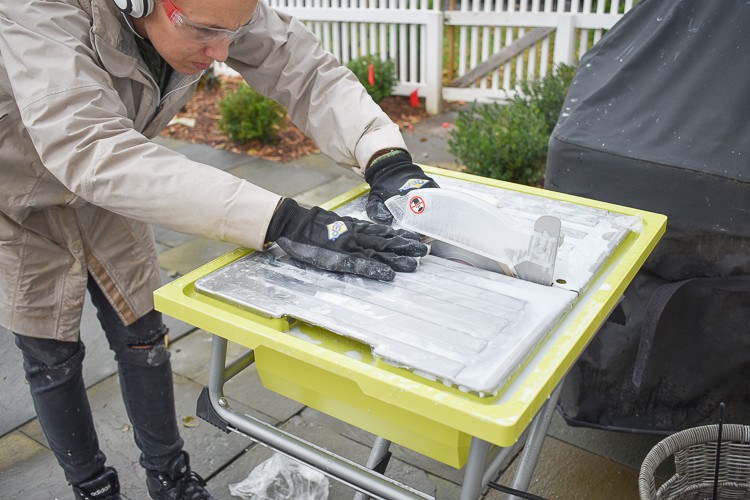
Technique #1: For one section, I used my Ryobi tile saw with a diamond blade to first cut a straight edge on the mosaic tile. I slowly ran the tile through the wet saw, mesh side up. Using my rubber float, I carefully pressed the tile into the thinset. I worked my way across the section in this manner, precutting the sheets of tile and pressing into the thinset. In some spots the tile ended on an open wall, so I needed a marble edge piece to keep the section clean. In others, the window trim or a corner provided a natural edge for the tile.
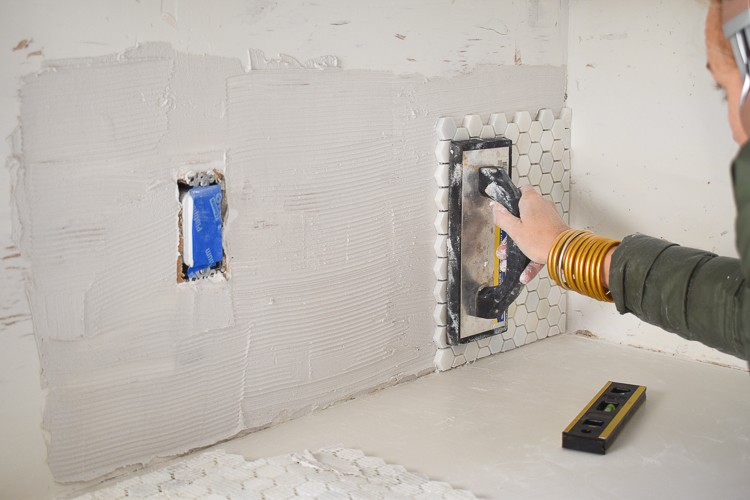
Technique #2: In some places, I left the edges for last so I started by installing an uncut sheet of tile with the flat mosaic edge 1/8 in. above the counter. Then I went back and individually installed singular cut pieces of tile.
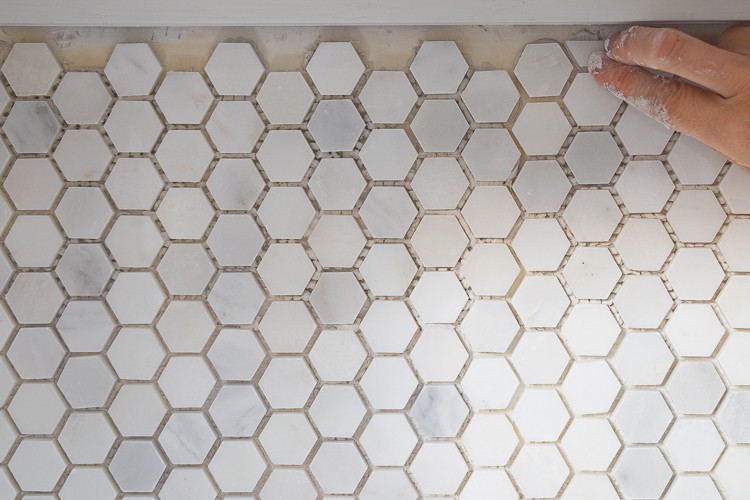
Step 6: Grout

Follow instructions on the thinset package and let the tile sit for 24-48 hours. For this backplash, I opted for an un-sanded white grout and I used a powder that required me to add water and mix. I use a paddle attachment on my drill, and follow the directions on the package to achieve a grout consistency of peanut butter. For a darker grout, it is important to mix each batch the same way in order to have color consistency, but with a white grout I didn’t need to be quite as precise.
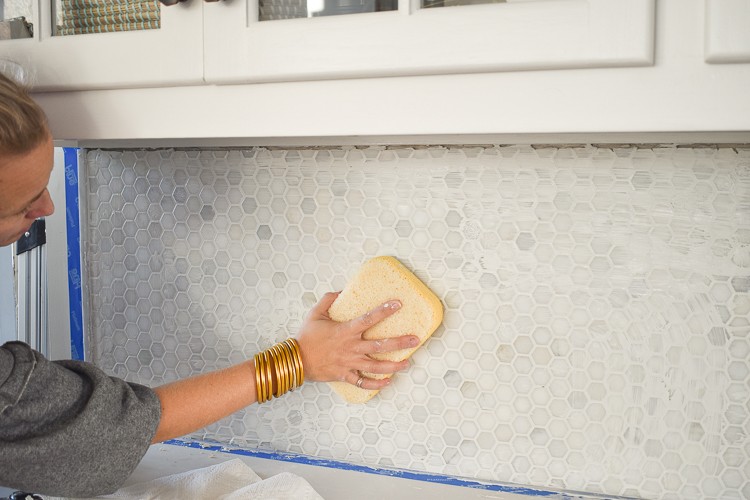
Again, I used my putty knife to spread a small section of grout onto the tile. Then I pulled my rubber float across the tile at a 45 degree angle to ‘pull’ the grout into the tile joints. Repeat until the section of tile is filled in and then go back with a sponge to wipe off any grout residue. It’s necessary to rinse and repeat a few different times with the sponge in order to remove all the grout.
Step 7: Finish

Along the counter edge and against any trim, I installed a thin bead of caulk. Across the top edge of my tile, the gap was slightly too wide to caulk but not wide enough for another row of tile. I had to cut and install a trim piece.

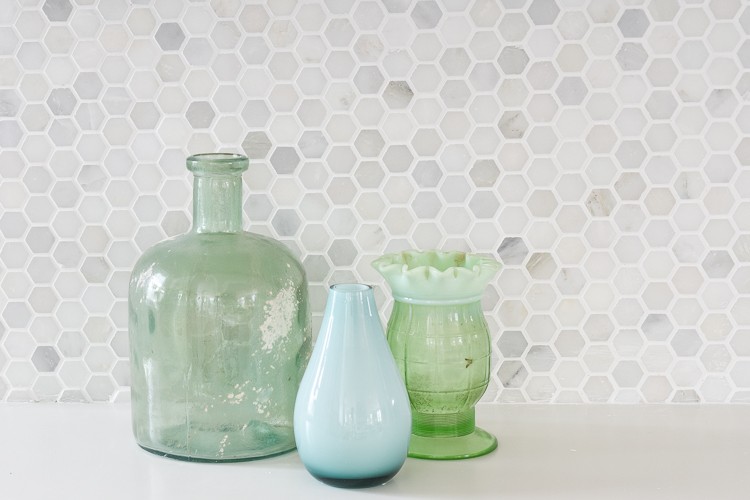

I love the subtle texture this marble tile brings to our kitchen. The variations of tone are lovely against our white counter and white cabinets!
The post 7 Easy Steps to Install a Marble Hexagon Tile Kitchen Backsplash appeared first on The Home Depot Blog.
