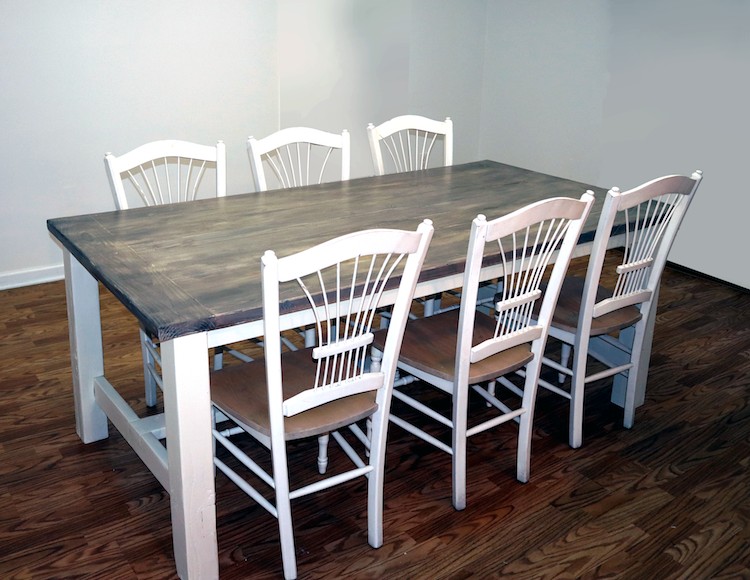
The following instructions will walk you through creating this beautiful, farm-house styled table with an awesome brown-gray stain finish!
Cut Wood Pieces for Table Frame and Top
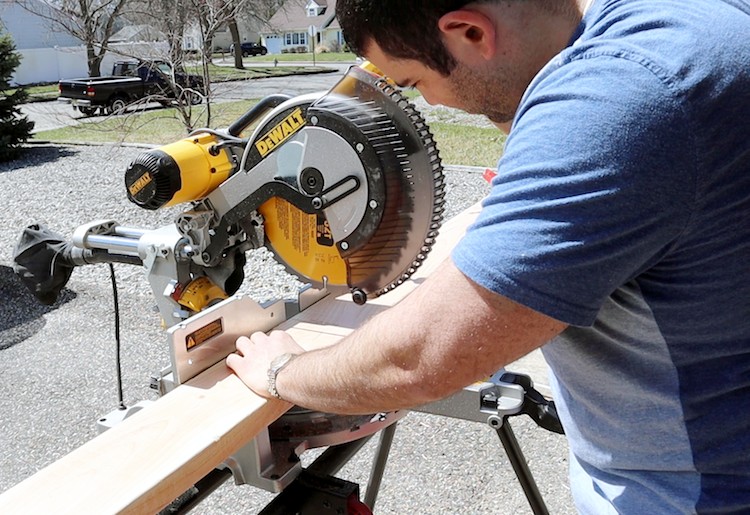
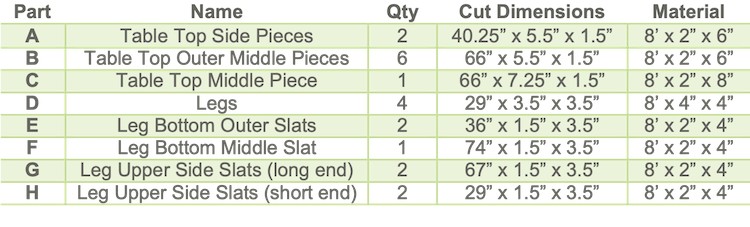
We will start by cutting down the wood pieces to size for assembling the table frame. The chart in the image shows the sizes of wood that each piece of wood needs to be cut down to. To cut the pieces of wood, all you need is a hand circular saw, but you can use a miter saw and a table saw as well if you have them!
Cut Slots in the Leg Posts
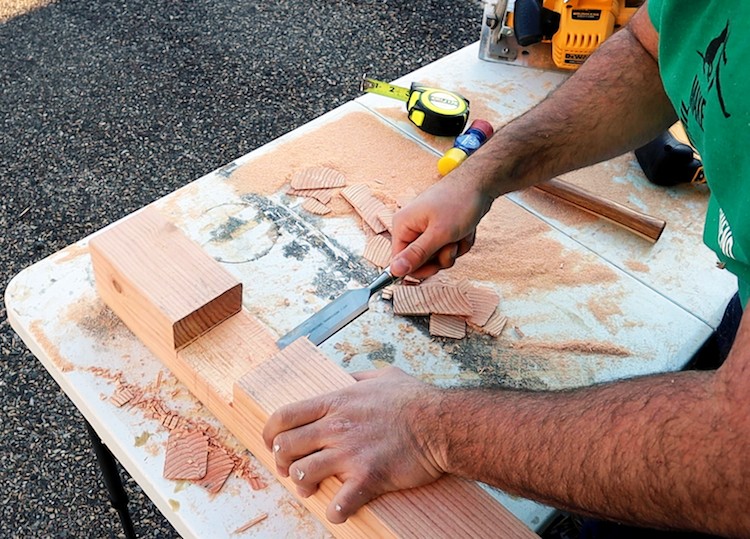
Use a circular saw or table saw to cut out 3.5” wide slots 1.5” deep in each of the leg posts (Part D) 6” from the bottom of the posts. Use a chisel to cut out any wood left over in the corners and ensure the supports will fit snugly later on.
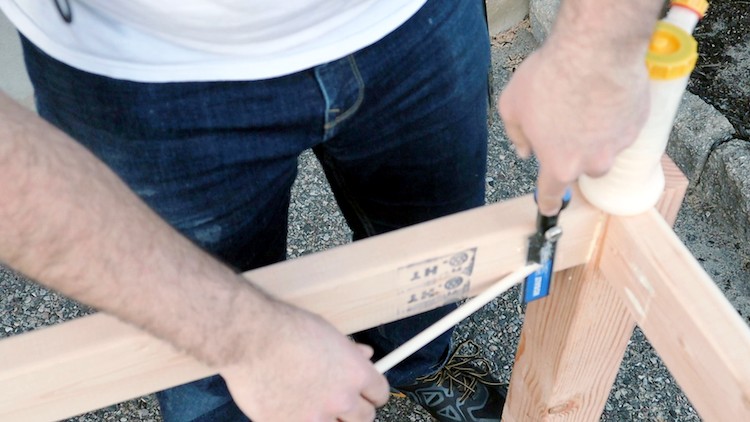
Attach the Frame Pieces
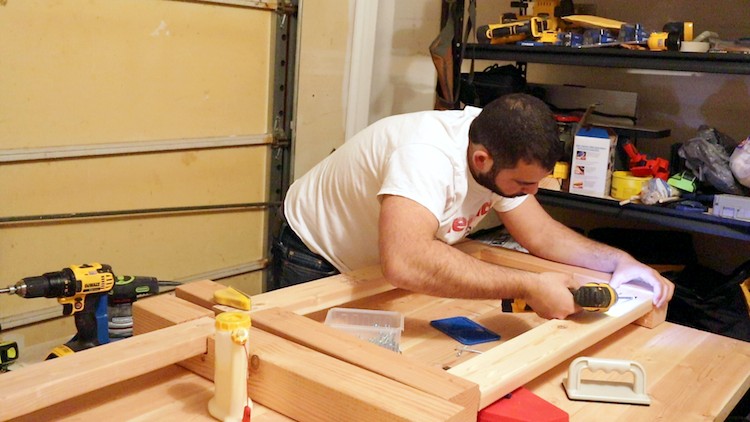
Attach the leg bottom outer slats (Part E) and leg upper side slates – short end (Part H) to the leg posts (Part D) to create the two side pieces. The bottom side slats should fit into the bottom slots you previously cut. The top side slats should be lined up with the top of the leg posts. Use a combination of pocket screws and wood glue or your preferred joinery method to attach the top slats. And just wood glue for attaching the bottom slats into the cut-out slots.
Cut Slot for Bottom Middle Support Slat
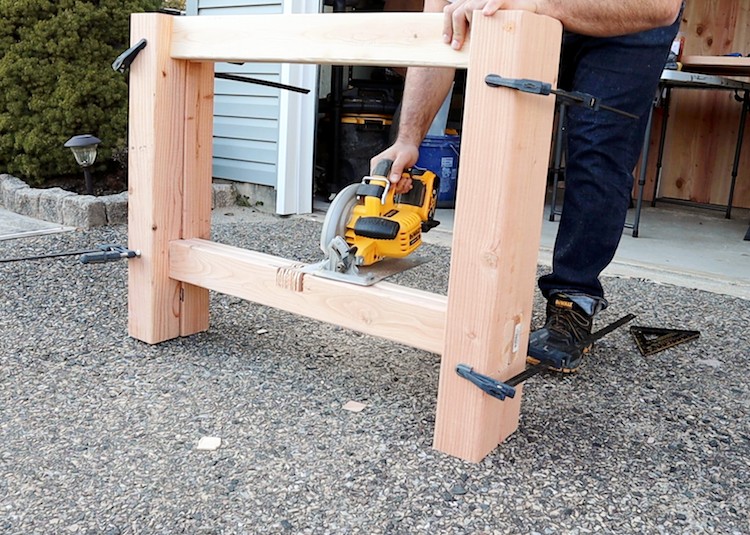
Use either a hand circular saw or a table saw with a dado blade to cut out the middle slots in the side frame pieces. The middle slot should be 3.5” wide and 1.5” deep and should be 13” in from each post.
Attach Center Slats
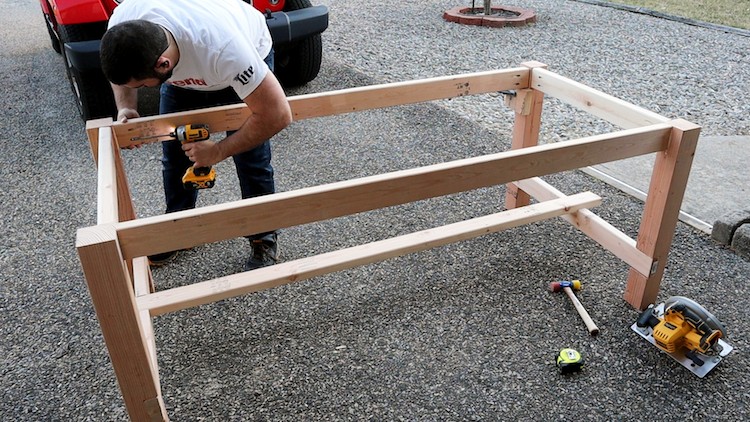
Use a combination of pocket screws and wood glue (or a joinery method of your choice) to attach the wood slats on the top and bottom of the table. For the top slats, you can choose to either have the slats aligned with the outer or inner edge of the table, based on the design you prefer. In this build, I attached the top slats on the inner edge so that they would not be visible with the end product. The top slats should be attached flat with the top of the leg posts. The bottom center slat should fit snugly into the bottom center slot cut out in the previous step.
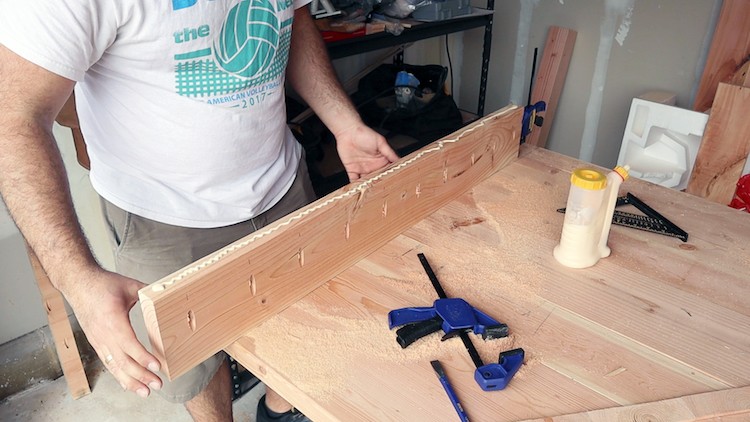
Attach Table Top Pieces
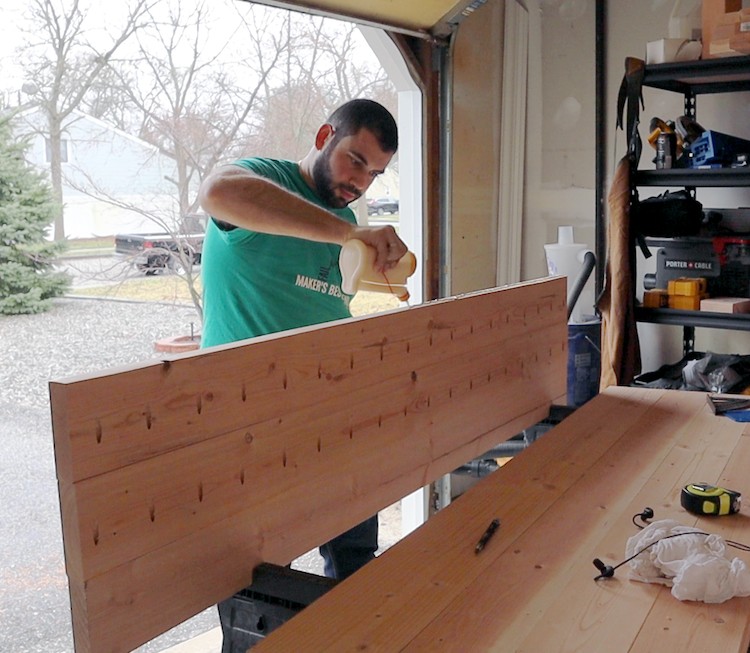
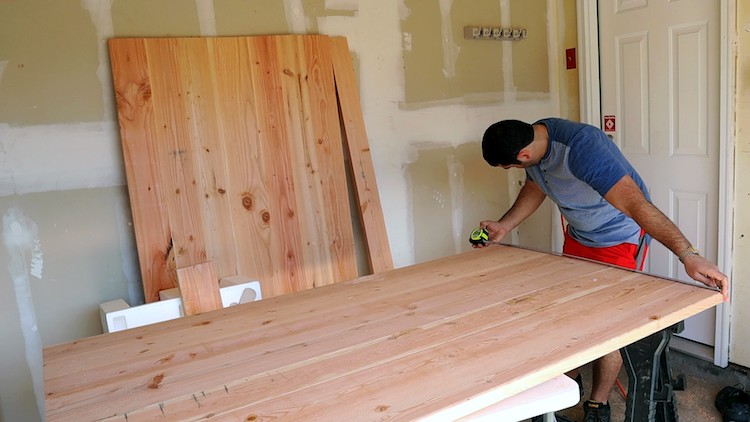
Attach the table top pieces (Parts B and C) using a combination of pocket screws and wood glue. You can choose to use any joinery method for this part but ensure that each piece is flat on both sides and attached so that the top of the table will be flat.
Attach End Pieces to Table Top
After attaching the seven pieces of wood to make the width of the table, attach the two end pieces (Part A). This is an optional step to make the table longer. Just make sure as you did in the previous step that the end pieces are flat on the top with the rest of the table. You can use pocket screws and wood glue as seen here or a joinery method of your choosing!
Cover Pocket Holes
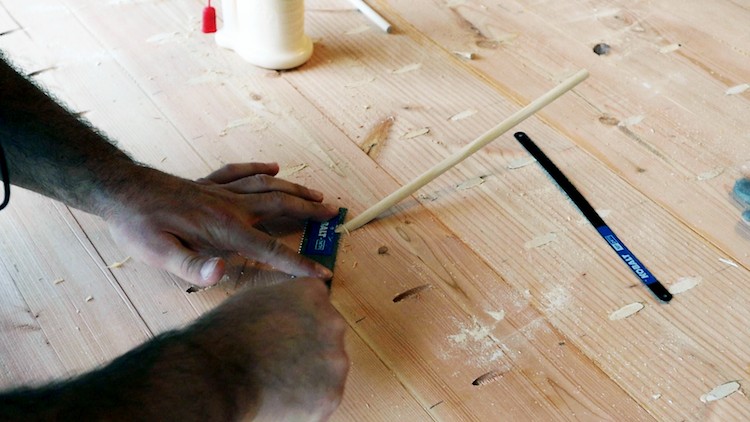
If you chose to use pocket holes for the joinery, make sure to plug the holes with dowel rods and use a flat pull saw to make them flush with the wood!
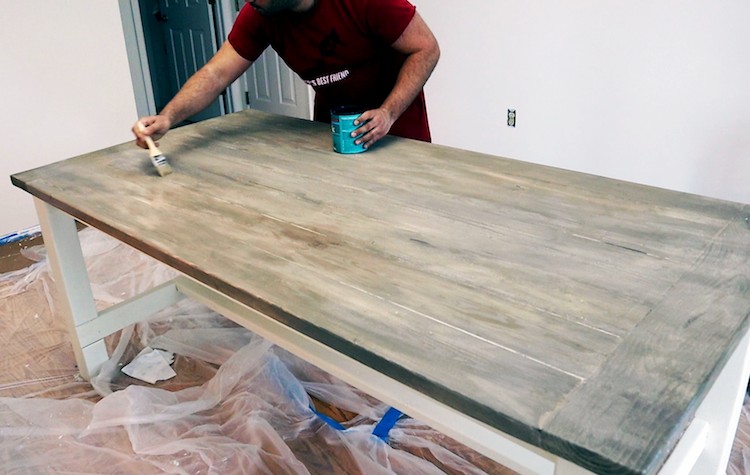
Paint Base Coat and Stain Finish Combination
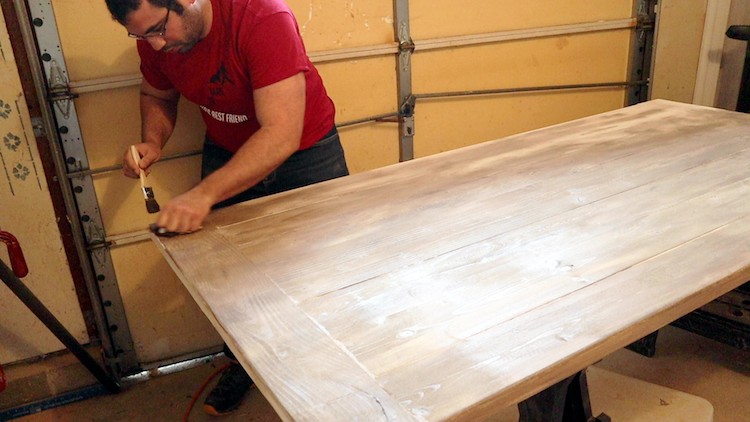
For the table top, add a white wash paint mixture as a base coat. Then mix a bottle of half white wash with half Varathane dark walnut wood stain and apply this to the entire table. This gives it an awesome light gray/brown coating as seen in the images. For the rest of the table supports, just use the white wash paint to give the table some nice contrast.
Attach the Table Top to the Frame
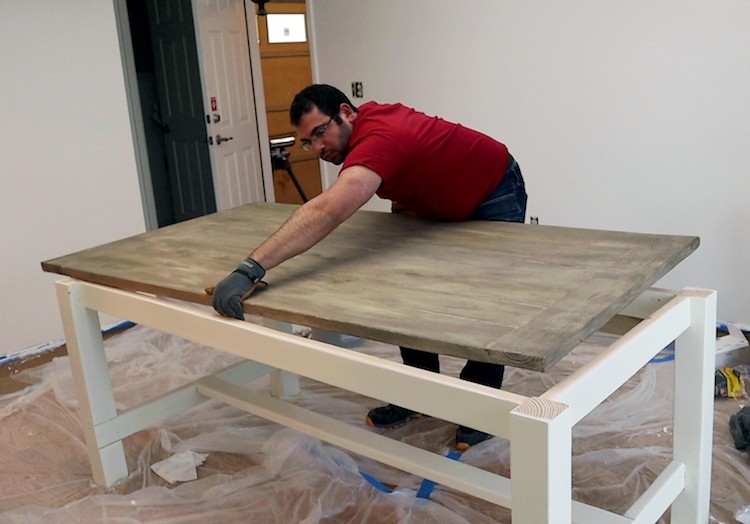
Attach the table top to the table frame. Use right angle brackets so that you can remove the table top if need be in the future. Make sure that the top sits center on the frame.
Apply Several Coating of Polycrylic
After all of the painting and staining has dried, apply several layers of Shellac Finish and Sealer. For this table, I used a total of seven layers. This ensures that the table won’t absorb water over time and will be stain resistant and easy to clean!
Sand the Table with High Grit Sandpaper
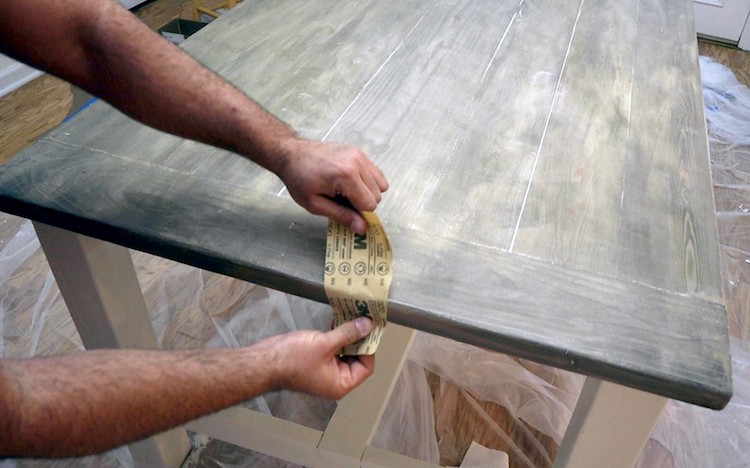
The final step is to smooth out the entire table with a series of sandpaper. Start with a 300-grit paper and work your way up to 4000-grit paper and some finishing pads. This will give the table a glass-like finish that will be smooth to the touch!
Our Farmhouse Dining Table
The post DIY Farmhouse Dining Table appeared first on The Home Depot Blog.

