Rachel Metz of Living to DIY is known for breaking down DIY projects into simple steps that are easy to follow. Learn how she creates wooden pallet letters to decorate her home this holiday!
Holiday DIY JOY Pallet Letters Tutorial
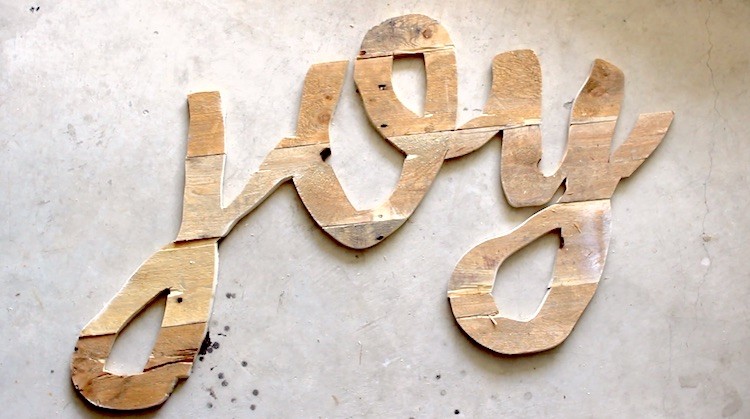
I have seen pallet letters before but wanted to give these my own personal twist. I never had a reason or word inspiration to execute such a project until the Holiday’s arrived! I decided to create a calligraphy-inspired pallet word that spelled out “joy”! Before heading into this, keep in mind that you can do any font and word that suits your space.
Just follow this step-by-step tutorial to create a beautiful pallet word.
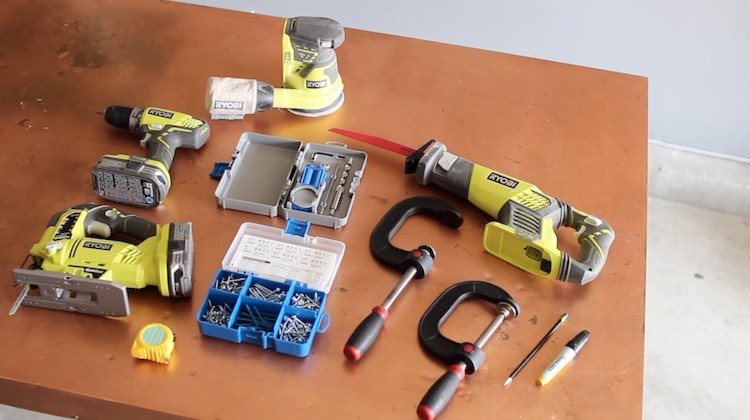
Tools
- Ryobi Drill
- Ryobi Jigsaw
- Ryobi Random Orbit Sander
- Ryobi Reciprocating Saw
- Pencil/Marker
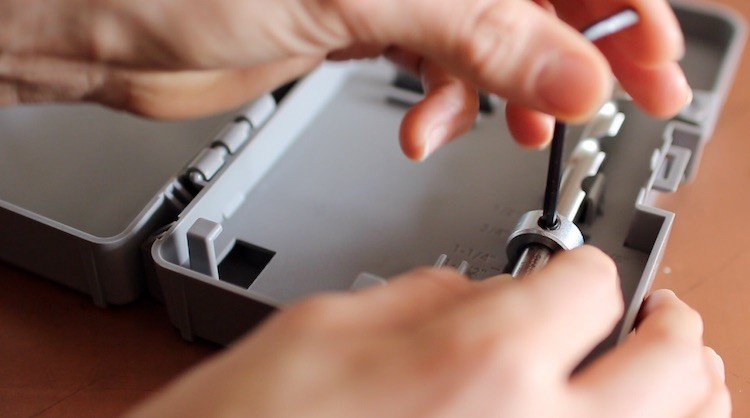
- Kreg Jig Pocket Hole System
- Kreg Pocket Hole Screw Starter Kit
- Clamps
Materials
- Tape Measure
- Wooden pallet
- 80 grit sandpaper
- 120 grit sandpaper
- Wood glue
- Incandescent Rope Light Kit
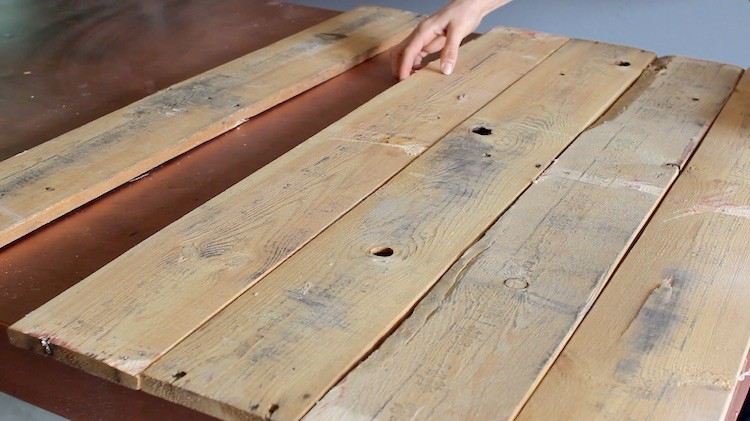
Step 1: Breakdown your pallet

I started breaking down my pallet by clamping it down to my workshop table and using my Ryobi Reciprocating Saw to detach the pieces but feel free to use another method if you prefer.

Step 2: Measure
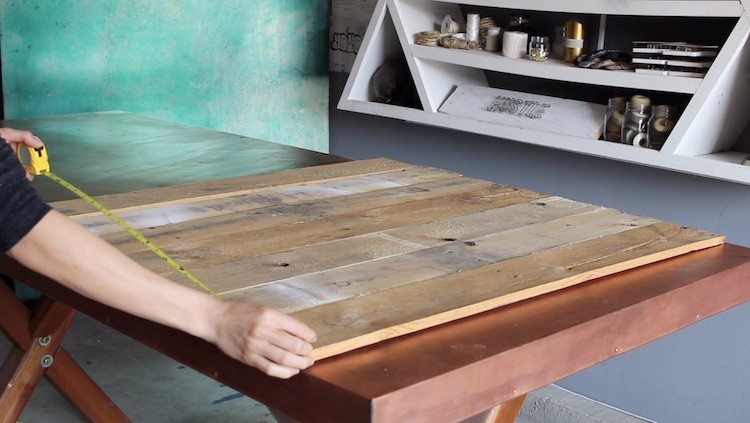
I lined up the pallet wood how I liked it onto my table. I then measured it to know how big I needed to make the word I wanted.
Step 3: Pick your font
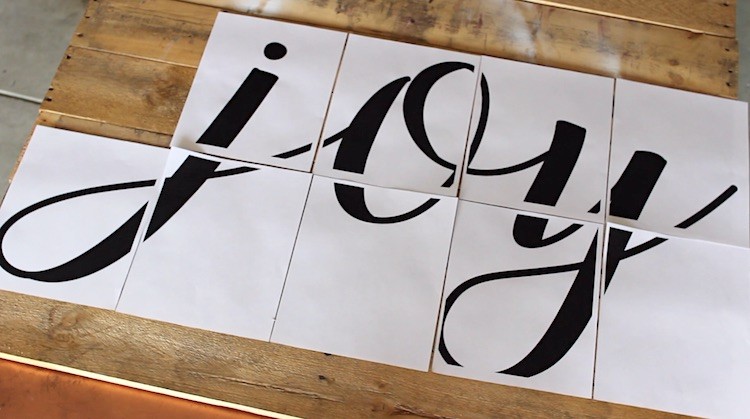
You could freehand this next step, but if you have a specific font that you like and not the best handwriting (like me!) then go ahead and create a document that is the size of your pallet and print it out on your computer.
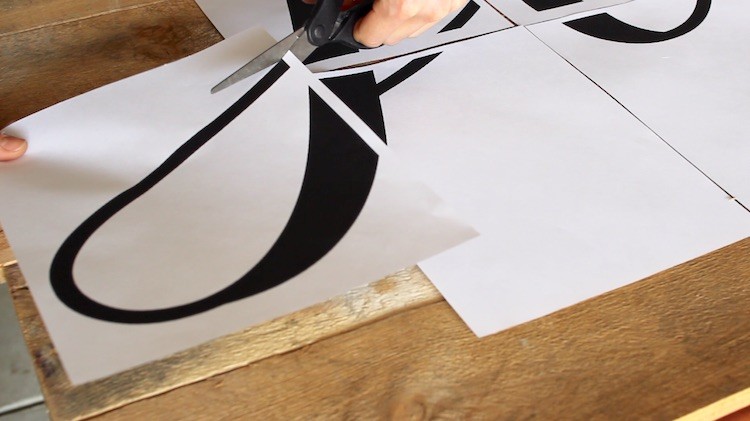
Cut out and tape your word together if you aren’t free handing it.
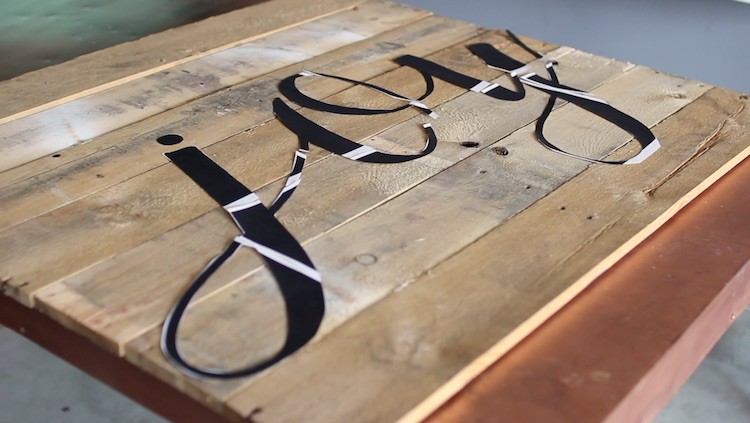
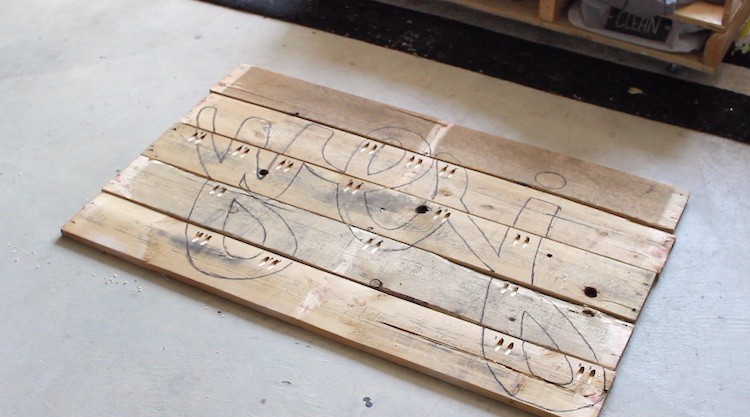
Step 4: Flip It
Flip over your pallet pieces since we will be working on the back.

Then flip the print out over so it is mirrored then place it onto your pallet pieces.
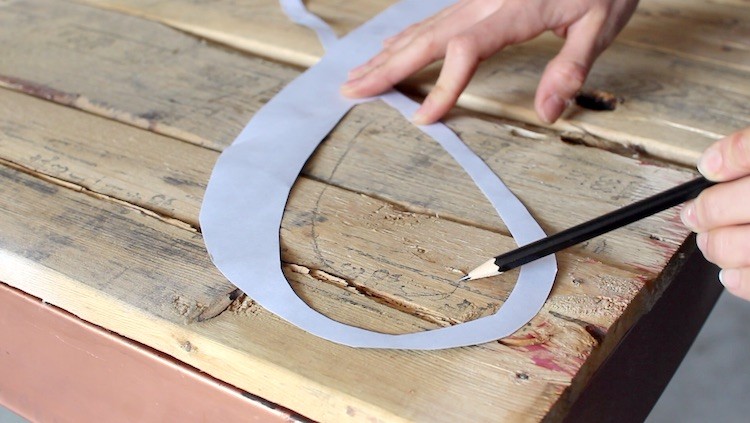
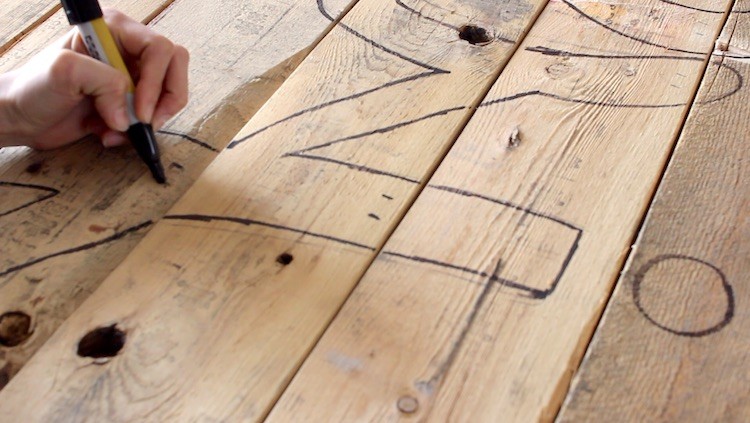
I traced around it first in pencil because I knew I wanted to make it thicker when I cut it.
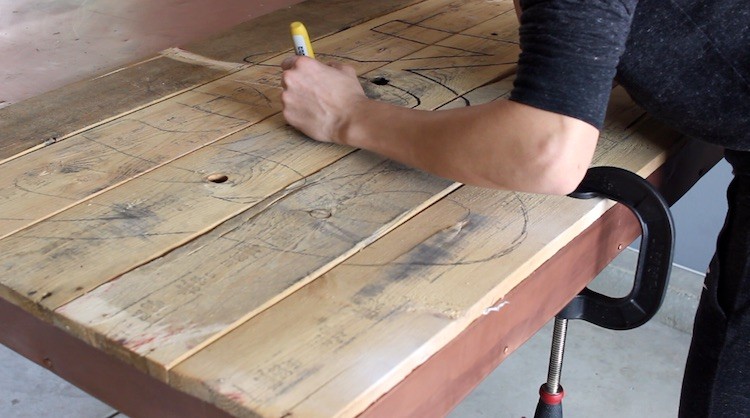
I went back and traced around the guideline even larger in sharpie so I had a nice defined line.
Step 5: Measure
I marked guidelines for my Kreg where the pallet pieces needed to attach.
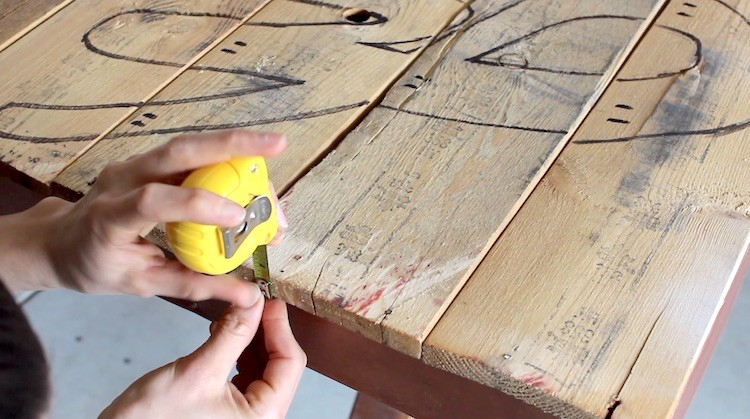

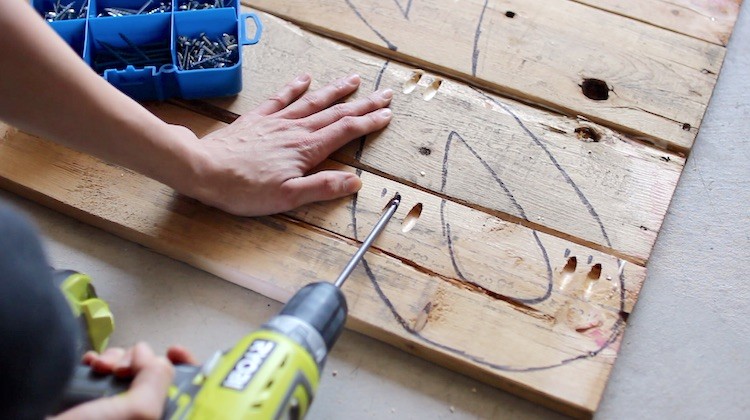
I measured and adjusted my drill bit to the thickness of my wood.
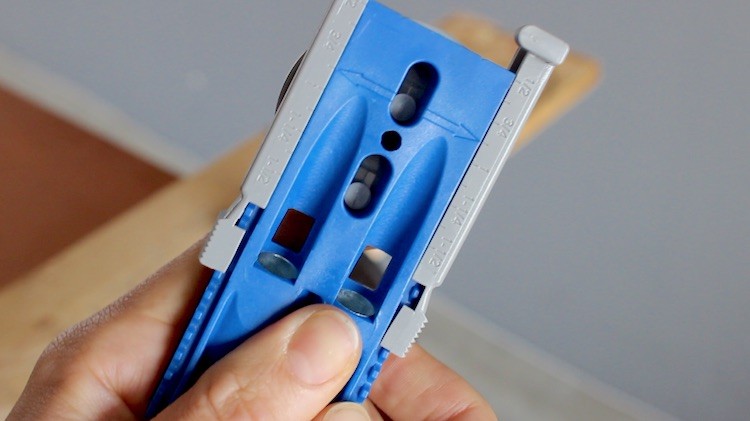
I did the same for the base of the Kreg.
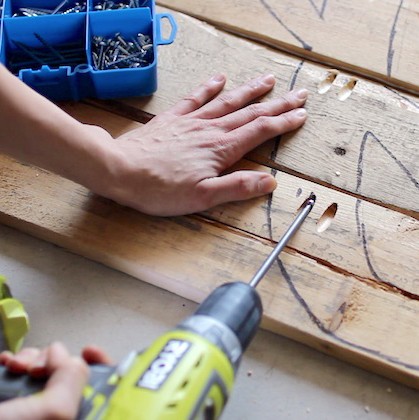
Step 6: Drilling holes
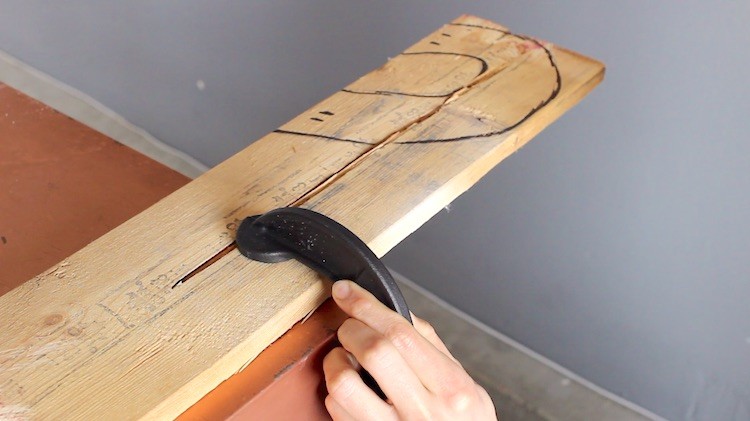
Clamp your wood securely and position your Kreg appropriately with your markings. It does not have to be right on since again these are just guidelines.
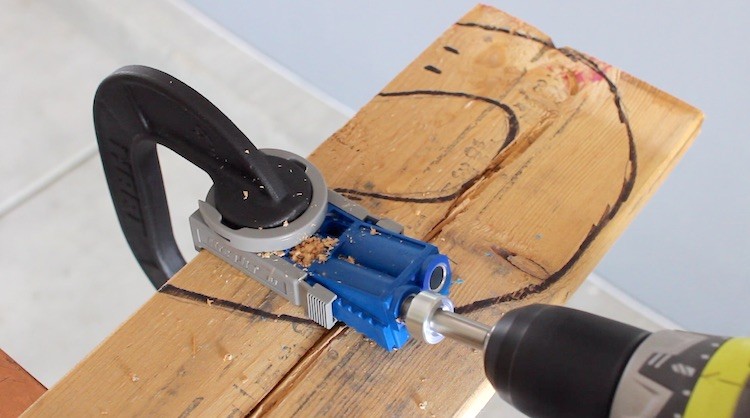
Drill your holes!
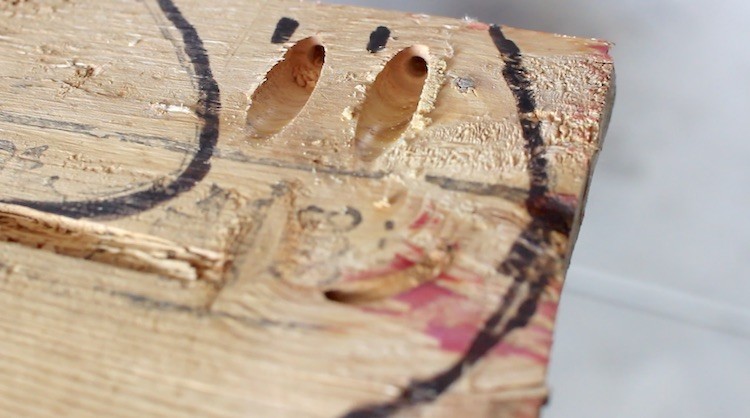
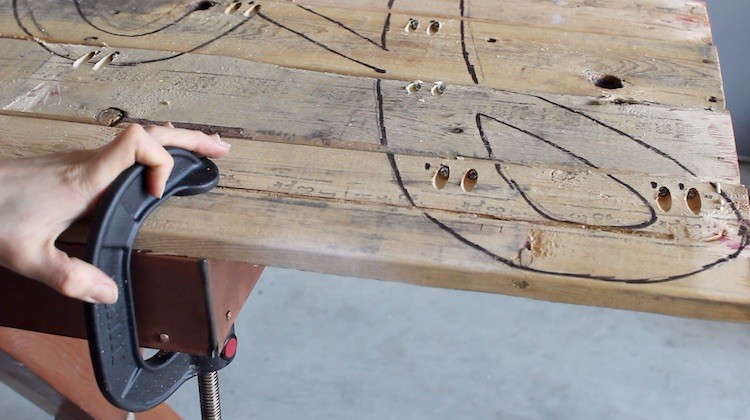
Step 8: Use Wood Glue and Pocket Hole Screws
Once all my holes where drilled, I lined up and added a bit of wood glue where the pieces met …which isn’t necessary but thought it would add a bit of security.

I placed them together while the glue was wet and screwed in the appropriate size pocket hole screws.
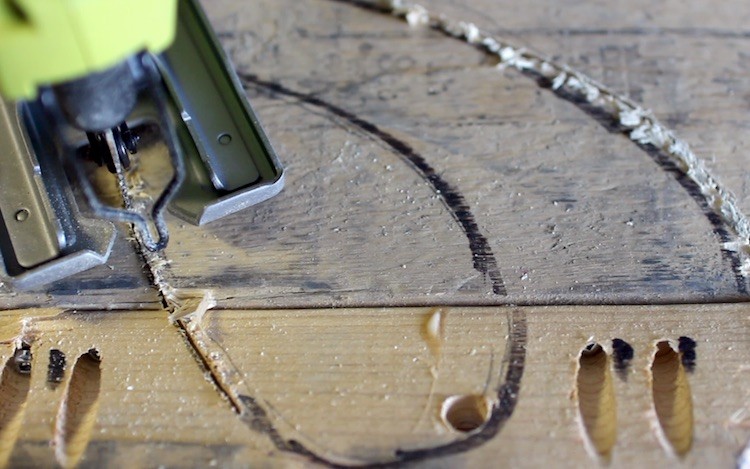
Step 9: Cutout your Letters
I clamped it down to my table once it was all put together. I ensured I had enough space to go in with my Ryobi Jigsaw.


Tip: for the insets, I used a thicker drill bit to create a starting point that allowed me to go in with my Jigsaw from there.
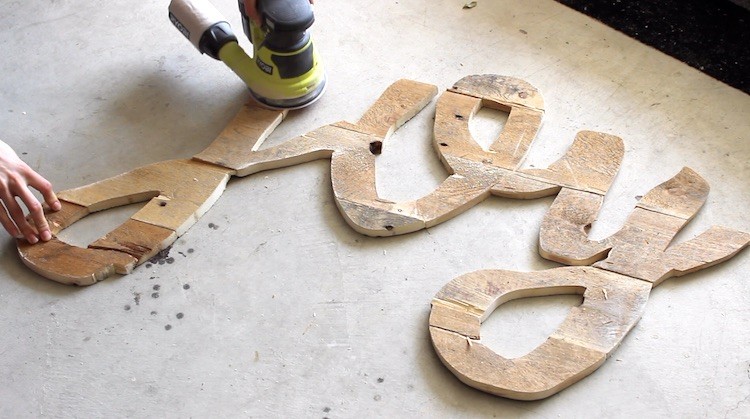
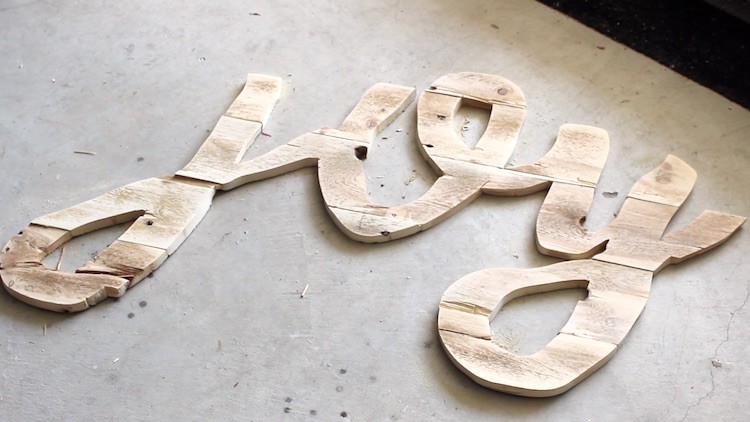
Step 10: Sanding
Once that was cut out, I flipped it over and went in with my Ryobi Orbit Sander.
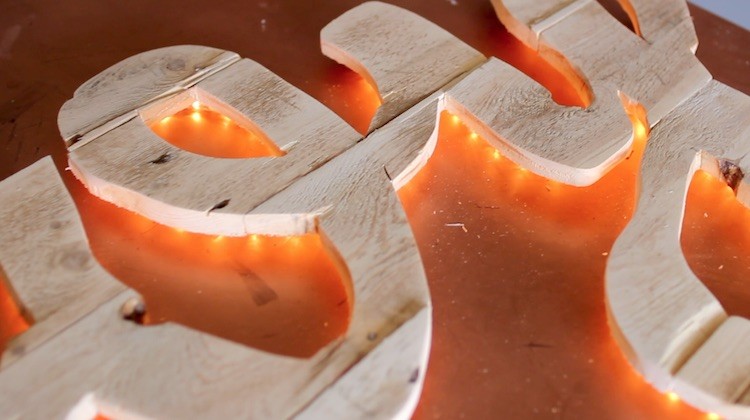
Step 11: Light it up
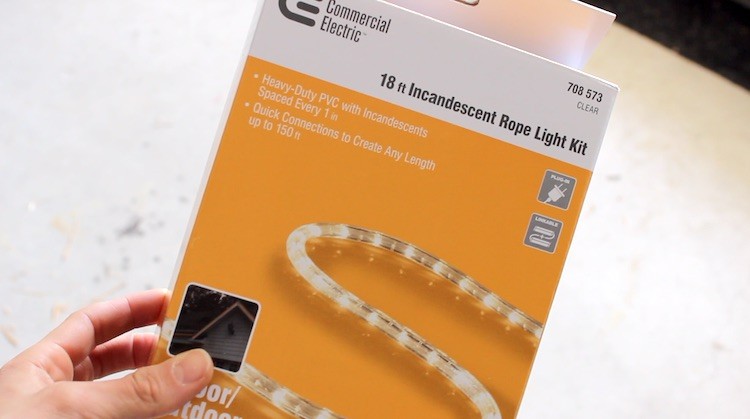
To take this design to the next step I added some incandescent rope light to the back of my sign to give it a glow.
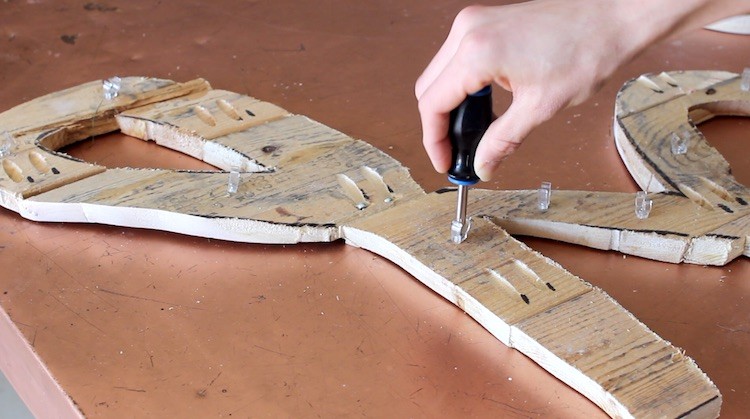
I bought extra clips and screwed them in the flow of my word on the backside.
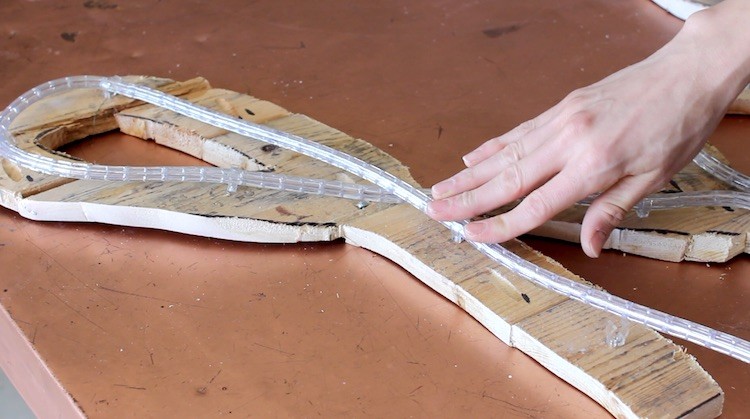
I also love that I can remove this LED rope and utilize it for other projects if needed! I’m thinking…a DIY “neon” sign? Ah!
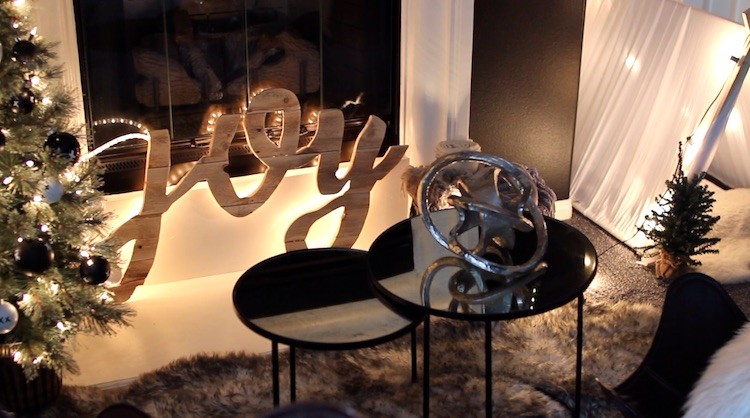
Style it accordingly to your space! This year our mantle was black, white and natural elements with emphasis on lighting. This DIY pallet word added the perfect glow. The options to personalize this project are endless. Happy DIY’ing!
The post How To Cut Holiday Letters with a Jigsaw appeared first on The Home Depot Blog.

