
Modern Christmas Tree Planter
I love the modern twist to a traditional Christmas tree planter box with horizontal slats and clean lines. It’s a breath of fresh air from your typical holiday decor. Bonus – these are extremely sturdy/heavy weight, so they’ll last year-round!
Below you will find the step by step instructions to create this modern Christmas tree planter.
SUPPLIES
- (1) 4 X 8 Plywood Sheet @ ¾-in.
- (15) 1 X 2 @ 8-ft
- (1) 2 X 2 @ 8-ft
- 120/220 Grit Sand Paper
- 1-1/4 in Kreg Jig Pocket Hole Screws
- 1-3/4 in Brad Nails
- Clamps
- Square
- Safety Glasses
- Paint Stir Stick
TOOLS
- Circular Saw or Table Saw
- Miter Saw
- Sander
- Drill
- Kreg Jig
- Brad Nailer
- Measuring Tape and Pencil
CUT LIST (FOR TWO PLANTERS)
- 4 X 8 – ¾ in Plywood Sheet
- (2) 19 in. W x 8 FT
- (8) 15 ¾ in X 19 in
- (2) 15 ¾ in X 17 ¾ in
- (15) 1 X 2 @ 17 3/8 in
- (8) 2 X 2 @ 2 in
- Optional: Fit left over 1 X 2 scraps to top at 45-degree mitered cuts
STEP 1
Using a circular saw or table saw, rip your 4 X 8 plywood sheet to 19 in W X 8 ft L. If you do not own a saw, an associate at The Home Depot will be able to rip it for you!
STEP 2
Using a circular saw or a table saw, rip your 19 in X 8 ft pieces into (4) 19 in X 15 ¾” in pieces for the planter box sides.
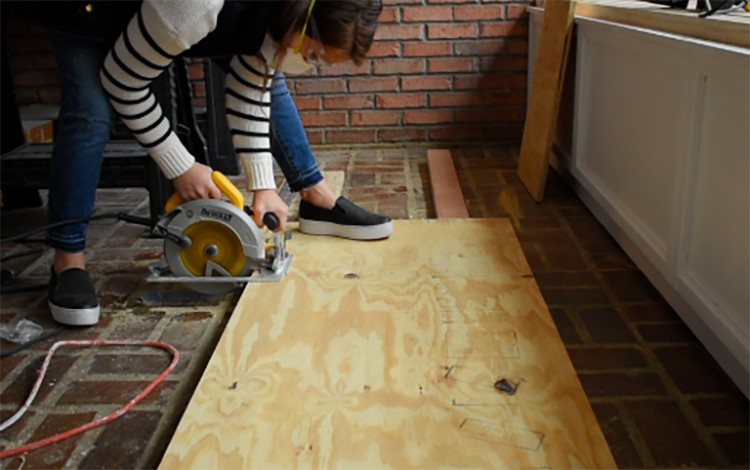
When measuring, be sure to check if everything is square!
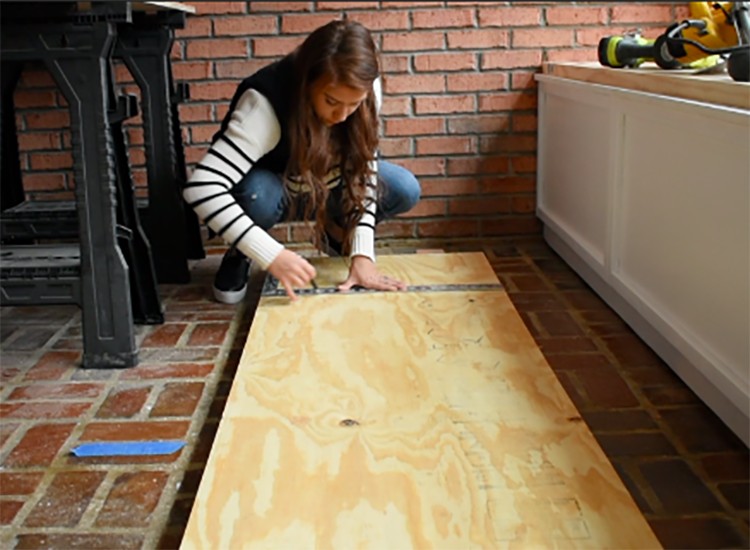
STEP 3
With the left-over pieces of plywood, use a circular saw or table saw to cut the planter box bases at 15 ¾ in X 17 ¾ in.
STEP 4
Use a miter saw to cut your slats for every side. Each planter is only covering three sides as the back of the planter will not be viable. Cut (15) 1 X 2 @ 17 3/8 in to give you a grand total of (72) 17 3/8 in pieces.

STEP 5
Once all of your cuts have been made its time to assemble the Christmas tree planter boxes! Below shows the cuts for one planter box. Remember, we are only covering three sides with horizontal slats.

STEP 6
Use a drill and a Kreg Jig to make 4 pocket holes screws on 2/4 planter box sides.

Make two holes at the top and two at the bottom. Do not put pocket holes in all of the sides, you only need to in two boards per planter box.

STEP 7
Use two clamps to keep the boards flush and in place. Take your drill and 1 ¼ in pocket hole screws to attach the pocket hole board to the NON-pocket hole board.

Repeat this process on the other side by flipping the “U-shape” onto the second pocket hole board and attach 4 pocket hole screws.

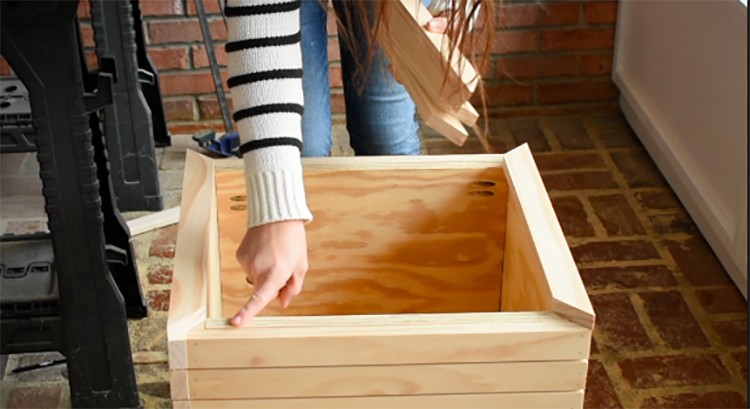
STEP 8
Use a brad nailer and clamps to attach the base to the bottom of the planter. Use at least 8 nails in the corners and middle, use more if desired for extra security.

STEP 9
Attach your slats starting at the top of the box by using wood glue and two small clamps to hold in place. Use a brad nailer to secure a nail on each end.

STEP 10
Use a paint stir stick as a spacer between each slat. Glue and brad nail all 12 slats and repeat these steps till all three sides are completed.

STEP 11
(Optional) Use the scraps from your 1 X 2’s and cut 45-degree mitered corners for a finished look on the top of the planter. Secure with wood glue and brad nails.
STEP 12
Cut (4) 2 X 2 @ 2 in and attach the legs to the bottom of the planter using wood glue.

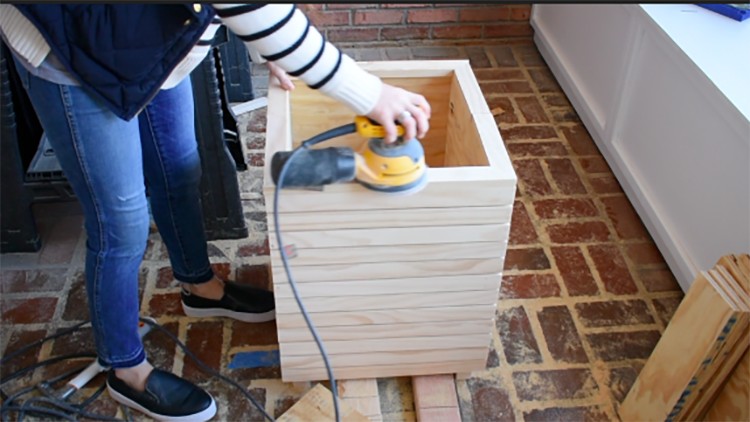
STEP 13
Use 120 and 220 Grit sand paper for a smooth finish on the tops and sides.
COMPLETED PROJECT
The planters were a perfect addition to modernize our front porch for Christmas. I finished the DIY Christmas Tree Planters off with holiday decor from The Home Depot. Believe it or not, all the greenery is faux here! There were so many realistic trees, wreaths and garland with built-in lights and timers. All of the decor, including the gifts and red truck, have built-in battery operated lights and timers so there aren’t cords all over the porch!


Get the Look
The post Modern Christmas Tree Planter appeared first on The Home Depot Blog.
