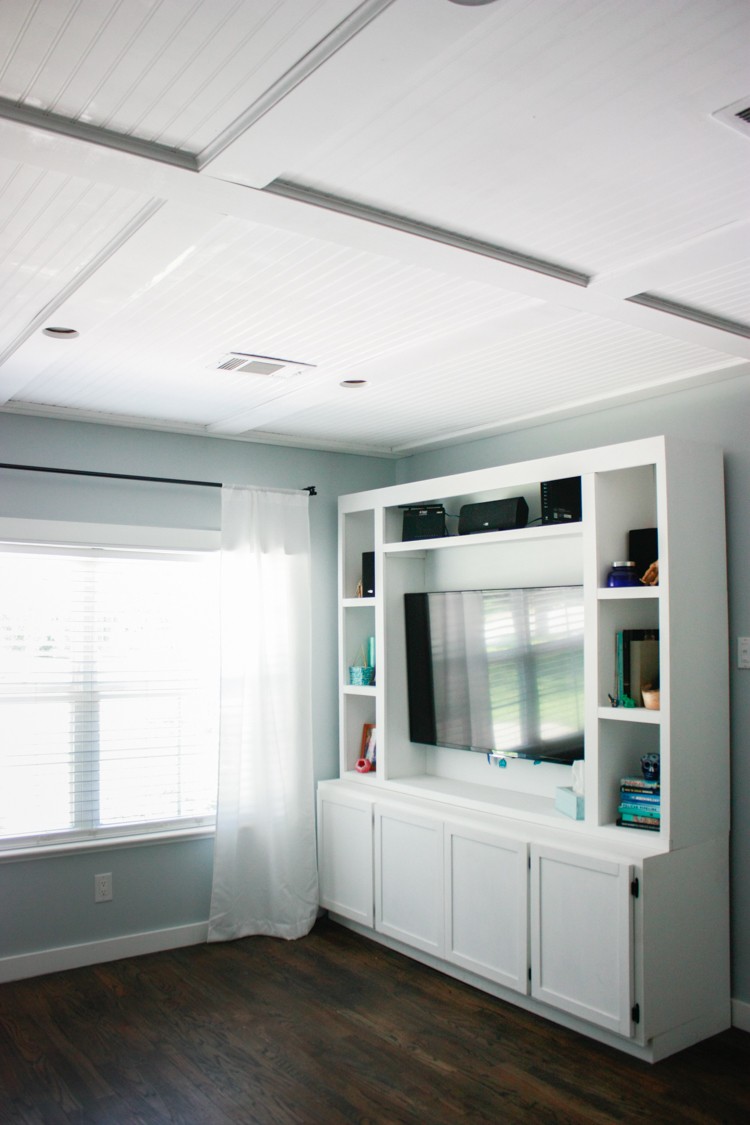
This DIY ceiling makeover uses beadboard and moulding pieces to create a faux coffered ceiling. It’s a simple way to add a little extra architectural interest in an otherwise drab ceiling.
This is the work of Amber Oliver who writes the In the Loop Blog.
Follow along with her step-by-step instructions to see how she completed her DIY faux coffered ceiling.
DIY Faux Coffered Ceiling
Before we moved in, our house was completely gutted– all the way to the studs! That gave us a blank canvas to make each room exactly what we wanted. We decided to focus on one of our most used rooms– our living room.
After going back and forth trying to decide if we wanted a “focus wall,” we ultimately decided to do a DIY ceiling makeover instead. We wanted to add architectural interest but had to work with standard 8-foot ceilings. We installed a faux coffered ceiling with beadboard panels, 1 x 6’s, and moulding.
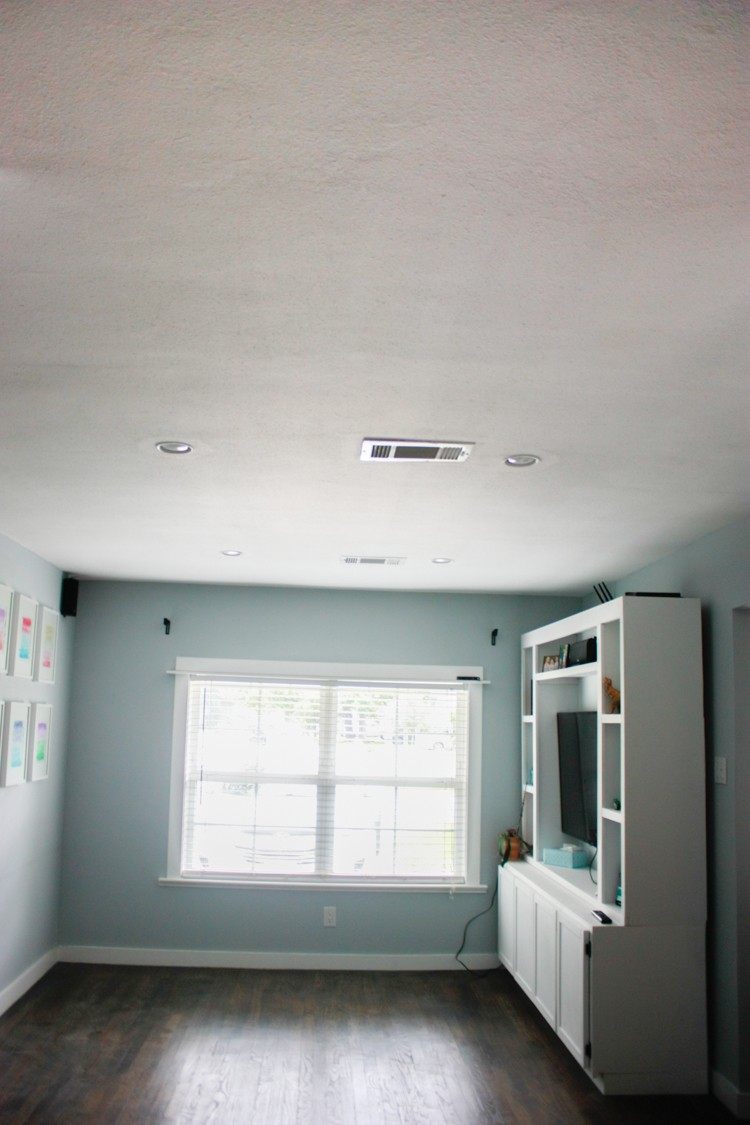
The Ceiling Before the Makeover
Materials and Tools
*Note: You will measure your space and decide how you want your ceiling laid out before purchasing materials. This will help you decide how many panels, what length of 1 x 6’s, and how many feet of moulding you need.
- Beadboard Panels
- Primed 1 x 6’s
- Cove Moulding
- Circular Saw or Table Saw
- Miter Saw
- Jig Saw and Hole Saw, if needed
- Drill
- Screws (we used 2 inch)
- Finish Nailer
- Finish nails (we used 1-inch for moulding and 2-inch to attach panels)
- Wood filler
- Paint and brushes
- Liquid Nails
Step 1

Cut the beadboard panels. We cut the panels so they were all the same dimensions and would fill the ceiling evenly. This will make everything symmetrical when it’s time to add the 1 x 6’s.
Step 2

Locate and mark the ceiling joists.
We decided to attach the panels into the ceiling joists so we were sure they were up securely.
You can locate ceiling joists with a stud finder, or go into the attic and have a look for yourself. We used painter’s tape to indicate where the joists were.
Step 3
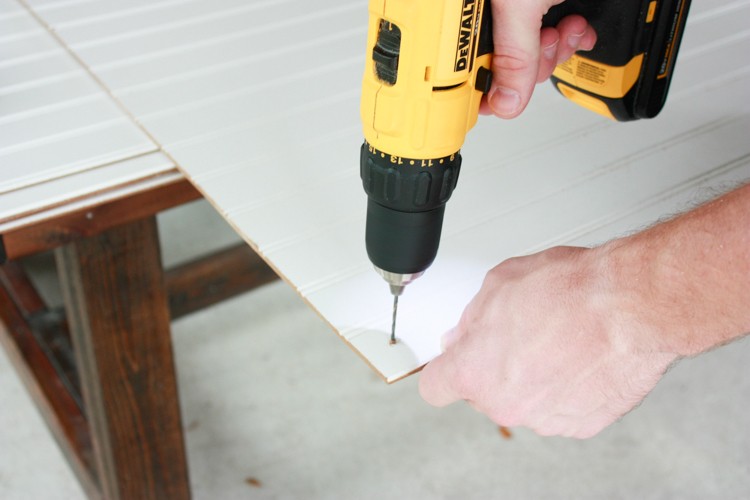
Drill pilot holes into the panels based on your measurements for the ceiling joists. This will make it so much easier to get the screws in quickly when you are holding it up to the ceiling!
Step 4
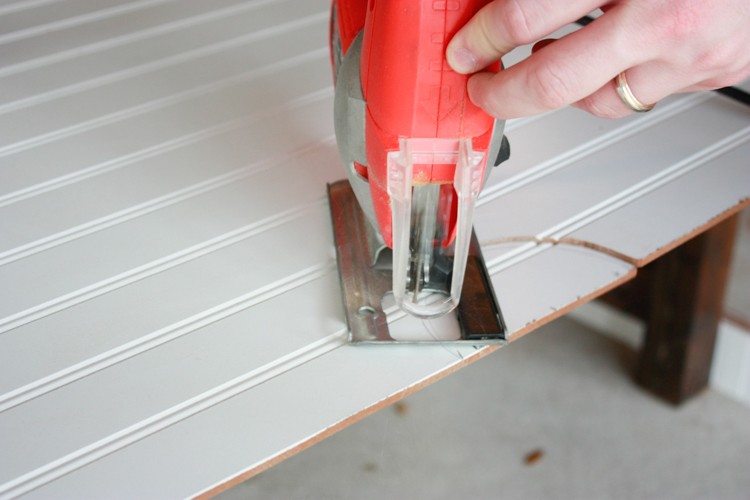
Measure and cut out any holes for light fixtures and vents with a jig saw.
Be sure to measure twice and cut once. We used a recessed light hole saw to get the perfect circles around the lights.
Optional: Use a router to make the edges look nice and finished.
Step 5
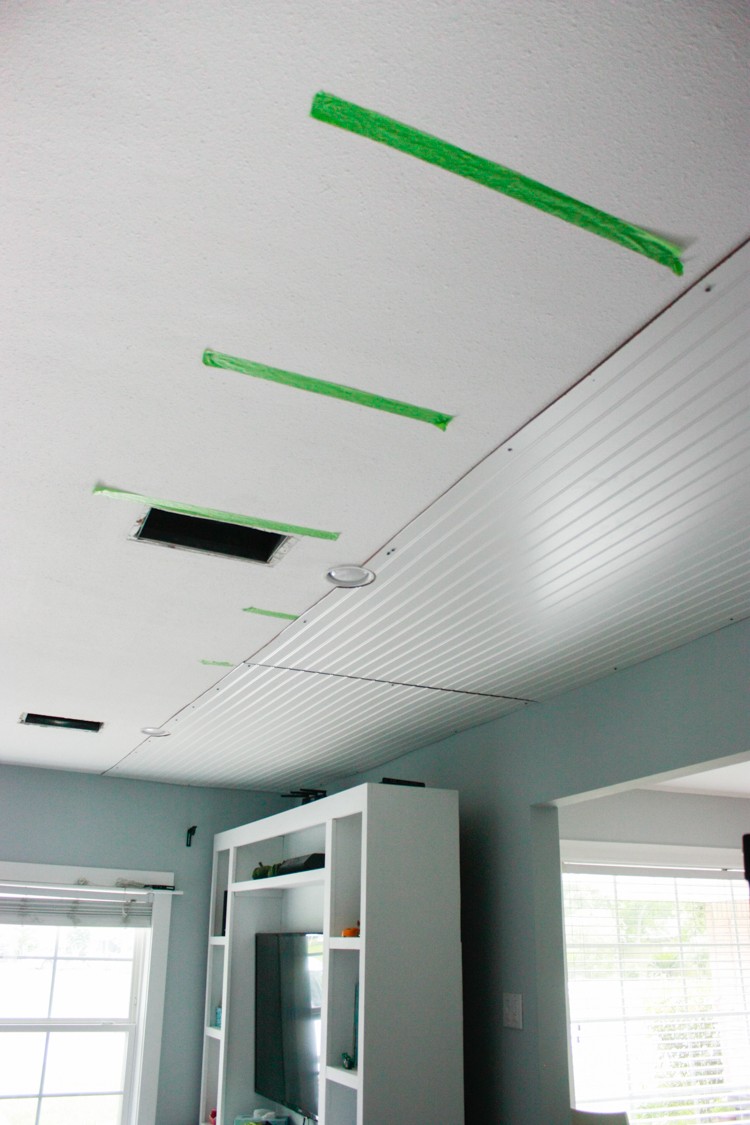
Attach the panels one at a time to the ceiling by screwing into the ceiling joists. We did this with two people, but if you have an extra set of hands you will be grateful!
You’ll notice that your room is probably not perfectly square, and you may have some gaps. This is okay because you will be covering all the seams with 1 x 6’s later.
Step 6

After getting the panel up, go back and tack up with a finish nailer if it is sagging. Try to keep the nail holes in line so it will be easier to cover them later.
Step 7
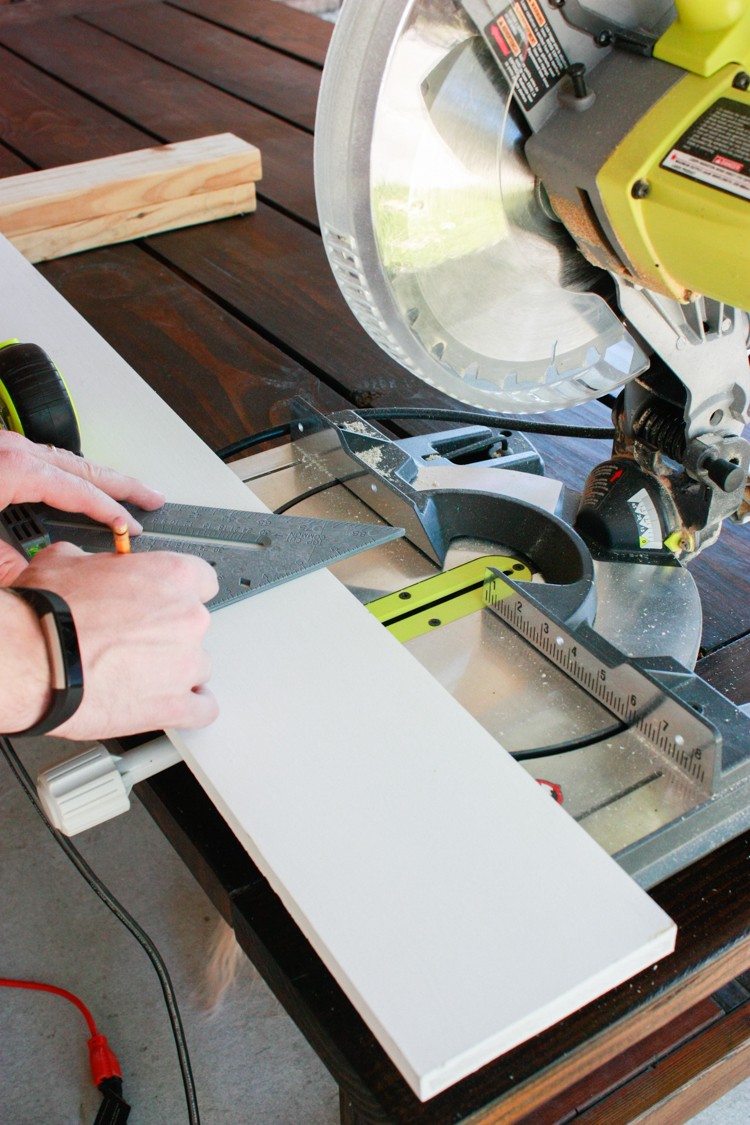
Measure and cut your 1 x 6’s. You’ll want to use boards that will go the full length, so break up the longest sides of the room by covering the shorter seams first.
Step 8
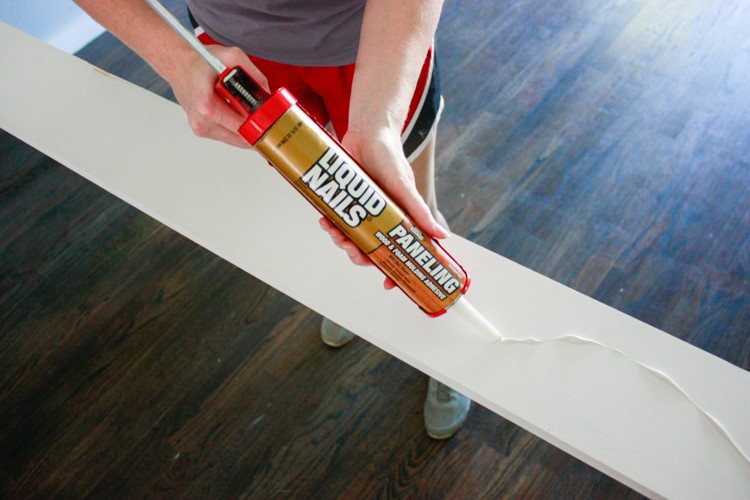
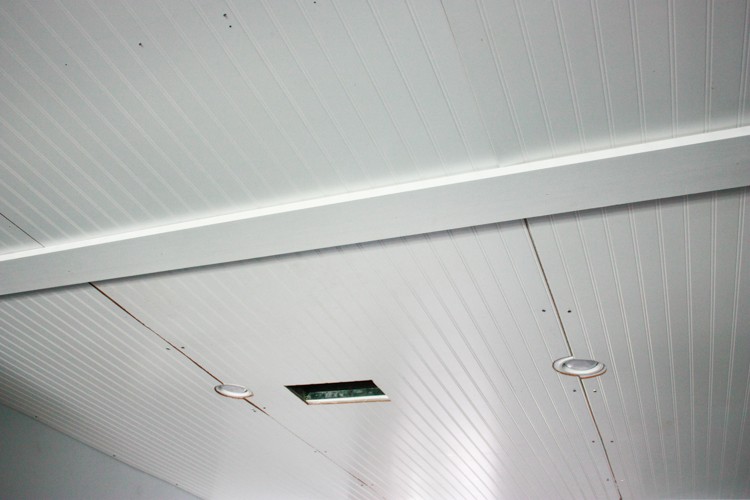
Use Liquid Nails and a few finish nails to attach the 1 x 6’s into place.
Step 9
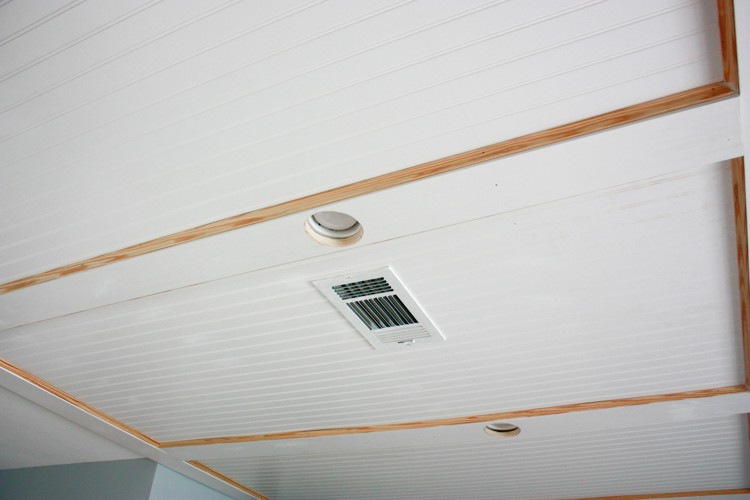
After you’ve covered all the seams with 1 x 6’s, it’s time to add the moulding.
I used Cove moulding, but you can use any shape you’d like. This is an important part because it really gives it a finished look and will cover any spaces or gaps that are showing. The moulding was installed with 1-inch finish nails.
Step 10
Prep your new faux coffered ceiling for paint by filling in any nail holes or gaps with wood filler, then sand. After the ceiling is prepped, it’s time to paint!
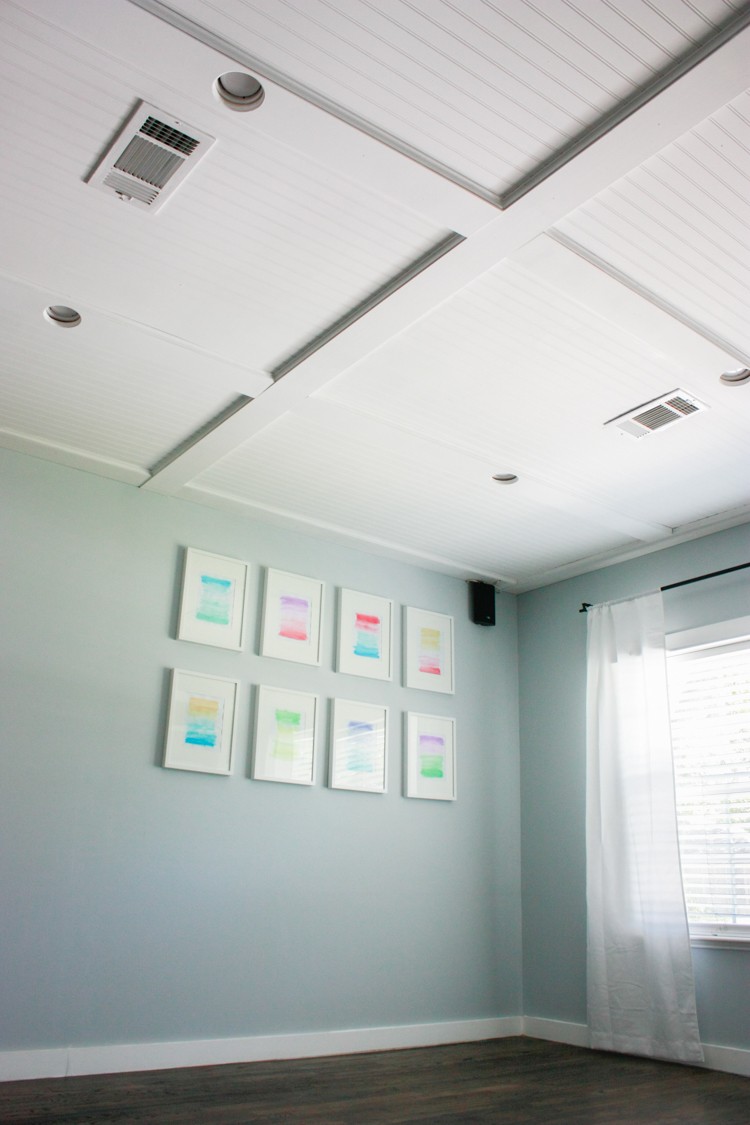

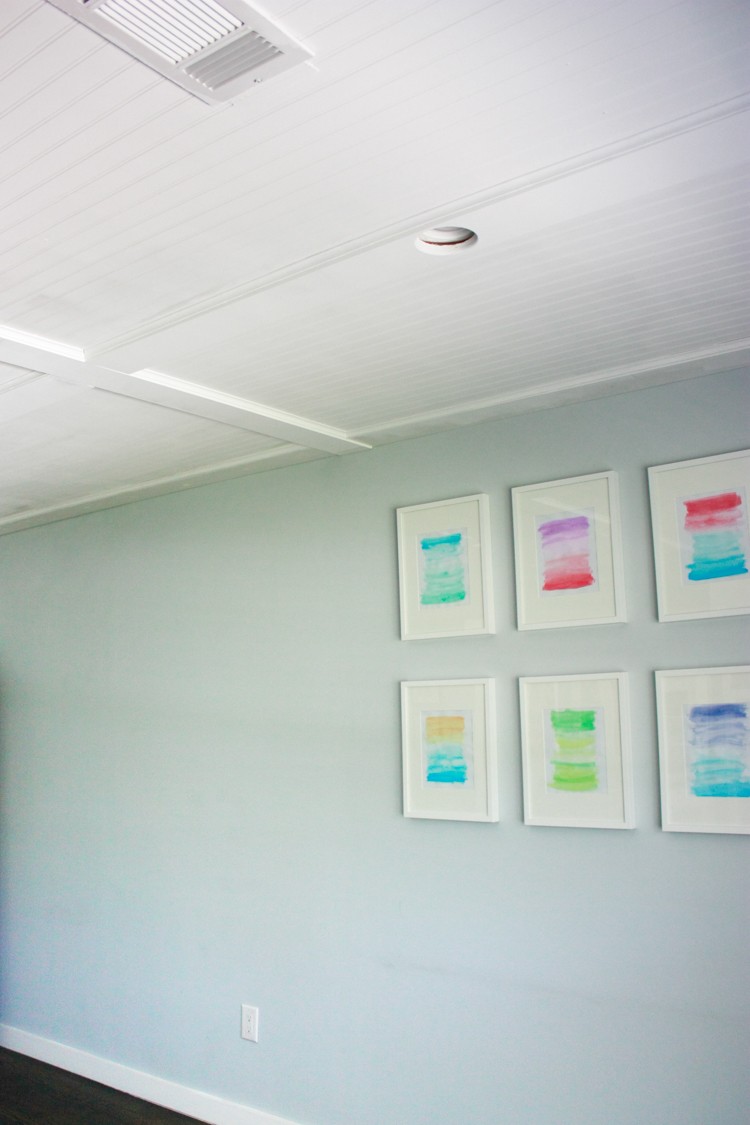
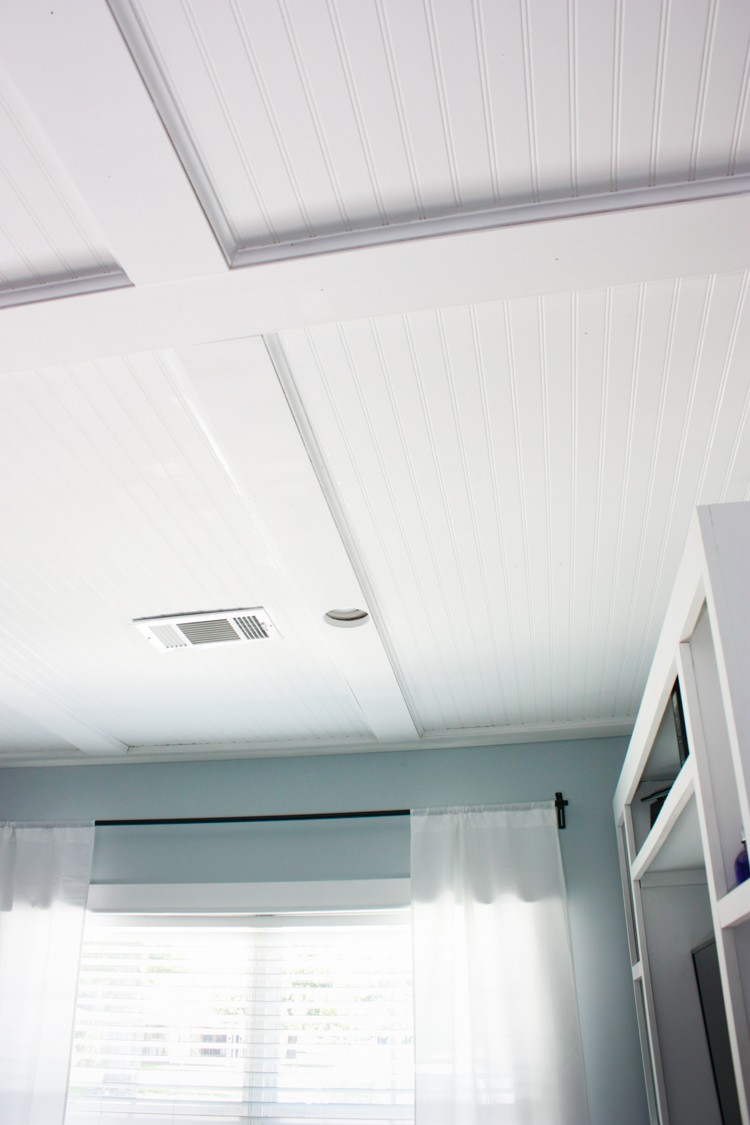
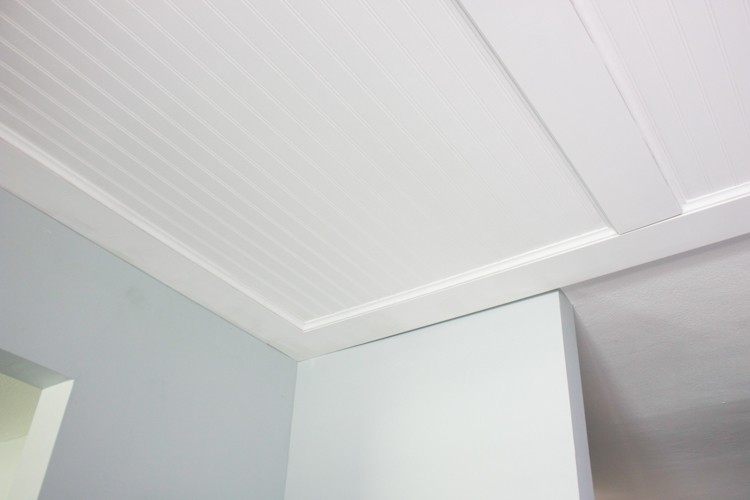
With just a few basic materials you can turn your drab ceiling into a statement ceiling. This is faux coffered ceiling project is pretty labor intensive, but the finished project is worth it!
Browse our Moulding and Millwork section for the beadboard and moulding you’ll need to build this faux coffered ceiling in your home.
Follow our Easy DIY Projects board on Pinterest for more DIY projects and ideas.
The post Faux Coffered Ceiling Using Beadboard and Moulding appeared first on The Home Depot Blog.

